NGHỆ THUẬT
LÀM ĐẸP VÀ SỨC KHỎE
THỦ CÔNG
VĂN HÓA VÀ LỊCH SỬ
GIẢI TRÍ
MÔI TRƯỜNG
THỰC PHẨM VÀ ĐỒ UỐNG
KỸ THUẬT NGƯỢC
KHOA HỌC
THỂ THAO
CÔNG NGHỆ
THIẾT BỊ ĐEO



Preparing the Surface: Every Flaw Gets More Visible, Not Less
A finish magnifies everything underneath it. A scratch you can barely see on bare wood is obvious under three coats of varnish, and glue you missed shows up as a pale patch that cannot be fixed without stripping back.
So the surface has to be right BEFORE any finish goes near it, and the check has to be done under light that reveals rather than flatters.
The grit progression published for sharpening applies here almost unchanged — each grade removes the previous one's scratches — with two differences: you stop much sooner than you might think, and you raise the grain deliberately.
Cơ bản
3 hours
Hướng dẫn
1
1
Look at it under raking light
Look at it under raking light
Hold a lamp almost flat to the surface and sight along it. Every scratch, dent, ripple and missed glue spot throws a shadow and becomes obvious.
Overhead light flatters a surface and hides exactly the faults a finish will later reveal. This one change of lighting finds more problems than any amount of careful looking from above, and it costs nothing.
Glue is the one to hunt for specifically. Dried squeeze-out seals the wood so stain and oil cannot penetrate, and the pale patch only appears once the finish is on. Wiping the surface with mineral spirits shows glue residue immediately — the wood darkens and the sealed patches stay light.
Vật liệu cho bước này:
 Dầu khoáng pha sơn1 cái
 Tấm gỗ cứng1 cái
Công cụ cần thiết:
 Kính lúp thợ kim hoàn
 Vải cô tông
 Bộ giấy nhám nhiều loại
2
2
Sand through the grits, and stop sooner than you think
Sand through the grits, and stop sooner than you think
Work up through the grades without skipping — 80 if the surface needs it, then 120, 150, 180 — and at each grade remove all of the previous one's scratches before moving on, exactly as the grit progression rung sets out.
Then stop. For most finishes 180 grit is enough and 220 is plenty. Sanding finer burnishes the surface closed, so stain and oil penetrate less and more unevenly — a polished surface takes finish worse, not better.
Sand WITH the grain. Cross-grain scratches are nearly invisible on bare wood and glaringly obvious under a finish, especially under stain, which settles into them and draws them in dark lines.
Vật liệu cho bước này:
Bộ giấy nhám nhiều loại1 cáiTấm gỗ cứng1 cáiCông cụ cần thiết:
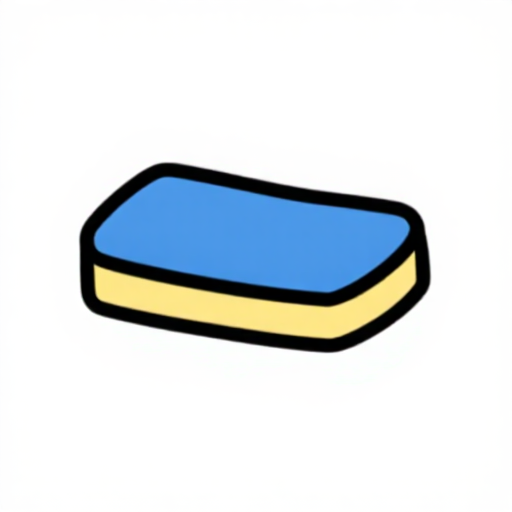 Bộ khối chà nhám (xốp)Kính lúp thợ kim hoàn
3
3
Raise the grain on purpose, then knock it back
Raise the grain on purpose, then knock it back
Wipe the sanded surface with a damp cloth and let it dry. The fibres that were pressed flat by sanding swell and stand up, and the surface goes rough — this is GRAIN RAISING.
Do it deliberately now, then knock the raised fibres off with a light pass of the final grit. If you skip it, the first coat of a water-based finish or stain does the raising for you, and then the roughness is locked under the finish.
With oil-based finishes it matters less but is still worth doing on anything that will be handled. Two minutes and a damp cloth, and the surface stays smooth through every subsequent coat.
Vật liệu cho bước này:
Bộ giấy nhám nhiều loại1 cáiTấm gỗ cứng1 cáiCông cụ cần thiết:
Vải cô tôngBộ khối chà nhám (xốp)4
4
Get the dust off — all of it
Get the dust off — all of it
Brush or vacuum the surface, then go over it with a tack cloth immediately before each coat. Dust trapped in a finish is a permanent bump, and it is the commonest flaw on otherwise good work.
The dust is not only on the work. It is on the bench, on you, and in the air — which is why sanding and finishing should not happen in the same hour in the same room. Vacuum, let the air settle, then finish.
Use the tack cloth lightly, with no pressure. Pressing it down leaves a faint sticky residue that some finishes react to. And do not use one at all under a water-based finish unless it says it is compatible — the residue can cause fisheye.
Vật liệu cho bước này:
 Khăn dính bụi1 cái
Công cụ cần thiết:
Vải cô tôngKính lúp thợ kim hoànVật liệu
4- 1 cáiTạm thời
- 1 cáiTạm thời
- Tạm thời
- 1 cáiTạm thời
Blueprint liên quan
Các blueprint này chia sẻ kiến thức — kỹ thuật, vật liệu hoặc nguyên tắc
CC0 Phạm vi công cộng
Bản thiết kế này được phát hành theo CC0. Bạn tự do sao chép, sửa đổi, phân phối và sử dụng cho bất kỳ mục đích nào mà không cần xin phép.
Hỗ trợ nhà sáng tạo bằng cách mua sản phẩm qua bản thiết kế, nơi họ nhận Hoa hồng nhà sáng tạo do nhà bán hàng đặt, hoặc tạo phiên bản mới và kết nối trong bản thiết kế riêng để chia sẻ doanh thu.