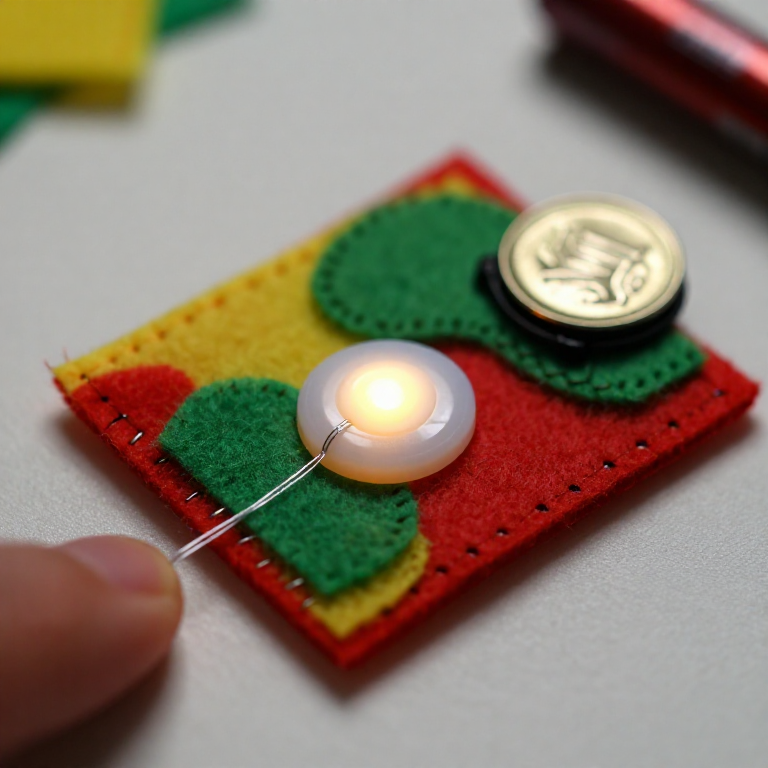


Sewing a LilyPad Button Circuit
Add a switch you can sew: a LilyPad button placed in the circuit lights your LED only while it's pressed. Same e-textile rules as before — + to + and - to -, no crossing lines — but now the button sits in the + line, so current flows only when you press it. A press-to-light patch for a bag, badge or costume.
Hướng dẫn
Plan the circuit with a button
Plan the circuit with a button
Arrange a LilyPad LED, a LilyPad button and a coin-cell battery holder on felt. The button goes in the + line, between the battery's + tab and the LED's + tab, so pressing it completes the circuit.
Vật liệu cho bước này:
 LilyPad LED - 5 pcs1 gói
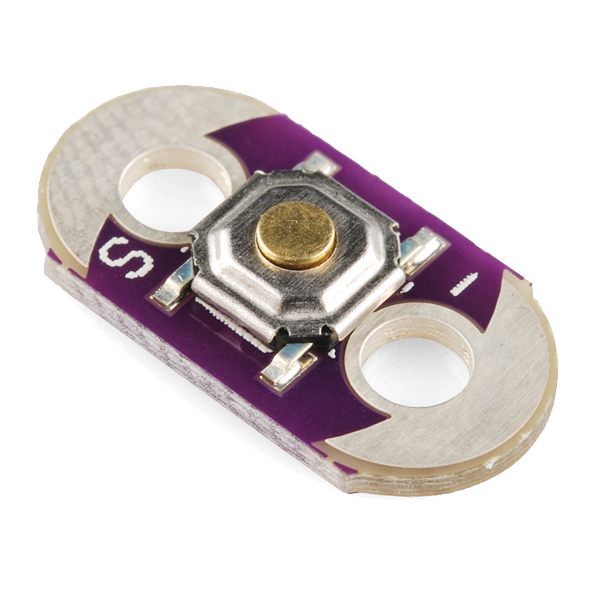 LilyPad Button Board1 cái
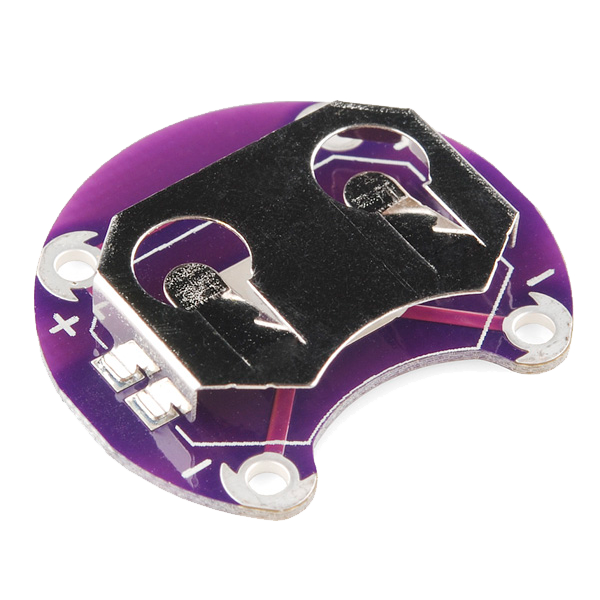 LilyPad Coin Cell Battery Holder - 20mm1 cái
 Tấm nỉ len1 tờ
Sew the positive line through the button
Sew the positive line through the button
With conductive thread, stitch from the battery + tab to one tab of the button, then knot and cut; start fresh and stitch from the button's other tab to the LED + tab. Loop 3–4 times through each hole for firm contact and trim the tails short.
Vật liệu cho bước này:
 Conductive Thread - 60g (Stainless Steel)1 ống
 Kim khâu tay1 gói
Sew the negative line
Sew the negative line
With a fresh thread, stitch the LED - tab straight to the battery - tab. Keep this line well away from the + line and the button — anywhere the two conductive paths touch, the circuit shorts.
Press to test
Press to test
Slot in a CR2032 (+ side up). Press the button — the LED lights; release — it goes out. If it stays dark, check that both button tabs are stitched into the line and that no threads are touching across the two sides.
Vật liệu cho bước này:
 Pin cúc áo CR20321 cái
Secure and use
Secure and use
Seal each knot with a dab of clear nail polish or fabric glue so it can't loosen. Sew the felt onto a bag, badge or costume — you've made a press-to-light patch.
Vật liệu
7- LilyPad LED - 5 pcsHoa hồng 10%1 gói$4.14
- LilyPad Button BoardHoa hồng 10%1 cái$2.20
- LilyPad Coin Cell Battery Holder - 20mmHoa hồng 10%1 cái$4.14
- 1 tờTạm thời
- Conductive Thread - 60g (Stainless Steel)Hoa hồng 10%1 ống$39.62
- 1 góiTạm thời
- 1 cáiTạm thời
Công cụ yêu cầu
1- Tạm thời
Blueprint liên quan
Các blueprint này chia sẻ kiến thức — kỹ thuật, vật liệu hoặc nguyên tắc

CC0 Phạm vi công cộng
Bản thiết kế này được phát hành theo CC0. Bạn tự do sao chép, sửa đổi, phân phối và sử dụng cho bất kỳ mục đích nào mà không cần xin phép.
Hỗ trợ nhà sáng tạo bằng cách mua sản phẩm qua bản thiết kế, nơi họ nhận Hoa hồng nhà sáng tạo do nhà bán hàng đặt, hoặc tạo phiên bản mới và kết nối trong bản thiết kế riêng để chia sẻ doanh thu.