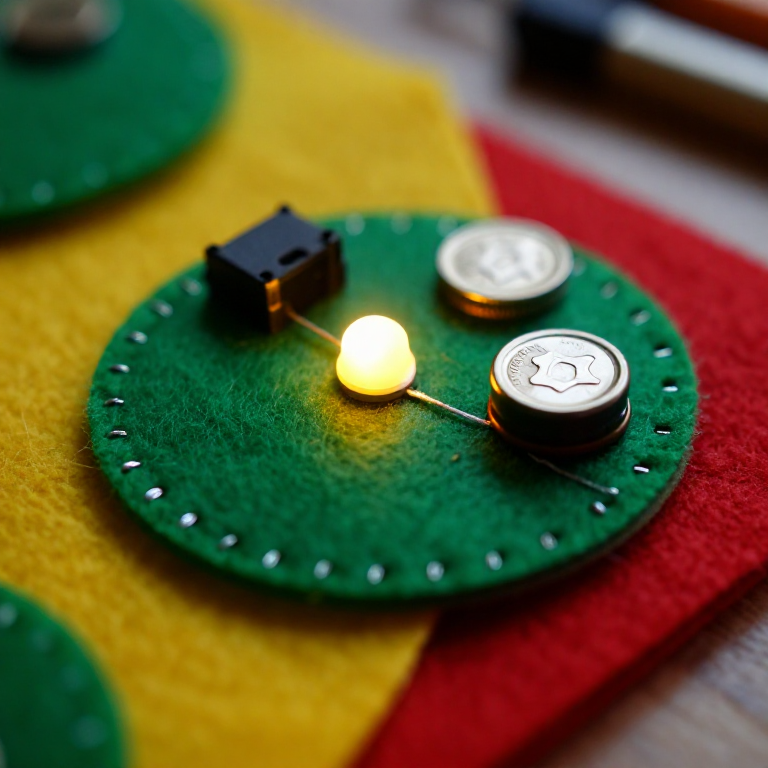


Sewing a LilyPad LED Circuit
Sewable electronics — 'e-textiles' — build circuits into fabric with conductive thread instead of wires. This first project sews a LilyPad LED to a coin-cell battery so it lights up, teaching the two rules of e-textiles: connect + to + and - to -, and never let the two thread lines cross. The 'hello world' of wearable electronics.
Hướng dẫn
Plan the circuit on fabric
Plan the circuit on fabric
Pin a LilyPad LED and a LilyPad coin-cell battery holder a few centimetres apart on a piece of felt. Find each board's + and - sew tabs, and plan two thread paths — one joining the + tabs, one joining the - tabs — that never cross.
Vật liệu cho bước này:
 LilyPad LED - 5 pcs1 gói
 LilyPad Coin Cell Battery Holder - w/Switch - 20mm1 cái
 Tấm nỉ len1 tờ
Sew the positive line
Sew the positive line
Thread a needle with conductive stainless-steel thread. Stitch from the + tab of the battery holder to the + tab of the LED, looping 3–4 times through each tab hole for firm electrical contact. Knot tightly and trim the tail short — stray strands cause shorts.
Vật liệu cho bước này:
 Conductive Thread - 60g (Stainless Steel)1 ống
 Kim khâu tay1 gói
Sew the negative line
Sew the negative line
With a fresh length of thread, stitch the - tab of the battery holder to the - tab of the LED the same way. Keep this line clear of the + line everywhere — if the two conductive paths touch, the circuit shorts and the LED won't light.
Power it up
Power it up
Slide a CR2032 coin cell into the holder, + side up, and switch it on. The LED lights — no separate resistor is needed, because the 3 V coin cell can't push enough current to harm it. If it stays dark, check the battery direction, loose knots, or threads touching.
Vật liệu cho bước này:
 Pin cúc áo CR20321 cái
Secure the knots
Secure the knots
Dab a little clear nail polish or fabric glue on each knot so it can't work loose or fray. Use the holder's switch to turn your LED on and off — your first wearable circuit is done.
Vật liệu
6- LilyPad LED - 5 pcsHoa hồng 10%1 gói$4.14
- 1 cái$4.99
- 1 tờTạm thời
- Conductive Thread - 60g (Stainless Steel)Hoa hồng 10%1 ống$39.62
- 1 góiTạm thời
- 1 cáiTạm thời
Công cụ yêu cầu
1- Tạm thời
Blueprint liên quan
Các blueprint này chia sẻ kiến thức — kỹ thuật, vật liệu hoặc nguyên tắc


CC0 Phạm vi công cộng
Bản thiết kế này được phát hành theo CC0. Bạn tự do sao chép, sửa đổi, phân phối và sử dụng cho bất kỳ mục đích nào mà không cần xin phép.
Hỗ trợ nhà sáng tạo bằng cách mua sản phẩm qua bản thiết kế, nơi họ nhận Hoa hồng nhà sáng tạo do nhà bán hàng đặt, hoặc tạo phiên bản mới và kết nối trong bản thiết kế riêng để chia sẻ doanh thu.