NGHỆ THUẬT
LÀM ĐẸP VÀ SỨC KHỎE
THỦ CÔNG
VĂN HÓA VÀ LỊCH SỬ
GIẢI TRÍ
MÔI TRƯỜNG
THỰC PHẨM VÀ ĐỒ UỐNG
KỸ THUẬT NGƯỢC
KHOA HỌC
THỂ THAO
CÔNG NGHỆ
THIẾT BỊ ĐEO
Arthur F. Payne · Public domain (1914)


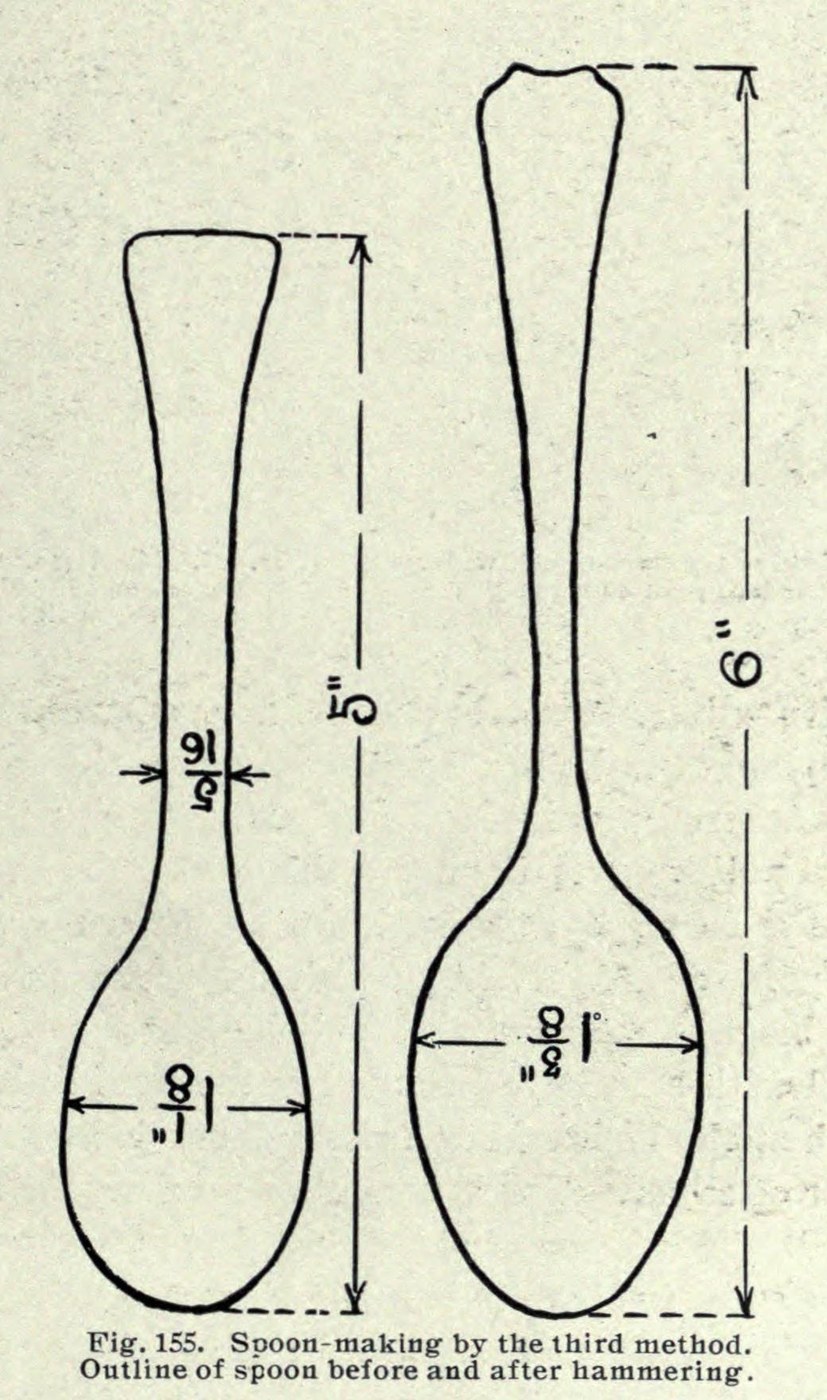
Teaspoon Sawn Short from Silver Sheet, Then Hammered Out (Payne 1914)
Saw the spoon out of flat silver smaller than it will end up: shorter, narrower in the bowl and thicker in the shank. Hammering then stretches it to full size. Arthur Payne said this method was used largely for silver teaspoons.
Source: A. F. Payne, Art Metalwork with Inexpensive Equipment (1914), pp. 180–184; annealing from his chapter XI. The millimetre figure is ours. Picture: Payne's Fig. 155, the blank and the finished spoon.
Trung cấp
1 day
Hướng dẫn
1
1
Saw out the short blank
Saw out the short blank
Mark out and saw the blank from 15-gauge sterling silver (about 1.45 mm; our conversion): 5 in long, the bowl 1⅛ in wide and the shank 5⁄16 in wide. The finished spoon will be 6 in long with a bowl 1⅝ in wide.
Vật liệu cho bước này:
 Tấm bạc sterling1 piece 15 gauge, enough for the 5 in blank
Công cụ cần thiết:
 Mũi vạch dấu
 Cưa thợ kim hoàn
2
2
Stretch the bowl wider
Stretch the bowl wider
Hammer the bowl on a flat anvil with the ball-pein hammer, held at a slight angle towards the side you want it to grow. This makes the bowl thinner and wider.
Công cụ cần thiết:
 Đe
 Búa đầu tròn
3
3
Narrow the shank with the neck hammer
Narrow the shank with the neck hammer
Hold the spoon on edge on a rounded convex stake and hammer the shank narrower with the neck hammer. This lengthens the spoon and makes the shank narrower and thicker. Widen the tip of the handle the same way as the bowl.
Công cụ cần thiết:
 Cọc
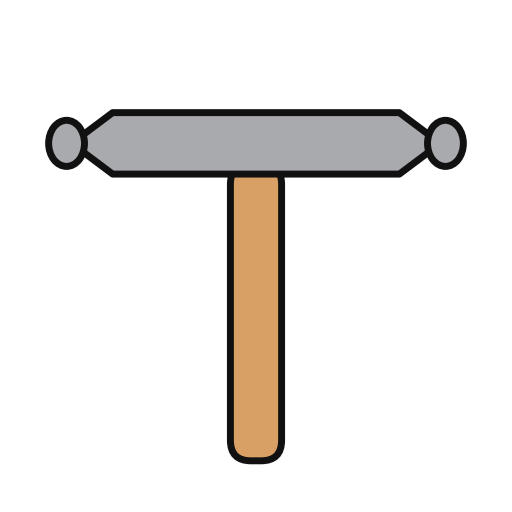 Búa vuốt cổBúa đầu tròn
4
4
Anneal and repeat
Anneal and repeat
When the silver gets hard, heat it to a dull red and plunge it into water, or let it cool. Repeat the hammering and annealing until the spoon is roughly to shape.
Vật liệu cho bước này:
 Nước1 as required
Công cụ cần thiết:
 Đèn Bunsen
 Kẹp gắp
 Bình thủy tinh
5
5
File and planish
File and planish
File the rough edges smooth, then planish the whole spoon carefully.
Công cụ cần thiết:
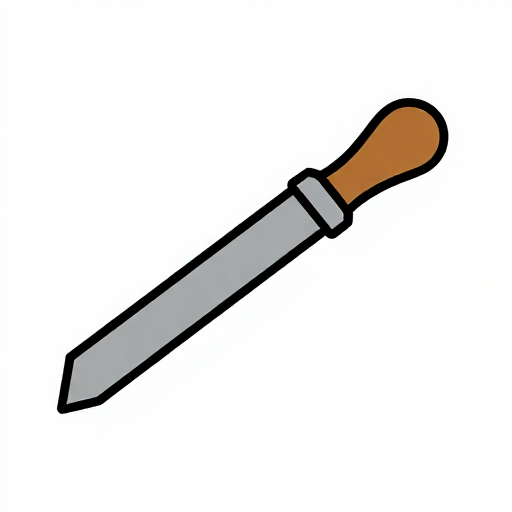 Giũa (giũa tay)
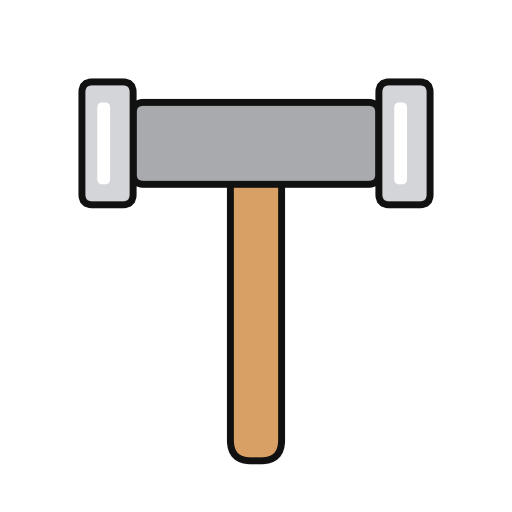 Búa là phẳngCọc
6
6
Polish out the file marks
Polish out the file marks
Rub out all the scratches and file marks with emery cloth.
Công cụ cần thiết:
 Vải nhám emeri
7
7
Anneal to even the fire scale
Anneal to even the fire scale
Anneal the spoon thoroughly once more. Heated silver grows a thin white skin, the fire scale, and this brings it back over the spots where filing and polishing took it off, so the colour is even.
Vật liệu cho bước này:
Nước1 as requiredCông cụ cần thiết:
Đèn BunsenKẹp gắpBình thủy tinh8
8
Planish with smooth hammers
Planish with smooth hammers
Planish the spoon on smooth tools with smooth, bright hammers. This makes it stiff again after the annealing.
Công cụ cần thiết:
Búa là phẳngĐeCọc9
9
Final polish with rouge
Final polish with rouge
Polish it lightly with a soft cotton flannel and a little red rouge.
Công cụ cần thiết:
 Khăn đánh bóng trang sức
 Bột đánh bóng đỏ của thợ kim hoàn
Vật liệu
2- 1 piece 15 gauge, enough for the 5 in blankTạm thời
- 2 as requiredTạm thời
Công cụ yêu cầu
14- Tạm thời
- Tạm thời
- Tạm thời
- Tạm thời
- Tạm thời
- Tạm thời
- Tạm thời
- Tạm thời
- Tạm thời
- Tạm thời
- Tạm thời
- Tạm thời
- Tạm thời
Bản thiết kế này làm ra
Blueprint liên quan
Các blueprint này chia sẻ kiến thức — kỹ thuật, vật liệu hoặc nguyên tắc
CC0 Phạm vi công cộng
Bản thiết kế này được phát hành theo CC0. Bạn tự do sao chép, sửa đổi, phân phối và sử dụng cho bất kỳ mục đích nào mà không cần xin phép.
Hỗ trợ nhà sáng tạo bằng cách mua sản phẩm qua bản thiết kế, nơi họ nhận Hoa hồng nhà sáng tạo do nhà bán hàng đặt, hoặc tạo phiên bản mới và kết nối trong bản thiết kế riêng để chia sẻ doanh thu.