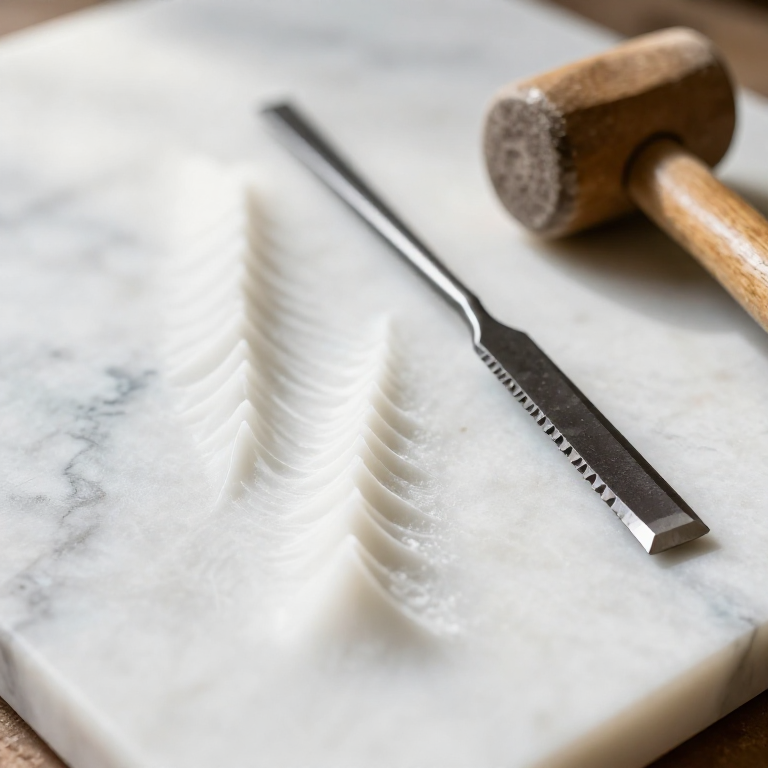


Tooth Chisel Modelling
The point chisel takes stone off fast and leaves the surface a wreck of pits. The flat chisel finishes but skids on an uneven surface and digs in. Between the two sits the tooth chisel, and it is where the form of a carving is actually decided.
A row of teeth does something a single edge cannot: each tooth is loaded independently, so the tool bites without the whole edge grabbing, and it removes material in controlled, parallel furrows. You can work across a form and watch the shape emerge as a ruled surface — the furrows themselves show you where the high and low ground is.
Never finish with a tooth chisel on soft stone. The teeth bruise as much as they cut, and the damage runs deeper than the furrows you can see.
Hướng dẫn
Wear eye protection and a proper mask
Wear eye protection and a proper mask
Goggles always, and a mask rated for fine dust. Stone dust containing crystalline silica causes permanent lung disease, and marble and sandstone both produce it. Work outdoors or with extraction, and wet the surface if you can.
Công cụ cần thiết:
 Kính bảo hộ kín
 Khẩu trang N95
Start from a roughed block
Start from a roughed block
Begin with stone already brought down close to the form with a point chisel. The tooth chisel is a middle-stage tool and using it on a raw block wastes it and blunts it.
Vật liệu cho bước này:
 Khối cẩm thạch1 cái
Choose the tooth count for the stage
Choose the tooth count for the stage
Use a coarse chisel of three or four wide teeth for bulk shaping and a fine one of seven or more for modelling. Coarse first, fine after — the sequence is always toward smaller bites.
Công cụ cần thiết:
 Đục răng cưa chạm đá
Hold it at a low angle
Hold it at a low angle
Work at roughly 30-45° to the surface. Steeper and the teeth punch pits into the stone instead of shaving it; flatter and they skate without cutting.
Công cụ cần thiết:
 Búa thợ đá
Strike lightly and often
Strike lightly and often
Use quick, light blows rather than heavy ones. The tooth chisel works by repeated small removals — a hard blow drives the teeth in and bruises the stone under them.
Cut in one direction across the whole area
Cut in one direction across the whole area
Work a full pass of parallel furrows across the area in a single direction. Even, parallel tracks are what let you read the surface.
Read the furrows for high ground
Read the furrows for high ground
Look along the passes. Where the furrows are deep the tool is finding high stone; where they fade the surface is already low. The tool marks are a contour map of your own form, which is why sculptors keep tooth marks visible while modelling.
Cross the second pass at an angle
Cross the second pass at an angle
Take the next pass at 45-90° to the first. Crossing cancels the ridges of the previous pass and drives the surface toward the intended form instead of accentuating it.
Keep a margin of waste everywhere
Keep a margin of waste everywhere
Leave two or three millimetres of stone above the final surface across the whole piece. The finishing tools need material to work with, and stone taken now cannot be put back.
Công cụ cần thiết:
 Thước kẻ
Work the whole piece to the same stage
Work the whole piece to the same stage
Bring every part of the carving to the same level of finish before advancing any of it. Finishing one area early destroys your ability to judge the whole.
Change to the fine tooth chisel
Change to the fine tooth chisel
Switch to the finer chisel and repeat the crossing passes. The furrows get shallower and closer and the form tightens noticeably.
Stop before the final surface
Stop before the final surface
Put the tooth chisel down while tooth marks are still visible. Beyond this the flat chisel, rasps and abrasives take over — pushing the tooth chisel to the finish leaves bruised stone that shows up later as a dull grey patch under polish.
Test the bruising for yourself
Test the bruising for yourself
On a scrap, work one patch hard with the tooth chisel and another lightly, then polish both. The heavily worked patch stays dull. That is subsurface damage, and it is the reason for every restrained instruction above.
History & Context
History & Context
A tool that dates sculpture. The tooth chisel is one of the diagnostic tools of Greek marble carving and its arrival is used by archaeologists to date and attribute work, because the marks it leaves are unmistakable and survive on unfinished pieces. Tool marks on abandoned or half-worked stone are among the best evidence we have for how ancient sculpture was actually made — finished surfaces tell you nothing, because the finishing removes the record.
Why teeth work. A single straight edge presented to stone either skids or grabs the whole width at once. Splitting that edge into teeth concentrates force at each tooth so it bites reliably, while the gaps let waste escape and stop the tool jamming. It is the same reasoning as a rasp or a saw: many small cutting points beat one long one on a brittle material.
Middle of a sequence. Point chisel to break down the block, tooth chisel to model, flat and claw chisels to define, rasps and rifflers to refine, abrasives to finish. Each tool leaves a surface the next one can work, and each removes the previous one's marks. Skipping a stage does not save time — it produces a surface the next tool cannot control.
Left deliberately visible. Plenty of sculptors stop at the tooth-chisel stage on parts of a work and leave the furrows showing, using them as texture against polished areas. Michelangelo's unfinished figures are the famous case, and they are also the best surviving lesson in what this tool does, because the process is frozen partway through.
Vật liệu
1- 1 cáiTạm thời
Công cụ yêu cầu
5- Tạm thời
- Tạm thời
- Tạm thời
- Tạm thời
- Tạm thời
Vật liệu bản thiết kế liên kết
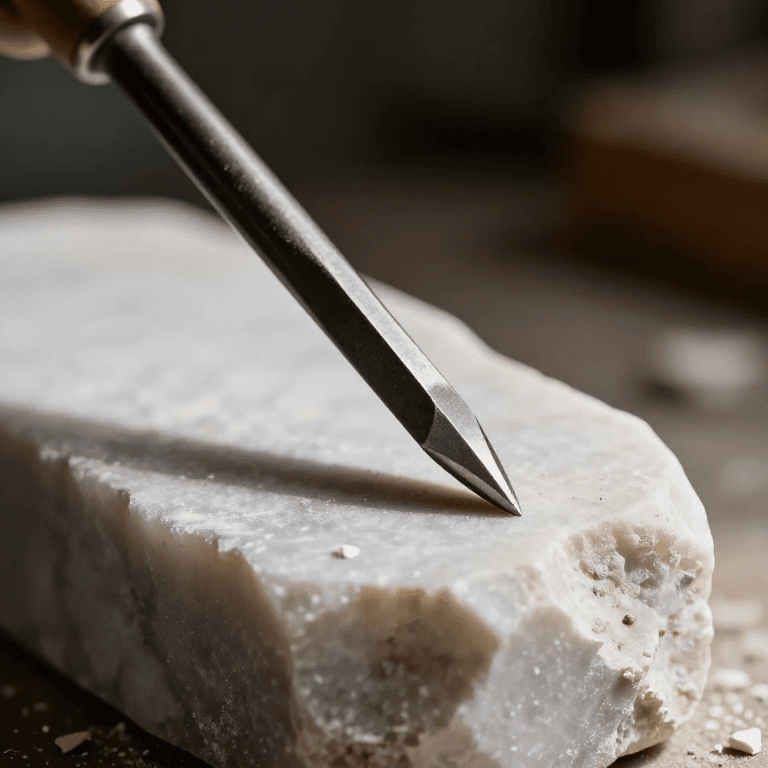
Blueprint liên quan
Các blueprint này chia sẻ kiến thức — kỹ thuật, vật liệu hoặc nguyên tắc


CC0 Phạm vi công cộng
Bản thiết kế này được phát hành theo CC0. Bạn tự do sao chép, sửa đổi, phân phối và sử dụng cho bất kỳ mục đích nào mà không cần xin phép.
Hỗ trợ nhà sáng tạo bằng cách mua sản phẩm qua bản thiết kế, nơi họ nhận Hoa hồng nhà sáng tạo do nhà bán hàng đặt, hoặc tạo phiên bản mới và kết nối trong bản thiết kế riêng để chia sẻ doanh thu.