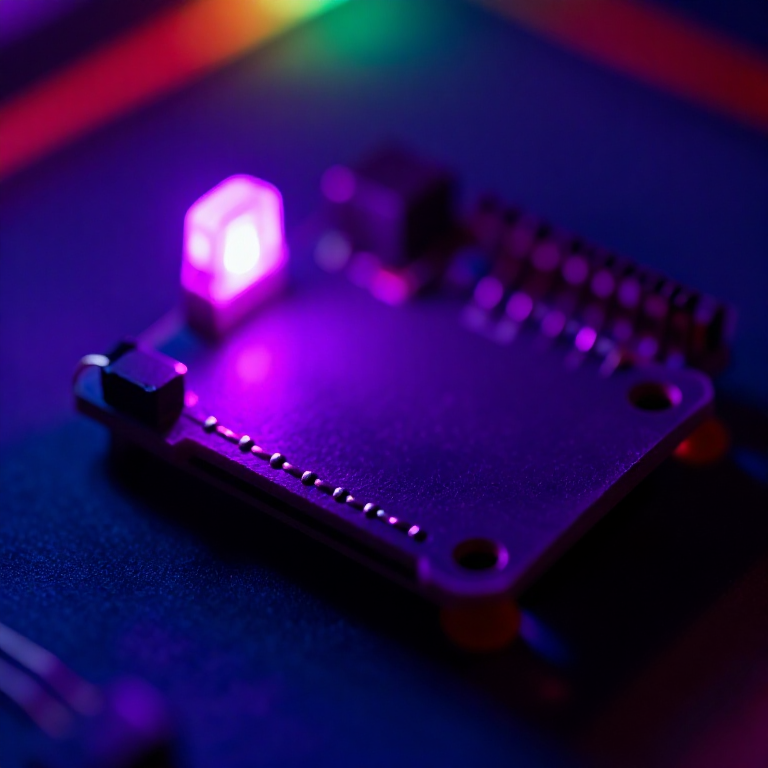


Making a Color-Changing LilyPad Patch
Sew a patch that glows in any color. A single RGB LED holds red, green and blue elements; by fading each one with the microcontroller's PWM pins you mix millions of colors and cycle through the rainbow. The e-textile version of the classic RGB colour-mixing project.
Imiyalelo
Sew the board and RGB LED
Sew the board and RGB LED
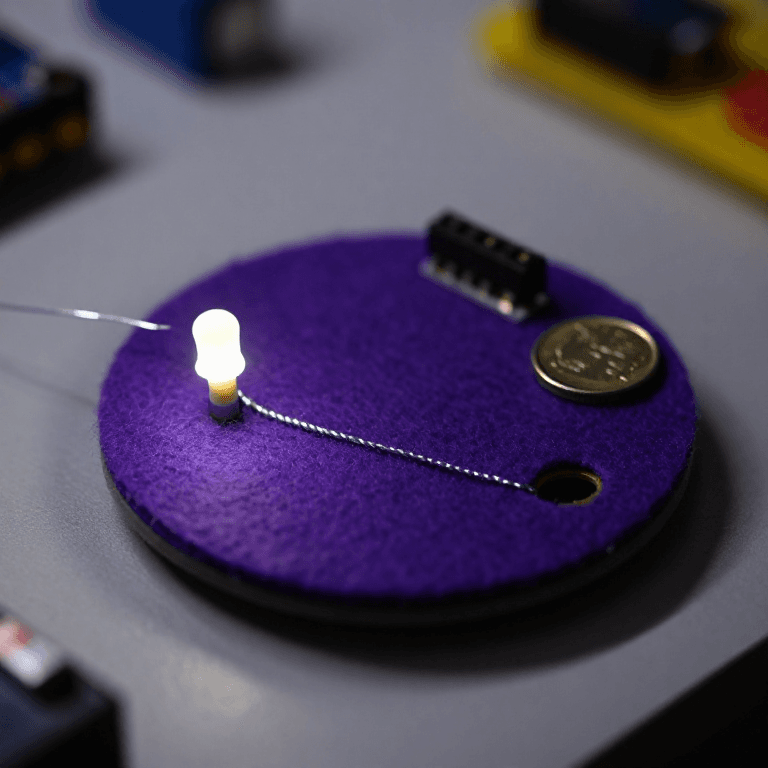
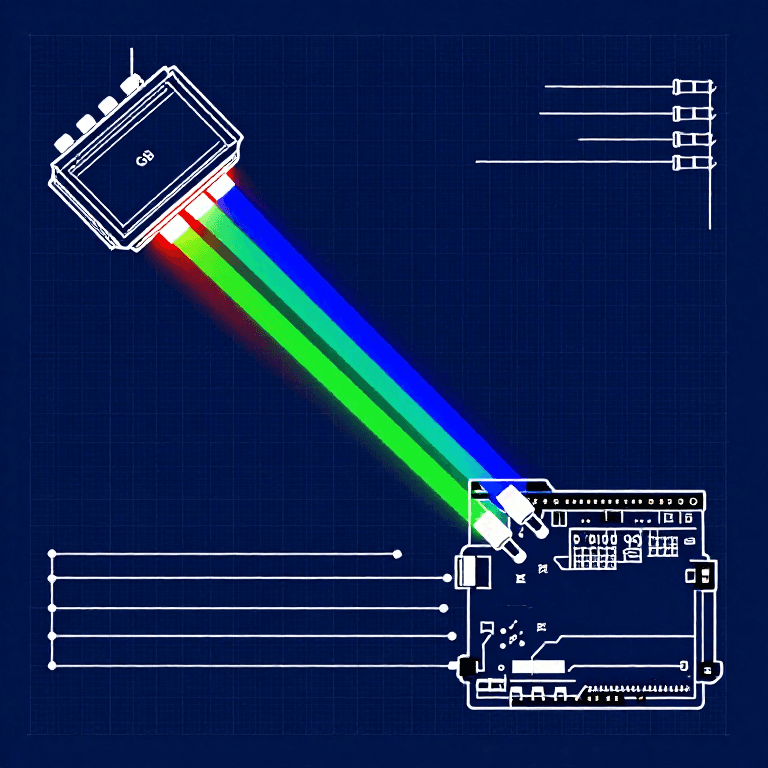
Sew a LilyPad Arduino onto felt. The RGB LED has four legs — bend each into a small loop so it can be sewn. Wire the common cathode (the longest leg) to -, and the red, green and blue legs to pins 5, 6 and 9. Keep the four lines from touching each other.
Izinto zokwakha zalesi sinyathelo:
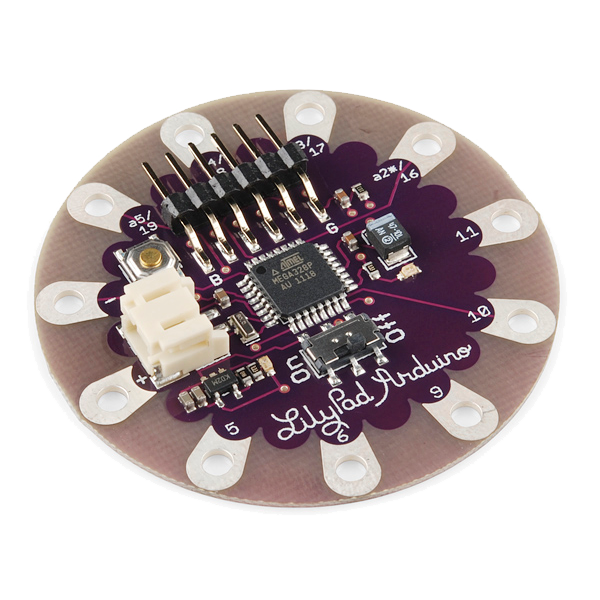 LilyPad Arduino Simple Board1 ucezu
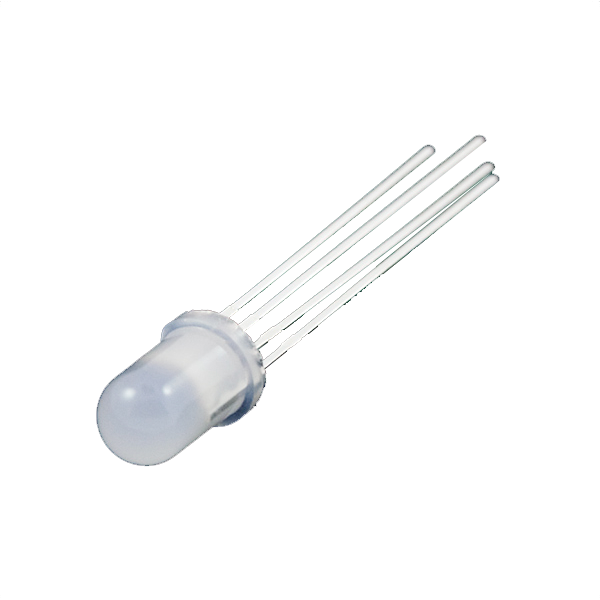 LED - RGB Diffused Common Cathode - 5mm1 ucezu
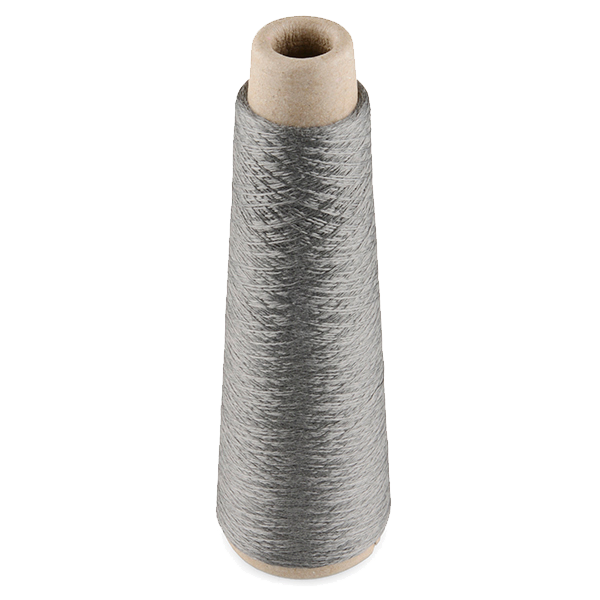 Conductive Thread - 60g (Stainless Steel)1 isipulu
 Ishidi lofelefele woboya1 ishidi
Amathuluzi adingekayo:
 Izinaliti zokuthunga ngesandla
Connect the programmer
Connect the programmer
Plug the LilyPad FTDI onto the programming header and connect the USB cable. Open the Arduino IDE and select the LilyPad Arduino board and its serial port.
Amathuluzi adingekayo:
 Ikhompyutha Ene-Arduino IDE
 LilyPad FTDI Basic Breakout - 5V
 Ikhebula le-USB-B
Upload the color-mixing sketch
Upload the color-mixing sketch
Paste this sketch and upload. It fades the LED through red, green, blue and the mixes using analogWrite (PWM).
Watch it cycle, then mix your own
Watch it cycle, then mix your own
The LED fades through the colors on its own. Make your own by changing the three numbers in setColor(red, green, blue) — each 0–255. Note: at the LilyPad's lower voltage blue and green look a little dimmer than red, which is normal for RGB LEDs.
Go wireless and wear it
Go wireless and wear it
Plug a 3.7 V LiPo into the LilyPad Arduino's JST connector and switch on — the higher voltage also makes the colors brighter. Sew the felt onto a bag or costume for a colour-changing glow.
Izinto zokwakha zalesi sinyathelo:
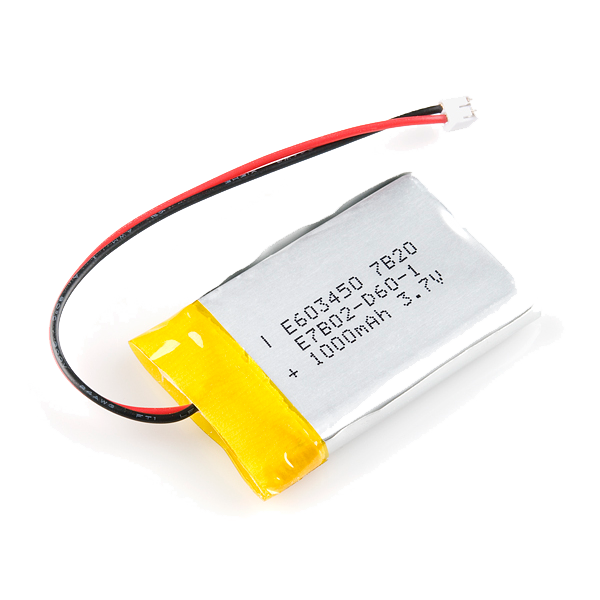 LiPo Battery 3.7V 1000mAh (JST Connector)1 ucezu
Izinto
5- LilyPad Arduino Simple Boardikhomishini engu-10%1 ucezu$19.21
- LED - RGB Diffused Common Cathode - 5mmikhomishini engu-10%1 ucezu$19.21
- Conductive Thread - 60g (Stainless Steel)ikhomishini engu-10%1 isipulu$39.34
- 1 ishidiIsibambeli
- Polymer Lithium Ion Battery - 1000mAhikhomishini engu-10%1 ucezu$9.40
Amathuluzi Adingekayo
4- Isibambeli
- Isibambeli
- LilyPad FTDI Basic Breakout - 5Vikhomishini engu-10%$14.09
- 1 vendor sell this, none ship to you yetIsibambeli
Ama-blueprint ahlobene
Lama-blueprint abelana ngolwazi — amasu, izinto noma izimiso
CC0 Isizinda Somphakathi
Le blueprint ikhishwe ngaphansi kwe-CC0. Ukhululekile ukukopisha, ukuguqula, ukusabalalisa, nokusebenzisa ngaphandle kwemvume.
Sekela uMenzi ngokuthenga imikhiqizo nge-Blueprint yabo IKhomishane Yomenzi kumiswe ngabathengisi, noma dala inguqulo entsha yale Blueprint bese uyifaka njengoxhumaniso ku-Blueprint yakho ukuze wabelane ngemali engenayo.