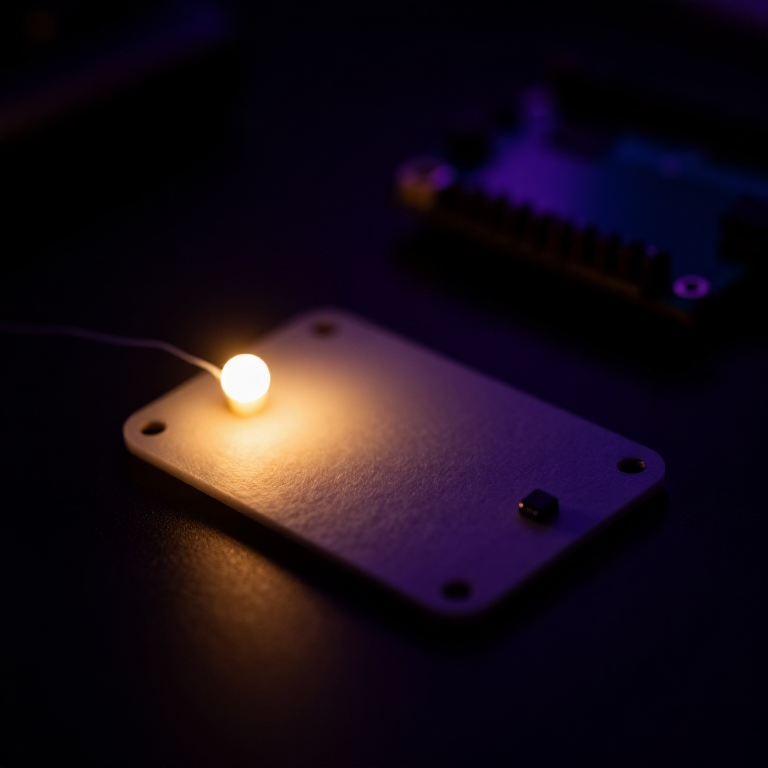


Making a LilyPad Night-Light
Give your fabric a sense of sight. A LilyPad light sensor tells the microcontroller how bright the room is, and a short program switches an LED on when it gets dark. Sew it into a bag, a hat or a bedside patch for a soft glow that only appears at night — your first sensor-driven wearable.
Imiyalelo
Sew the board, sensor and LED
Sew the board, sensor and LED
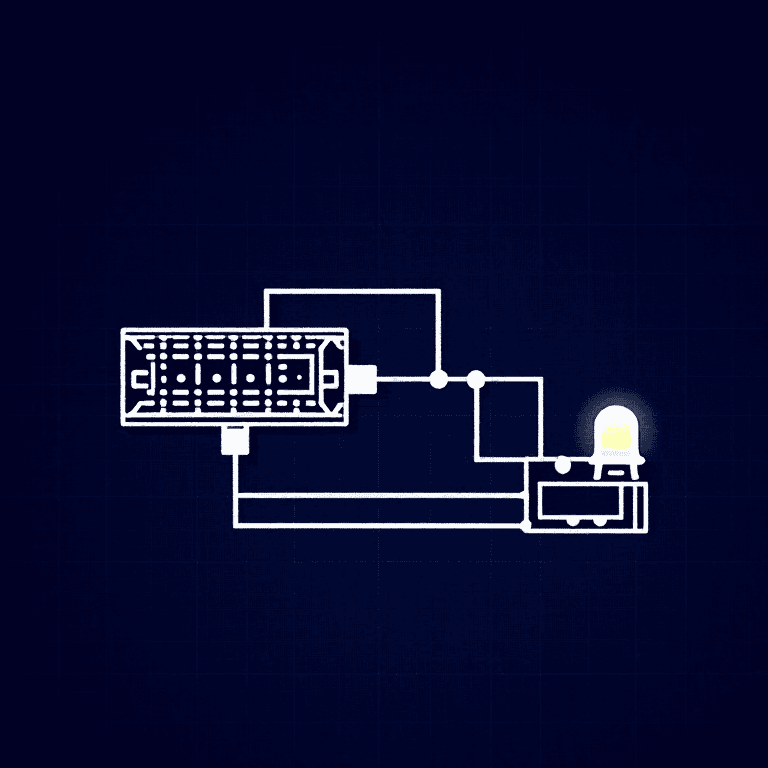
Sew a LilyPad Arduino, a LilyPad light sensor and a LilyPad LED onto felt. Wire it: the LED's + tab to pin 5 and its - tab to -; the sensor's + tab to the board's +, its - tab to -, and its signal (S) tab to analog pin A2. Keep the power (+), ground (-) and signal lines from crossing anywhere.
Izinto zokwakha zalesi sinyathelo:
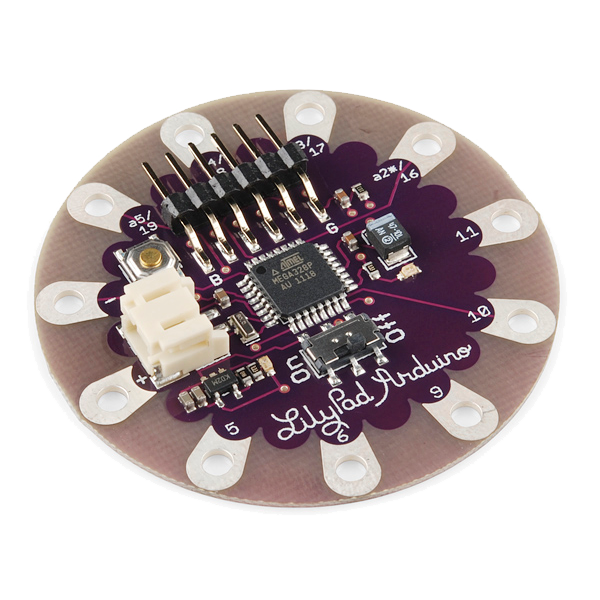 LilyPad Arduino Simple Board1 ucezu
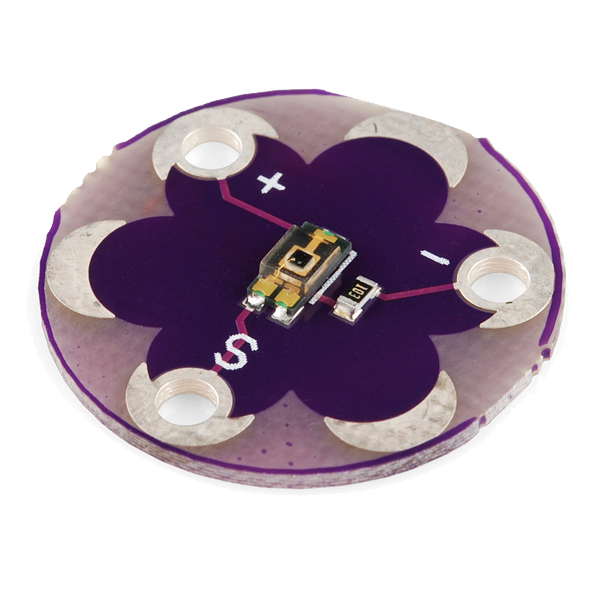 LilyPad Light Sensor1 ucezu
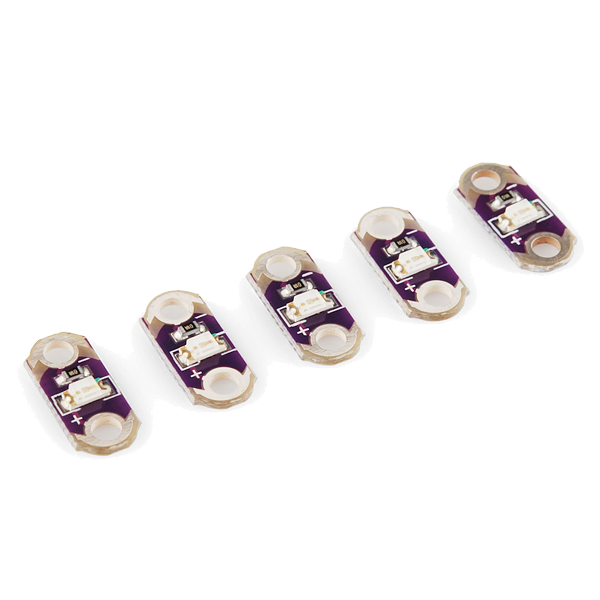 LilyPad LED - 5 pcs1 iphakethe
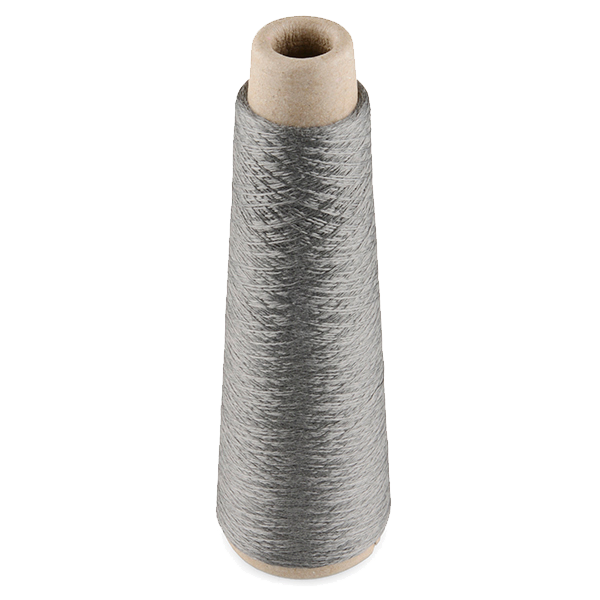 Conductive Thread - 60g (Stainless Steel)1 isipulu
 Ishidi lofelefele woboya1 ishidi
Amathuluzi adingekayo:
 Izinaliti zokuthunga ngesandla
Connect the programmer
Connect the programmer
Plug the LilyPad FTDI onto the programming header and connect the USB cable to your computer. Open the Arduino IDE and select the LilyPad Arduino board and its serial port.
Amathuluzi adingekayo:
 Ikhompyutha Ene-Arduino IDE
 LilyPad FTDI Basic Breakout - 5V
 Ikhebula le-USB-B
Upload the night-light sketch
Upload the night-light sketch
Paste this sketch and click Upload. It reads the light sensor and turns the LED on whenever the room is darker than the threshold.
Calibrate the threshold
Calibrate the threshold
Cover the sensor with your hand — the LED should come on; in a bright room it should stay off. If it triggers too early or too late, change the threshold number in the sketch and re-upload: higher turns it on in more light, lower waits for darker.
Go wireless and wear it
Go wireless and wear it
Unplug the FTDI, sew a LilyPad coin-cell holder to the board (+ to +, - to -), drop in a CR2032 and switch on. Sew the felt onto a bag, hat or cushion — it now glows on its own whenever the light drops.
Izinto zokwakha zalesi sinyathelo:
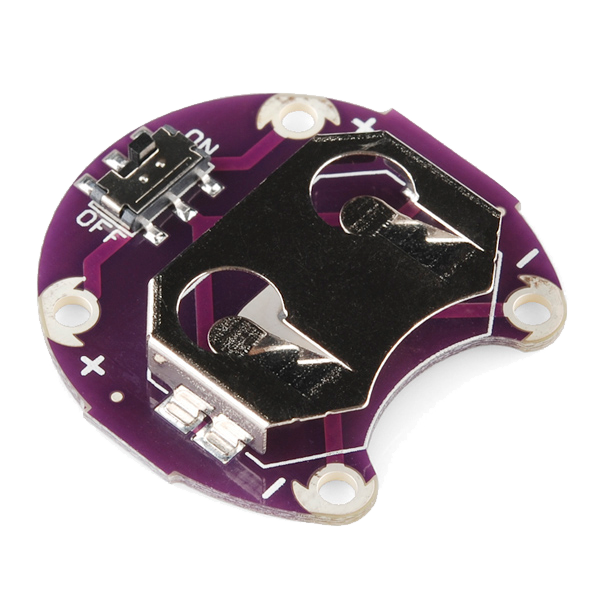 LilyPad Coin Cell Battery Holder - w/Switch - 20mm1 ucezu
 Ibhethri lohlamvu CR20321 ucezu
Izinto
7- LilyPad Arduino Simple Boardikhomishini engu-10%1 ucezu$19.21
- LilyPad Light Sensorikhomishini engu-10%1 ucezu$7.47
- LilyPad LED - 5 pcsikhomishini engu-10%1 iphakethe$4.11
- Conductive Thread - 60g (Stainless Steel)ikhomishini engu-10%1 isipulu$39.34
- 1 ishidiIsibambeli
- LilyPad Coin Cell Battery Holder - w/Switch - 20mmikhomishini engu-10%1 ucezu$4.95
- 1 ucezuIsibambeli
Amathuluzi Adingekayo
4- Isibambeli
- Isibambeli
- LilyPad FTDI Basic Breakout - 5Vikhomishini engu-10%$14.09
- 1 vendor sell this, none ship to you yetIsibambeli
Ama-blueprint ahlobene
Lama-blueprint abelana ngolwazi — amasu, izinto noma izimiso
CC0 Isizinda Somphakathi
Le blueprint ikhishwe ngaphansi kwe-CC0. Ukhululekile ukukopisha, ukuguqula, ukusabalalisa, nokusebenzisa ngaphandle kwemvume.
Sekela uMenzi ngokuthenga imikhiqizo nge-Blueprint yabo IKhomishane Yomenzi kumiswe ngabathengisi, noma dala inguqulo entsha yale Blueprint bese uyifaka njengoxhumaniso ku-Blueprint yakho ukuze wabelane ngemali engenayo.