ART
BEAUTY & WELLNESS
CRAFT
CULTURE & HISTORY
ENTERTAINMENT
ENVIRONMENT
FOOD & DRINKS
GREEN FUTURE
REVERSE ENGINEERING
SCIENCES
SPORTS
TECHNOLOGY
WEARABLES
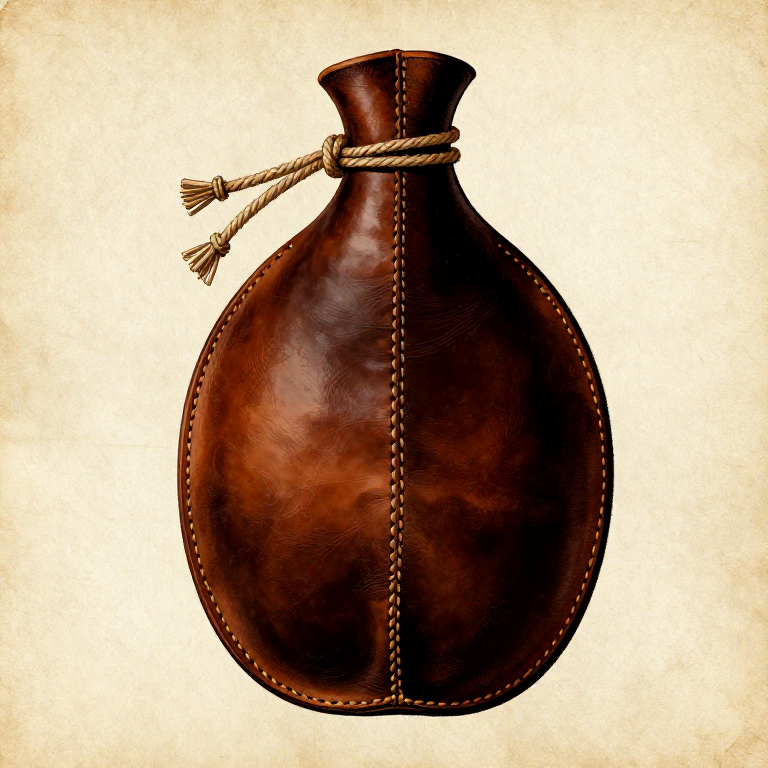
Making a Waterskin from Animal Hide — Portable Water Container
The waterskin is one of humanity's oldest portable containers, enabling travel across dry landscapes where water sources are far apart. Made from the stomach, bladder, or a sewn section of tanned hide from goats, sheep, deer, or cattle, waterskins have been used continuously for at least 5,000 years and likely much longer. The animal stomach is particularly well-suited because it is naturally waterproof, has a single opening (the oesophageal end) that can be tied shut, and requires minimal processing. A sewn hide waterskin requires more work — the seams must be waterproofed with pine pitch or tallow — but can be made any size. Both types benefit from coating the interior with pine pitch, which prevents the water from taking on a strong animal taste and further seals against leaks.
Intermediate
4-6 hours (plus drying)
Instructions
1
1
Option A — Remove the Stomach Intact
Option A — Remove the Stomach Intact
For a stomach waterskin, remove the stomach intact from a freshly butchered animal (goat, sheep, or deer). Cut carefully around the oesophageal and pyloric openings without puncturing the stomach wall. A goat stomach holds approximately 3 to 4 litres, making it a practical size for personal water transport.
2
2
Empty and Rinse the Stomach
Empty and Rinse the Stomach
Empty the stomach contents and rinse thoroughly in cold running water multiple times. Turn the stomach inside out and rinse again. The interior mucosa (stomach lining) will be slimy and textured — this is normal at this stage. Continue rinsing until the water runs clear and the strongest odour has diminished.
3
3
Scrape the Inner Mucosa
Scrape the Inner Mucosa
With the stomach turned inside out, scrape the inner mucosa layer with a bone scraper or the back of a flint blade. Remove the soft, ridged lining to expose the smoother muscular wall beneath. This reduces the animal taste transferred to stored water and creates a cleaner interior surface.
Tools needed:
 Bone Awl
4
4
Soak in Cold Running Water
Soak in Cold Running Water
Soak the scraped stomach in cold running water (a stream is ideal) for 12 to 24 hours. This leaches out remaining digestive fluids, blood, and odour. Weight it down with a stone to keep it submerged. Change the water several times if using still water.
5
5
Tie the Lower Opening Shut
Tie the Lower Opening Shut
Tie the lower opening (pyloric end) tightly with sinew cord. Fold the edge of the opening over itself once before binding to create a doubled seal — this prevents the sinew from cutting through the tissue under water pressure. Wrap the sinew at least 5 times around the folded end and cinch tight.
Materials for this step:
 Sinew Thread1 piece
6
6
Inflate and Check for Holes
Inflate and Check for Holes
Turn the stomach right-side out and inflate it through the upper (oesophageal) opening by blowing air in. Pinch the opening shut and examine the entire surface for air leaks. Small holes can be detected by holding the inflated stomach near your cheek and feeling for escaping air.
7
7
Patch Any Holes with Pine Pitch
Patch Any Holes with Pine Pitch
Patch any holes with a small piece of gut or hide secured with warmed pine pitch applied to both sides. Allow the pitch to cool and harden, then re-inflate to confirm the seal. Pine pitch is the best natural sealant for this purpose — it is waterproof, flexible, and adheres well to organic tissues.
8
8
Option B — Cut Matching Hide Pieces for a Sewn Waterskin
Option B — Cut Matching Hide Pieces for a Sewn Waterskin
For a sewn hide waterskin, cut two matching oval or teardrop-shaped pieces from smoked or brain-tanned hide. Each piece should be approximately 30 by 20 cm for a 2-litre capacity. Leave extra material at the top narrow end where the neck opening will be. The hide must be fully tanned — raw hide shrinks and stiffens when wet.
Materials for this step:
 Brain-Tanned Hide1 piece
9
9
Punch Holes and Stitch with Sinew
Punch Holes and Stitch with Sinew
Punch sewing holes with a bone awl along the edges of both pieces, spacing holes 3 to 4 mm apart and 5 mm from the edge. Stitch the two pieces together with sinew thread using a whip stitch or saddle stitch, leaving the narrow top end open as the neck. Pull each stitch tight — loose stitches leak.
Materials for this step:
Sinew Thread1 pieceTools needed:
Bone Awl10
10
Seal All Seams with Pine Pitch
Seal All Seams with Pine Pitch
Seal all seams inside and out with warm pine pitch. Heat the pitch until it flows freely, then work it into every stitch hole and along the entire seam line. Apply a second coat after the first has cooled. The seams are the weakest point — any gap in the pitch seal will leak under the weight of water.
11
11
Coat the Interior with Pine Pitch
Coat the Interior with Pine Pitch
For both stomach and sewn types, coat the interior with melted pine pitch by pouring in a small amount and rolling the skin in all directions to distribute an even layer. The pitch coating prevents water from absorbing animal flavours, adds waterproofing, and extends the life of the container. Drain any excess pitch out through the neck.
12
12
Fit a Wooden Stopper
Fit a Wooden Stopper
Carve a wooden peg (stopper) that fits snugly into the neck opening. Tie the stopper to the waterskin with a leather thong so it cannot be lost. The stopper should be tapered — wider at the top, narrow at the insertion end — and long enough to grip easily. Test the seal by filling with water, inserting the stopper, and turning the waterskin upside down.
Materials
2- 2 piecesPlaceholder
- 1 piecePlaceholder
Connected Blueprint Materials
Related Blueprints
These blueprints share knowledge with this one — techniques, materials, or principles that connect them in the learning graph.
Related blueprints
Other builds that share materials, tools, or techniques with this one.
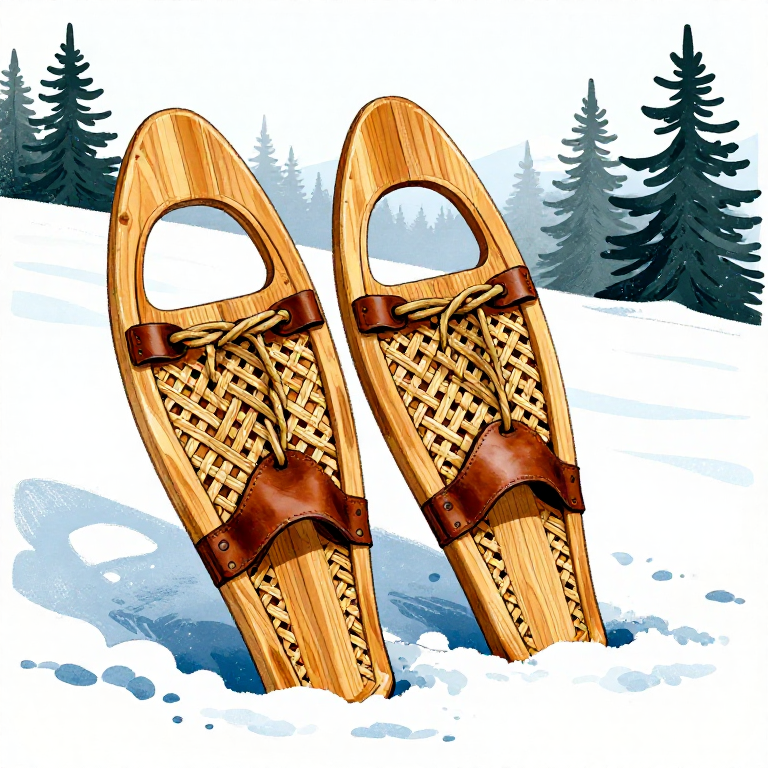
Making Snowshoes from Bent Wood and Rawhide Lacing — Winter Mobilitysurvival

Making a Leather Sling — The Shepherd's Projectile Weaponsurvival
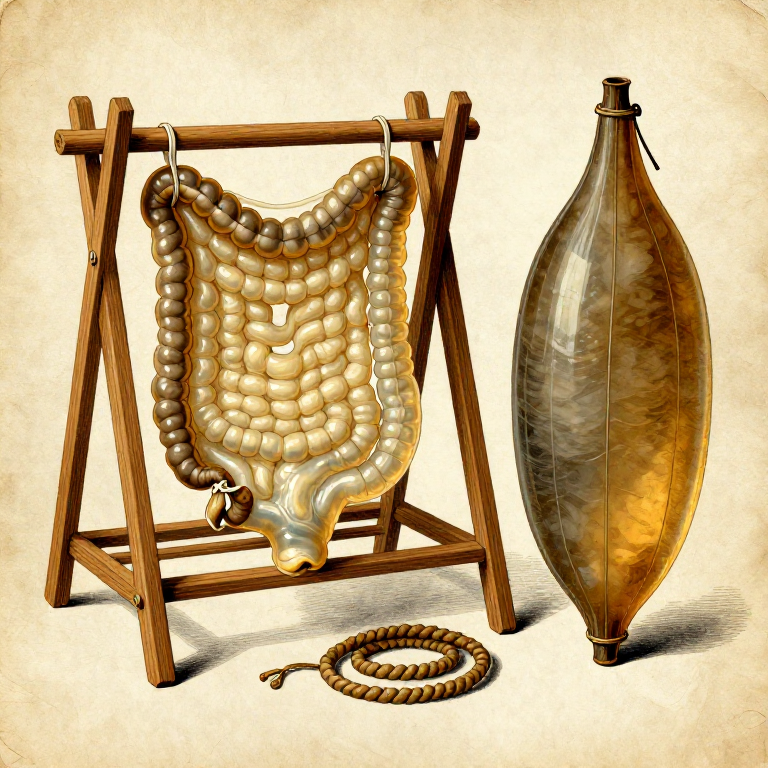
Preparing Animal Gut for Cord and Containers — Waterproof Material from Intestinessurvival
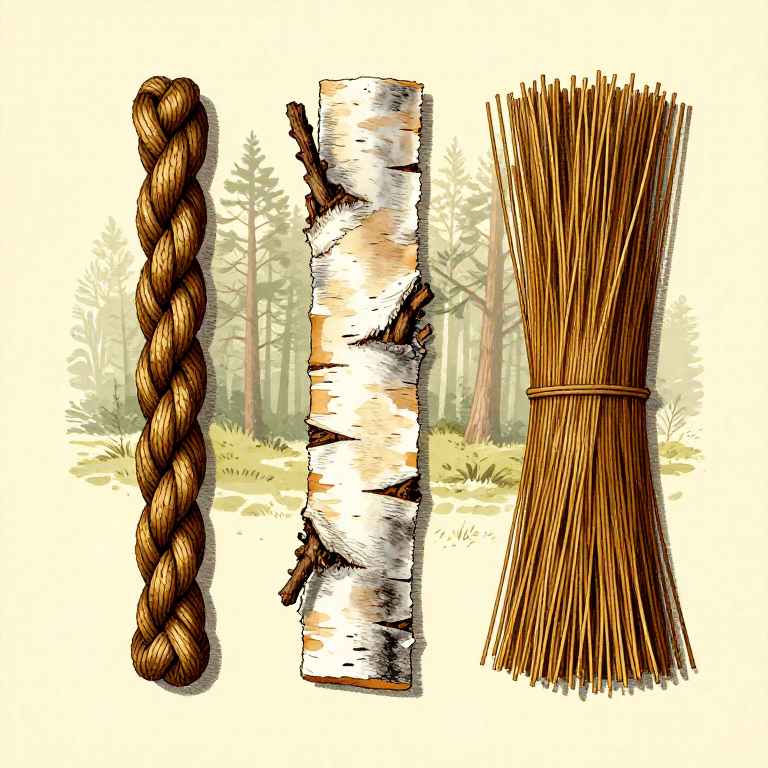
Making Rope from Inner Bark — Twisted Bast Fibre Cordagesurvival
Setting a Simple Snare Trap on a Game Trail — Cordage Loop Huntingsurvival
Making a Bone Fish Gorge — The Oldest Fishing Devicesurvival
CC0 Public Domain
This blueprint is released under CC0. You are free to copy, modify, distribute, and use this work for any purpose, without asking permission.
Support the Maker by purchasing products through their Blueprint where they earn a Maker Commission set by Vendors, or create a new iteration of this Blueprint and include it as a connection in your own Blueprint to share revenue.