
Making Bleaching Powder — The Chlorine Chemistry That Made White Fabric Affordable
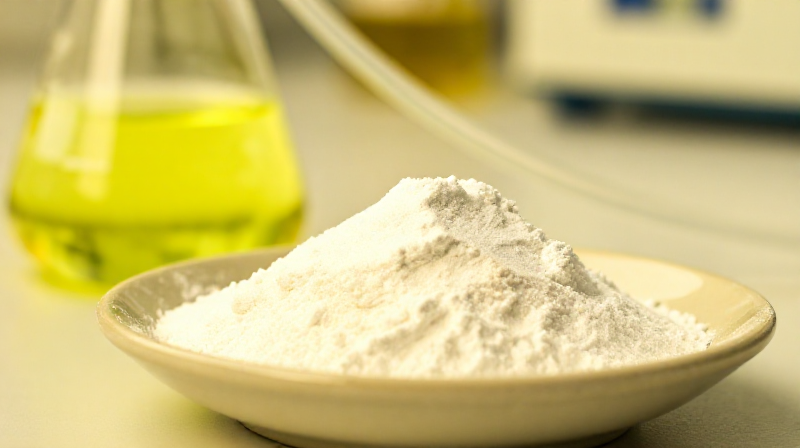
Bleaching powder (calcium hypochlorite, approximately CaCl(OCl) or Ca(OCl)₂·CaCl₂) was the chemical that democratised white fabric. Before its invention, bleaching linen or cotton required months of 'crofting' — spreading cloth on open fields, wetting it repeatedly, and waiting for sunlight and dew to slowly oxidise the natural brown and yellow pigments. A single bolt of linen could spend an entire summer on the bleaching green. In the 1780s, Claude Louis Berthollet demonstrated that chlorine water could bleach fabric in hours instead of months — but liquid chlorine was dangerous, unstable, and impossible to transport.
In 1799, Charles Tennant of Glasgow patented the solution: passing chlorine gas over dry slaked lime (calcium hydroxide) to produce a stable, dry powder that could be shipped in barrels and dissolved in water when needed. Bleaching powder made the industrial-scale production of white textiles practical for the first time. The chemistry is straightforward: chlorine reacts with calcium hydroxide to form calcium hypochlorite and calcium chloride — Ca(OH)₂ + Cl₂ → CaCl(OCl) + H₂O. The active bleaching agent is the hypochlorite ion (OCl⁻), a powerful oxidiser that destroys the conjugated chromophores in natural dyes and stains.
The chlorine itself is generated by the reaction discovered by Carl Wilhelm Scheele in 1774: manganese dioxide reacts with concentrated hydrochloric acid to produce chlorine gas — MnO₂ + 4HCl → MnCl₂ + Cl₂ + 2H₂O. In the industrial Leblanc Process, the hydrochloric acid was a waste product of soda ash manufacture — making bleaching powder from industrial waste was one of the great circular economy innovations of the 18th century.
SAFETY WARNING: CHLORINE GAS IS ACUTELY TOXIC — it was used as a chemical weapon in World War I. Even low concentrations cause severe respiratory damage. This experiment MUST be performed outdoors or in a powerful fume hood. Full respiratory protection with chlorine-rated cartridges is essential. Concentrated hydrochloric acid causes severe burns and releases choking fumes. Never mix bleaching powder with acids — this releases chlorine gas rapidly.
Instructions
Prepare full protective equipment and outdoor workspace
Prepare full protective equipment and outdoor workspace
This experiment generates chlorine gas — one of the most dangerous gases in chemistry. Work ONLY outdoors with wind at your back, or in a powerful fume hood rated for toxic gases. Wear a full-face respirator with chlorine/acid gas cartridges (P100/OV/AG), chemical splash goggles, heavy-duty nitrile gloves, and a full lab coat. Have a large bucket of water nearby for emergency skin decontamination. If you smell a strong, sharp, swimming-pool-like odour at any point, you are being exposed to chlorine — move upwind immediately.
Tools needed:
 P100/FFP3 Respirator with Acid Gas Cartridge
 Chemical Splash Goggles
 Nitrile Rubber Gloves (Thick)
 Lab Coat
Weigh the manganese dioxide
Weigh the manganese dioxide
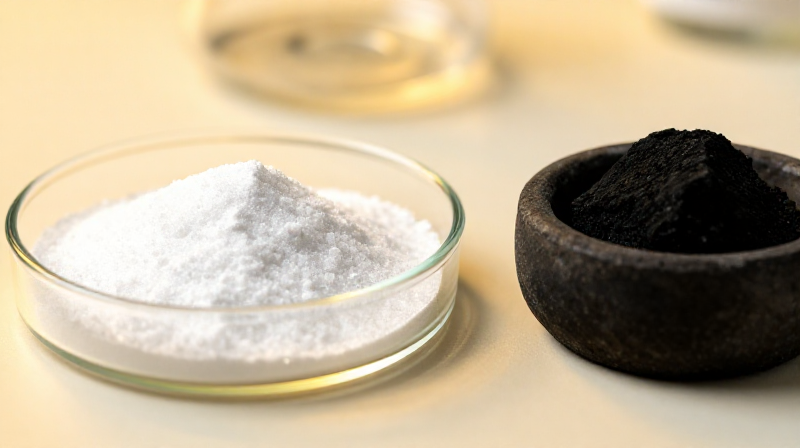
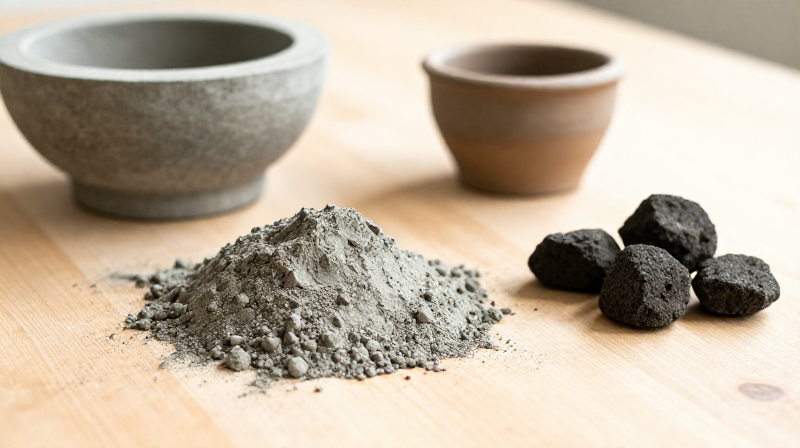
Weigh 15 g of pyrolusite ore (manganese dioxide, MnO₂) — a heavy, black, granular mineral. MnO₂ is the oxidising agent that converts hydrochloric acid into chlorine gas. This is the same reaction Carl Wilhelm Scheele used in 1774 when he first isolated chlorine — he called it 'dephlogisticated muriatic acid.' The manganese is reduced from Mn⁴⁺ to Mn²⁺ as it transfers oxygen to the chloride ions, oxidising them from Cl⁻ to Cl₂.
Materials for this step:
 Pyrolusite Ore (manganese dioxide)15 g
Tools needed:
 Digital Precision Scale
Set up the chlorine generator flask
Set up the chlorine generator flask
Add the manganese dioxide to a round-bottom flask. Fit the flask with a two-hole rubber stopper: one hole for a dropping funnel (or thistle tube) to add acid, and one for a glass delivery tube to carry the chlorine gas out. Connect rubber tubing to the delivery tube. The generator must be gas-tight except for the exit tube — any leak releases toxic chlorine into your workspace.
Tools needed:
 Round-Bottom Flask
 Rubber Stoppers (Assorted)
 Glass Delivery Tube
 Rubber Tubing (Lab Grade)
Set up the gas washing bottle
Set up the gas washing bottle
Connect the delivery tube from the generator into a second flask (the wash bottle) containing 100 ml of distilled water. The tube must dip below the water surface so chlorine gas bubbles through. This wash removes hydrochloric acid vapour that would otherwise contaminate the bleaching powder with excess acidity. A second delivery tube exits above the water level and continues to the lime chamber. The wash water will gradually turn pale yellow-green as it absorbs some chlorine — this is dilute chlorine water, itself a bleaching solution.
Materials for this step:
 Distilled Water (1 Liter)100 ml
Tools needed:
 Erlenmeyer FlaskGlass Delivery Tube
Prepare the lime bed
Prepare the lime bed
Spread 30 g of slaked lime (calcium hydroxide, Ca(OH)₂) in an even layer in a porcelain evaporating dish. The layer should be no more than 5 mm deep — a thin layer ensures the chlorine gas can penetrate and react with all the lime. Cover the dish loosely with a watch glass, leaving a gap on one side for the gas inlet tube. Position the dish at the end of the delivery system so the washed chlorine gas flows over the lime bed. The exit gas should be vented safely downwind or into a second wash bottle containing sodium hydroxide solution to neutralise excess chlorine.
Materials for this step:
 Calcium Hydroxide (Slaked Lime)30 g
Tools needed:
 Evaporating Dish (Porcelain)
 Watch Glass
Add concentrated hydrochloric acid to the generator
Add concentrated hydrochloric acid to the generator
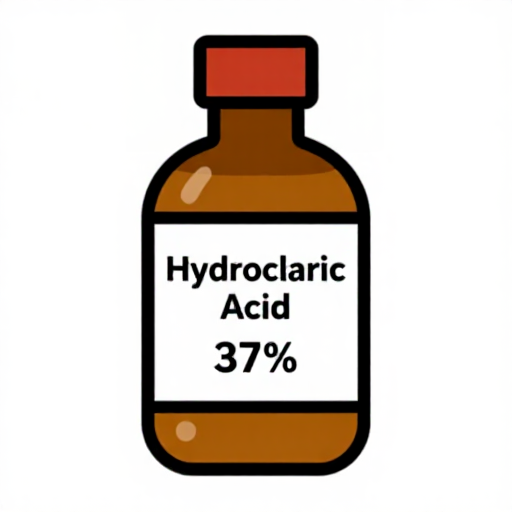
Carefully pour 50 ml of concentrated hydrochloric acid (37% HCl) through the dropping funnel into the flask containing the manganese dioxide. The reaction begins immediately — you may see a faint yellow-green colour appearing in the flask: MnO₂ + 4HCl → MnCl₂ + Cl₂↑ + 2H₂O. The manganese dioxide oxidises the chloride ions from HCl to elemental chlorine gas. Add the acid slowly — rapid addition produces a surge of chlorine that could overwhelm the delivery system.
Materials for this step:
 Hydrochloric Acid (37% concentrated)50 ml
Heat gently to accelerate chlorine generation
Heat gently to accelerate chlorine generation
Warm the generator flask gently with a spirit lamp. At room temperature, the reaction is slow — gentle heating to 40–50 °C accelerates chlorine evolution significantly. Bubbles of yellow-green chlorine gas appear in the wash bottle as the gas passes through the water. The characteristic sharp, acrid smell of chlorine (the 'swimming pool' odour) will be noticeable even through a respirator if the gas escapes — if you detect this, check all connections and move upwind. The reaction proceeds steadily for 30–60 minutes as long as excess HCl remains.
Tools needed:
 Alcohol Burner (Spirit Lamp)
Observe the chlorine reacting with the lime bed
Observe the chlorine reacting with the lime bed
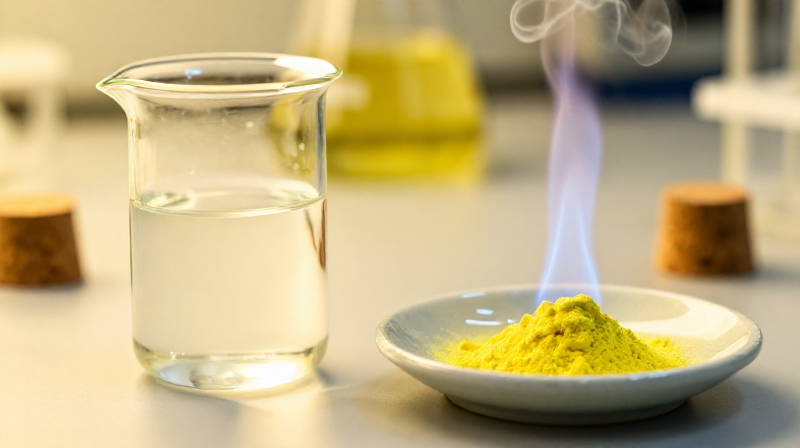
Watch the lime bed as chlorine flows over it. The white powder gradually changes to a faint cream or pale yellow colour as calcium hypochlorite forms — Ca(OH)₂ + Cl₂ → CaCl(OCl) + H₂O. This colour change is subtle but definite. If you lift the watch glass briefly (carefully, upwind), the lime may have developed a pungent, chlorine-like smell distinctly different from fresh slaked lime. Stir the lime bed gently with a glass rod every 10 minutes to expose fresh surfaces to the gas flow.
Tools needed:
 Glass Stirring Rod (25cm)
Continue until the lime is saturated
Continue until the lime is saturated
Continue the chlorine generation for 30–60 minutes until either the manganese dioxide is consumed (the flask contents turn from black to a pale brown solution of manganese chloride) or the lime bed has turned uniformly pale yellow and no longer absorbs chlorine readily (gas begins to pass through without reacting). A well-saturated bleaching powder contains approximately 30–35% available chlorine by weight. The industrial product was shipped at this concentration in wooden casks lined with lead.
Disconnect the apparatus safely
Disconnect the apparatus safely
Remove the heat source first to stop generating new chlorine. Wait 5 minutes for residual gas to clear through the system. Then disconnect the tubing from the wash bottle end FIRST (not the generator end — disconnecting the generator first would vent raw chlorine). Allow any remaining chlorine in the wash bottle to be absorbed. The generator flask contains a solution of manganese chloride (MnCl₂) in excess HCl — this can be neutralised with sodium carbonate and disposed of safely.
Collect and test the bleaching powder
Collect and test the bleaching powder
The porcelain dish now contains bleaching powder — a pale cream or yellowish-white powder with a strong chlorine odour. To test: dissolve 1 g in 50 ml of water and stir. The solution should be cloudy (calcium carbonate precipitates from CO₂ absorption) but distinctly chlorine-scented. Dip a strip of coloured cotton fabric into the solution — the colour should fade visibly within minutes, demonstrating the oxidising power of the hypochlorite ion. Before Tennant's powder, this bleaching action required months of sunlight exposure.
Tools needed:
 Glass Beaker (Borosilicate, 500ml)
Store the finished bleaching powder
Store the finished bleaching powder
Transfer the bleaching powder to a glass jar with a tight-fitting lid. Label: BLEACHING POWDER (Calcium Hypochlorite), OXIDISER, CORROSIVE, date. Store in a cool, dark, dry place — bleaching powder slowly decomposes, losing available chlorine. Heat and moisture accelerate this decomposition. Expected yield from 30 g slaked lime: approximately 30–35 g of bleaching powder (the mass increases as chlorine is absorbed). Never store near acids — mixing bleaching powder with any acid releases chlorine gas immediately. Charles Tennant's 1799 patent for this simple powder transformed the textile industry overnight and made Glasgow the bleaching capital of the world.
Tools needed:
 Glass Storage Jar with Lid
Materials
4- Placeholder
- Placeholder
- Placeholder
- Placeholder
Tools Required
16- Placeholder
- Placeholder
- Placeholder
- Placeholder
- Placeholder
- Placeholder
- Placeholder
- Placeholder
- Placeholder
- Placeholder
- Placeholder
- Placeholder
- Placeholder
- Placeholder
- Placeholder
Connected Blueprint Materials
Related Blueprints
These blueprints share knowledge with this one — techniques, materials, or principles that connect them in the learning graph.
Related blueprints
Other builds that share materials, tools, or techniques with this one.
CC0 Public Domain
This blueprint is released under CC0. You are free to copy, modify, distribute, and use this work for any purpose, without asking permission.
Support the Maker by purchasing products through their Blueprint where they earn a Maker Commission set by Vendors, or create a new iteration of this Blueprint and include it as a connection in your own Blueprint to share revenue.