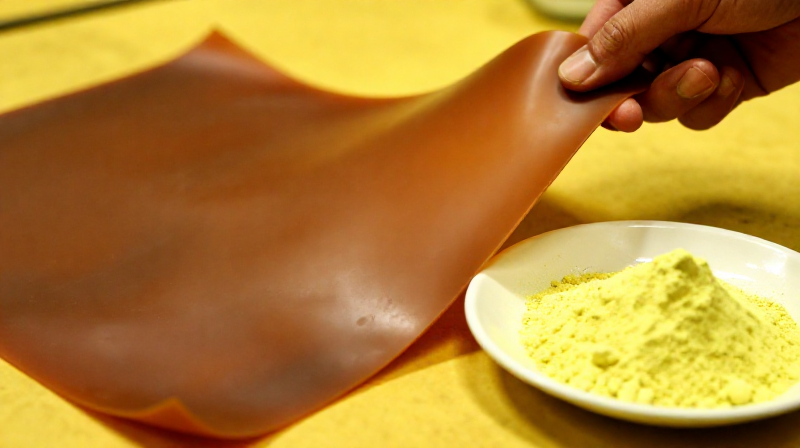


Vulcanizing Rubber with Sulfur — The Accidental Discovery That Put Tyres on the Road
Natural rubber — the dried latex of the Hevea brasiliensis tree — has a fatal flaw: it becomes sticky and soft in summer heat and brittle and cracked in winter cold. For decades after its introduction to Europe, rubber was a curiosity with limited practical use. Raincoats made from it stuck together in hot weather; rubber shoes crumbled in the frost. The problem was that natural rubber is a thermoplastic — its long polyisoprene chains (C₅H₈)ₙ slide past each other when warm and lock rigidly when cold.
In 1839, Charles Goodyear, an American inventor who had spent years obsessing over rubber, accidentally dropped a piece of rubber mixed with sulfur onto a hot stove. Instead of melting, the rubber charred at the edges but remained firm and elastic in the centre — it had been transformed. Goodyear had discovered vulcanization: heating rubber with sulfur causes the sulfur atoms to form covalent cross-links between adjacent polyisoprene chains, creating a three-dimensional network. The chains can no longer slide past each other (no more stickiness) but the cross-links are flexible enough to allow stretching (no more brittleness).
The name 'vulcanization' was coined by Thomas Hancock (who independently developed the process in England) after Vulcan, the Roman god of fire. The degree of vulcanization depends on the sulfur content: 1–3% sulfur produces soft, flexible rubber (for tyres and gloves), 25–30% produces hard, rigid rubber (ebonite, used for combs, electrical insulators, and bowling balls).
This demonstration follows Goodyear's core discovery: dissolving natural rubber in turpentine, mixing with sulfur, and heating to cross-link the polymer chains.
SAFETY WARNING: Turpentine is flammable and its vapours are narcotic. Heating rubber and sulfur produces sulfur dioxide fumes. Work in a well-ventilated area or fume hood. Never heat the rubber-sulfur mixture with an open flame — use an oven or hot plate.
Instructions
Prepare ventilation and protective equipment
Prepare ventilation and protective equipment
Work in a well-ventilated area or fume hood. Put on chemical splash goggles, nitrile gloves, and a lab coat. Turpentine vapours are flammable and can cause dizziness at high concentrations. The heating step later produces traces of sulfur dioxide — the same choking gas produced in sulfuric acid manufacture. Ensure there are no open flames in the workspace. Use an electric oven or hot plate for the vulcanization step — never an open flame near turpentine or rubber.
Tools needed:
 Chemical Splash Goggles
 Nitrile Rubber Gloves (Thick)
 Lab Coat
Cut the natural rubber into small pieces
Cut the natural rubber into small pieces
Cut 20 g of natural rubber sheet into small pieces approximately 5 mm square using heavy scissors. The smaller the pieces, the faster they dissolve in turpentine. Natural rubber (cis-1,4-polyisoprene) is a long-chain polymer — each molecule contains thousands of isoprene units (C₅H₈) linked end-to-end. The chains are not cross-linked, which is why the rubber can be dissolved: the solvent molecules slip between the chains and separate them.
Materials for this step:
 Natural Rubber Sheet (1/4 inch, 12x12)1 piece
Dissolve rubber in turpentine
Dissolve rubber in turpentine
Place the rubber pieces in a glass jar and add 100 ml of turpentine (gum spirits of turpentine). Seal the jar and leave for 12–24 hours, shaking occasionally. The rubber slowly swells, then dissolves into a thick, viscous solution — essentially rubber cement. Turpentine is a terpene solvent that penetrates between the polyisoprene chains, separating them. Goodyear himself used turpentine and naphtha to work with rubber before his vulcanization discovery.
Materials for this step:
 Turpentine100 ml
Tools needed:
 Glass Storage Jar with Lid
Weigh and grind the sulfur
Weigh and grind the sulfur
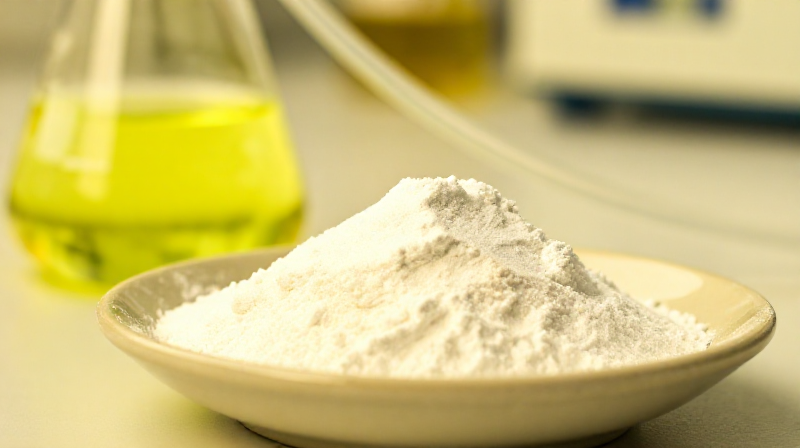
Weigh 2 g of flowers of sulfur (finely divided elemental sulfur, S₈). This represents about 10% sulfur by weight relative to the rubber — a moderate vulcanization level that produces firm but flexible rubber. Less sulfur (1–3%) gives softer, more elastic rubber; more sulfur (25–30%) produces ebonite — a hard, rigid material that was the first commercial thermoset plastic. Grind the sulfur to ensure even distribution.
Materials for this step:
 Sulfur2 g
Tools needed:
 Digital Precision Scale
Mix sulfur into the rubber solution
Mix sulfur into the rubber solution
Add the sulfur powder to the dissolved rubber and stir thoroughly for 5 minutes. The sulfur should be uniformly dispersed throughout the viscous solution — visible as fine yellow particles suspended in the amber rubber cement. If the solution is too thick, add a small amount of turpentine to improve mixing. This intimate dispersion is critical: during vulcanization, the sulfur must be close to the polymer chains to form cross-links. In industrial processes, sulfur is mixed into solid rubber on heated two-roll mills.
Tools needed:
 Glass Stirring Rod (25cm)
Cast the rubber-sulfur mixture into a mould
Cast the rubber-sulfur mixture into a mould
Pour the rubber-sulfur solution into a shallow metal or glass mould — a small baking tin or petri dish works well. Spread evenly to a thickness of 3–5 mm. The thinner the layer, the faster the turpentine evaporates and the more uniform the vulcanization. Multiple thin castings can be stacked later if a thicker product is desired.
Tools needed:
 Evaporating Dish (Porcelain)
Evaporate the turpentine completely
Evaporate the turpentine completely
Leave the mould in a well-ventilated area for 12–24 hours to allow the turpentine to evaporate completely. As the solvent leaves, the rubber solidifies into a flexible, tacky sheet with sulfur particles trapped throughout. The film may appear slightly yellow from the dispersed sulfur. Do not heat to accelerate drying — turpentine vapour and heat is a fire hazard. The turpentine must be completely removed before vulcanization: residual solvent trapped in the rubber creates bubbles and weakens the final product.
Vulcanize by heating to 150 °C
Vulcanize by heating to 150 °C
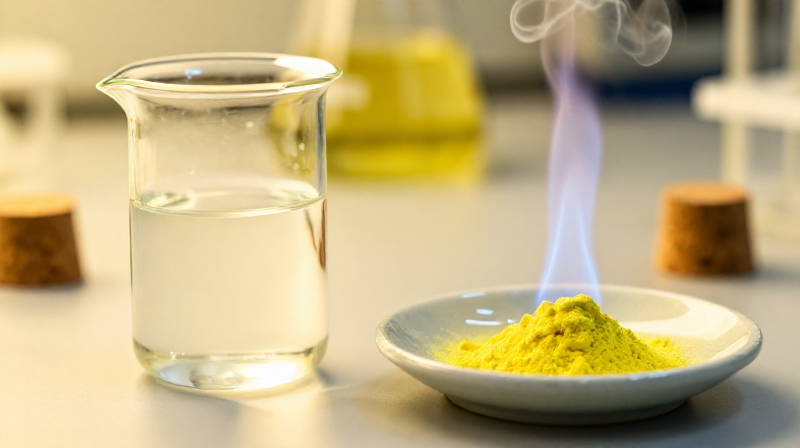
Place the dried rubber-sulfur sheet (still in its mould) in an electric oven preheated to 140–160 °C. This is the critical step — Goodyear's accidental discovery. At this temperature, the S₈ sulfur rings open and the sulfur atoms attack the double bonds in the polyisoprene chains, forming covalent sulfur bridges (-C-Sₓ-C-) between adjacent chains. Each cross-link permanently joins two polymer chains, building a three-dimensional network that can no longer melt or dissolve. Heat for 45–60 minutes. A faint smell of sulfur dioxide indicates the reaction is proceeding.
Tools needed:
 Thermometer (Lab)
Cool and demould the vulcanized rubber
Cool and demould the vulcanized rubber
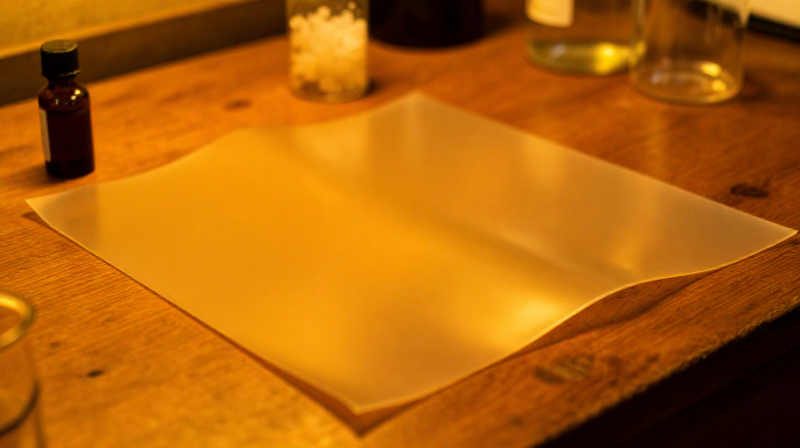
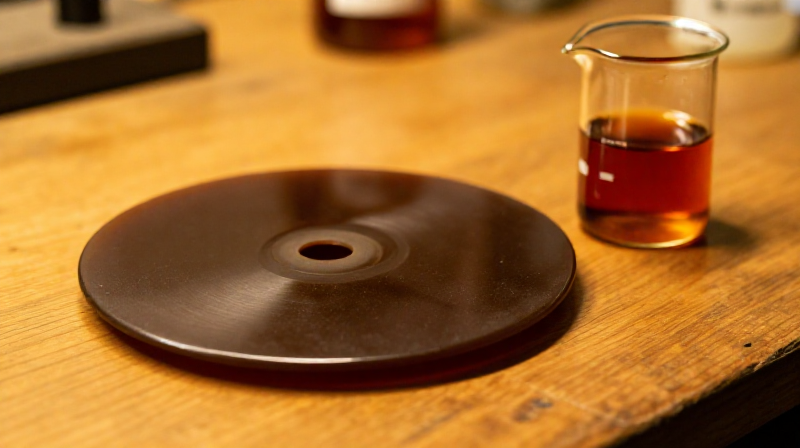
Remove the mould from the oven and allow to cool to room temperature. The rubber should peel cleanly from the mould. The colour has darkened from the original amber to a brown or dark tan — the sulfur cross-links shift the absorption spectrum. The surface should feel firm and dry, not sticky — the elimination of surface tack is the hallmark of successful vulcanization. If the surface is still sticky, the vulcanization was incomplete: return to the oven for another 30 minutes.
Test the vulcanized rubber
Test the vulcanized rubber
Stretch the vulcanized rubber — it should extend significantly and snap back to its original shape when released. This elastic recovery is the defining property of vulcanized rubber and the reason Goodyear's discovery transformed industry. Compare with a piece of unvulcanized natural rubber: the unvulcanized piece remains deformed after stretching (permanent set), while the vulcanized piece returns. Test heat resistance: hold a piece near (not on) a warm surface — vulcanized rubber remains firm, while unvulcanized rubber would become soft and sticky. Test solvent resistance: place a small piece in turpentine — vulcanized rubber swells slightly but does not dissolve, because the cross-links prevent the chains from separating.
Store the finished vulcanized rubber
Store the finished vulcanized rubber
The vulcanized rubber is now a stable, durable material that will retain its properties for years. Store away from direct sunlight and ozone sources (electric motors produce ozone, which degrades rubber). Goodyear's 1844 patent for this simple process — mixing rubber with sulfur and heating — launched the modern rubber industry and made possible tyres, hoses, gaskets, seals, shoe soles, and thousands of other products. The global rubber industry today consumes over 30 million tonnes annually, and every piece of rubber in every tyre, seal, and belt has been vulcanized by the same fundamental reaction Goodyear discovered on his kitchen stove.
Materials
3- Placeholder
- 100 mlPlaceholder
Tools Required
8- Placeholder
- Placeholder
- Placeholder
- Placeholder
- Placeholder
- Placeholder
- Placeholder
Connected Blueprint Materials
Related Blueprints
These blueprints share knowledge with this one — techniques, materials, or principles that connect them in the learning graph.
Related blueprints
Other builds that share materials, tools, or techniques with this one.
CC0 Public Domain
This blueprint is released under CC0. You are free to copy, modify, distribute, and use this work for any purpose, without asking permission.
Support the Maker by purchasing products through their Blueprint where they earn a Maker Commission set by Vendors, or create a new iteration of this Blueprint and include it as a connection in your own Blueprint to share revenue.