
Making Para Red — The First Azo Pigment That Launched Modern Colour Chemistry
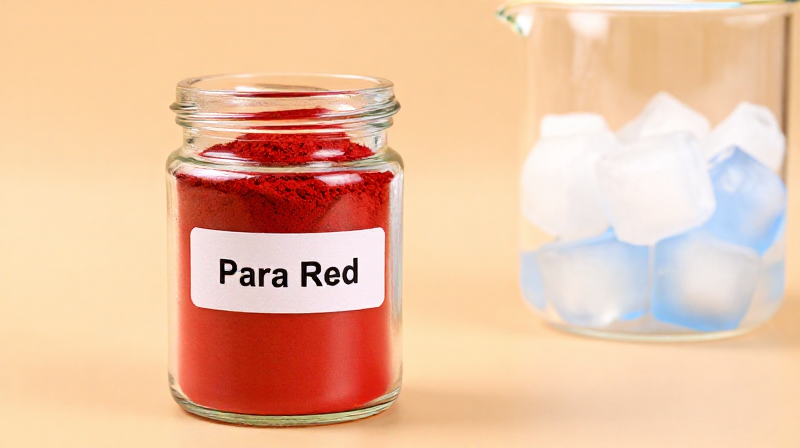
Para Red (Pigment Red 1, CI 12070) was the first azo pigment ever produced, synthesised in 1885 by coupling diazotised para-nitroaniline with beta-naphthol. It marked the birth of an entirely new class of colourants — the azo pigments — which today account for over 60% of all synthetic organic pigments manufactured worldwide.
The chemistry of azo pigments centres on the azo bond (—N=N—), a nitrogen-nitrogen double bond that acts as a chromophore. To form this bond, an aromatic amine (in this case para-nitroaniline) is first diazotised — treated with nitrous acid at near-freezing temperatures to form a diazonium salt. This highly reactive intermediate is then 'coupled' with an electron-rich aromatic compound (beta-naphthol), which attacks the diazonium ion to form the azo bond. The resulting molecule absorbs blue-green light and appears vivid red.
Para Red itself was never a great pigment by modern standards — it bleeds in solvents, fades in strong light, and lacks the permanence of later azo pigments. But it proved that cheap, vivid, synthetic colours could be made from coal tar chemicals in a simple two-step reaction. Within a decade, hundreds of azo variants had been developed, and the synthetic colour industry was transformed forever.
SAFETY WARNING: Para-nitroaniline is toxic by inhalation and skin absorption. Sodium nitrite is an oxidiser and acutely toxic if ingested. Beta-naphthol is irritating. Work in a well-ventilated area with gloves, goggles, and lab coat. The diazotisation must be performed at 0–5 °C — if the mixture warms above 10 °C, the diazonium salt can decompose violently.
Instructions
Don protective equipment and prepare ice bath
Don protective equipment and prepare ice bath
Put on nitrile gloves, chemical splash goggles, and a lab coat. This synthesis requires working at near-freezing temperatures — prepare a large basin filled with crushed ice and water. The diazotisation reaction produces a thermally unstable intermediate (a diazonium salt) that must be kept below 5 °C at all times. If the mixture warms above 10 °C, the diazonium salt decomposes and the reaction fails — or in the worst case, decomposes exothermically.
Tools needed:
 Chemical Splash Goggles
 Nitrile Rubber Gloves (Thick)
 Lab Coat
Dissolve para-nitroaniline in hydrochloric acid
Dissolve para-nitroaniline in hydrochloric acid
Weigh 7 g of para-nitroaniline — a bright yellow crystalline solid. Add it to a 500 ml beaker containing 100 ml of distilled water and 10 ml of concentrated hydrochloric acid (37% HCl). Heat gently with stirring until the para-nitroaniline dissolves, forming a yellow solution of para-nitroaniline hydrochloride. Para-nitroaniline is poorly soluble in water alone but dissolves readily in dilute acid. Allow the solution to cool to room temperature.
Materials for this step:
 Para-Nitroaniline7 g
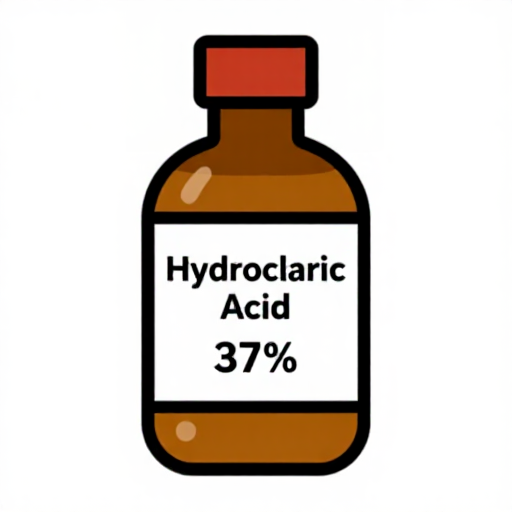 Hydrochloric Acid (37% concentrated)10 ml
 Distilled Water (1 Liter)100 ml
Tools needed:
 Heat-Resistant Glass Beaker (1 liter)
 Glass Stirring Rod (25cm)
Cool the solution to 0–5 °C in ice bath
Cool the solution to 0–5 °C in ice bath
Place the beaker containing the para-nitroaniline hydrochloride solution into the ice-water bath. Stir occasionally and monitor the temperature with a thermometer. Wait until the solution drops to 0–5 °C — this typically takes 15–20 minutes. The solution may become slightly cloudy as the hydrochloride begins to crystallise; this is normal. The cold temperature is critical for the next step.
Tools needed:
 Thermometer (Lab)
Prepare sodium nitrite solution
Prepare sodium nitrite solution
In a separate small beaker, dissolve 3.5 g of sodium nitrite (NaNO₂) in 20 ml of cold distilled water. Stir until fully dissolved. Sodium nitrite is the source of nitrous acid (HNO₂) that will convert the amine group on para-nitroaniline into a diazonium group. Handle carefully — sodium nitrite is acutely toxic if ingested and is a powerful oxidiser.
Materials for this step:
 Sodium Nitrite3.5 gDistilled Water (1 Liter)20 ml
Tools needed:
 Glass Beaker (Borosilicate, 500ml)
Diazotise — add sodium nitrite solution dropwise
Diazotise — add sodium nitrite solution dropwise
With the para-nitroaniline solution held at 0–5 °C in the ice bath, add the sodium nitrite solution dropwise over 10 minutes, stirring constantly. The sodium nitrite reacts with the hydrochloric acid in situ to form nitrous acid, which then attacks the amino group of para-nitroaniline, replacing it with a diazonium group (—N₂⁺). The solution remains yellow but becomes slightly more orange. Monitor the temperature continuously — add more ice if it rises above 5 °C. After adding all the nitrite, stir for an additional five minutes.
Test for complete diazotisation
Test for complete diazotisation
Dip a glass rod into the solution and touch it to a piece of starch-iodide test paper. A blue-black colour confirms excess nitrous acid is present, meaning all the para-nitroaniline has been diazotised. If the test paper shows no colour change, add 0.5 g more sodium nitrite dissolved in 5 ml water and test again after five minutes. The diazonium solution is now ready for coupling — use it immediately, as diazonium salts decompose within hours even at low temperatures.
Prepare alkaline beta-naphthol coupling solution
Prepare alkaline beta-naphthol coupling solution
In a separate beaker, dissolve 7.5 g of beta-naphthol in 50 ml of warm distilled water containing 4 g of sodium hydroxide. Stir until the beta-naphthol dissolves completely, forming a clear yellowish solution of sodium beta-naphtholate. Cool this solution to 10–15 °C in the ice bath. The alkaline conditions are essential — beta-naphthol couples with diazonium ions much faster in its deprotonated (naphtholate) form.
Materials for this step:
 Beta-Naphthol7.5 g
 Sodium Hydroxide (Lab Grade, 500g)4 gDistilled Water (1 Liter)50 ml
Tools needed:
Glass Beaker (Borosilicate, 500ml)Couple — add diazonium solution to beta-naphthol
Couple — add diazonium solution to beta-naphthol
With vigorous stirring, slowly pour the cold diazonium solution into the alkaline beta-naphthol solution. A vivid red precipitate forms instantly — this is Para Red, the azo pigment. The colour is dramatic: the coupling reaction is nearly instantaneous, and each drop of diazonium solution produces an immediate burst of red. Continue adding until all the diazonium solution is used. Keep both solutions cold throughout to minimise decomposition of unreacted diazonium salt.
Stir and mature the precipitate
Stir and mature the precipitate
After all the diazonium solution has been added, continue stirring the red slurry for 30 minutes at 10–15 °C. This maturation period allows any remaining unreacted components to couple and helps the pigment particles grow to a uniform size. The mixture should be a thick, vivid red slurry with no visible yellow streaks (which would indicate uncoupled diazonium salt).
Heat briefly to complete reaction
Heat briefly to complete reaction
Remove the beaker from the ice bath and allow the slurry to warm to room temperature, then heat gently on a hot plate to 60 °C for 15 minutes. This brief heating destroys any remaining unreacted diazonium salt (which would be a safety hazard) and improves the crystallinity of the pigment particles. Do not boil — excessive heat can decompose the azo bond itself.
Filter the crude pigment
Filter the crude pigment
Set up a glass funnel with filter paper and pour the red slurry through. The pigment collects as a bright red mass on the filter paper, while the filtrate passes through as a pale yellow-brown solution containing sodium chloride and excess sodium hydroxide. The filtrate can be safely disposed down the drain after dilution. Rinse the beaker with 100 ml of warm distilled water and pour through the filter to capture all pigment.
Materials for this step:
 Filter Paper (fine pore)2 pieces
Tools needed:
 Glass Funnel (Stemmed)
Wash the pigment cake three times
Wash the pigment cake three times
Return the filter cake to the beaker, add 200 ml of warm distilled water, stir thoroughly to break up the cake, and filter again. Repeat twice more — three washes in total. Each wash removes residual sodium chloride, sodium hydroxide, and any traces of unreacted starting materials. After the final wash, the filtrate should be colourless and pH-neutral. Residual alkali left in the pigment would cause it to bleed in use.
Materials for this step:
Distilled Water (1 Liter)600 mlDry the washed pigment
Dry the washed pigment
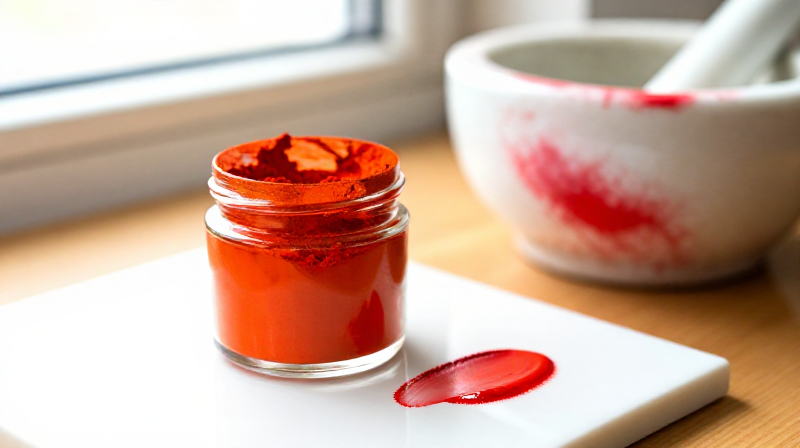
Spread the washed filter cake in a thin layer on a clean glass plate or ceramic tile. Dry at room temperature in a well-ventilated area for 24 hours, or in a low-temperature oven at 60 °C for 4–6 hours. Do not dry above 80 °C — azo pigments can decompose at elevated temperatures. The dried pigment should crack into thin, brittle flakes with a vivid orange-red colour.
Grind to fine pigment powder
Grind to fine pigment powder
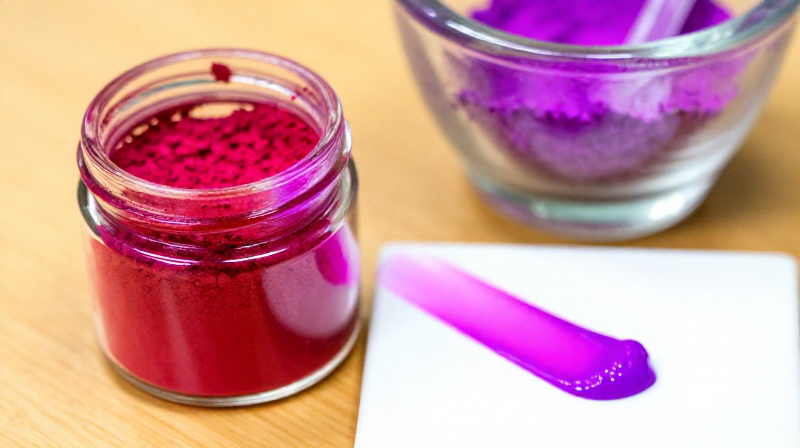
Transfer the dried flakes to a porcelain mortar and grind to a fine, uniform powder. Para Red is a soft organic pigment — it grinds easily compared to mineral pigments. The colour intensifies dramatically as particle size decreases, shifting from orange-red to a rich, vivid scarlet. Pass through a 120-mesh sieve to remove any coarse particles. The finished powder should feel silky between gloved fingers.
Tools needed:
 Mortar and Pestle (Porcelain)
 120-Mesh Sieve
Store finished pigment
Store finished pigment
Transfer the sieved Para Red to a clean, dry glass jar with a tight-fitting lid. Label with the pigment name (Para Red, PR1, CI 12070), date, and a note on its limitations: moderate lightfastness, poor solvent resistance. Expected yield from 7 g para-nitroaniline: approximately 10–12 g of finished pigment. Para Red was the ancestor of all modern azo pigments — from the Hansa Yellows to the Naphthol Reds — and while it has been surpassed by its descendants, the synthesis itself remains a landmark in organic chemistry.
Tools needed:
 Glass Storage Jar with Lid
Materials
7- Placeholder
- Placeholder
- Placeholder
- 3.5 gPlaceholder
- 7.5 gPlaceholder
- Placeholder
- 2 piecesPlaceholder
Tools Required
11- Placeholder
- Placeholder
- Placeholder
- Placeholder
- Placeholder
- Placeholder
- Placeholder
- Placeholder
- Placeholder
- Placeholder
Connected Blueprint Materials
Related Blueprints
These blueprints share knowledge with this one — techniques, materials, or principles that connect them in the learning graph.
Related blueprints
Other builds that share materials, tools, or techniques with this one.
CC0 Public Domain
This blueprint is released under CC0. You are free to copy, modify, distribute, and use this work for any purpose, without asking permission.
Support the Maker by purchasing products through their Blueprint where they earn a Maker Commission set by Vendors, or create a new iteration of this Blueprint and include it as a connection in your own Blueprint to share revenue.