ARTE
BELEZA E BEM-ESTAR
ARTESANATO
CULTURA E HISTÓRIA
ENTRETENIMENTO
MEIO AMBIENTE
COMIDA E BEBIDAS
ENGENHARIA REVERSA
CIÊNCIAS
ESPORTES
TECNOLOGIA
TECNOLOGIA VESTÍVEL
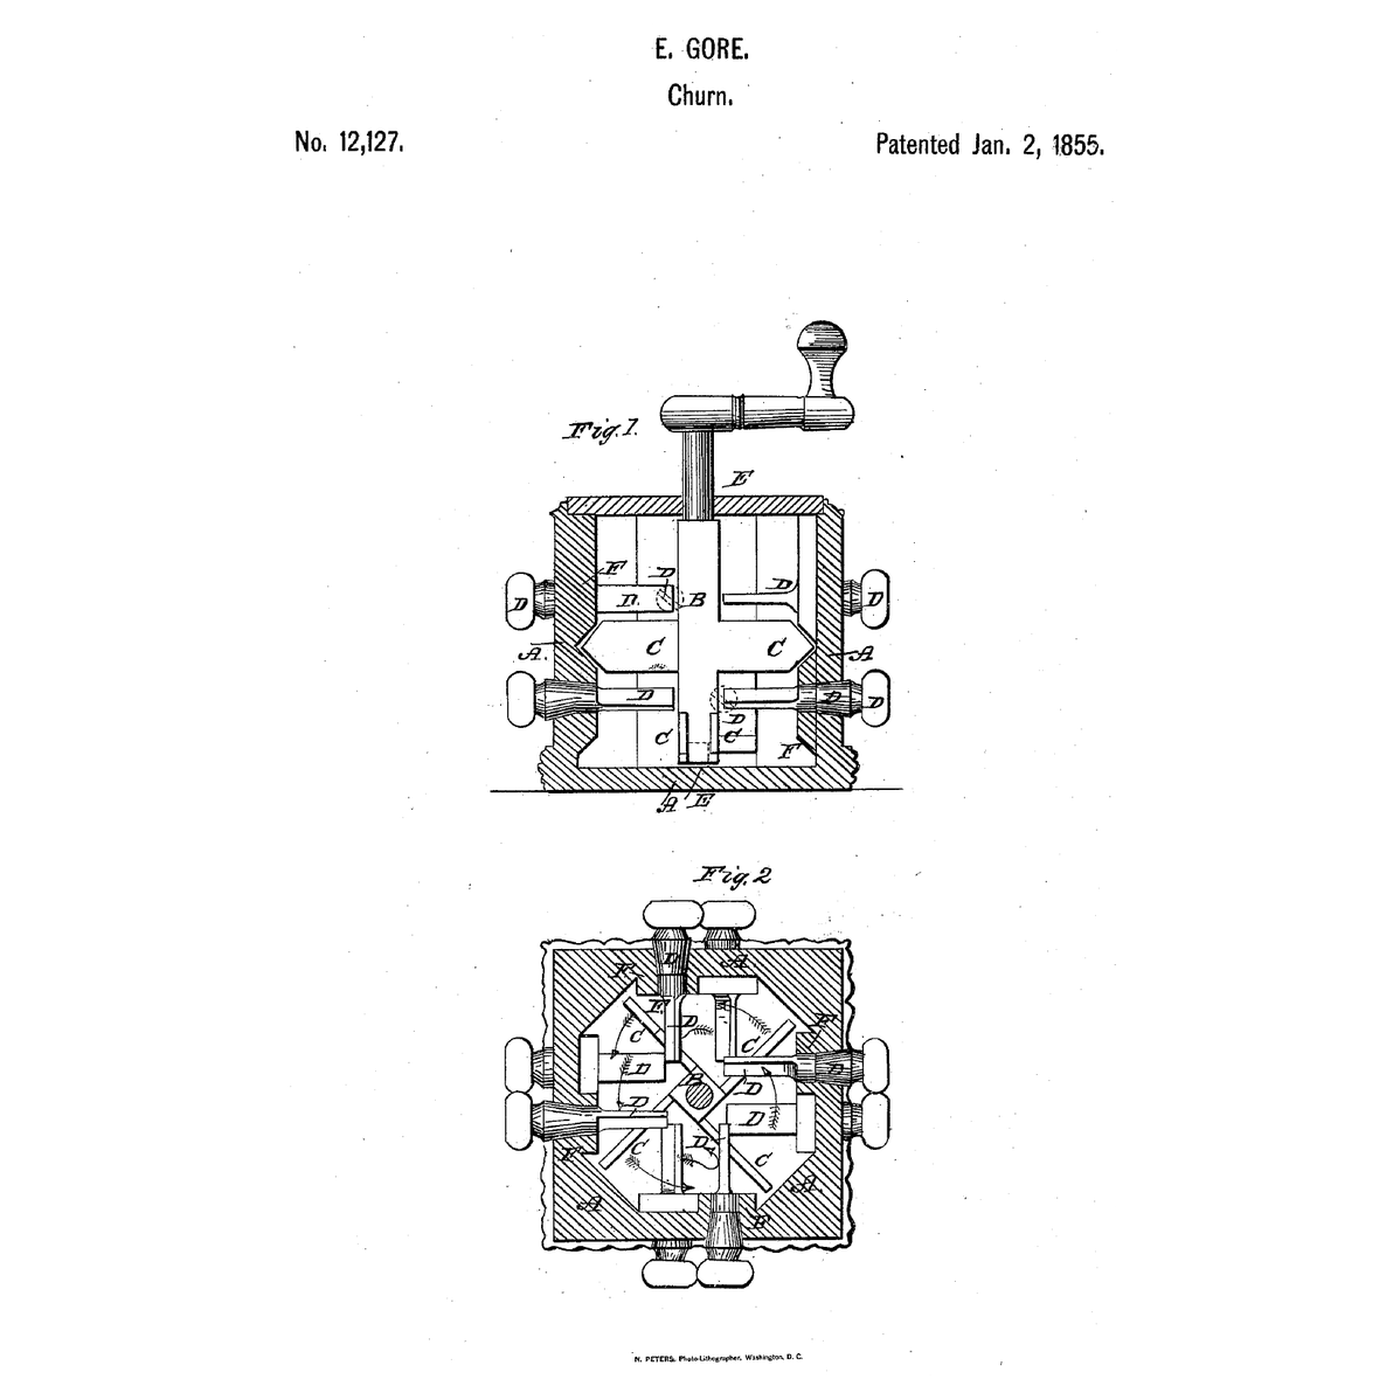


Adjustable-Pin Resistance Churn: Flat-Ended Pins Turned From Outside Set the Churn's Grip
Gore let the maker set, from outside, how hard the cream is worked.
Ezekiel Gore of Bennington, Vermont, received US 12,127, dated 2 January 1855, for a churn whose sides are pierced for "a series of adjustable pins, flattened at their inner extremities, which may be turned by the hand from the exterior of the churn, so as to present a greater or less surface of resistance to the cream." Thick cream gets the pins' edges, thin cream their sides; short ribs on the sides add agitation, and floats on the spindle sweep close past them. He wrote that the pins let the time of churning "be regulated to suit the pleasure of the operator."
This rung compares the pins' areas, then prints the pins, bushings, floats, ribs and step, builds the churn, and makes butter.
Intermediário
About 4 hours, plus printing
Instruções
1
1
Edge or side
Edge or side
A carregar o notebook Jupyter…
2
2
Fixed breakers set for the job, before it
Fixed breakers set for the job, before it
The embedded blueprint lifts its breakers to gather the butter. Gore turns pins from outside to set how much the cream is resisted.
3
3
Read US 12,127
Read US 12,127
"It is manifest that the resisting surface exposed to the moving mass of cream within the churn, will be greater or less according as the flattened ends of the pins D are turned edge wise or side wise. When the cream is thick the pins are turned so that only their edges will oppose the cream. When the latter is thin, then their sides are presented."
4
4
Print the parts
Print the parts
Print eight pins with their flat blades and thumb balls (/uploads/blueprints/adjustable-pin-resistance-churn-pin.stl), eight flanged bushings (/uploads/blueprints/adjustable-pin-resistance-churn-bushing.stl), two float hubs (/uploads/blueprints/adjustable-pin-resistance-churn-float-hub.stl), eight ribs (/uploads/blueprints/adjustable-pin-resistance-churn-rib.stl) and the step (/uploads/blueprints/adjustable-pin-resistance-churn-step.stl). Print the pins on their side. Print in PETG at 0.2 mm layers, 30 % infill, 4 walls; wash before first use.
Materiais para este passo:
 Filamento PETG1 peça
Ferramentas necessárias:
 Impressora 3D de filamento (FDM)
5
5
Case and pins
Case and pins
Use a square food-grade container about 180 mm across and 200 mm deep. Drill 14 mm holes two to a side at two heights, offset from the floats' levels. Seat a bushing in each hole from inside with a leather washer under its flange and food-safe silicone round it. Push a pin through each from inside so its blade stands in the churn and its ball outside; a second leather washer pushed on outside gives the friction that holds its setting.
Materiais para este passo:
 Recipiente de armazenamento de grau alimentar1 peça
 Tira de couro1 peça
 Vedante de silicone1 peça
Ferramentas necessárias:
 Berbequim sem fios
 Conjunto de serras-copo
 Jogo de brocas
 Lixa
Lixa6
6
Ribs, spindle, floats and cover
Ribs, spindle, floats and cover
Seal the ribs upright to the walls between the pins with food-safe silicone. Stand the step in the bottom, a 10 mm square hardwood spindle in it, and slide the two float hubs on at levels that pass just above and below the pins. Cut the lid in half, fix one half with a hole for the spindle, and glue a crank arm and dowel handle on top.
Materiais para este passo:
Vedante de silicone1 peça Cavilhas de madeira dura1 peça
 Tábua de pinho1 peça
 Cola de madeira1 peça
Ferramentas necessárias:
 SerroteBerbequim sem fiosJogo de brocas
7
7
The build in 3D
The build in 3D
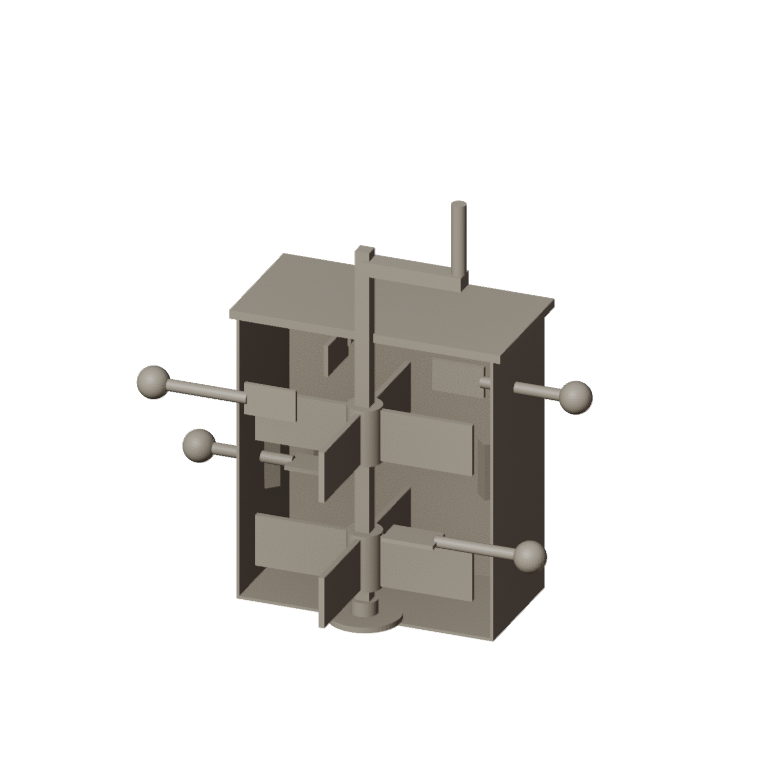
FreeCAD model of this build, not of the patent: the square case cut away to show the spindle with two float hubs, the flat-ended pins at two levels with their thumb balls outside, and the ribs on the walls.
8
8
Set the pins and churn
Set the pins and churn
Let the heavy cream stand until it reaches about 15 °C, checked with the thermometer. Pour in 2 litres. Turn the pins side-on for thin cream or edge-on for thick, and crank steadily; time until the butter comes. Turn the pins edge-on and crank slowly to gather it. Pour off the buttermilk, add cold water, churn a little and pour off again until it runs clear; work in a pinch of salt and weigh the butter.
Materiais para este passo:
 Natas para bater2000 ml
 Sal marinho grosso1 peça
 Água1 peça
Ferramentas necessárias:
 Termómetro de sonda permanente
 Cronómetro
 Balança digital de cozinha
 Taça grande de aço inoxidável
9
9
Pins that turn themselves, a case that drips
Pins that turn themselves, a case that drips
Adjustable-pin churn troubleshooting.
Flow
Loading...
10
10
History and honest limits
History and honest limits
**Ezekiel Gore** of Bennington, Vermont, received US 12,127, dated 2 January 1855 (the drawing sheet reads "E. Gore"). The specification names the spindle B and the floats C, then says the floats are attached "to the spindle C"; the spindle is meant. He said no particular novelty was claimed for the floats, and noted that some held butter made very quickly to be of poorer quality. He claimed making the pins with flat inner ends, turned right or left to present a large or small resisting surface.
**Honest limits.** A container, leather washers and printed parts stand in for his case; the notebook compares areas, not measured forces. FDM prints hold food in their layer lines, so wash well and replace when worn. Your times and weights are the result.
Materiais
10- 1 peçaReferência
- Referência
- 1 peçaReferência
- 2 peçasReferência
- 1 peçaReferência
- 1 peçaReferência
- 1 peçaReferência
- 2000 mlReferência
- 1 peçaReferência
- 1 peçaReferência
Ferramentas necessárias
10- Referência
- 1 vendor sell this, none ship to you yetReferência
- Referência
- Referência
- Referência
- Referência
- Referência
- Referência
- Referência
- Referência
Ficheiros de design
1Blueprints relacionados
Estes blueprints compartilham conhecimento — técnicas, materiais ou princípios
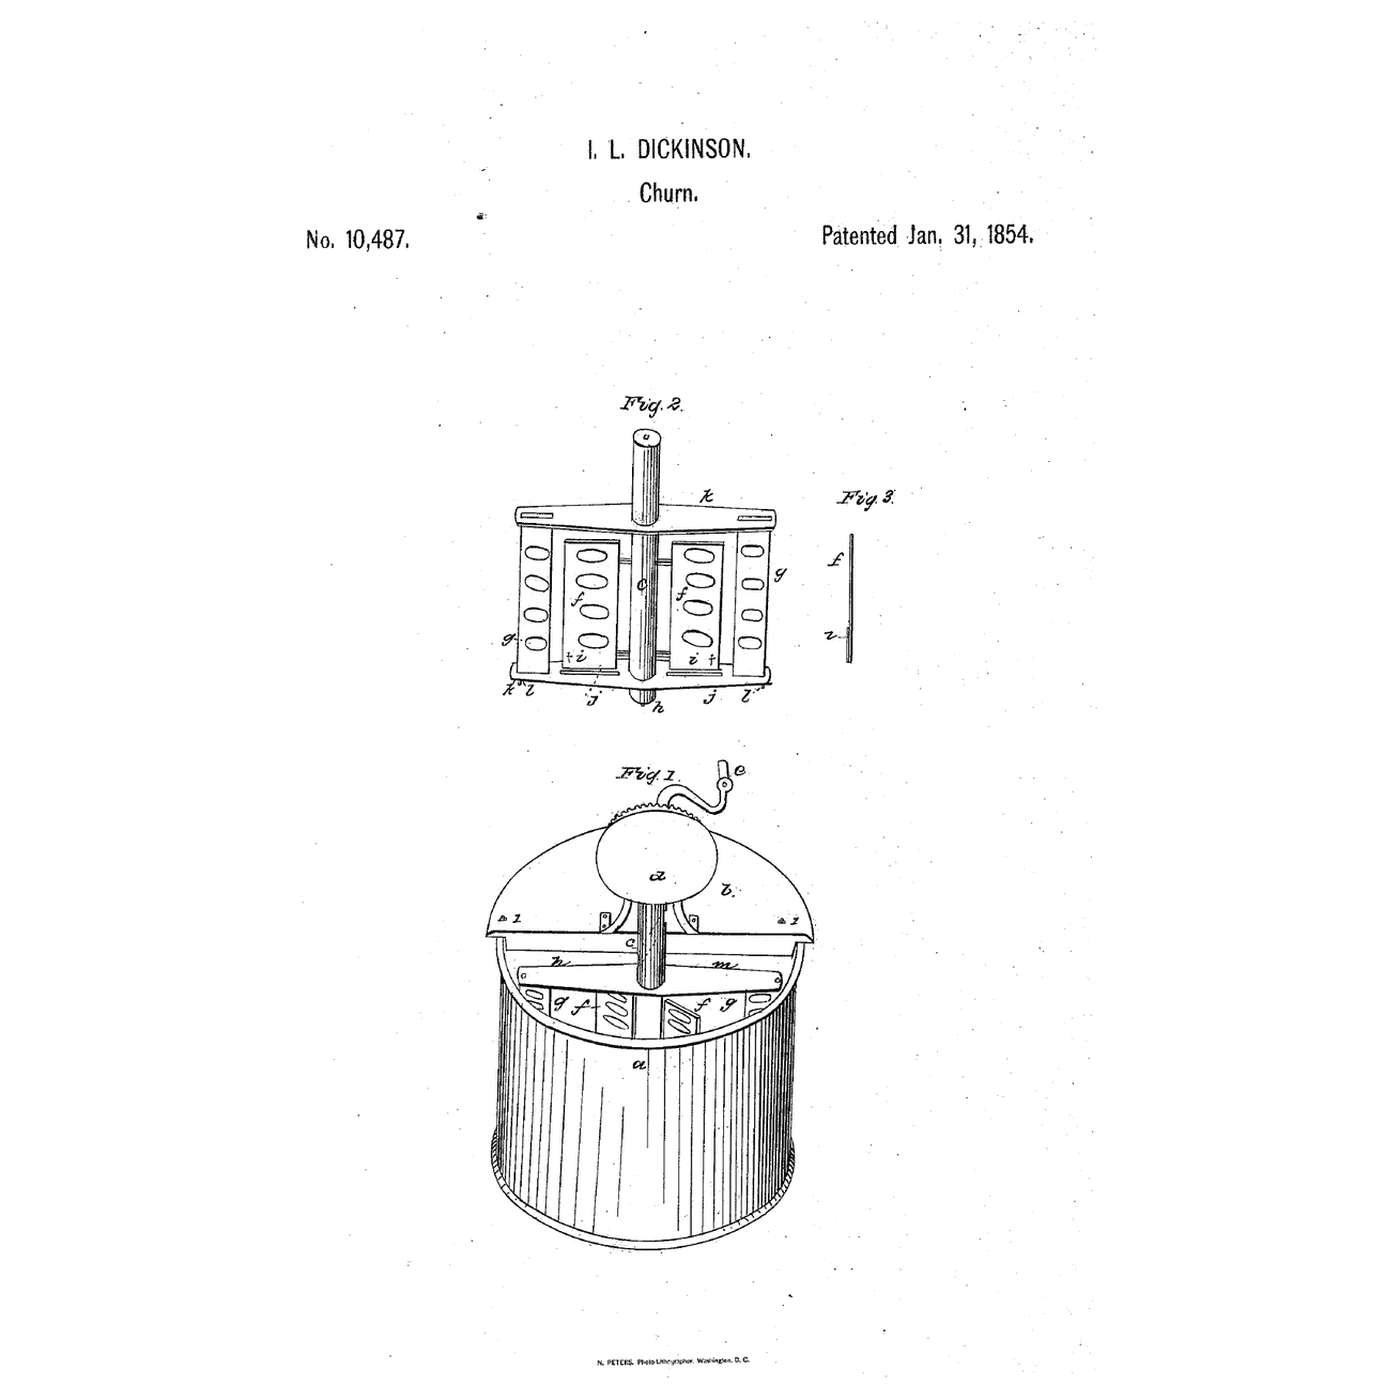
Liftable-Breaker Dasher Churn: Breakers Stand Still to Churn, Then Lift and Turn to Gather
por Emma
COMIDA E BEBIDAS
1
0
0
0
0
0
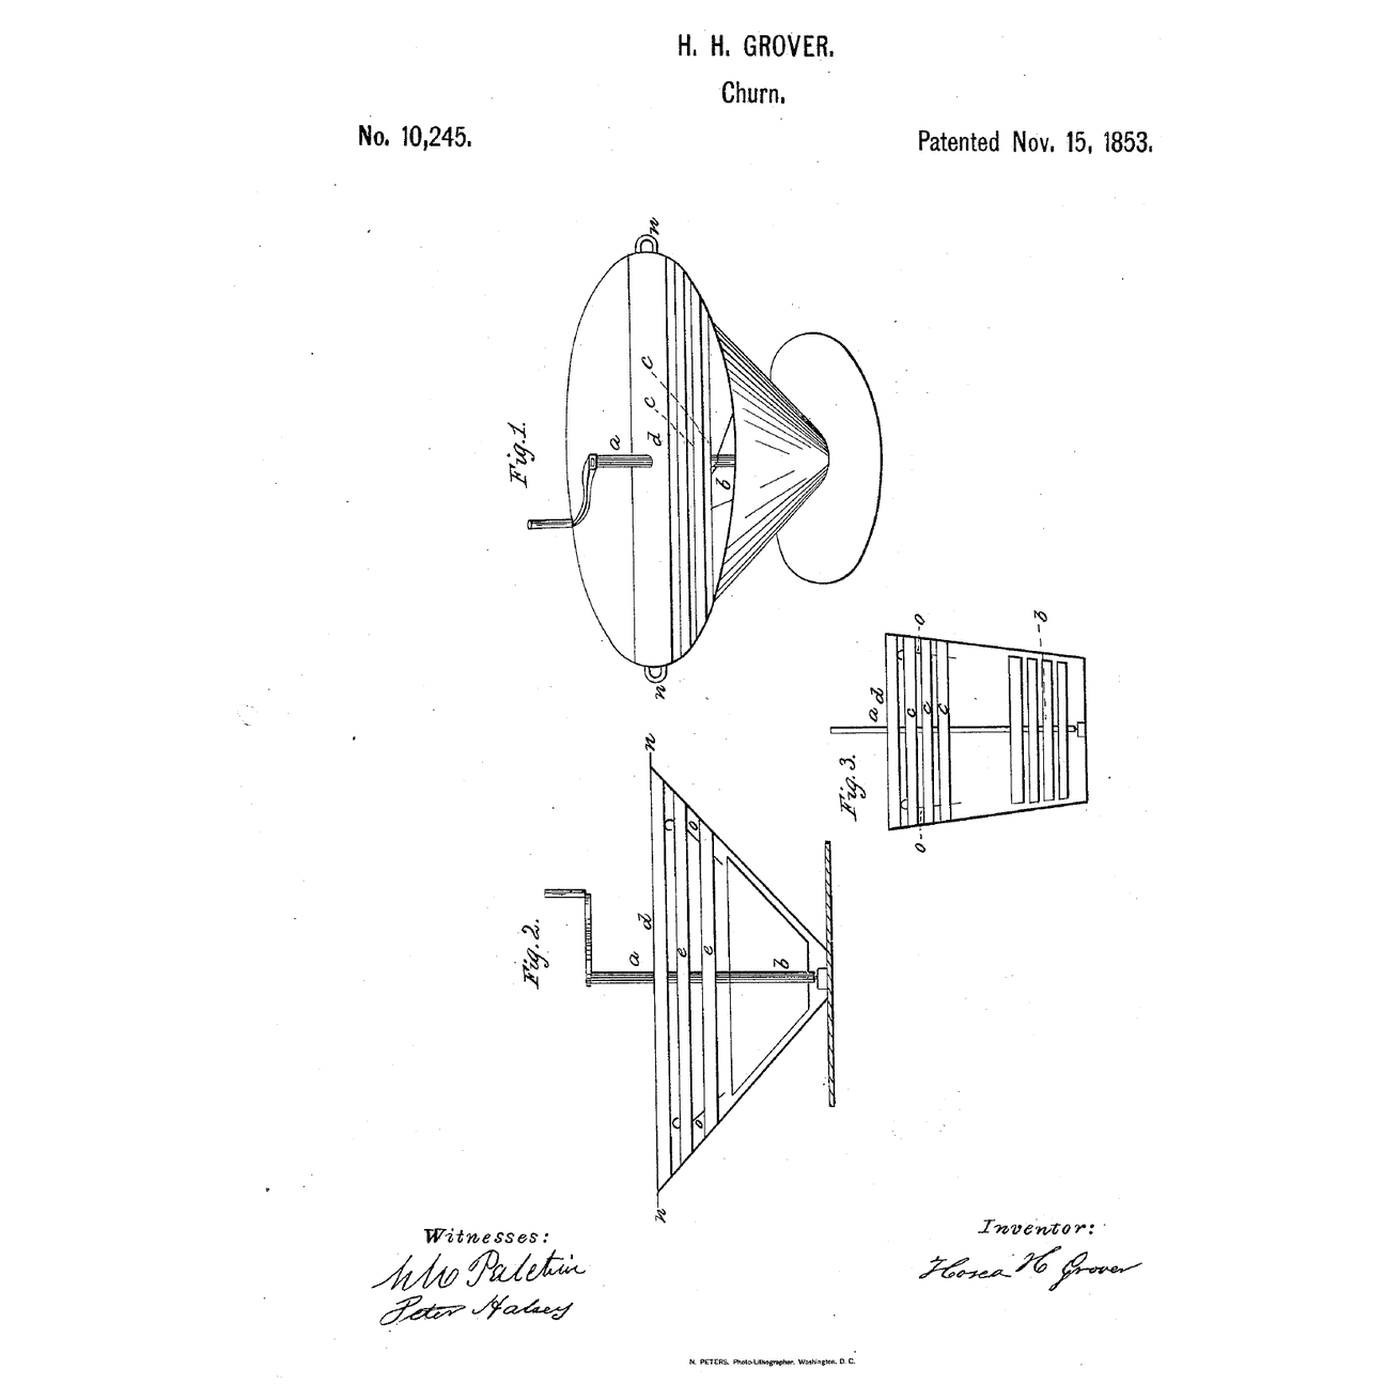
Flaring-Tub Slat-Reactor Churn: The Cream Climbs the Flare and Is Beaten Back by Slats
por TheChef
COMIDA E BEBIDAS
1
0
0
0
0
0

Churning Butter from Cream — The 5,000-Year-Old Fat Separation
por TheChef
ARTESANATO
47
0
0
0
0
0
CC0 Domínio Público
Este blueprint é liberado sob CC0. Você é livre para copiar, modificar, distribuir e usar este trabalho para qualquer finalidade, sem pedir permissão.
Apoie o Maker comprando produtos através do Blueprint, onde ele ganha uma Comissão Maker definida pelos vendedores, ou crie uma nova versão deste Blueprint e inclua-o como conexão no seu próprio Blueprint para compartilhar receita.