ARTE
BELEZA E BEM-ESTAR
ARTESANATO
CULTURA E HISTÓRIA
ENTRETENIMENTO
MEIO AMBIENTE
COMIDA E BEBIDAS
ENGENHARIA REVERSA
CIÊNCIAS
ESPORTES
TECNOLOGIA
TECNOLOGIA VESTÍVEL
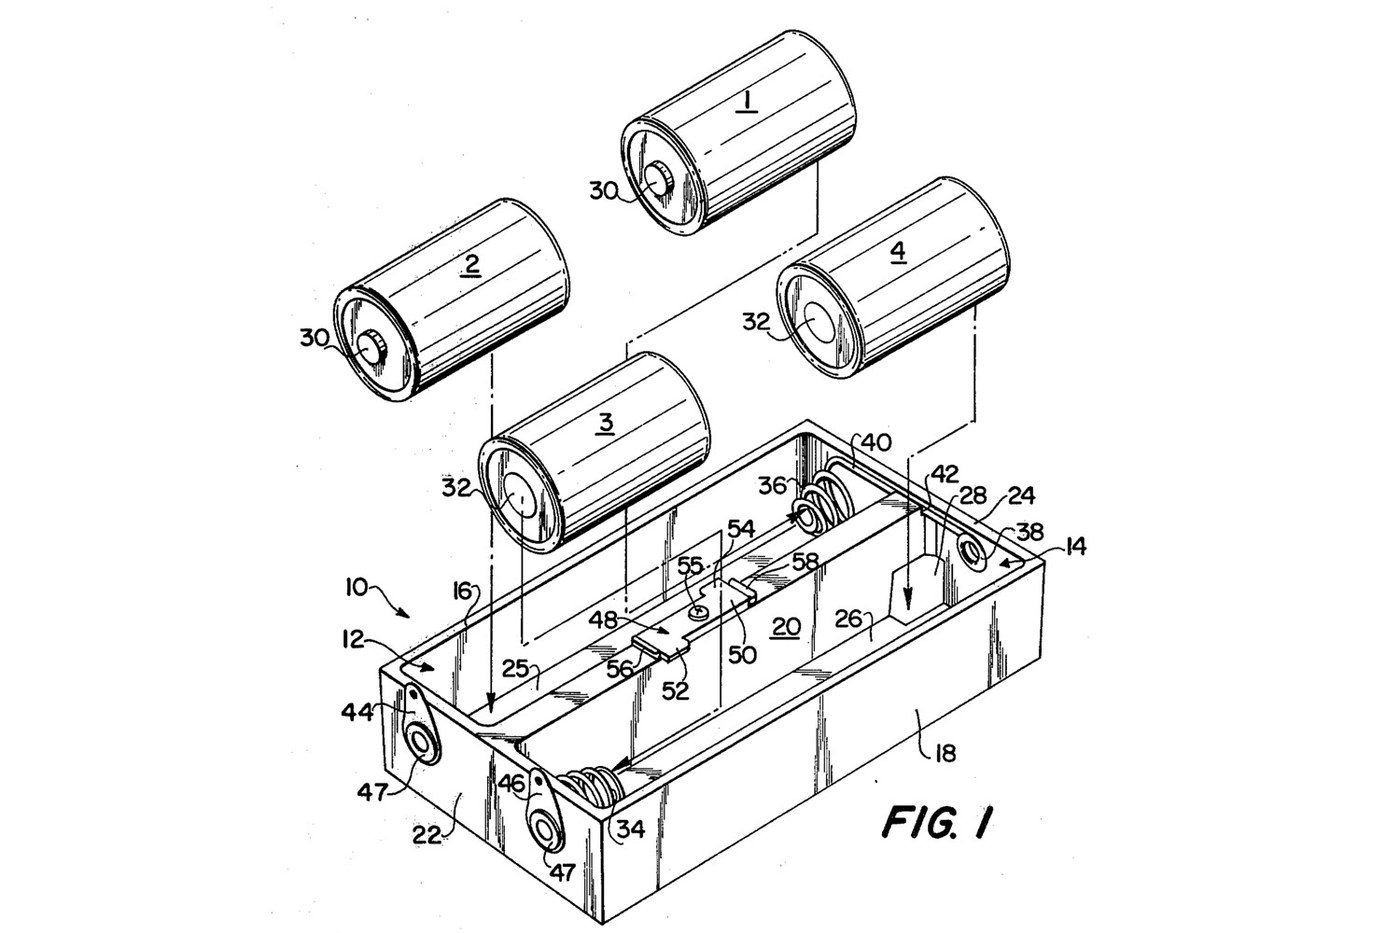


Battery Holder: Four C Cells in Two Sprung Compartments with a Z-Shaped Retainer (Lund 1979)
A tray for four C cells in series, made for an instrument that gets knocked about. Each compartment holds two cells end to end, pressed together by a cone-shaped coil spring. The cells can shift a little under a blow and spring back without losing contact. A small Z-shaped retainer holds down one cell in each row and still lets every cell be taken out.
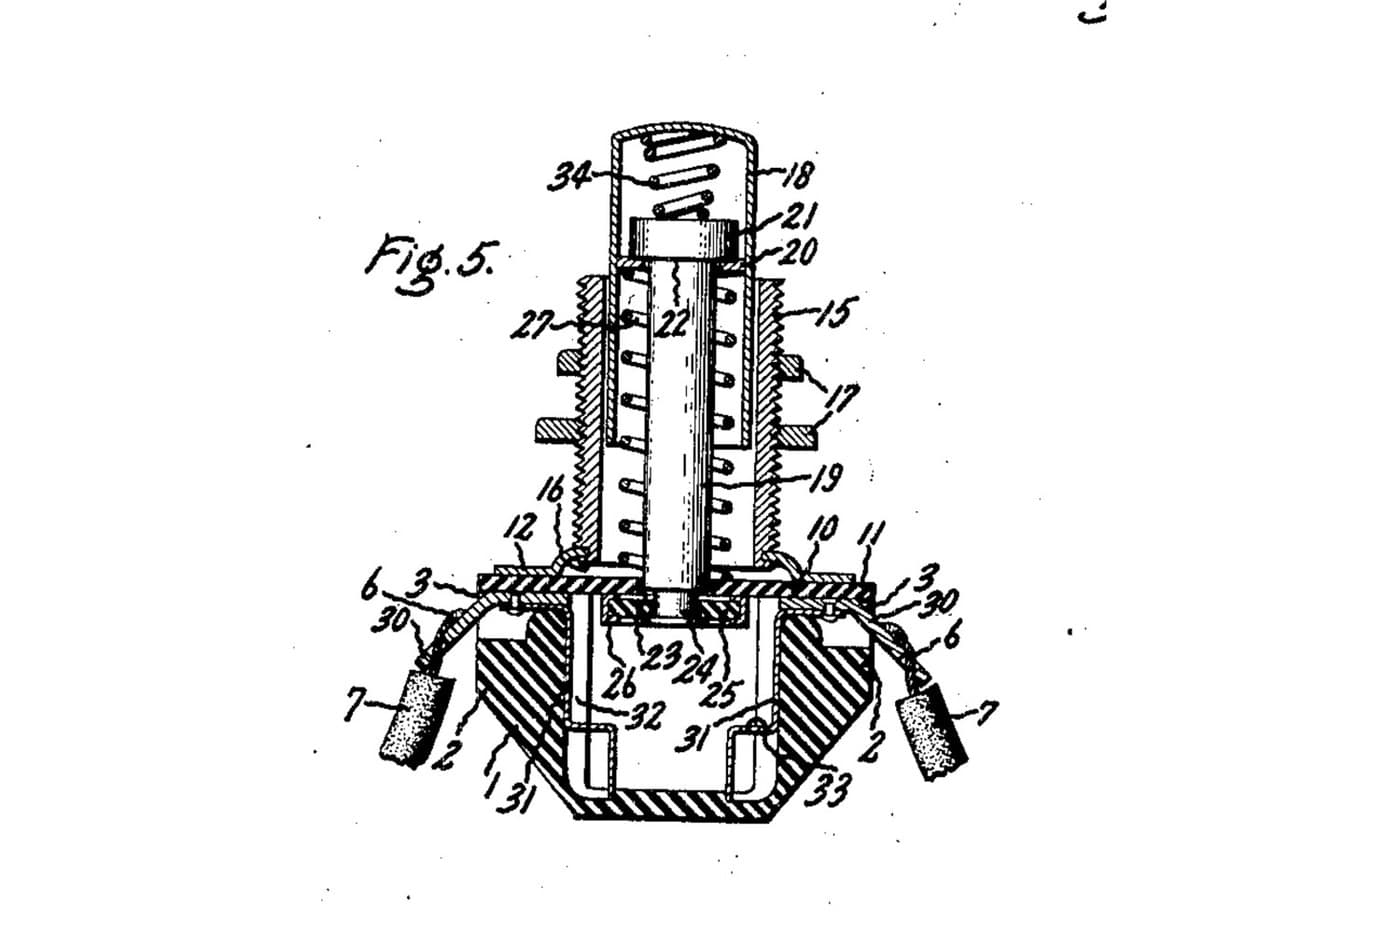
Source: John Lund, US 4,161,568 (Schonstedt Instrument Co., 1979), with all sizes. Unknown: the plastic, the metals and the spring wire size. Lund names none of them, and nothing makes a self-tapping screw yet, so these are linked to unknown heads. The tools are ours. Picture: the patent's Fig. 1.
Intermediário
1 day
Instruções
1
1
Mould the tray
Mould the tray
Mould a tray 4.325 × 2.500 × 0.875 in (109.9 × 63.5 × 22.2 mm) with two parallel open-top compartments, each 4.125 in long, 1.025 in wide and 0.800 in deep inside (104.8 × 26.0 × 20.3 mm). The middle wall is 0.300 in (7.6 mm) thick, with a notch at one end. Mould two small abutments on the middle wall, 1.000 in (25.4 mm) apart. Unknown: the plastic.
Materiais para este passo:
 Material isolante desconhecido1 as required
Ferramentas necessárias:
 Molde de compressão
 Paquímetro
2
2
Wind the two spring contacts
Wind the two spring contacts
Wind two cone-shaped coil springs: 0.562 in (14.3 mm) outside diameter at the large end, 0.312 in (7.9 mm) inside at the small end, 1/2 in (12.7 mm) long free, closing to 1/8 in (3.2 mm). Each has three active turns, and the end turns are wound flat. Leave one spring with a long straight tail. Unknown: the metal and the wire size.
Materiais para este passo:
 Metal desconhecido1 as required
Ferramentas necessárias:
 Alicate de bicos redondos
 Alicate de bico chatoPaquímetro
3
3
Fit the contacts and terminals
Fit the contacts and terminals
Put one spring at the far end of the first compartment, with its straight tail, and the other at the near end of the second. Set an eyelet contact in the end wall opposite each spring. Run the tail through the notch in the middle wall to the eyelet contact at the far end of the second compartment. Fix two terminals to the near end wall with eyelets, each holding its contact.
Materiais para este passo:
Metal desconhecido1 as requiredFerramentas necessárias:
 Tesoura de chapaAlicate de bico chato
 Limas de mão
4
4
Make and fix the retainer
Make and fix the retainer
Cut a flat Z-shaped retainer of plastic, 0.062 in (1.6 mm) thick and 0.980 in (24.9 mm) long. It is 0.430 in (10.9 mm) wide at each branched end. Each branch sticks out 0.130 in (3.3 mm) from the stem and runs 0.365 in (9.3 mm) along it. Screw it with a single self-tapping screw through the middle of the stem onto the top of the middle wall, between the abutments, so it cannot turn. Each branch reaches over one compartment.
Materiais para este passo:
Material isolante desconhecido1 as required Parafuso autoatarraxante1 pc
Ferramentas necessárias:
Tesoura de chapaLimas de mão Conjunto de chaves de fendasPaquímetro
5
5
Wire it
Wire it
Solder lead wires to the two terminals. With the cells in, the four make one series supply between these terminals.
Materiais para este passo:
 Fio de ligação1 as required
 Fio de solda1 as required
Ferramentas necessárias:
 Ferro de soldar
6
6
Load the cells
Load the cells
Put cell 1 into the free end of the first compartment, slide it along under the retainer until it meets the spring, then drop cell 2 in behind it, pressing the spring a little. Load the second compartment from its other end the same way. To unload, lift out the two free cells, then slide the held cells along into their places and lift them out. Ours: check the voltage across the terminals with a meter.
Ferramentas necessárias:
 Multímetro
Materiais
5- 1 as requiredReferência
- 1 as requiredReferência
- Referência
- 1 as requiredReferência
- 1 as requiredReferência
Ferramentas necessárias
9- Referência
- Referência
- Referência
- Referência
- Referência
- Referência
- Referência
- 2 vendors sell this, none ship to you yetReferência
- Referência
Este projeto faz

Blueprints relacionados
Estes blueprints compartilham conhecimento — técnicas, materiais ou princípios

CC0 Domínio Público
Este blueprint é liberado sob CC0. Você é livre para copiar, modificar, distribuir e usar este trabalho para qualquer finalidade, sem pedir permissão.
Apoie o Maker comprando produtos através do Blueprint, onde ele ganha uma Comissão Maker definida pelos vendedores, ou crie uma nova versão deste Blueprint e inclua-o como conexão no seu próprio Blueprint para compartilhar receita.