
Hammering Bronze Sheet from a Cast Ingot — Raising and Planishing
Sheet bronze was the material behind Bronze Age armour, vessels, mirrors, and decorative work. Unlike casting which produces a fixed shape, sheet-working starts with a flat ingot and transforms it through repeated cycles of hammering and annealing into sheets as thin as 0.5 mm — thinner than modern cardboard.
The process exploits a fundamental property of bronze: cold-hammering compresses the crystal grains, making the metal harder and thinner with each blow. But this work-hardening also makes the bronze brittle. Before it cracks, the smith heats it to dull red (annealing), which recrystallises the grain structure and restores ductility. A single ingot may go through 10-15 anneal-hammer cycles to reach usable sheet thickness.
The finished sheet can then be cut, bent, raised into vessels, riveted, engraved, or embossed — opening the full range of Bronze Age metalcraft.
Instruções
Cast a flat ingot
Cast a flat ingot
Materiais para este passo:
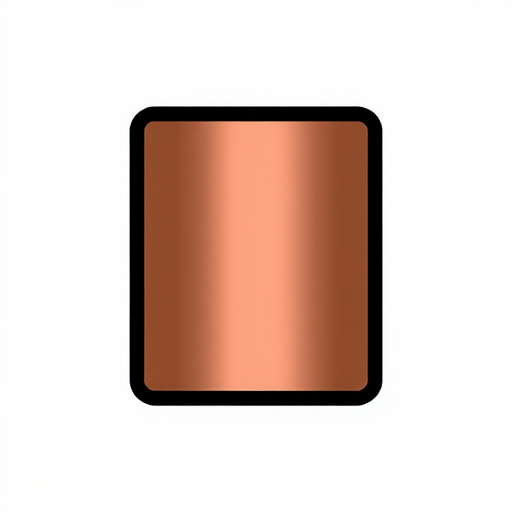
 Copper Sheet (0.5-1mm)500 g
Set up the anvil stone
Set up the anvil stone
Ferramentas necessárias:
 Flat Stone Slab
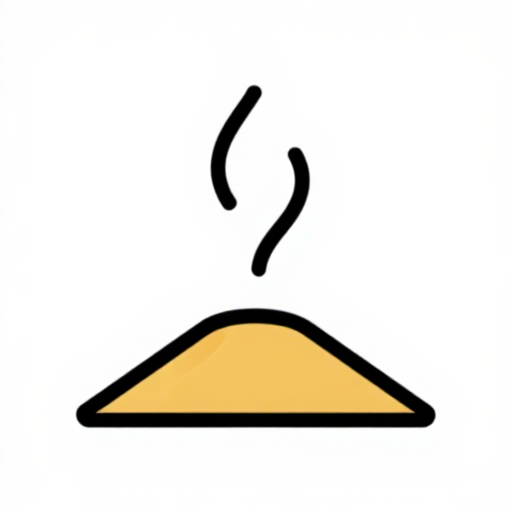
First hammering pass — rough thinning
First hammering pass — rough thinning
Ferramentas necessárias:
 Hammerstone
First anneal
First anneal
Materiais para este passo:
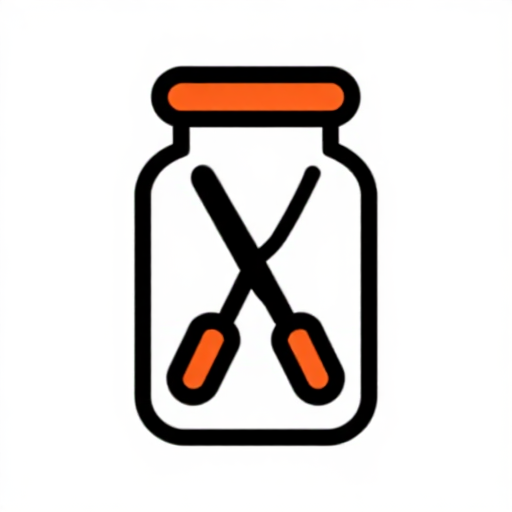
 Charcoal2 kg
Ferramentas necessárias:
 Long-Handled Tongs
Continue hammer-anneal cycles
Continue hammer-anneal cycles
Detect and prevent edge cracking
Detect and prevent edge cracking
Final thinning to usable sheet
Final thinning to usable sheet
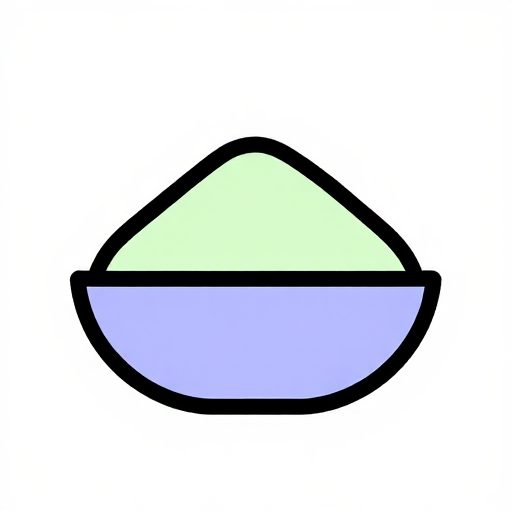
Planish the surface
Planish the surface
Ferramentas necessárias:
 Smooth Stone
Polish (optional)
Polish (optional)
Materiais para este passo:
 Fine Sand100 g
Materiais
3- Referência
Ferramentas necessárias
4- Referência
- Referência
- Referência
- Referência
Materiais de Blueprints conectados
Required Equipment
Equipment this kind of build typically needs — buy from any maker below.
- CriticalWelding Mask·
 MIG Welder
 Auto-Darkening Welding Helmet
 Welding Principles Manual
 Welding Gloves
 Battery Spot Welder
 Welding Fire Watch Kit
 - RecommendedAngle Grinder·
 Die Grinder
 Bench Grinder
 Bench Grinder (6-inch)
 Bench Grinder Wheel Set (6-inch)
 Angle Grinder
 Meat Grinder
 - RecommendedBench Vise·
 Bench Vise (4-inch, Cast Iron)
 Milling Vise (4-inch, Precision)
 Heavy Bench Vice
 Bench Vise
 Milling Vise
 Bench Vise Press Attachment
 - RecommendedDust Mask / Respirator·
 Full-Face Gas Mask (ABEK multi-gas cartridge)
 Dust Mask
 Venetian Mask Blank (Papier-Mache)
 Full-Face Respirator
 Respirator Fit Test Kit
 Respirator with Acid Gas Cartridge
 - RecommendedSafety Glasses·
 Safety Sign (Caution/Warning)
 Splash-Proof Safety Goggles
 Reflective Safety Vest Kit (DIY)
 Chemical Splash Goggles
 Safety Netting for Rockfall
 Steel-Toed Safety Boots
 - RecommendedWork Gloves·
 Boxing Gloves (Training)
 Leather Gauntlet Gloves
 Cotton GlovesWelding Gloves
 Heavy-Duty Gloves
 Leather Work Gloves
 - OptionalFire Extinguisher·
 ABC Fire Extinguisher
 Fire Extinguisher
 - OptionalFirst Aid Kit·
 First Aid Kit
 Mountain First Aid Kit (Altitude)
 Workshop First Aid Kit
 Bow Release Aid
You can swap these in
Can't get one of the materials? Swap it for an equivalent — these work just as well.
- Instead of Smooth Stone, try:
 Stone
Stone Pumice Stone
 Stone Block
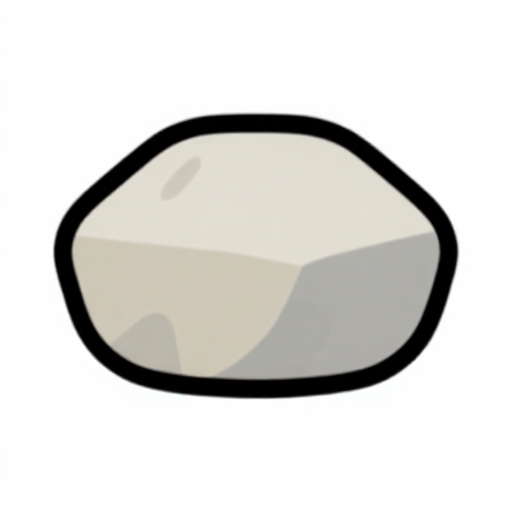 Crushed Stone
 - Instead of Fine Sand, try:
 Casting Sand
 Coarse Sand (Construction/Pottery)
 - Instead of Charcoal, try:
 Activated Charcoal Powder
 - Instead of Flat Stone Slab, try:
 Live Edge Maple Slab
 - Instead of Long-Handled Tongs, try:
 Jar Tongs
 Crucible Tongs (long-handled)
 Long-Handled Fire Tongs
 - Instead of Copper Sheet (0.5-1mm), try:
 Sheet Copper
Recommended for this build
Products makers often use with builds like this one.
Crucible Tongs (long-handled)Used together and in similar builds WhetstoneUsed together and in similar builds
 BellowsFrequently used with this build's materialsLeather Gauntlet GlovesFrequently used with this build's materials
 Sandstone (Abrasive)Used together and in similar builds
 Animal Fat (Tallow)Used together and in similar builds
 Hardwood SaplingFrequently used with this build's materials
 Charcoal Furnace (small)Frequently used with this build's materials
Blueprints relacionados
Estes blueprints compartilham conhecimento — técnicas, materiais ou princípios
Related blueprints
Other builds that share materials, tools, or techniques with this one.


CC0 Domínio Público
Este blueprint é liberado sob CC0. Você é livre para copiar, modificar, distribuir e usar este trabalho para qualquer finalidade, sem pedir permissão.
Apoie o Maker comprando produtos através do Blueprint, onde ele ganha uma Comissão Maker definida pelos vendedores, ou crie uma nova versão deste Blueprint e inclua-o como conexão no seu próprio Blueprint para compartilhar receita.