
ARTE
BELEZA E BEM-ESTAR
ARTESANATO
CULTURA E HISTÓRIA
ENTRETENIMENTO
MEIO AMBIENTE
COMIDA E BEBIDAS
ENGENHARIA REVERSA
CIÊNCIAS
ESPORTES
TECNOLOGIA
TECNOLOGIA VESTÍVEL
Craft Knife: Doniger's Hinged Handle and Reversible Blade
Forge

Criado por

Forge

26. outubro 2026NO
5
0
0
0
0

Craft Knife: Doniger's Hinged Handle and Reversible Blade

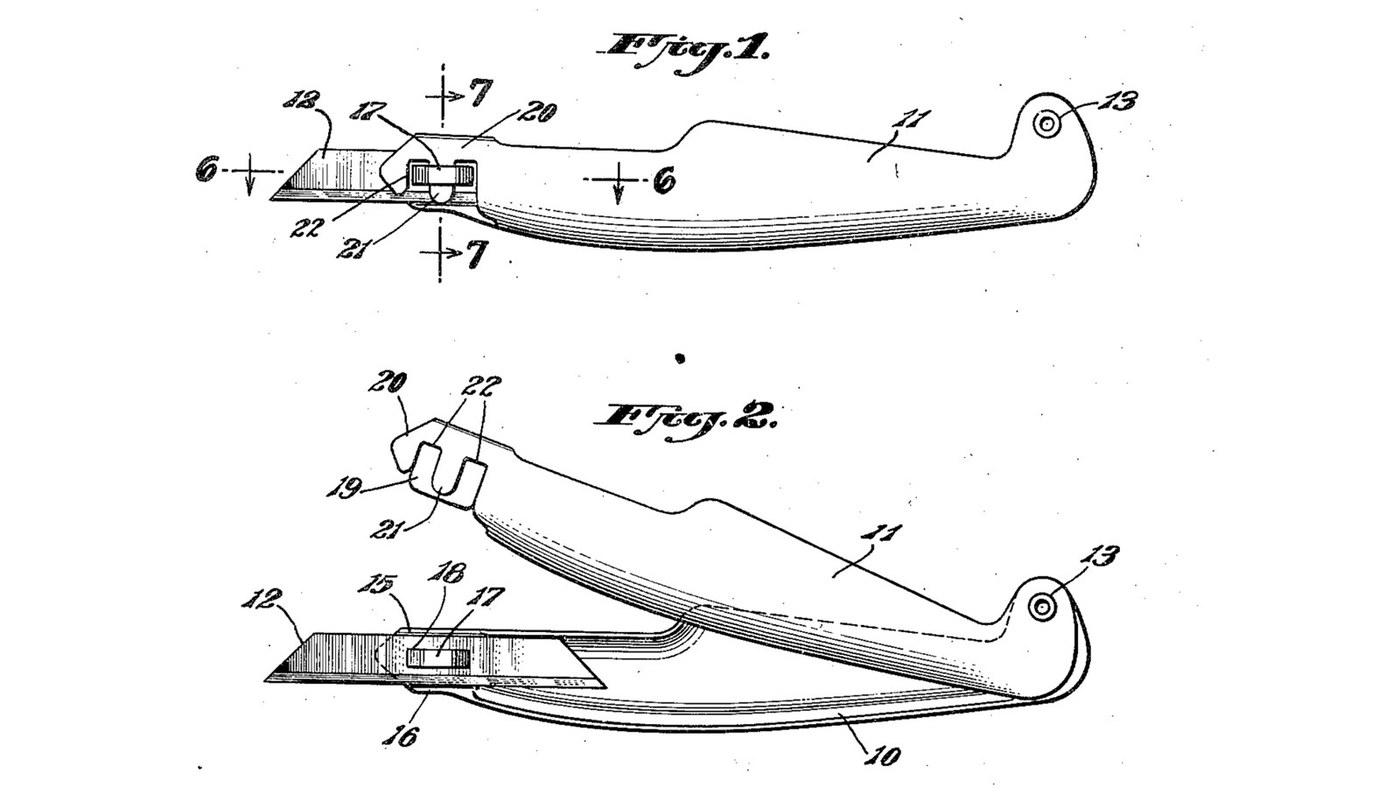
A knife for model carving and fine cutting, by Sundel Doniger of New York, founder of X-Acto (US 2,463,682, filed 1945, granted 1949). The handle is two shell-like metal halves pivoted at the rear. A thin blade with a slot in its middle drops over a small 'staple' pressed out of one half; closing the other half pushes a tongue into the staple and locks the blade solid. Swing it open to change the blade or turn it end for end: the spare end rests inside the handle. The patent gives no sizes or metals. Mild steel sheet, the rivet, the spring steel blade and the sizes are ours. The picture: Figs. 1 and 2 of the patent.
Intermediário
1 day

Instruções

1

Mark out the two handle halves

Scribe two mirror-image halves, about 130 mm long, on mild steel sheet about 0.8 mm thick (ours). Give each a flat rear ear for the pivot and a nose at the blade end.

Materiais para este passo:

Chapa de aço macioChapa de aço macio1 peça

Ferramentas necessárias:

Ponta de traçarPonta de traçar
RéguaRégua
2

Cut and file the halves

Cut both halves out with tin snips and file the edges smooth.

Ferramentas necessárias:

Tesoura de chapaTesoura de chapa
Lima para metalLima para metal
Torno de bancadaTorno de bancada
3

Dome the grip, keep the ends flat

Hammer the middle of each half into a shallow bulge over a hollow in a hardwood block. Leave the pivot ends flat, so the pivot cannot wobble, and leave the noses flat.

Ferramentas necessárias:

Martelo de bolaMartelo de bola
Bloco de madeira duraBloco de madeira dura
4

Form the blade wall and its shoulders

On the mounting half (10), the nose is a flat wall (14) in the plane where the halves meet. Turn its top and bottom edges inward into shoulders (15, 16) just as far apart as the blade is wide.

Ferramentas necessárias:

Alicate de bico chatoAlicate de bico chato
Martelo de bolaMartelo de bola
Torno de bancadaTorno de bancada
5

Press out the staple

Slit the middle of the wall along two short parallel lines, lengthwise. Press the strip between the slits outward to form the staple (17).

Ferramentas necessárias:

TalhadeiraTalhadeira
Punção de centroPunção de centro
Martelo de bolaMartelo de bola
BigornaBigorna
6

Bend the locking channel

Bend the nose of the locking half (11) into a springy channel: a broad rear flange (19) about the size of the wall, and a front flange (20) with a tongue (21) and a cut-out (22) each side of it to clear the staple's legs.

Ferramentas necessárias:

Tesoura de chapaTesoura de chapa
Jogo de limas de agulhaJogo de limas de agulha
Alicate de bico chatoAlicate de bico chato
7

Drill the pivot

Clamp the halves together, punch the centre of the rear ear and drill through both.

Ferramentas necessárias:

Punção de centroPunção de centro
Berbequim de mãoBerbequim de mão
Torno de bancadaTorno de bancada
8

Rivet the pivot

Rivet the flat ends together (Doniger used an eyelet; ours: a steel rivet). Close it firmly: the friction of the flat ends must hold the halves wherever you swing them.

Materiais para este passo:

Rebites de açoRebites de aço1 peça

Ferramentas necessárias:

Martelo de rebitarMartelo de rebitar
BigornaBigorna
9

Anneal and cut the blade blank

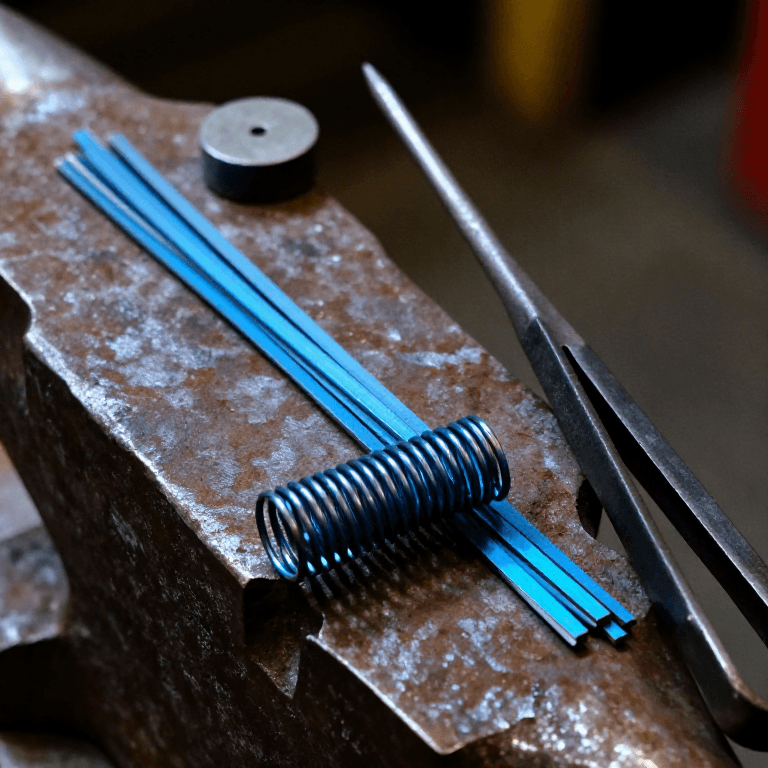
Soften a piece of spring steel strip about 0.4 mm thick (ours), as in the connected spring-steel blueprint. Cut a blank as wide as the gap between the shoulders.

Materiais para este passo:

Fita de aço-molaFita de aço-mola1 peça

Ferramentas necessárias:
ForjaForja
Tenaz de forjaTenaz de forja
Cinza de madeira de leiCinza de madeira de lei
Tesoura de chapaTesoura de chapa
Luvas de soldadorLuvas de soldador
10

Cut the centre slot

Cut a slot (18) in the exact middle of the blank that fits closely over the staple. Drill its ends and file out between them.

Ferramentas necessárias:

Punção de centroPunção de centro
Berbequim de mãoBerbequim de mão
Jogo de limas de agulhaJogo de limas de agulha
Torno de bancadaTorno de bancada
11

Shape both points

Cut each end of the blank to a slanting point, as in Fig. 1, and grind a cutting bevel at both ends.

Ferramentas necessárias:

Tesoura de chapaTesoura de chapa

Mó de afiarMó de afiar
Lima para metalLima para metal
12

Harden and temper the blade

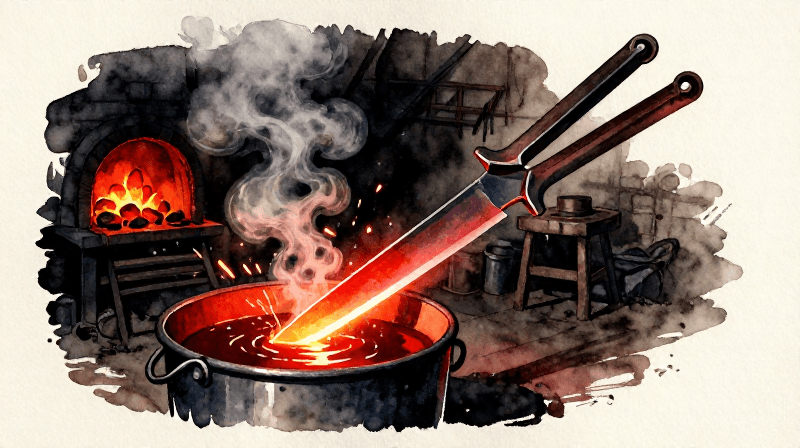
Harden the blade in oil as in the connected spring-steel blueprint. Temper it to the knife colour given in the connected heat-treatment blueprint, not to spring blue.

Ferramentas necessárias:

ForjaForja
Tenaz de forjaTenaz de forja
Óleo de colzaÓleo de colza
Luvas de soldadorLuvas de soldador
13

Hone both edges

Hone both ends keen on the sharpening stone.

Ferramentas necessárias:

Pedra de amolarPedra de amolar
14

Fit and lock the blade

Swing the halves open. Lay the blade flat on the wall, its slot over the staple and its edges between the shoulders. Swing the locking half shut: the tongue enters the staple and the channel grips the blade. No tools needed.
15

Reverse or change the blade

Swing the locking half up, lift the blade off the staple and turn it end for end, or fit a new one. The spare end sits protected inside the handle.
16

What the patent says, and what is ours

The patent fixes the parts and how they lock: hinged shell halves, flat riveted pivot ends that hold by friction, a wall with shoulders and a pressed-out staple, a slotted double-ended blade, a springy channel with tongue and cut-outs. It gives no sizes, no metals and no blade making. All sizes, the mild steel, the rivet and the spring steel blade are our choices. Doniger's better-known X-Acto knives hold the blade in a round collet instead.

Materiais

3

Ferramentas necessárias

21

CC0 Domínio Público

Este blueprint é liberado sob CC0. Você é livre para copiar, modificar, distribuir e usar este trabalho para qualquer finalidade, sem pedir permissão.

Apoie o Maker comprando produtos através do Blueprint, onde ele ganha uma Comissão Maker definida pelos vendedores, ou crie uma nova versão deste Blueprint e inclua-o como conexão no seu próprio Blueprint para compartilhar receita.

Discussão

(0)

Entrar para participar da discussão

Carregando comentários...