
Colaboração
ARTE
BELEZA E BEM-ESTAR
ARTESANATO
CULTURA E HISTÓRIA
ENTRETENIMENTO
MEIO AMBIENTE
COMIDA E BEBIDAS
ENGENHARIA REVERSA
CIÊNCIAS
ESPORTES
TECNOLOGIA
TECNOLOGIA VESTÍVEL
Forged Flat Drills: Tool Steel Drawn to Blade and Square Taper Head, Tempered by Colour for the Metal to Be Drilled (Edwinson, 1886)
Forge

Criado por

Forge

14. novembro 2026NO
6
0
0
0
0

Forged Flat Drills: Tool Steel Drawn to Blade and Square Taper Head, Tempered by Colour for the Metal to Be Drilled (Edwinson, 1886)

How a smith forged his own set of flat drills, from George Edwinson's series in Amateur Work (1886): 3/4 in. square tool steel drawn to a blade and shank with a square taper head, hardened in 45-50 F water and tempered by watching the colours run from a red-hot iron (pale straw for cast iron, orange yellow for wrought iron and copper, purplish yellow for wood), then ground to a notched gauge with clear corners.
Avançado
An hour or two per drill

Instruções

1

His sizes

A carregar o notebook Jupyter…
2

Read Edwinson

"A good drill may be made to turn out good work even when all other parts are indifferently made."
3

Draw the blade

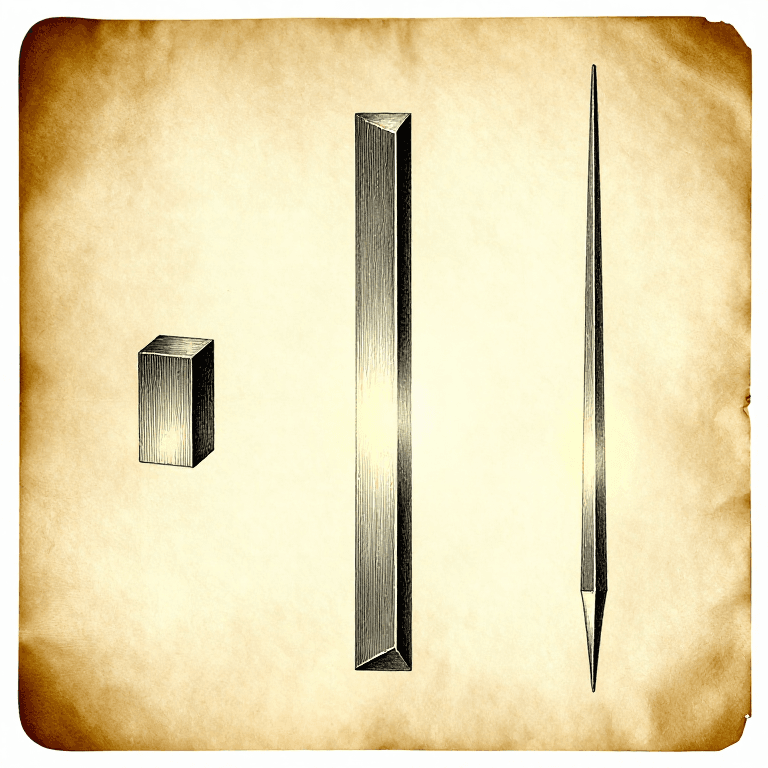
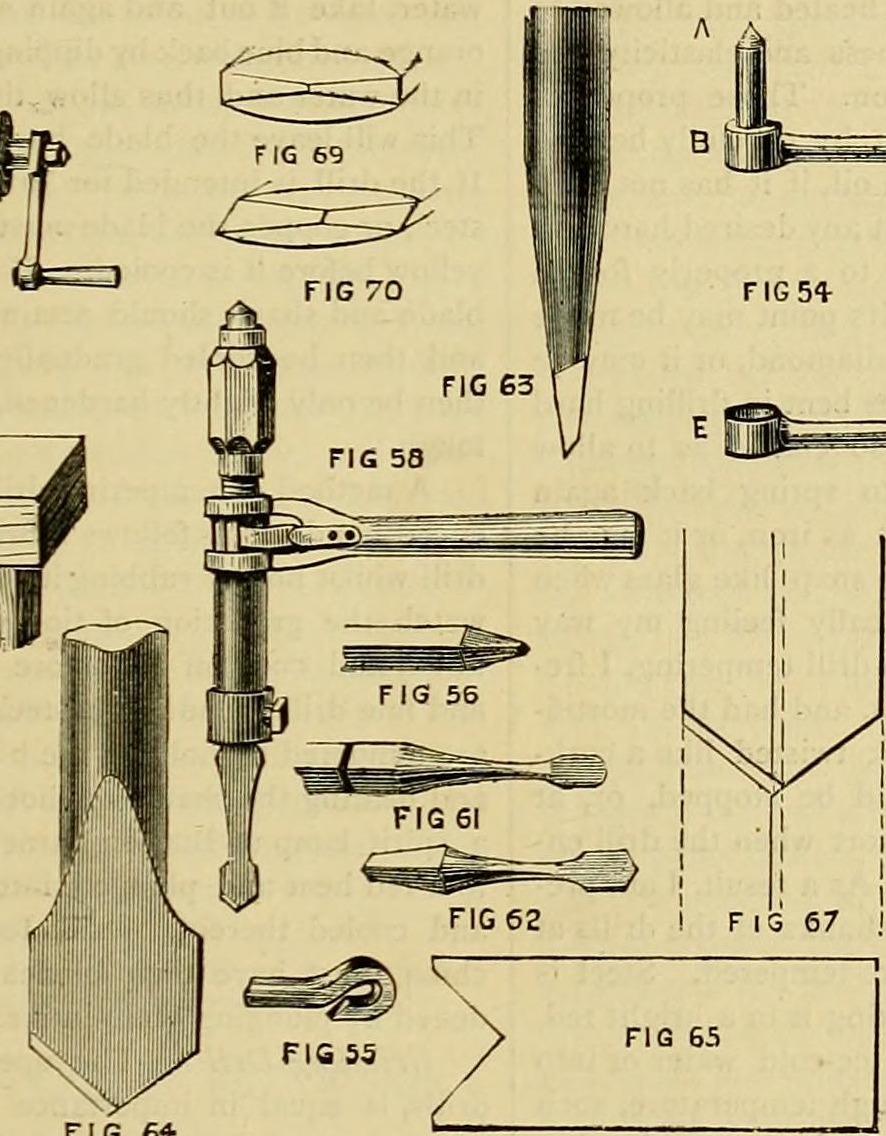
Cut a two-foot length of 3/4 in. (19 mm) square tool steel. Heat 3 in. to blood red in a clean fire, never hotter, and hammer only down to a dull red before reheating. Draw out the blade and shank first (fig. 61), close to shape.

Materiais para este passo:

Barra de aço-ferramentaBarra de aço-ferramenta1 peça

Ferramentas necessárias:

Forja de ferreiroForja de ferreiro
BigornaBigorna
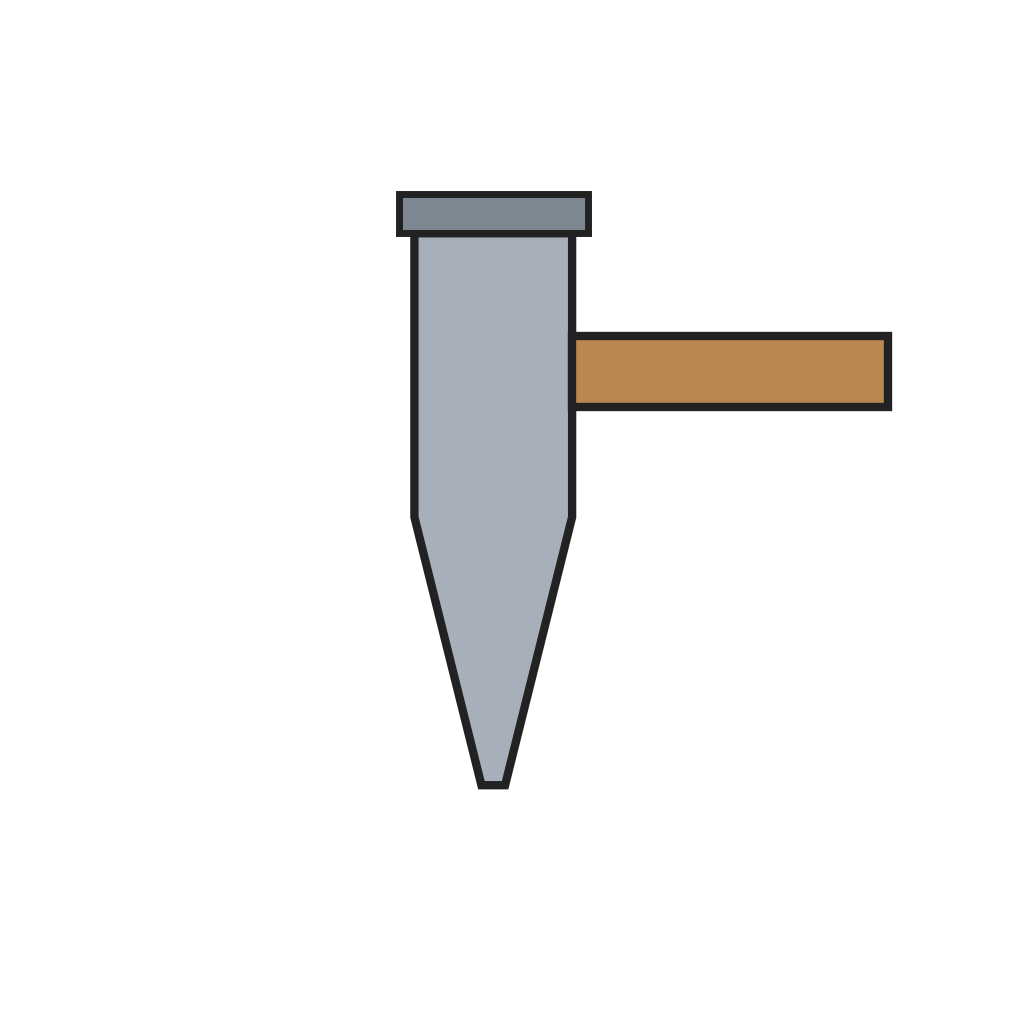
MarteloMartelo
Tenazes de ferreiroTenazes de ferreiro
4

Forge the head

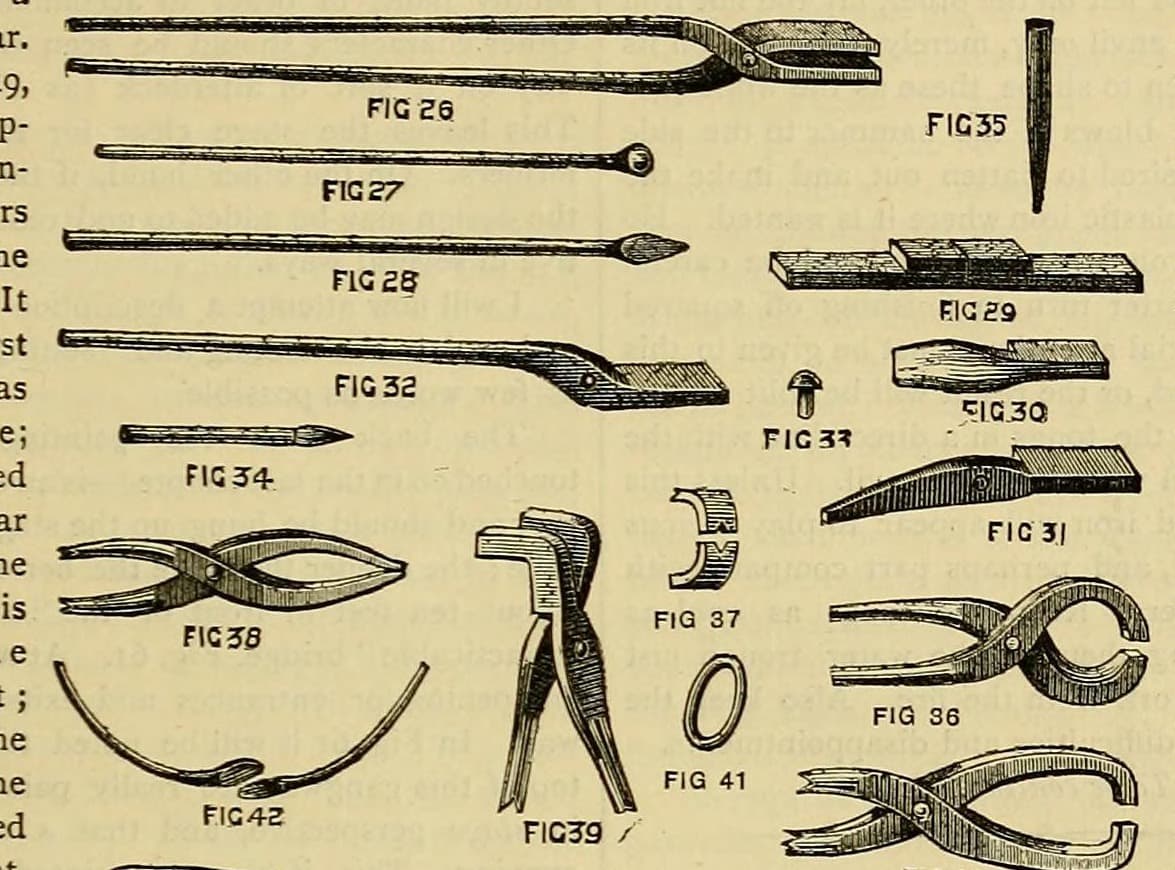
Cut off the length for the head, hold the blade and shank in grooved flat-bit tongs, and forge a square taper head to fit your brace socket, sides equal, shank and blade central. Finish at a dull red, set true, cool.

Ferramentas necessárias:

Talhadeira a quenteTalhadeira a quente
Forja de ferreiroForja de ferreiro
BigornaBigorna
MarteloMartelo
Tenazes de ferreiroTenazes de ferreiro
5

Shape and substance

Taper gradually from head to shank, keep the shank even for an inch or two, then let the blade swell out and thin toward the point (figs. 62, 63). Blade about 1/16 in. at the point and 1/8 in. at the corners for a 1/4 in. drill, up to 3/16 in. for 1/2 or 3/4 in.; a 1/4 in. drill's shank half as thick as a 1/2 in. blade. Leave blades a little full for grinding.

Ferramentas necessárias:

Forja de ferreiroForja de ferreiro
BigornaBigorna
MarteloMartelo
6

Harden

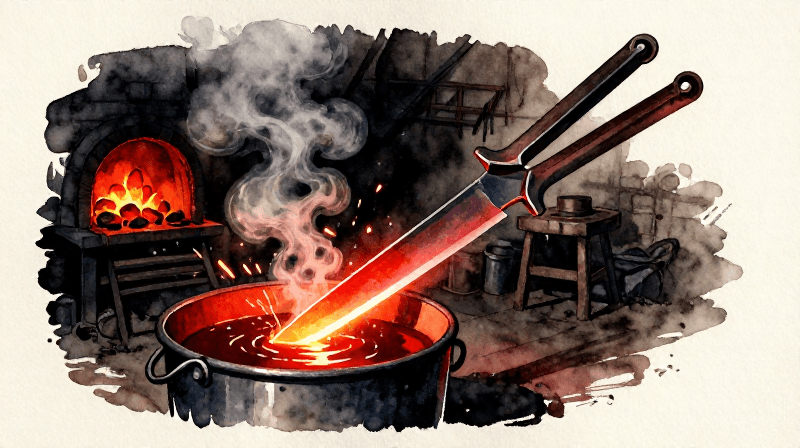
Heat to red and plunge the drill straight down into cool water of 45-50 F (7-10 C), holding it until cold: icy water makes the edges brittle. Brighten the blade and part of the shank on a brick or grit-stone.

Materiais para este passo:

ÁguaÁgua1 peça

Ferramentas necessárias:

Forja de ferreiroForja de ferreiro
BaldeBalde
TermómetroTermómetro
Pedra de amolarPedra de amolar
7

Temper by colour

Lay the shank across a red-hot piece of stout iron and watch the tints run toward the blade: straw, yellow, orange yellow, purplish yellow, purple, blues. For cast iron and hard brass stop when pale straw reaches the blade, dipping the blade to hold the later colours back while the shank cools in air. For wrought iron, soft steel or copper let the blade reach orange yellow. For wood only, let blade and shank reach purplish yellow and cool slowly.

Materiais para este passo:

ÁguaÁgua1 peça

Ferramentas necessárias:

Forja de ferreiroForja de ferreiro
Placa de ferroPlaca de ferro
BaldeBalde
8

Grind to a gauge

Cut gauges from thin sheet brass with notches at the point angles (figs. 65, 66): very obtuse for cast iron and hard brass, more acute for wrought iron, tough steel and copper. Grind both edges equal with the point on the centre line, and give the corners clearance (fig. 70). Grind each blade to its finished size.

Materiais para este passo:

Chapa de latãoChapa de latão1 peça

Ferramentas necessárias:

Limas (lima de mão)Limas (lima de mão)
Mó de afiarMó de afiar
9

Troubleshooting

Drill troubleshooting.

Flow

Loading...
10

History and honest limits

From George Edwinson, "Smithing and Forging" IV, **Amateur Work, Illustrated**, vol. V (1886), pp. 348-351 and figs. 54-70 (checked on the archive.org scan amateurworkillus05lond; the scan reads 3/4 in. bar where the OCR text says 1/2). He also hardened glass and china drills in mercury: left out here (mercury is a poison). Metric figures, the brass gauge stock and the thermometer are ours.

Materiais

3

Ferramentas necessárias

11

CC0 Domínio Público

Este blueprint é liberado sob CC0. Você é livre para copiar, modificar, distribuir e usar este trabalho para qualquer finalidade, sem pedir permissão.

Apoie o Maker comprando produtos através do Blueprint, onde ele ganha uma Comissão Maker definida pelos vendedores, ou crie uma nova versão deste Blueprint e inclua-o como conexão no seu próprio Blueprint para compartilhar receita.

Discussão

(0)

Entrar para participar da discussão

Carregando comentários...