ARTE
BELEZA E BEM-ESTAR
ARTESANATO
CULTURA E HISTÓRIA
ENTRETENIMENTO
MEIO AMBIENTE
COMIDA E BEBIDAS
ENGENHARIA REVERSA
CIÊNCIAS
ESPORTES
TECNOLOGIA
TECNOLOGIA VESTÍVEL
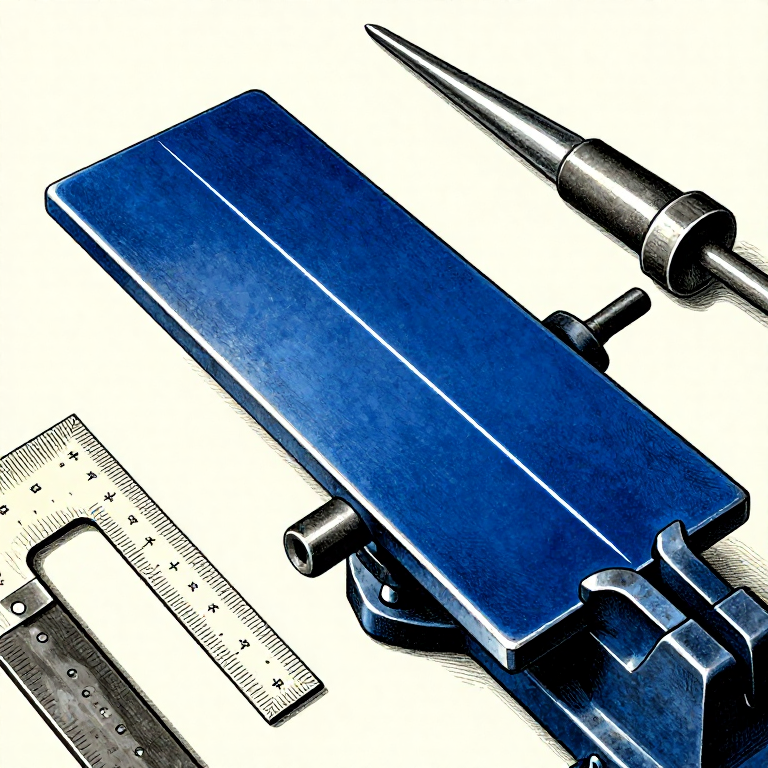


Filing to a Line: Marking Out, and Knowing When to Stop
A file does not know where to stop. That is the whole problem: the part is right until one stroke too many, and there is no way back.
So the work is done before any filing starts. A line scribed into the metal, not drawn on it; the line left visible rather than filed away; and the discipline of approaching it from the safe side, slowing down as you get close.
This is also where filing stops being a rough operation. A part filed to a scribed line by hand can hold a tenth of a millimetre, which is tighter than most people expect and quite good enough for most of what gets made.
Intermediário
3 hours
Instruções
1
1
Scribe a line — never draw one
Scribe a line — never draw one
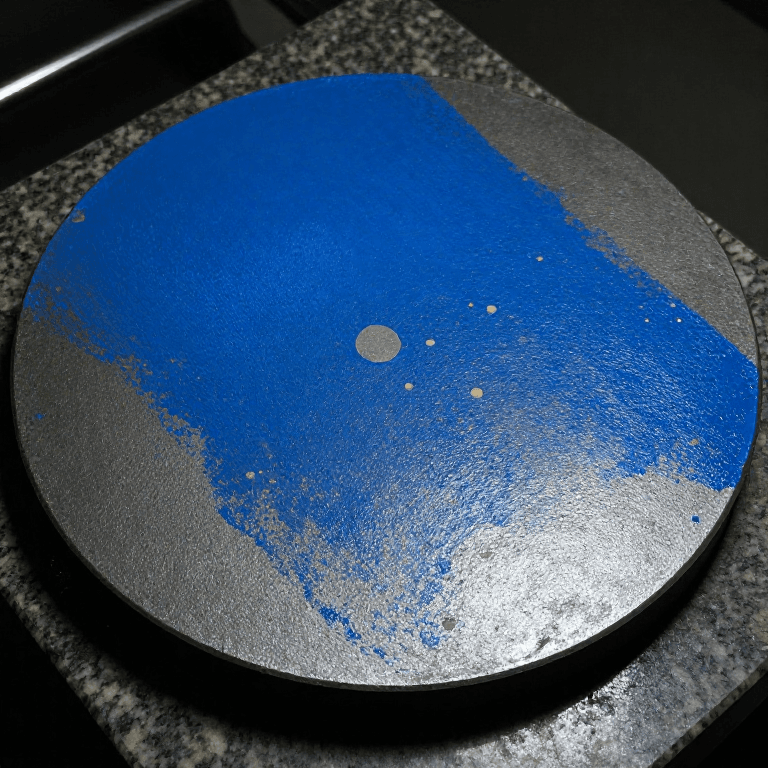
Coat the surface with marking blue, let it dry, then cut the line with a scriber held against a square or a rule. The scriber removes the blue and cuts a fine groove into the metal, so the line is bright, thin and permanent.
A pencil line is about 0.5 mm wide and rubs off; a marker line is wider still and dissolves in cutting oil. Neither can be filed to accurately, because half the width of the line is more than the tolerance you are working to.
Scribe once, firmly. Going over a line repeatedly produces two or three parallel grooves and then you have to decide which one you meant. On soft metal like aluminium or brass a scriber cuts deeply, so a lighter hand is needed.
Ferramentas necessárias:
 Ponta de traçar
 Esquadro fixo
 Régua de traçar
 Azul de mecânico
2
2
File to the line, not through it
File to the line, not through it
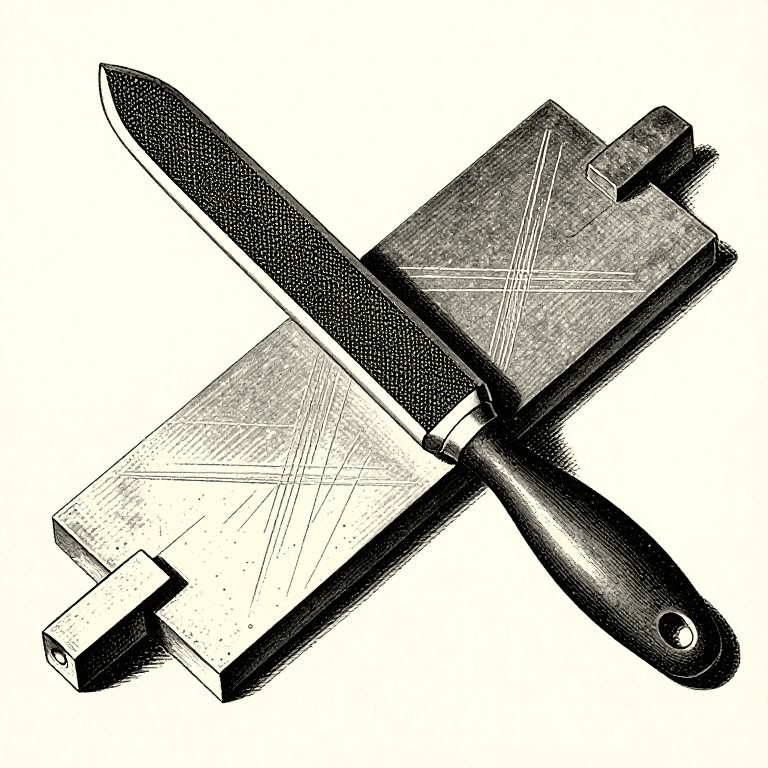
Work until the scribed groove is just being touched along its whole length, and stop there. The finished surface should still show the line, or half of it.
Which half is a decision made before you start. For a part that must fit INTO something, leave the line on — file up to it and no further. For one that something must fit into, take the line off. Deciding halfway through is how a part ends up a millimetre undersize.
Getting the line to be touched evenly along its whole length is the real skill. If it is being reached at one end first, that end is low: ease off there and concentrate the stroke on the high end, which is the cross-filing diagnosis applied to a line instead of a surface.
Ferramentas necessárias:
 Limas (lima de mão)
 Lupa de joalheiro
 Torno de bancada pesado
3
3
The tolerance a hand can actually hold
The tolerance a hand can actually hold
A carregar o notebook Jupyter…
Ferramentas necessárias:
Lupa de joalheiro Calculadora
 Paquímetro
4
4
Saw first, file last
Saw first, file last
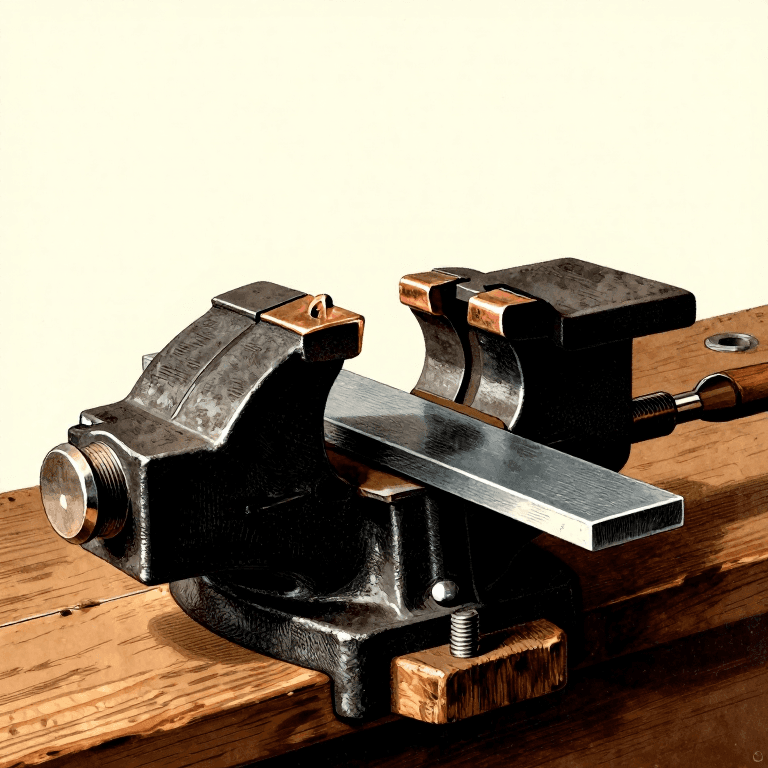
Cut close to the line with a hacksaw — about a millimetre outside it — and file only that last millimetre away.
The removal-rate figures in the cross-filing rung make the case: three millimetres off a small face is over an hour of filing, and a hacksaw takes it in under a minute. Filing exists to make a surface true, not to remove stock, and using it for bulk removal is the commonest reason a beginner decides hand tools are hopeless.
Leave enough to clean up the saw marks and the wander — a millimetre is comfortable, half is tight, and sawing exactly to the line means any wander cuts INTO the finished part with nothing left to correct it.
Materiais para este passo:
 Chapa grossa de aço macio1 peça
Ferramentas necessárias:
 Serra de arco para metaisLimas (lima de mão)Torno de bancada pesado
 Óculos de segurança transparentes
Materiais
1- Referência
Ferramentas necessárias
11- Referência
- Referência
- Referência
- Referência
- Referência
- Referência
- Referência
- Referência
- Referência
- Referência
- Referência
Blueprints relacionados
Estes blueprints compartilham conhecimento — técnicas, materiais ou princípios
CC0 Domínio Público
Este blueprint é liberado sob CC0. Você é livre para copiar, modificar, distribuir e usar este trabalho para qualquer finalidade, sem pedir permissão.
Apoie o Maker comprando produtos através do Blueprint, onde ele ganha uma Comissão Maker definida pelos vendedores, ou crie uma nova versão deste Blueprint e inclua-o como conexão no seu próprio Blueprint para compartilhar receita.