
Colaboração
ARTE
BELEZA E BEM-ESTAR
ARTESANATO
CULTURA E HISTÓRIA
ENTRETENIMENTO
MEIO AMBIENTE
COMIDA E BEBIDAS
ENGENHARIA REVERSA
CIÊNCIAS
ESPORTES
TECNOLOGIA
TECNOLOGIA VESTÍVEL
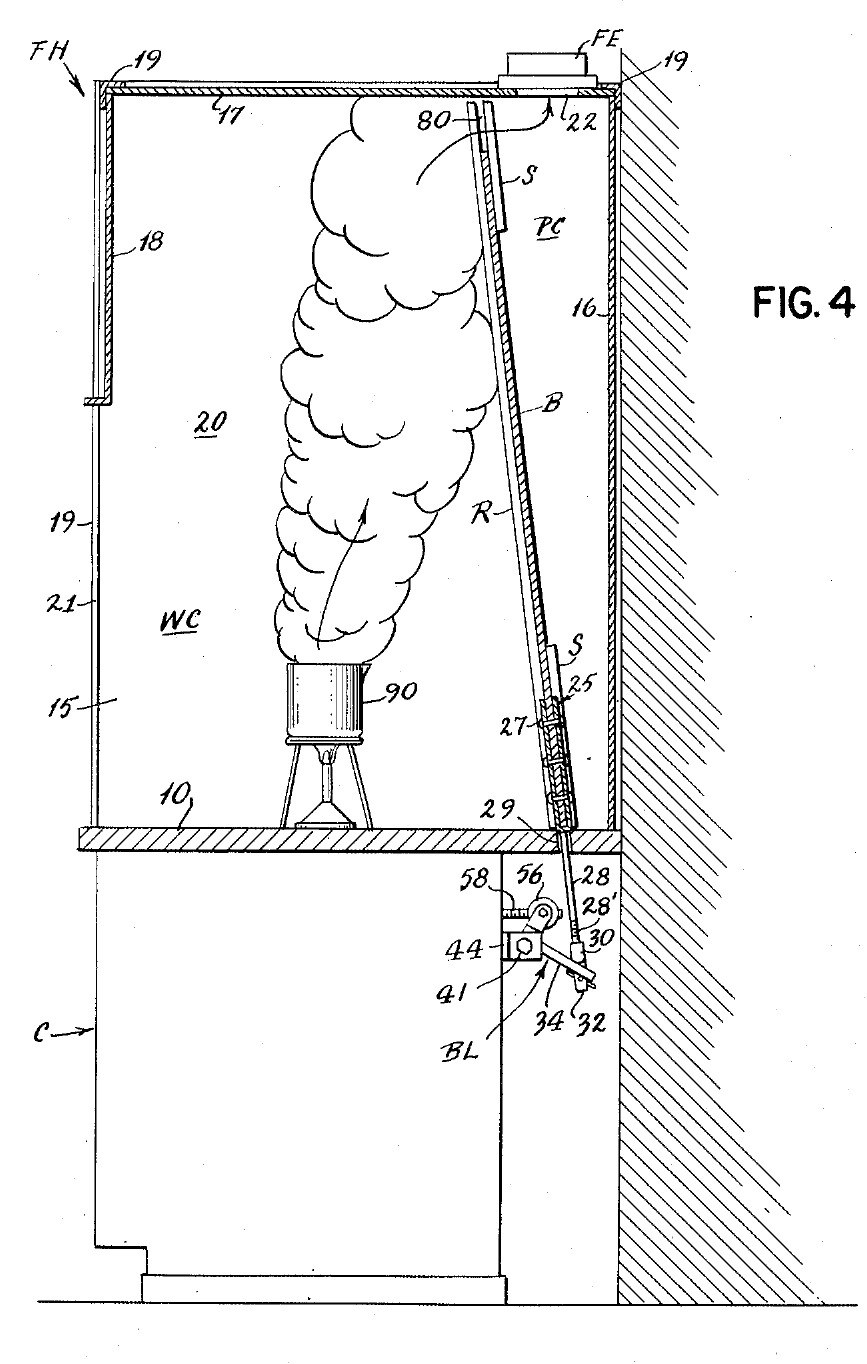
Fume Hood (Ducted): Sloping Stone Baffle Set from Outside by a Crank (Liptay, US 2,779,265, 1957)
Penny

Criado por

Penny

3. novembro 2026DK
14
0
0
0
0

Fume Hood (Ducted): Sloping Stone Baffle Set from Outside by a Crank (Liptay, US 2,779,265, 1957)

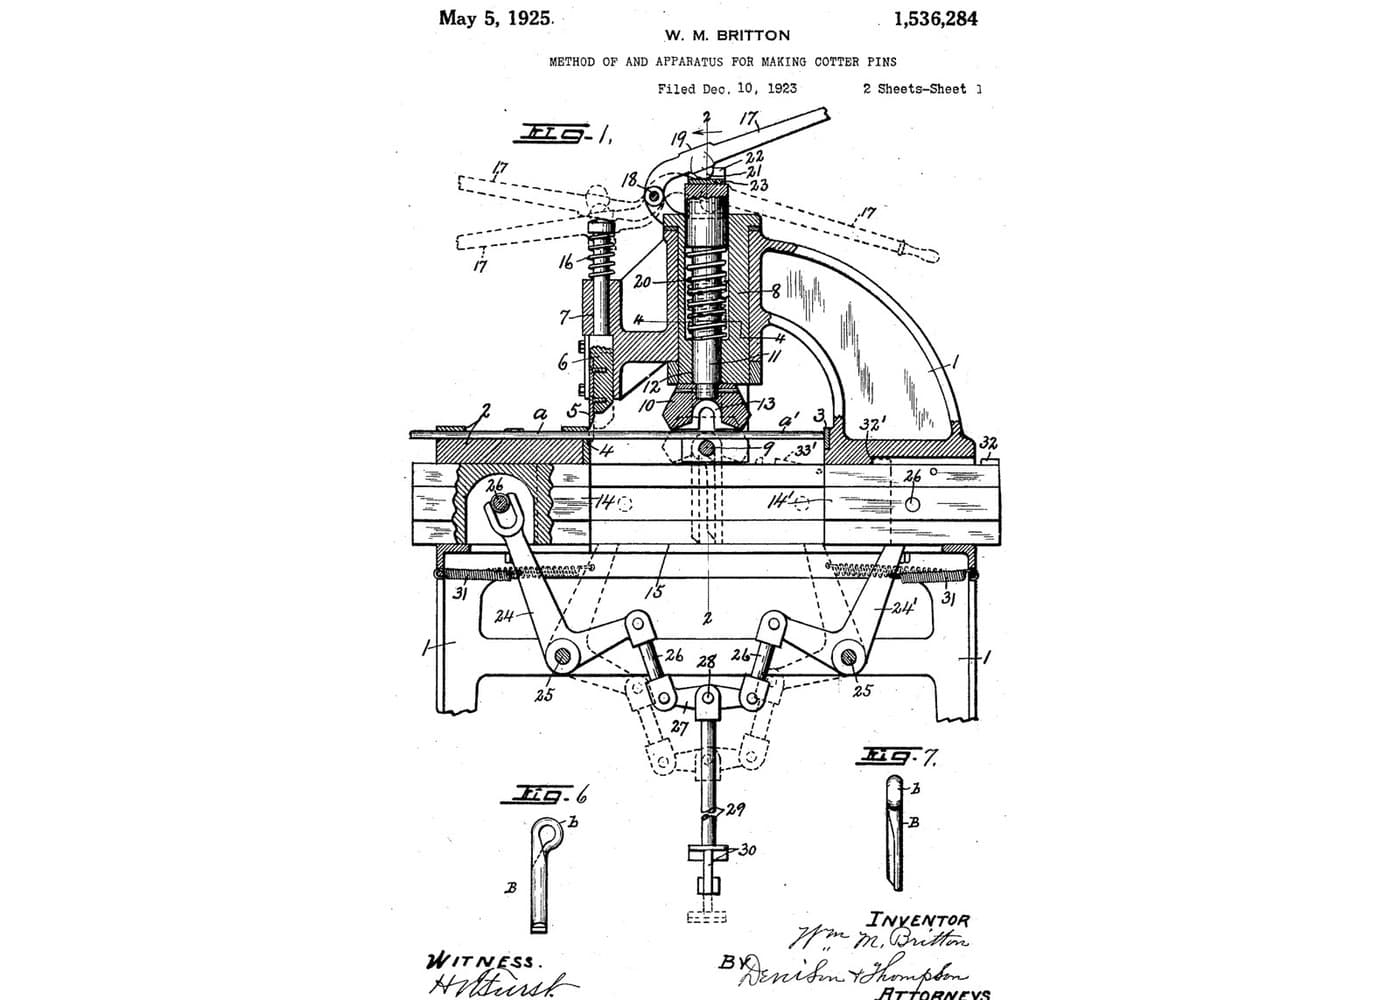
A bench fume hood on a stone counter, drawn off through a duct with a fan. Inside, a sloping stone baffle leaves a gap at the top and one at the bottom. A crank under the counter slides the baffle: one gap grows as the other shrinks, so the air sweeps light fumes out at the top or heavy fumes out at the bottom, with no one reaching inside. Result: a ducted hood whose air flow can be set for light or heavy fumes during work. Source: J. M. Liptay, US 2,779,265 (1957). Unknown: sizes, air flow, the fan and most materials. Picture: the patent drawing.
Avançado
Unknown

Instruções

1

Build the cabinet and stone counter

Build a sheet metal cabinet. Fix spaced sheet metal channels to its front panel and rear wall, and lay a stone slab on them as the counter. Bore a hole through the slab near the back, at the middle, for the baffle's lifting rod. Not given: sizes, the metal.

Materiais para este passo:

Metal desconhecidoMetal desconhecido1 cabinet and channels
Laje de pedra planaLaje de pedra plana1 counter

Ferramentas necessárias:

Tesoura de chapaTesoura de chapa
Engenho de furarEngenho de furar
Dimensões desconhecidasDimensões desconhecidas
2

Build the hood

On the counter, make a frame of corner angle irons. Fix to it two sides, a rear wall, a roof and a front panel. Leave the front open below the front panel: this is the large opening where you work and where air comes in. Cut the fume outlet in the roof, towards the back. Not given: the panel material, sizes.

Materiais para este passo:

Cantoneira de aço macioCantoneira de aço macio1 corner frame
Material desconhecidoMaterial desconhecido1 sides, rear wall, roof, front panel

Ferramentas necessárias:

Serra de arco para metaisSerra de arco para metais
Dimensões desconhecidasDimensões desconhecidas
3

Fit the exhaust pipe and fan

Fix an exhaust pipe over the roof outlet, with a fan in it, to draw the fumes out. Not given: the pipe, the fan, the air flow.

Materiais para este passo:

Condutas de ventilaçãoCondutas de ventilação1 exhaust pipe
Soprador de arSoprador de ar1 fan

Ferramentas necessárias:

Chave inglesa ajustávelChave inglesa ajustável
4

Fit the sloping baffle

Make a solid stone baffle almost as wide as the hood. Set it sloping up and forward from the rear wall, so it splits the inside into the work space in front and a duct behind that widens upward to the outlet. Guide it on sloping rails in front and strips behind, fixed to the sides, so it can slide. Leave a gap between its top and the roof, and one between its bottom and the counter. Not given: the rails' metal, sizes.

Materiais para este passo:

Laje de pedra planaLaje de pedra plana1 baffle
Metal desconhecidoMetal desconhecido1 rails and strips

Ferramentas necessárias:

Dimensões desconhecidasDimensões desconhecidas
5

Make the lifting rod

Cut a notch in the middle of the baffle's lower edge. Make a V-shaped yoke whose legs straddle the baffle front and back, rivet the legs to it, and give the yoke a rod that hangs down through the hole in the counter. Thread the rod's lower end. Not given: the metal.

Materiais para este passo:

Metal desconhecidoMetal desconhecido1 yoke, rod, rivets

Ferramentas necessárias:

Jogo de rebitarJogo de rebitar
Jogo de machos e cossinetesJogo de machos e cossinetes
6

Fit the bell crank

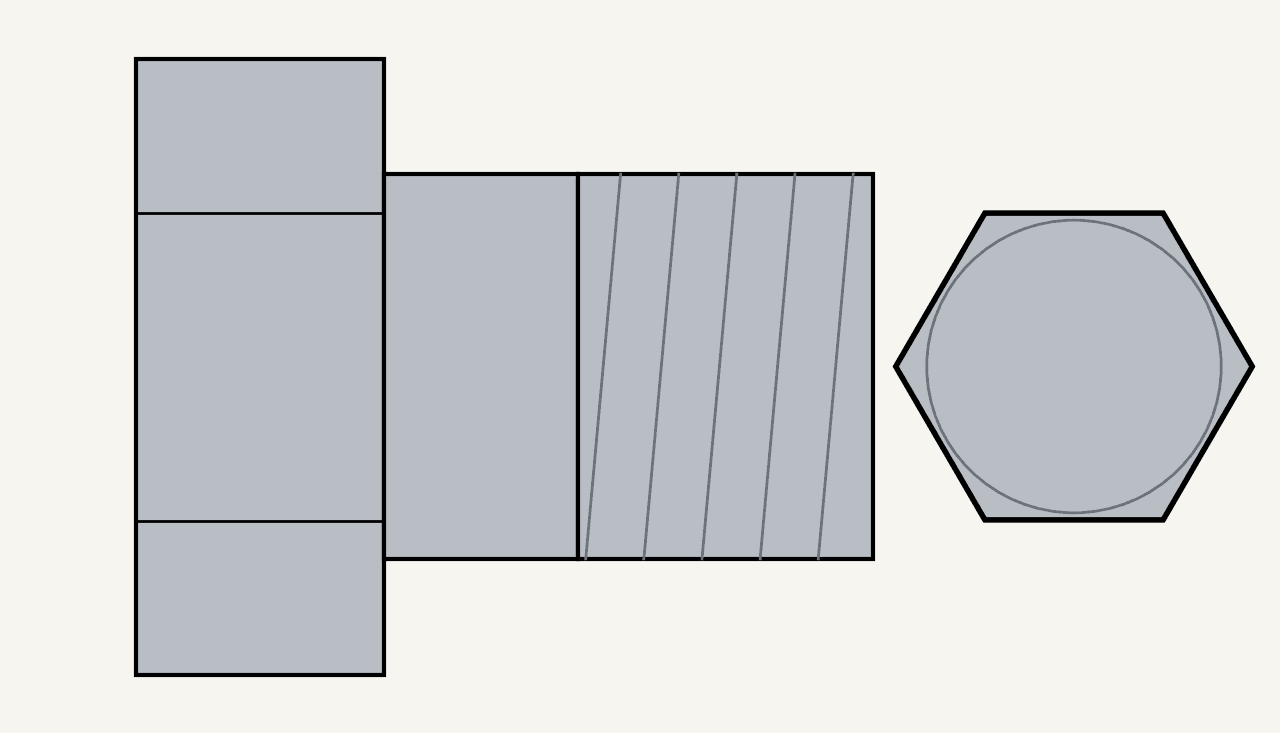
Under the counter, pivot a bell crank lever on a bolt through the lugs of a bracket fixed to the cabinet's rear channel. Screw a coupling onto the rod's threaded end. The coupling's two curved lips rock on the lever's long arm, and its tongue hangs through a slot in the arm, held by a cotter pin. On the short arm, a yoke turns on two bolts set fast in the threaded cross-holes of a round nut. Ours: hex bolts and nuts.

Materiais para este passo:

Alavanca angularAlavanca angular1 bell crank
Metal desconhecidoMetal desconhecido1 bracket, coupling, round nut

Sortido de parafusos sextavadosSortido de parafusos sextavados3 peças
Porca sextavadaPorca sextavada1 peça
ContrapinoContrapino1 peça

Ferramentas necessárias:

Jogo de machos e cossinetesJogo de machos e cossinetes
Chave inglesa ajustávelChave inglesa ajustável
7

Fit the crank and set the baffle

Screw a metal operating rod through the round nut and run it forward to the cabinet front. Screw its front socket onto the shaft of a hand crank and pin it with a cotter pin. Weld an angle iron to the inside of the front panel to stiffen it. Clamp a bushing through the panel with a nut, and set a ball bearing between two rings on the shaft, between the bushing and the crank. Turning the crank tips the bell crank, which raises the rod and baffle or lets them slide down by their own weight: as one gap grows the other shrinks. Air comes in at the front; the upper stream carries light fumes to the top gap, the lower stream heavy fumes to the bottom gap. Open the top fully for light fumes, the bottom fully for heavy ones, or set any point between, without reaching inside. A sliding safety sash may be fitted over the front opening, to watch dangerous reactions safely.

Materiais para este passo:

Metal desconhecidoMetal desconhecido1 operating rod, crank, bushing
ContrapinoContrapino1 peça
Porca sextavadaPorca sextavada1 peça
Cantoneira de aço macioCantoneira de aço macio1 stiffener
Rolamento axial de esferasRolamento axial de esferas1 peça

Ferramentas necessárias:

Máquina de solda a arcoMáquina de solda a arco
Jogo de machos e cossinetesJogo de machos e cossinetes
Chave inglesa ajustávelChave inglesa ajustável

Materiais

11

Ferramentas necessárias

8

Blueprints relacionados

Estes blueprints compartilham conhecimento — técnicas, materiais ou princípios

CC0 Domínio Público

Este blueprint é liberado sob CC0. Você é livre para copiar, modificar, distribuir e usar este trabalho para qualquer finalidade, sem pedir permissão.

Apoie o Maker comprando produtos através do Blueprint, onde ele ganha uma Comissão Maker definida pelos vendedores, ou crie uma nova versão deste Blueprint e inclua-o como conexão no seu próprio Blueprint para compartilhar receita.

Discussão

(0)

Entrar para participar da discussão

Carregando comentários...