Colaboração
ARTE
BELEZA E BEM-ESTAR
ARTESANATO
CULTURA E HISTÓRIA
ENTRETENIMENTO
MEIO AMBIENTE
COMIDA E BEBIDAS
ENGENHARIA REVERSA
CIÊNCIAS
ESPORTES
TECNOLOGIA
TECNOLOGIA VESTÍVEL
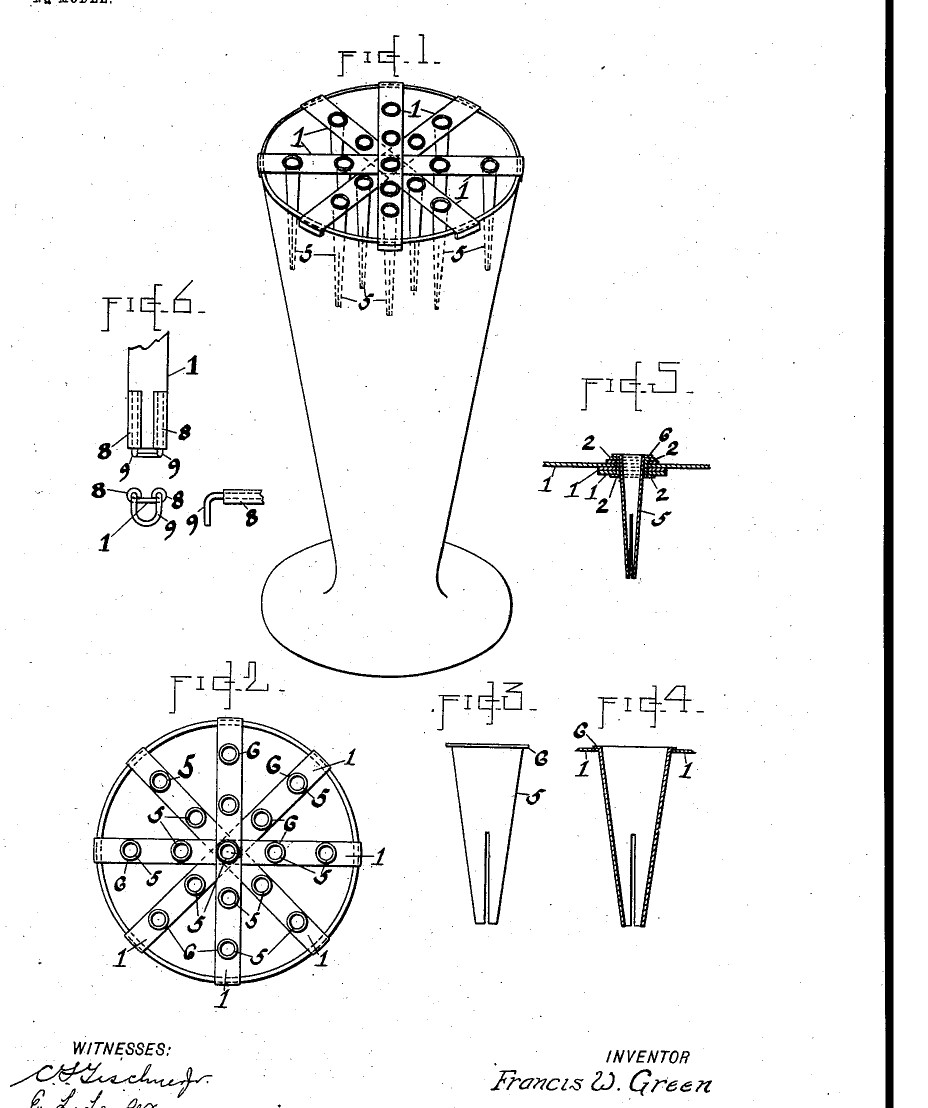


Flower Holder for a Vase: Crossed Brass Strips Carrying Slit Spring Cones That Grip Each Stem (Green, 1903)
Francis W. Green of Brooklyn received US 720,132, dated 10 February 1903, for a holder that sits on the mouth of a vase and holds each flower separately, at the height you choose. Metal strips cross at the centre and hook over the rim; small cones of sheet metal, slit at the bottom, hang in holes along the strips and grip each stem like a spring, so a bunch can be arranged "as may suit the individual taste of the user".
We make it from brass. All sizes are ours.
Iniciante
About 3 hours
Instruções
1
1
Cone blank
Cone blank
A carregar o notebook Jupyter…
2
2
Read US 720,132
Read US 720,132
"The stems of the sprays or flowers may be inserted and forced downward through the conical holder until the head of the flower or spray is at the desired position in the holder."
3
3
Make the frame
Make the frame
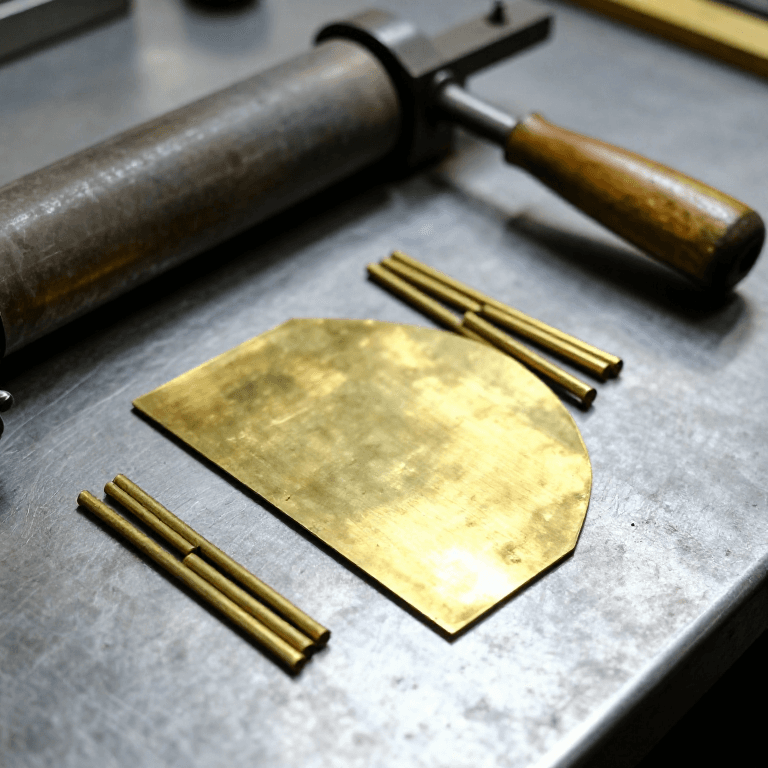
Cut four brass strips a little longer than your vase's mouth is wide. Drill each at its centre and rivet all four together crossed at equal angles with a short piece of brass tube flared at both ends, his hollow rivet 2. Bend the ends down to make ears that rest over the rim of the vase.
Materiais para este passo:
 Tira de latão1 peça
 Tubo de latão1 peça
Ferramentas necessárias:
 Serra de arco para metais
 Engenho de furar
 Jogo de brocas
 Punção de centro
 Martelo de bola
 Alicate de bico chato
 Torno de bancada
4
4
Punch the holes
Punch the holes
Drill holes along each strip, spaced so the flowers will stand apart, just big enough for a cone's narrow part to pass and its lip to rest on the strip.
Ferramentas necessárias:
Engenho de furarJogo de brocas Jogo de limas
5
5
Make the cones
Make the cones
Mark the notebook's blank on brass sheet, cut it out, roll it round a tapered rod or nail into a cone small end down, overlap the seam and solder it. Turn the wide end out into a small lip 6. Slit the narrow end up a short way with a saw so it springs.
Materiais para este passo:
 Chapa de latão1 peça
 Solda de estanho-chumbo1 peça
 Fluxo1 peça
Ferramentas necessárias:
 Tesoura de chapa
 Alicate de bicos redondos
 Ferro de solda elétrico
 Serra de joalheiroJogo de limas
6
6
Fit the cones
Fit the cones
Drop a cone into each hole and solder its lip to the strip, or make the hole a little small and press the cone in until the lip sits on the strip, as he allows.
Materiais para este passo:
Solda de estanho-chumbo1 peçaFluxo1 peçaFerramentas necessárias:
Ferro de solda elétricoAlicate de bico chato7
7
Arrange flowers
Arrange flowers
Set the frame on the vase. Push each stem down through a cone until the flower is at the height you want: the slit end grips it. Lift a flower out and put another in without disturbing the rest.
8
8
Troubleshooting
Troubleshooting
Flower holder troubleshooting.
Flow
Loading...
9
9
History and honest limits
History and honest limits
**Francis W. Green** of Brooklyn, US 720,132, dated 10 February 1903, filed 28 November 1902. He claimed "a frame adapted to rest over the mouth of a vase or other receptacle and provided with a number of vertically-disposed tapering spring flower-holders open at both ends". Not built: his adjustable frame ends (Fig. 6). He gives no sizes and does not limit the material: brass, all sizes and the solder are ours.
Materiais
5- 1 peçaReferência
- 1 peçaReferência
- 1 peçaReferência
- 2 peçasReferência
- 2 peçasReferência
Ferramentas necessárias
12- Referência
- Referência
- Referência
- Referência
- Referência
- Referência
- Referência
- Referência
- Referência
- Referência
- Referência
- Referência
Este projeto faz

Blueprints relacionados
Estes blueprints compartilham conhecimento — técnicas, materiais ou princípios
CC0 Domínio Público
Este blueprint é liberado sob CC0. Você é livre para copiar, modificar, distribuir e usar este trabalho para qualquer finalidade, sem pedir permissão.
Apoie o Maker comprando produtos através do Blueprint, onde ele ganha uma Comissão Maker definida pelos vendedores, ou crie uma nova versão deste Blueprint e inclua-o como conexão no seu próprio Blueprint para compartilhar receita.