
Colaboração
ARTE
BELEZA E BEM-ESTAR
ARTESANATO
CULTURA E HISTÓRIA
ENTRETENIMENTO
MEIO AMBIENTE
COMIDA E BEBIDAS
ENGENHARIA REVERSA
CIÊNCIAS
ESPORTES
TECNOLOGIA
TECNOLOGIA VESTÍVEL
Child's Pilch: Treeless Saddle With Stuffed Roll, Web Girth Straps and Flock Panel (Hasluck, Saddlery, 1904)
Tex

Criado por

Tex

13. novembro 2026FO
4
0
0
0
0

Child's Pilch: Treeless Saddle With Stuffed Roll, Web Girth Straps and Flock Panel (Hasluck, Saddlery, 1904)

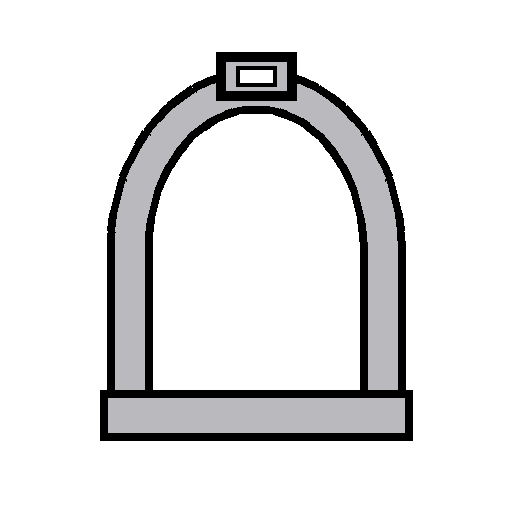
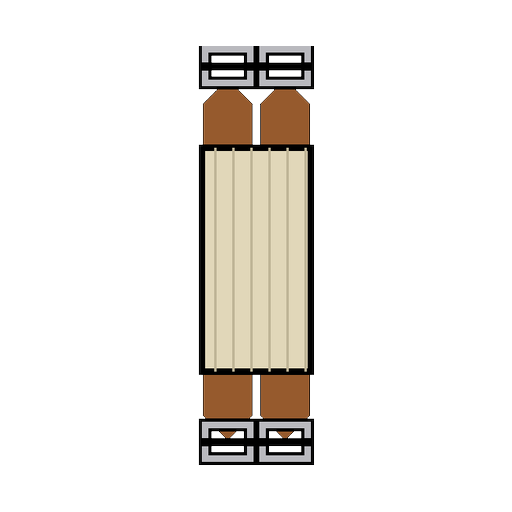
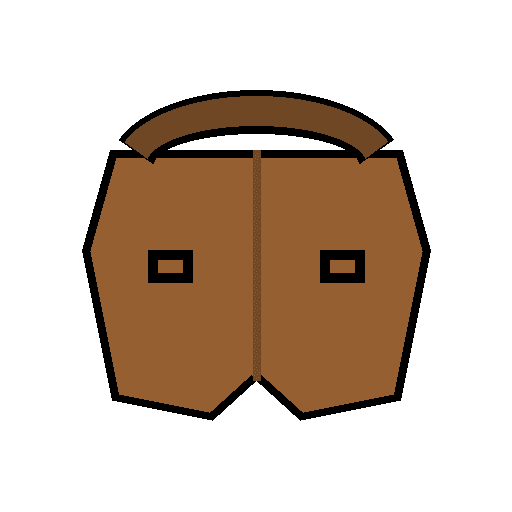
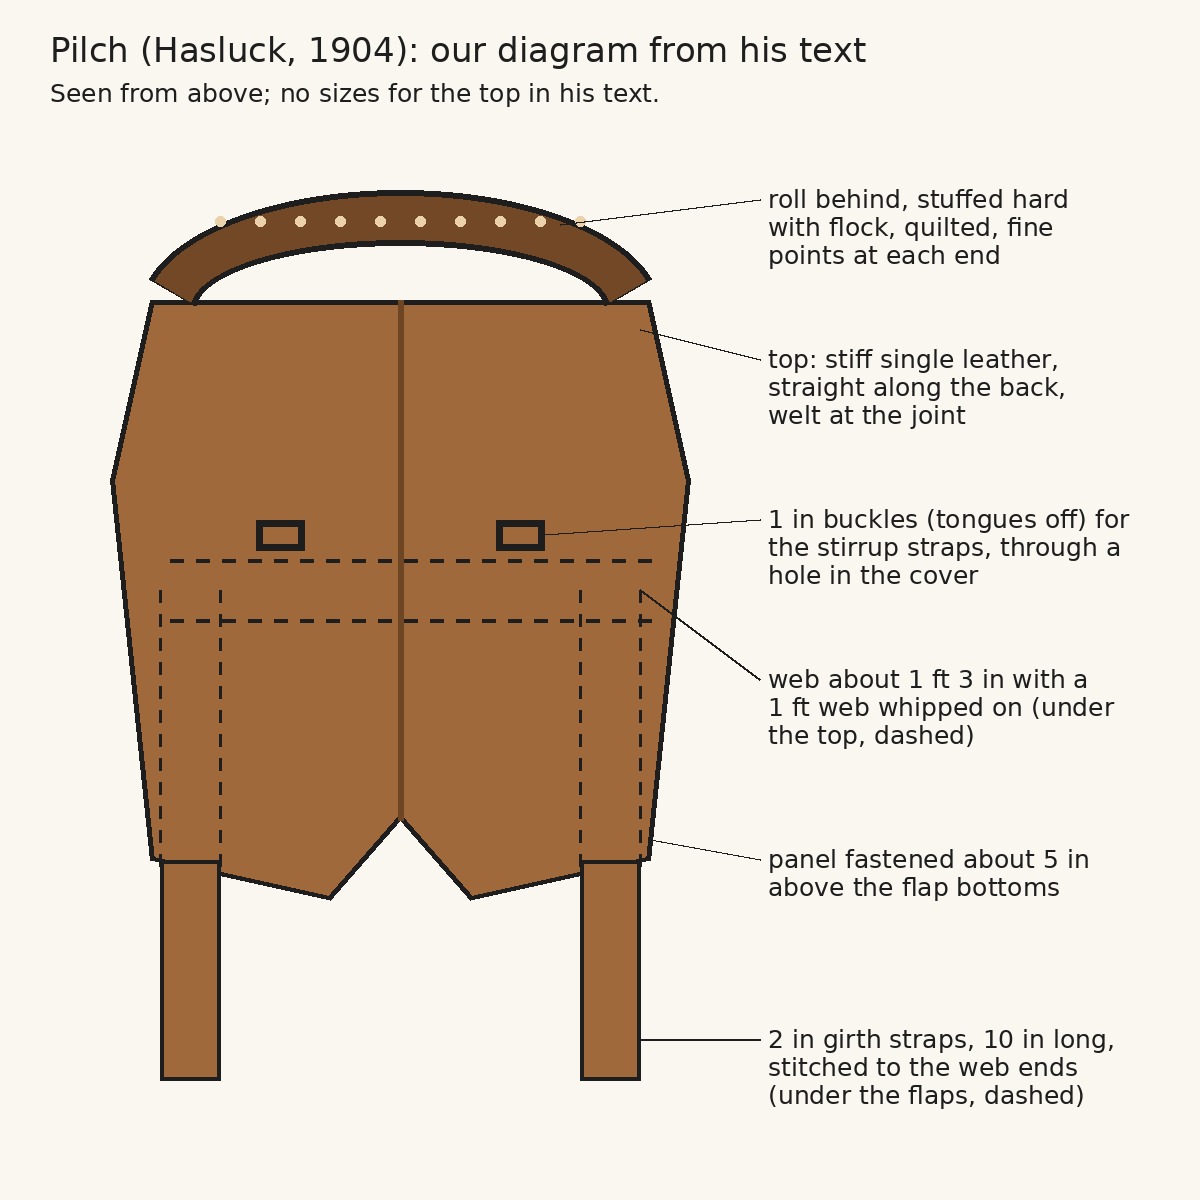
A pilch is a child's saddle made without a tree. This is the plain boy's pilch from Paul N. Hasluck's Saddlery (1904): a stiff leather top with a hard-stuffed roll behind, webs underneath carrying the girth straps and the stirrup buckles, and a flock-stuffed panel. He gives no size for the top; the picture is our diagram from his text.
Avançado
About 2 days

Instruções

1

His sizes in centimetres

A carregar o notebook Jupyter…
2

Read Saddlery, ch. IV

"A pilch is the form of saddle used by a boy or girl." He adds that pilches "accommodate themselves to almost any horse, though they lose their shape under a heavy weight".
3

Cut the top

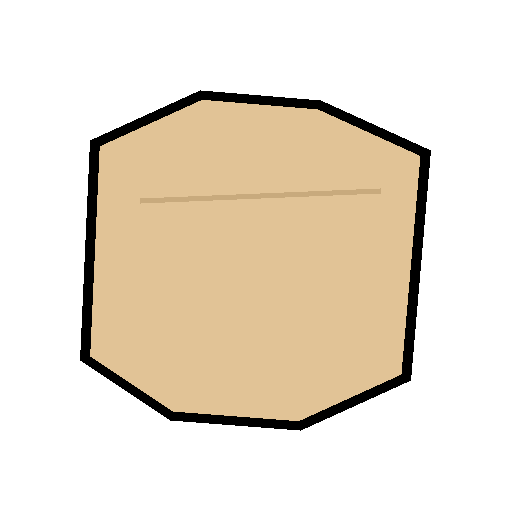
Cut the top somewhat like a saddle panel but smaller, and in a straight line along the back. Put a welt at the joint and stitch it double-handed on the under side. The top can be plain stiff single leather, or covered plain with basil or hogskin (tack a cover coarsely along the edge, then bind it with leather).

Materiais para este passo:

Couro para arreiosCouro para arreios1 peça
Fio de linhoFio de linho1 peça
Cera de abelhaCera de abelha1 peça

Ferramentas necessárias:

Faca para couroFaca para couro
SovelaSovela
Duas agulhas de correeiroDuas agulhas de correeiro
Torno de seleiroTorno de seleiro
Fita métricaFita métrica
4

Make the web for the girth and stirrup straps

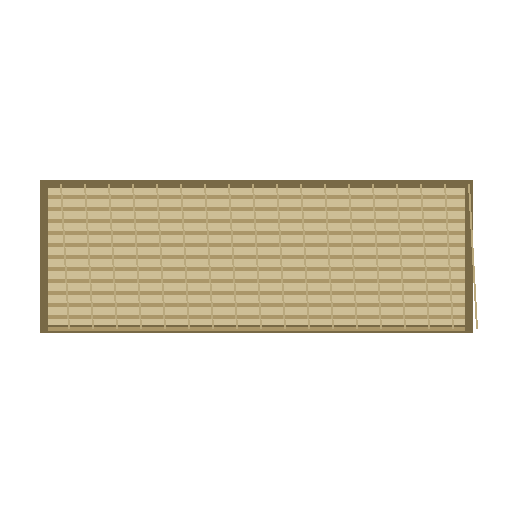
Take a piece of webbing about 1 ft 3 in long and stitch a 2 in strap, 10 in long, to each end, turning the end of the web in under the stitch. Whip a second piece of web about 1 ft long to the edge of the first, at equal distances from both ends, and fit two chapes and 1 in buckles with the tongues taken off, for the stirrup straps. Stitch this to the lower part of the top, right in the centre. Bring the stirrup buckles forward and cut a hole for each to come through on the outside without the web showing; the holes must be the same distance from the centre on each side. Stitch the web firmly through the top from end to end.

Materiais para este passo:

Fita de cilhaFita de cilha1 peça
Couro para arreiosCouro para arreios1 peça
Fivela de ferro com fuzilhãoFivela de ferro com fuzilhão2 peças
Fio de linhoFio de linho1 peça
Cera de abelhaCera de abelha1 peça

Ferramentas necessárias:

Faca para couroFaca para couro

TorquêsTorquês
Biselador de bordosBiselador de bordos
DobradeiraDobradeira
Maçarico a propanoMaçarico a propano
SovelaSovela
Duas agulhas de correeiroDuas agulhas de correeiro
Torno de seleiroTorno de seleiro
Fita métricaFita métrica
5

Make and fix the roll

Cut linen to the shape and size of the roll, double it and stitch the edges together; stuff it hard with flock and quilt it firmly. It should reach round the back and come to a fine point at each end. Draw it tight round the back of the seat, bringing the points down level at each corner of the flap part of the top, and put a stitch here and there along the bottom through the linen and the top.

Materiais para este passo:

Tecido de linhoTecido de linho1 peça
Enchimento de lãEnchimento de lã1 peça
Fio de linhoFio de linho1 peça
Cera de abelhaCera de abelha1 peça

Ferramentas necessárias:

TesouraTesoura
SovelaSovela
Duas agulhas de correeiroDuas agulhas de correeiro
6

Cover and quilt the roll

Cut hogskin or basil large enough to cover the roll. Raise a stitch along the bottom on both sides of the roll in the cover and run the stitches up and down through the top, drawing the cover down tightly over the roll. Quilt the roll with stitches from side to side, a little tuft of flock under each stitch, drawn tight; fasten the thread securely at the end.

Materiais para este passo:

Couro de porcoCouro de porco1 peça
Enchimento de lãEnchimento de lã1 peça
Fio de linhoFio de linho1 peça
Cera de abelhaCera de abelha1 peça

Ferramentas necessárias:

Faca para couroFaca para couro
SovelaSovela
Duas agulhas de correeiroDuas agulhas de correeiro
7

Make and fasten the panel

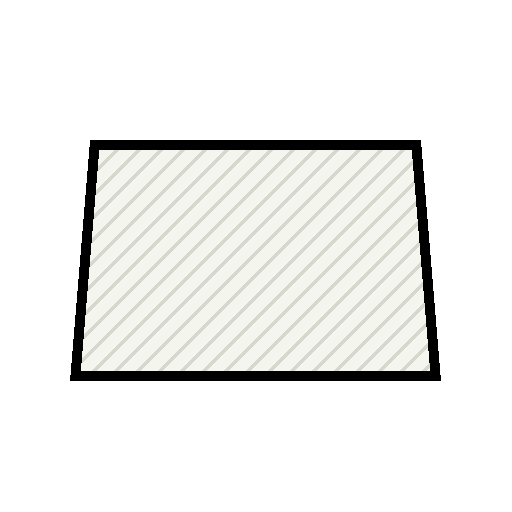
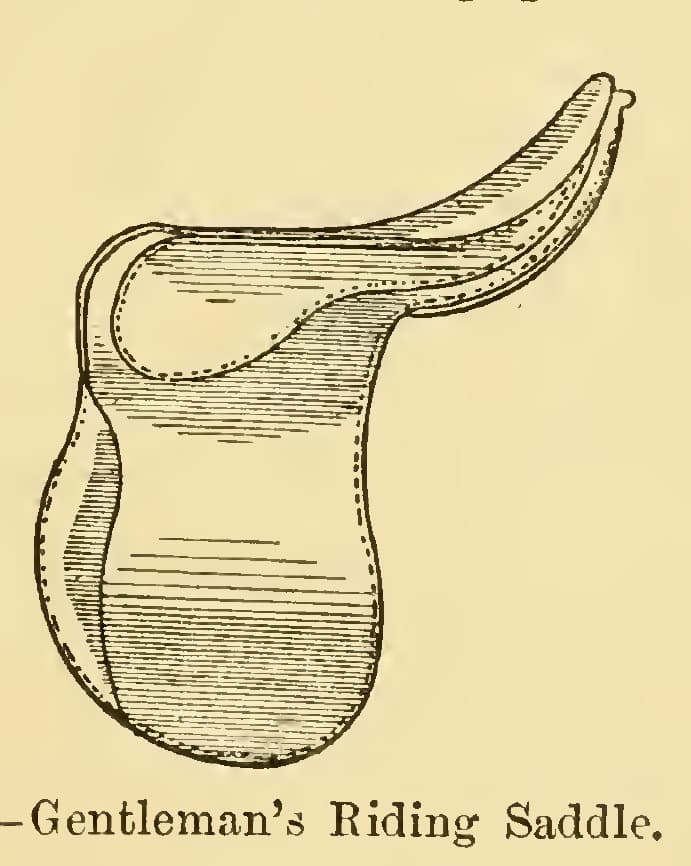
Make the panel exactly like a saddle panel (see the riding saddle blueprint). Fasten it by putting stitches through the top here and there along the front and round the back near the edge, with a small tuft of flock under each stitch on the panel and every stitch knotted over the flock as you go. Do not fasten the panel right at the bottom of the flaps, but about 5 in from it.

Materiais para este passo:

Carneira curtida (basil)Carneira curtida (basil)1 peça
Sarja de lãSarja de lã1 peça
Enchimento de lãEnchimento de lã1 peça
Fio de linhoFio de linho1 peça
Cera de abelhaCera de abelha1 peça

Ferramentas necessárias:

Faca para couroFaca para couro
SovelaSovela
Duas agulhas de correeiroDuas agulhas de correeiro
Fita métricaFita métrica
8

Stirrup straps, irons and girths

Make a pair of 1 in stirrup straps 1 ft 8 in long, and get a pair of boy's stirrup irons (he says they could be bought tinned for sixpence a pair). A pair of girths 1 ft 6 in and 1 ft 8 in long completes the pilch.

Materiais para este passo:

Couro para arreiosCouro para arreios1 peça
EstriboEstribo2 peças
Cilha de selaCilha de sela2 peças

Ferramentas necessárias:

Faca para couroFaca para couro
Vazador para couroVazador para couro
Fita métricaFita métrica
9

Troubleshooting

Pilch troubleshooting.

Flow

Loading...
10

History and honest limits

From **Saddlery**, edited by Paul N. Hasluck, David McKay, 1904 (archive.org saddlery00hasl), chapter IV, "Children's Saddles or Pilches", pp. 36-39, read on the scan; the chapter has no figures, so the picture is our own diagram from his text. He gives no size for the top. The reversible heads and the safe for a girl, the girl's slipper stirrup and the crupper web are not made here. The thread, tools and metric figures are ours.

Materiais

12

Ferramentas necessárias

11

CC0 Domínio Público

Este blueprint é liberado sob CC0. Você é livre para copiar, modificar, distribuir e usar este trabalho para qualquer finalidade, sem pedir permissão.

Apoie o Maker comprando produtos através do Blueprint, onde ele ganha uma Comissão Maker definida pelos vendedores, ou crie uma nova versão deste Blueprint e inclua-o como conexão no seu próprio Blueprint para compartilhar receita.

Discussão

(0)

Entrar para participar da discussão

Carregando comentários...