ARTE
BELEZA E BEM-ESTAR
ARTESANATO
CULTURA E HISTÓRIA
ENTRETENIMENTO
MEIO AMBIENTE
COMIDA E BEBIDAS
ENGENHARIA REVERSA
CIÊNCIAS
ESPORTES
TECNOLOGIA
TECNOLOGIA VESTÍVEL
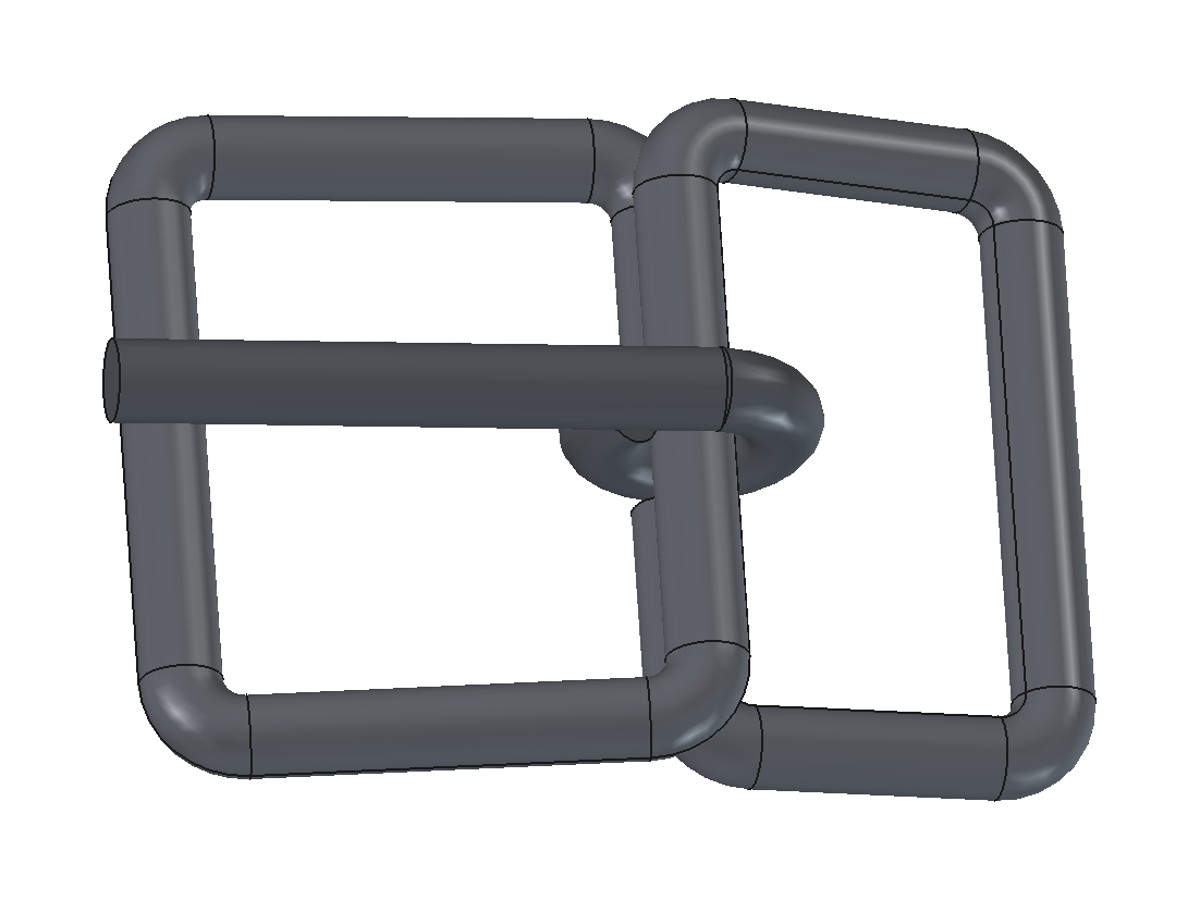


Iron Buckle with Tongue: One Bent Wire Forming Both Loops and the Tongue Bar (after Schleicher, 1907)
A strap buckle for harness and belts made from one piece of iron wire: bent into a tongue loop and a tuck loop that share the middle bar, the two ends tucked under the bar and soldered, and a wire tongue looped round the bar. William Schleicher patented this way of making a buckle in 1907. Sized for a 25 mm strap.
Iniciante
About 1 hour
Instruções
1
1
A square buckle made at the forge
A square buckle made at the forge
A square buckle for a 1 in. strap made at the forge (Beau Beckett). Ours is bent cold from wire and soldered.
2
2
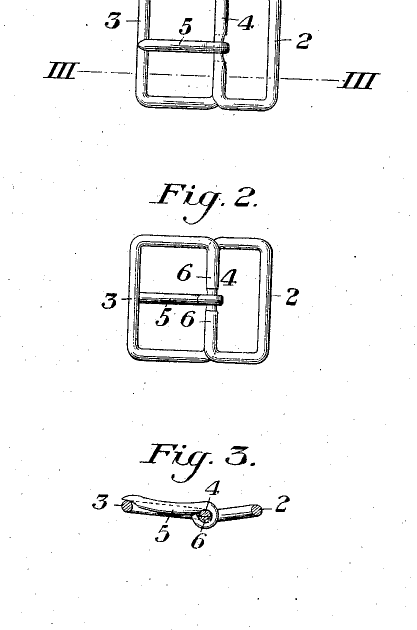
Schleicher's wire buckle, 1907
Schleicher's wire buckle, 1907
US 850,792: one piece of wire bent to form the tuck loop 2 and the tongue loop 3. The middle of the wire is the bar 4 between them, the pin for the tongue 5. The bar's underside is filed a little flat, the free ends 6 run back under it, and the frame is tinned, the ends soldered to the bar and the tongue put on.
3
3
Print the bending plan
Print the bending plan
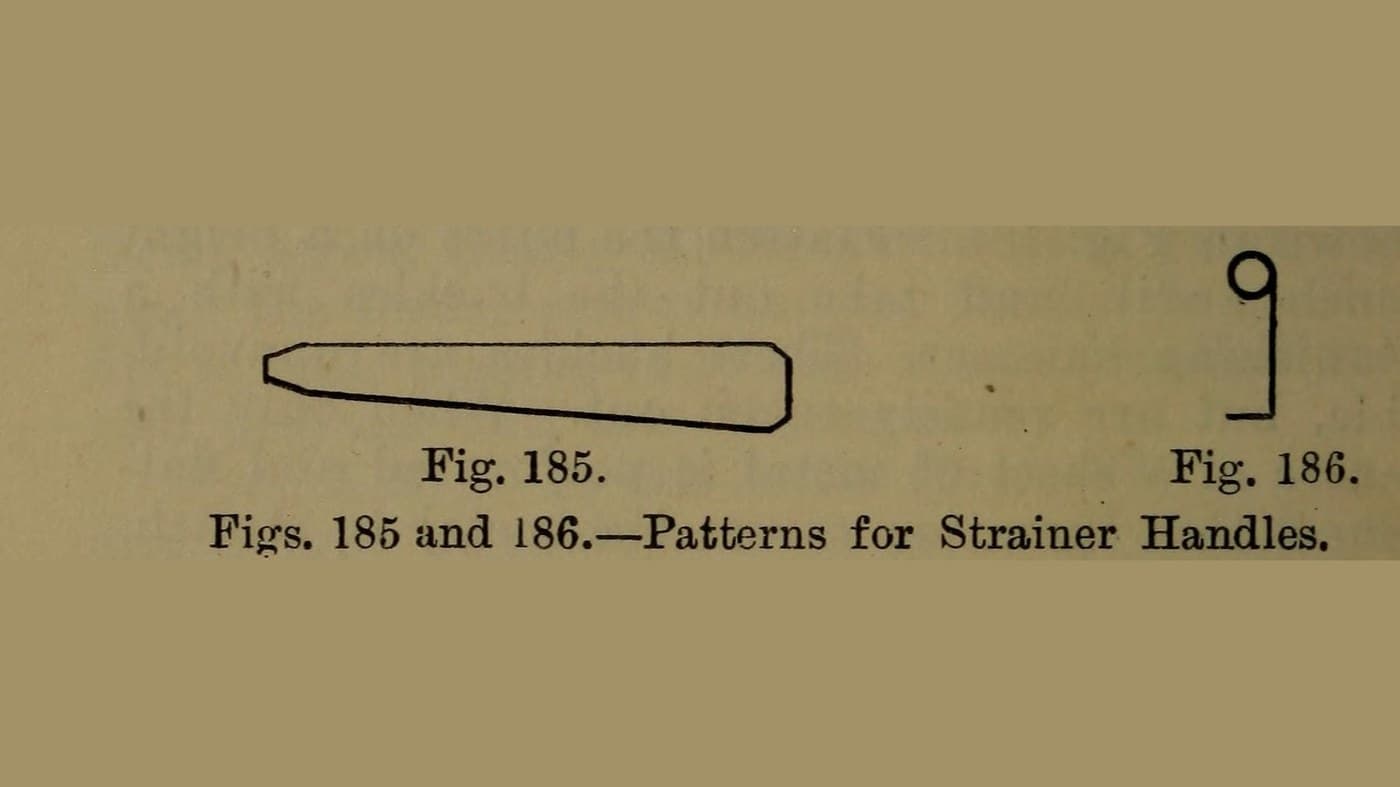
The buckle at 1:1 with the bend marks A to H and the tongue. Print at 100 % and check the 50 x 10 mm box.
4
4
Cut and mark the wire
Cut and mark the wire
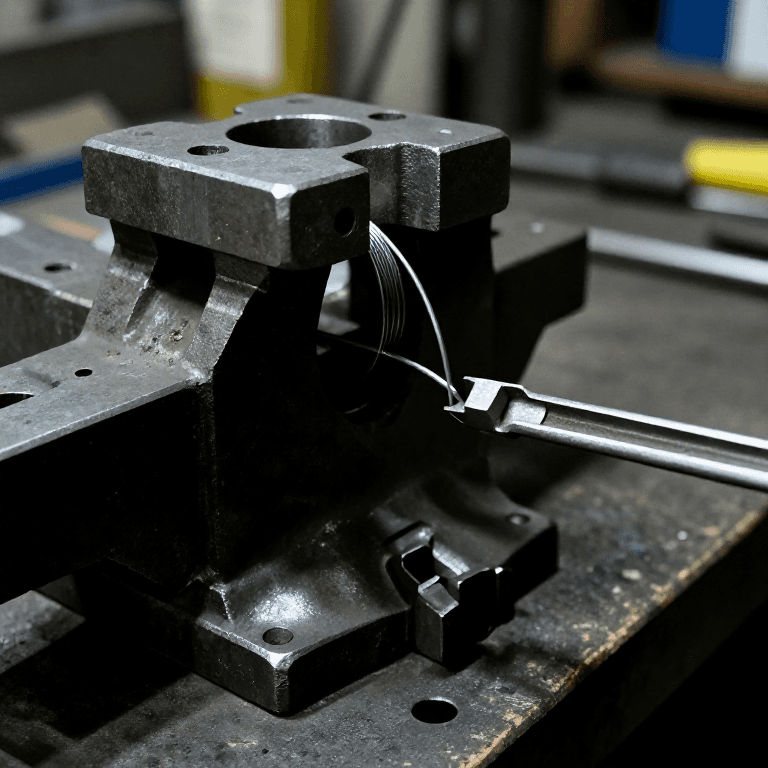
Cut 190 mm of 4 mm iron wire for the frame and 52 mm for the tongue. File the ends square and mark the frame wire at the eight bend marks from the plan.
Materiais para este passo:
 Arame de ferro1 piece (4 mm, 250 mm)
Ferramentas necessárias:
 Serra de arco para metais
 Torno de bancada
 Lima para metal
 Paquímetro digital de 6 polegadas
5
5
Bend the frame
Bend the frame
Bend 90 degrees at each mark in order, A to H, all the same way round, checking the shape on the plan after each bend: A to D make the tongue loop and bring the wire back along the bar, E to H make the tuck loop. Bends A and H put the two ends under the bar. Bend each loop about 8 degrees down from the bar.
Ferramentas necessárias:
Torno de bancada Alicate de bico chato
 Alicate de bicos redondos
 Martelo de bola
6
6
Fit the ends under the bar
Fit the ends under the bar
File about 0.6 mm off the underside of the bar so it is flat. Squeeze both ends up tight against it, leaving 6 mm of bare bar in the middle for the tongue.
Ferramentas necessárias:
Lima para metalAlicate de bico chatoTorno de bancada7
7
Tin and solder
Tin and solder
Clean the frame bright with emery and brush on flux for steel. Heat it with the torch and run solder over the whole frame to tin it, and into the joints between the ends and the bar so they are soldered to it. Let it cool, then wash off the flux.
Materiais para este passo:
 Fio de solda5 g
 Fundente de soldadura2 g
Ferramentas necessárias:
 Lixa de esmeril
 Maçarico a propano
 Luvas resistentes ao calor
 Óculos de segurança
8
8
Put on the tongue
Put on the tongue
File one end of the tongue wire to a rounded point. Wrap the other end once round the bare middle of the bar so it turns freely, with the tip resting just past the far side of the tongue loop.
Ferramentas necessárias:
Alicate de bicos redondosLima para metalTorno de bancada9
9
Troubleshooting
Troubleshooting
Buckle problems and fixes.
Flow
Loading...
10
10
History and honest limits
History and honest limits
William A. Schleicher, Cleveland, Ohio, for the Eberhard Manufacturing Company: US 850,792, "Wire Buckle", filed 14 June 1906, granted 16 April 1907. He does not give the wire size or loop sizes: ours are for a 25 mm strap. A wire buckle is lighter than a forged one; use a thicker wire and bigger loops for heavy draught harness. Not made by us yet.
Materiais
3- 1 piece (4 mm, 250 mm)Referência
- 5 gReferência
- Referência
Ferramentas necessárias
11- Referência
- Referência
- Referência
- Referência
- Referência
- Referência
- Referência
- Referência
- Referência
- Referência
- Referência
Ficheiros de design
1Materiais de Blueprints conectados
Este projeto faz

Blueprints relacionados
Estes blueprints compartilham conhecimento — técnicas, materiais ou princípios
CC0 Domínio Público
Este blueprint é liberado sob CC0. Você é livre para copiar, modificar, distribuir e usar este trabalho para qualquer finalidade, sem pedir permissão.
Apoie o Maker comprando produtos através do Blueprint, onde ele ganha uma Comissão Maker definida pelos vendedores, ou crie uma nova versão deste Blueprint e inclua-o como conexão no seu próprio Blueprint para compartilhar receita.