Colaboração
ARTE
BELEZA E BEM-ESTAR
ARTESANATO
CULTURA E HISTÓRIA
ENTRETENIMENTO
MEIO AMBIENTE
COMIDA E BEBIDAS
ENGENHARIA REVERSA
CIÊNCIAS
ESPORTES
TECNOLOGIA
TECNOLOGIA VESTÍVEL
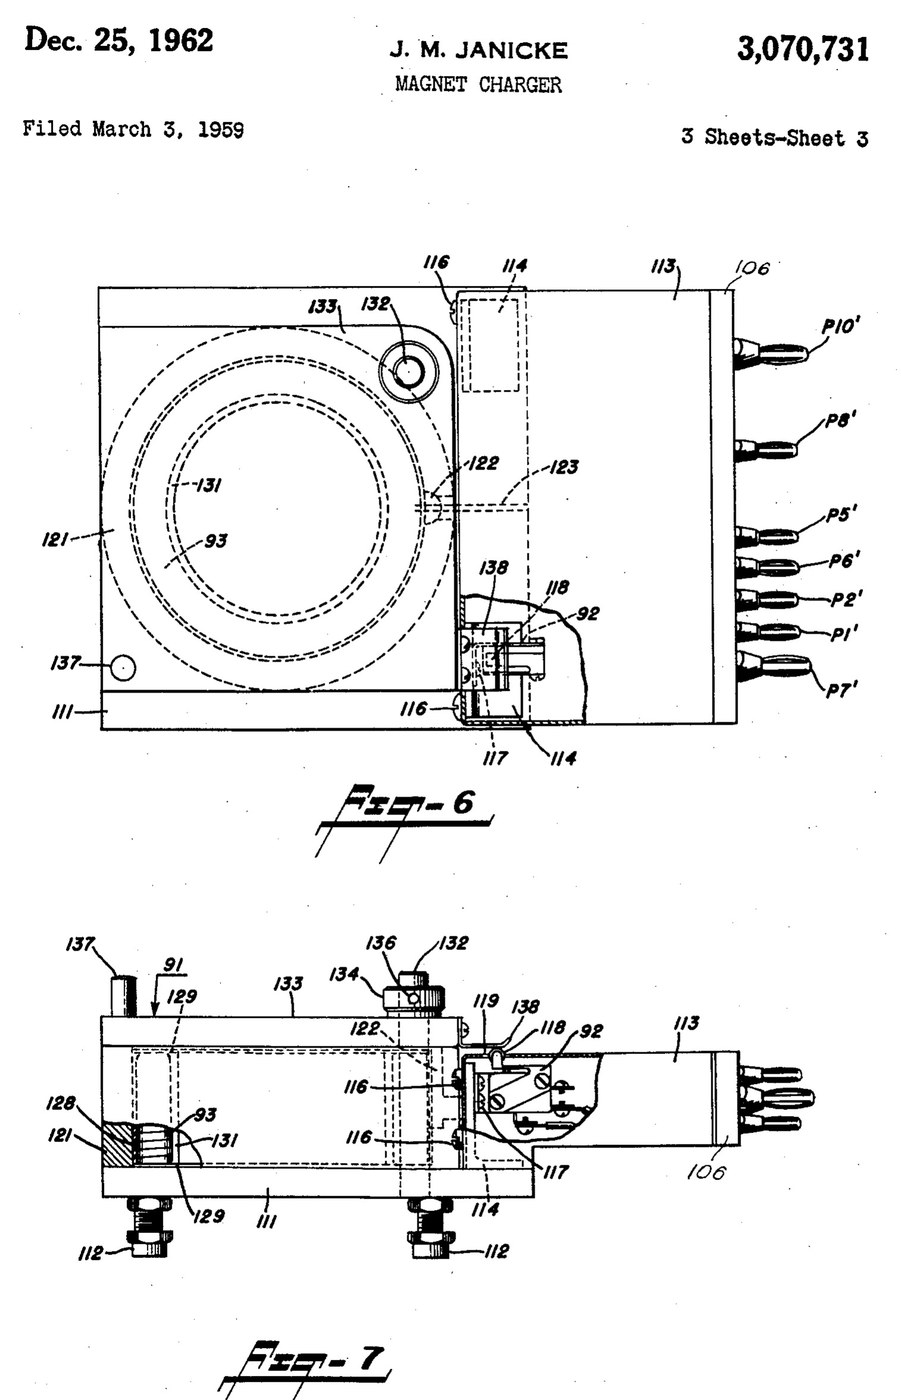


Magnetiser: Capacitor-Discharge Magnet Charger with a Wire-Wound Fixture (Janicke, US 3,070,731, 1962)
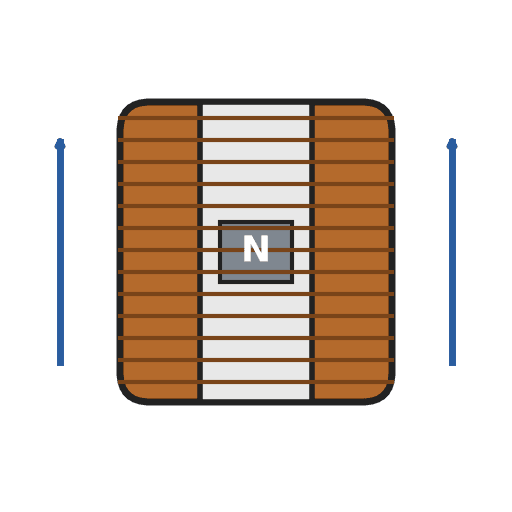
An impulse magnetiser. A capacitor is charged to a high voltage, then an ignitron dumps it all at once through a coil. The magnet sits inside the coil in a closed steel pot, so almost all of the flux goes through it.
Result: a magnet charger that magnetises rods, bars and blocks in one pulse, with an interlocked lid.
Source: J. M. Janicke, US 3,070,731 (1962). Unknown: voltages, capacitance, coil windings, field strength and sizes. Picture: the patent drawing.
Especialista
Unknown
Instruções
1
1
Build the charging supply
Build the charging supply
Feed a line switch from the mains through two fuses, with a pilot lamp. Wire a high-voltage transformer with two primaries, which a high-low switch puts in series or in parallel. Run its centre-tapped secondary to two mercury-vapour rectifier tubes, "or the like", with their own filament transformer, so they charge the energy-storage capacitor. A charging on-off switch with a red lamp switches the high-voltage side. A meter with multiplier resistors across the capacitor shows its voltage. Ours: toggle switches, neon lamps, a moving-coil meter. Not given: any voltage or value.
Materiais para este passo:
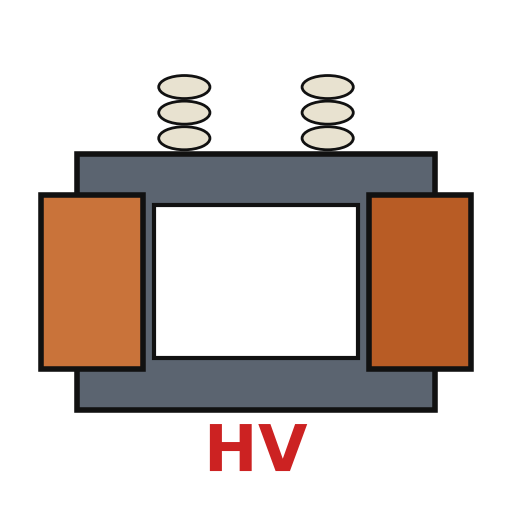 Transformador de alta tensão1 high-voltage transformer
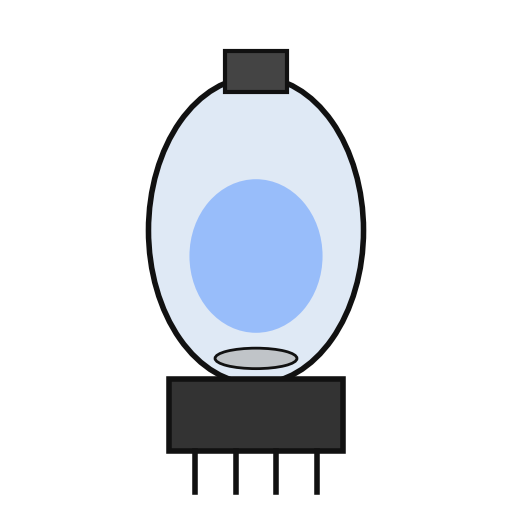 Válvula retificadora de vapor de mercúrio2 rectifier tubes
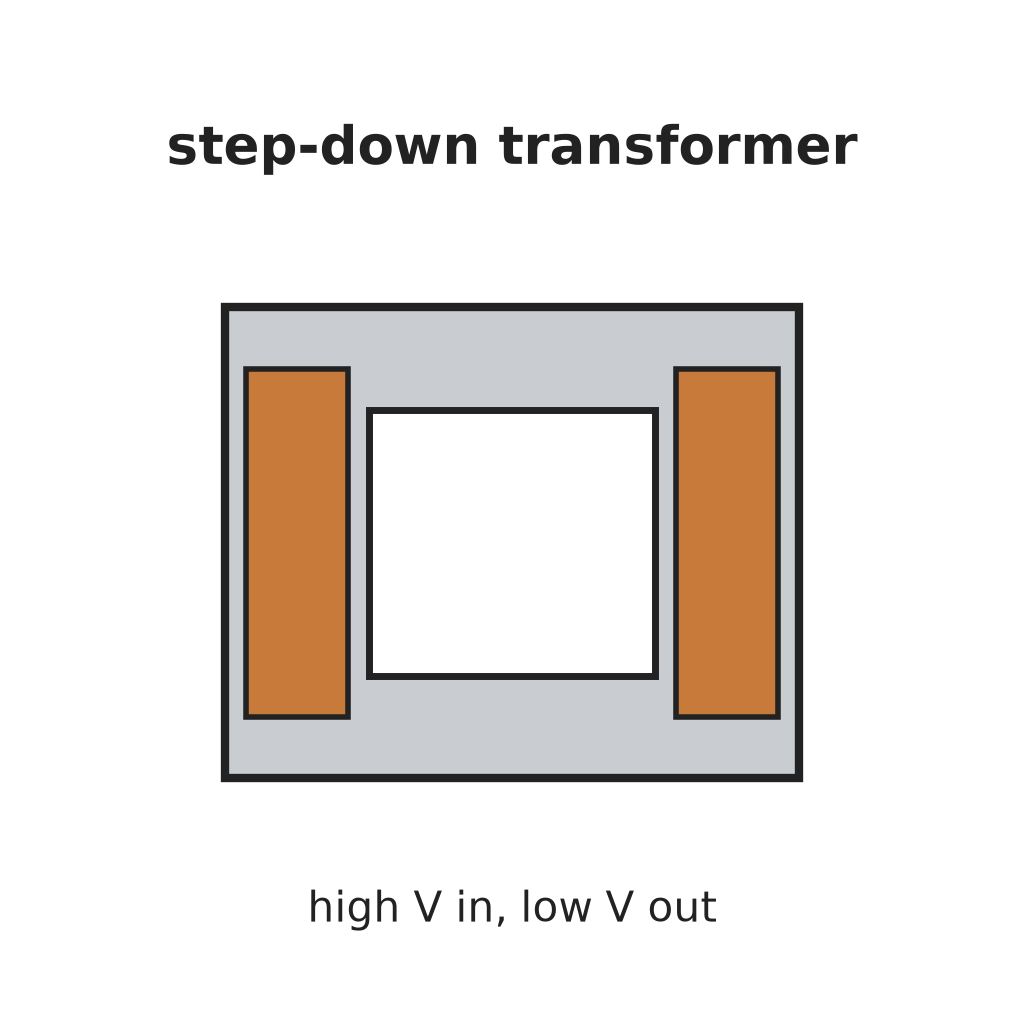 Transformador Abaixador1 filament transformer
 Condensador de armazenamento de energia1 storage capacitor
 Instrumento de painel de bobina móvel1 voltage meter
 Resistência desconhecida2 meter multipliers
 Interruptor de alavanca3 line, charging and high-low switches
 Fusível2 fuses
 Lâmpada indicadora de néon2 pilot and red lamps
Ferramentas necessárias:
 Ferro de soldar
 Descarnador de fios
2
2
Add the delay and the bleeder
Add the delay and the bleeder
Put a thermal time-delay relay before the charging switch: about thirty seconds after switch-on it energises a control relay, which feeds the charging switch and holds itself on. A third contact of the control relay lifts a bleeder resistor off the capacitor while the charger runs. When the charger is shut down the relay drops out and the bleeder drains the dangerous high-voltage charge from the capacitor.
Materiais para este passo:
 Relé temporizador1 thermal delay relay
 Relé1 control relay, three contact setsResistência desconhecida1 bleeder resistor
Ferramentas necessárias:
Ferro de soldarDescarnador de fios3
3
Fit the ignitron firing circuit
Fit the ignitron firing circuit
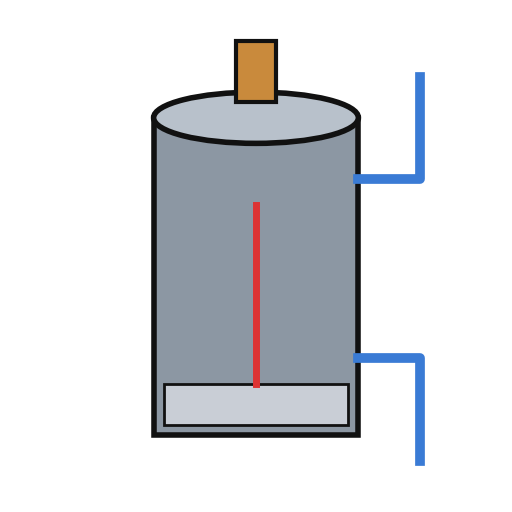
Put an ignitron in the discharge path of the storage capacitor, as its switch. The meter's multiplier resistors also form a divider that charges a small firing capacitor. Pressing the push button discharges the firing capacitor through a small limiting resistor into the ignitron's igniter, and the ignitron conducts. Not given: the firing capacitor's type and value.
Materiais para este passo:
 Ignitron1 discharge switch
 Material desconhecido1 firing capacitorResistência desconhecida1 limiting resistor
 Botão de pressão1 charge button
Ferramentas necessárias:
Ferro de soldarDescarnador de fios4
4
Build the wire-wound fixture
Build the wire-wound fixture
Weld a hollow cylindrical shell onto a base plate on levelling legs, both of magnetic material, to make a pot. Cut slots through the shell and the base plate so they cannot act as a shorted single-turn winding. Set the coil inside the shell in potting compound, with ring-shaped end pieces and a hollow cylindrical core in it. Hinge a square magnetic cover on a post beside the shell, held by a collar and set screw, with a handle. An L-shaped plate on the cover closes a switch in the igniter circuit only when the cover is shut. Wire the coil between the storage capacitor and the ignitron anode. Ours: mild steel, enamelled copper wire, casting epoxy. Not given: sizes, turns.
Materiais para este passo:
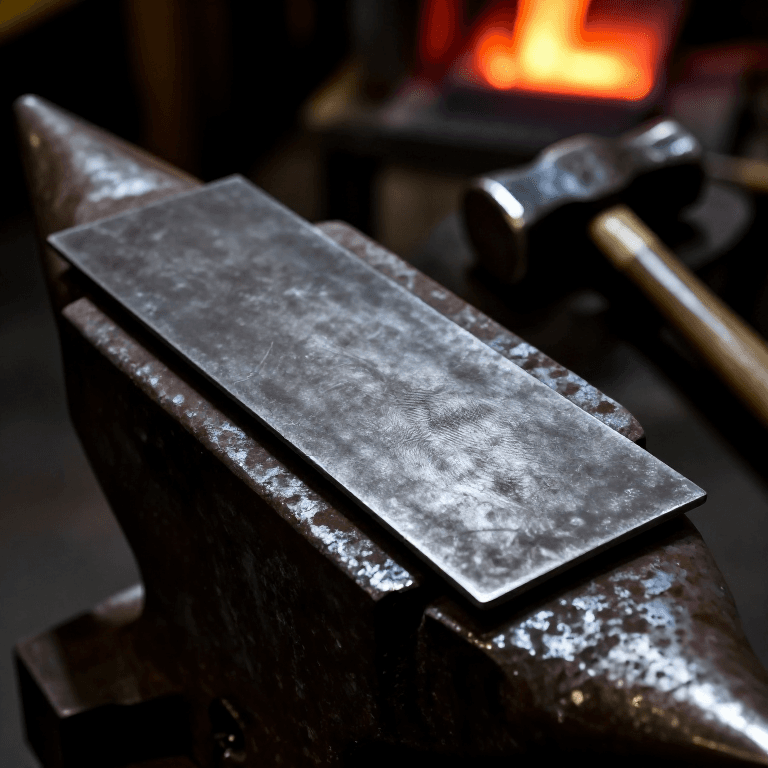
 Chapa grossa de aço macio1 base plate and cover
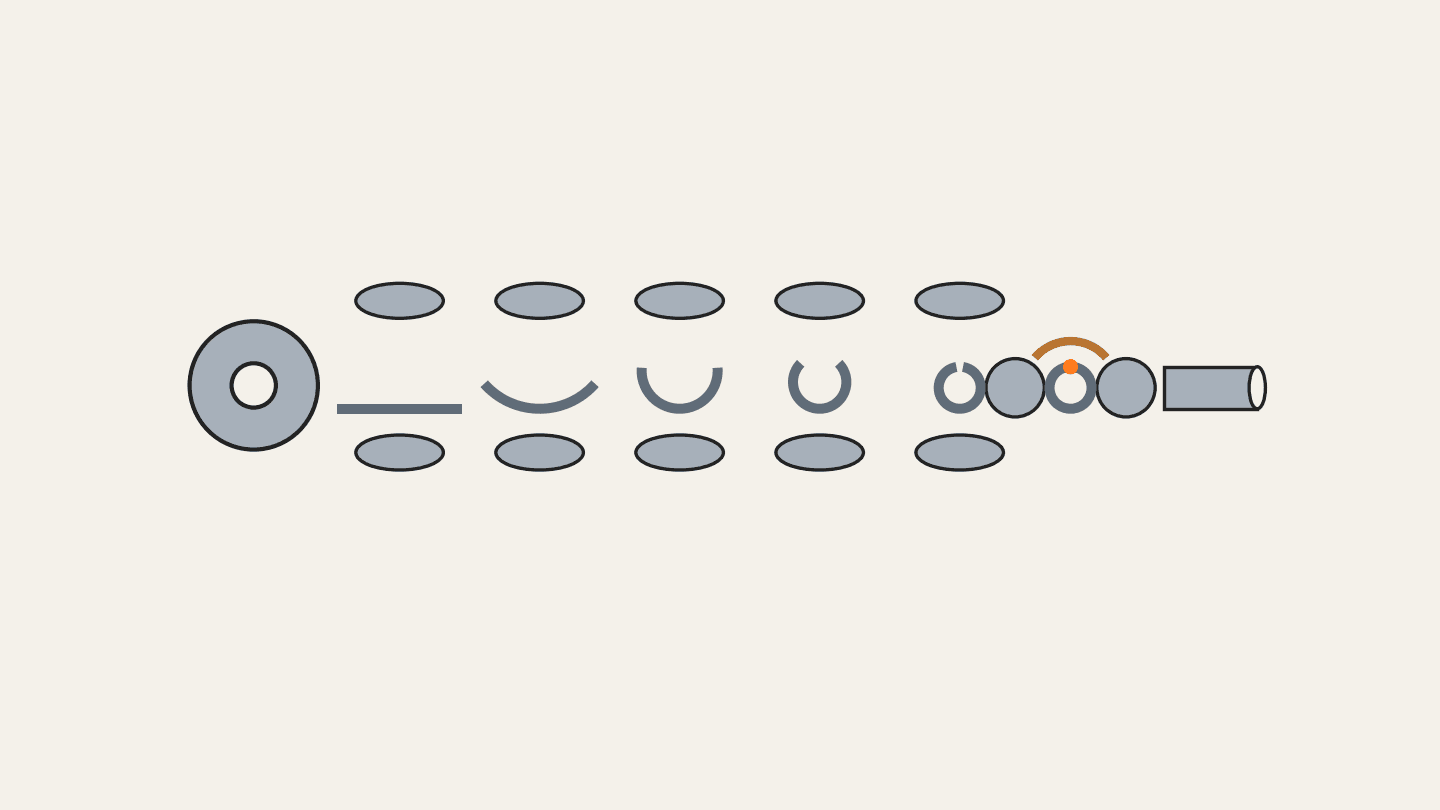
 Tubo redondo de aço macio1 shell
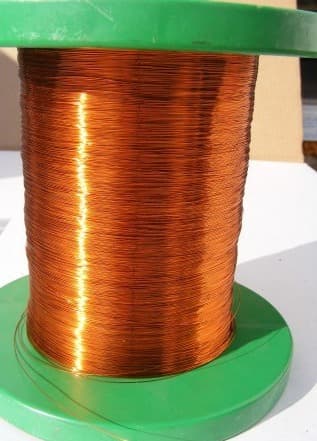
 Fio de cobre esmaltado1 coil
 Resina epóxi preta de fundição1 potting compound
 Metal desconhecido1 end pieces, core, post, legs
 Microinterruptor (accionado por alavanca)1 lid interlock switch
Ferramentas necessárias:
 Máquina de solda a arco
 Engenho de furar
 Conjunto de chaves de fendas
 Dimensões desconhecidas
5
5
Charge a magnet
Charge a magnet
Put the magnet inside the core. Fill most of the air gap between it and the base plate and cover with soft iron, but leave a small gap near the cover, or the cover will be hard to swing open afterwards. Lay insulating material about 1/16 inch thick on top of the magnet. Close the cover, which arms the igniter switch, charge the capacitor, and press the button: one pulse magnetises it. Ours: wrought iron for the soft iron.
Ferramentas necessárias:
 Barra de ferro forjado
 Material isolante desconhecido
Materiais
20- 1 high-voltage transformerReferência
- 2 rectifier tubesReferência
- 1 filament transformerReferência
- 1 storage capacitorReferência
- 1 voltage meterReferência
- 1 limiting resistorReferência
- 3 line, charging and high-low switches1 vendor sell this, none ship to you yetReferência
- 2 fusesReferência
- 2 pilot and red lampsReferência
- 1 thermal delay relayReferência
- 1 control relay, three contact setsReferência
- 1 discharge switchReferência
- 1 firing capacitorReferência
- Referência
- 1 base plate and coverReferência
- 1 shellReferência
- 1 coilReferência
- 1 potting compoundReferência
- 1 end pieces, core, post, legsReferência
- 1 lid interlock switchReferência
Ferramentas necessárias
8- 2 vendors sell this, none ship to you yetReferência
- Referência
- Referência
- Referência
- Referência
- Referência
- Referência
- Referência
Materiais de Blueprints conectados


Este projeto faz
CC0 Domínio Público
Este blueprint é liberado sob CC0. Você é livre para copiar, modificar, distribuir e usar este trabalho para qualquer finalidade, sem pedir permissão.
Apoie o Maker comprando produtos através do Blueprint, onde ele ganha uma Comissão Maker definida pelos vendedores, ou crie uma nova versão deste Blueprint e inclua-o como conexão no seu próprio Blueprint para compartilhar receita.