Making Deer Jerky and Pemmican — Preserving Venison for Survival
Jerky and pemmican are the two oldest methods of preserving venison for long-term storage without refrigeration. Jerky — thin strips of lean meat dried by sun, wind, or low heat — has been made by every hunting culture on earth. Pemmican takes jerky one step further: the dried meat is pounded to a powder, mixed with rendered tallow and dried berries, and packed into dense, calorie-rich bars that can last years without spoiling.
Pemmican was the strategic food supply of the North American fur trade, Arctic expeditions, and Plains nations for centuries — lightweight, calorie-dense (roughly 3,500 kcal per kg), and nutritionally complete. This blueprint covers the full process from fresh venison to finished pemmican.
Instruções
Select and trim the venison
Select and trim the venison
Use lean cuts — hindquarter rounds, backstrap, or eye of round. Trim away all visible fat, sinew, and silver skin. Fat goes rancid quickly and ruins dried meat. You need about 2 kg of trimmed lean meat to produce roughly 500 g of finished jerky.
Materiais para este passo:
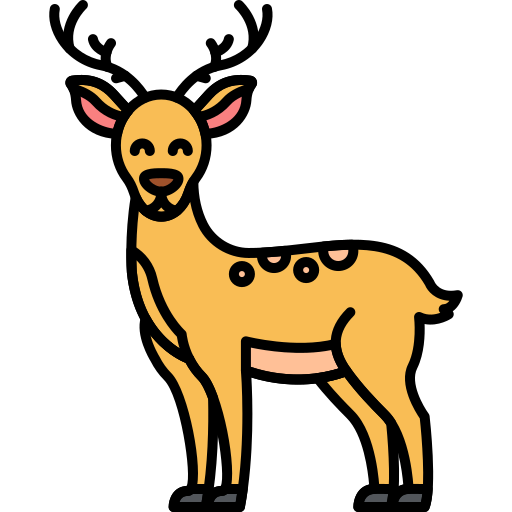 Deer1 peça
Ferramentas necessárias:
 Sharp Knife
Slice into thin strips
Slice into thin strips
Partially freeze the meat for 1-2 hours to firm it up for clean slicing. Cut with the grain into strips 3-5 mm thick, 2-3 cm wide, and as long as possible. Cutting with the grain makes chewy jerky; cutting against the grain makes more tender strips. Uniform thickness ensures even drying.
Ferramentas necessárias:
Sharp KnifeSalt the strips
Salt the strips
Rub coarse salt into both sides of each strip — about 20 g of salt per kg of meat. Salt draws moisture out and inhibits bacterial growth during the drying process. For flavoured jerky, add cracked black pepper or crushed dried herbs at this stage. Lay strips flat and let them cure for 1-2 hours.
Materiais para este passo:
 Coarse Sea Salt40 g
Dry the strips
Dry the strips
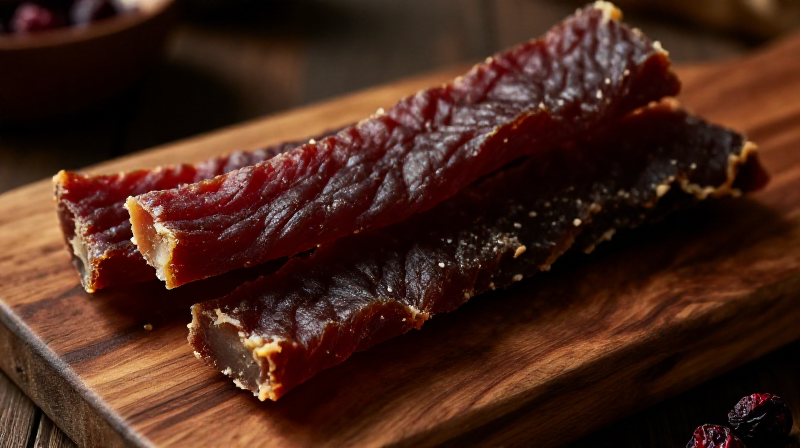
Hang strips on a drying rack in direct sun and wind (traditional method, 1-3 days), or place on racks over a low fire or in an oven at 60-70°C for 6-10 hours. The jerky is done when it bends and cracks but does not snap in half — still flexible, but no moisture beads when squeezed. Overdrying makes it brittle; underdrying risks spoilage.
Ferramentas necessárias:
 Drying Rack (Well-Ventilated)
Pound the jerky into powder for pemmican
Pound the jerky into powder for pemmican
Break finished jerky into small pieces and pound in a stone mortar and pestle (or between two flat rocks) until it becomes a dry, shredded powder. The finer the powder, the better the pemmican binds. This is the base — dried lean protein with virtually no moisture left.
Ferramentas necessárias:
 Stone Mortar and Pestle (large)
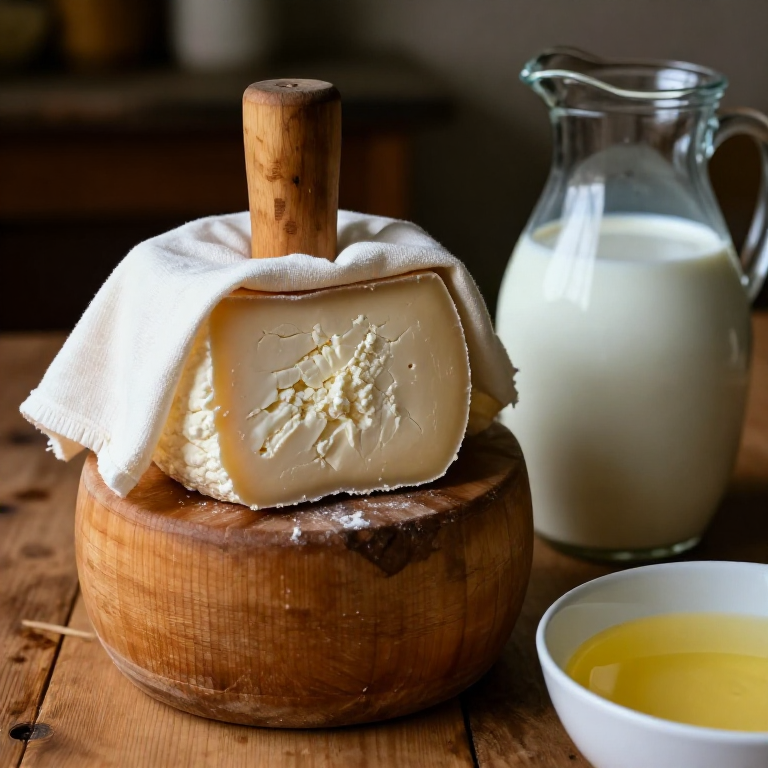
Render the deer tallow
Render the deer tallow
Chop the reserved deer fat (from trimming in step 1) into small pieces and heat slowly in a pot over low fire until the fat melts completely and the solid bits (cracklings) float and turn golden. Strain through cloth to remove solids. The clear liquid fat is rendered tallow — it solidifies at room temperature and is the binding agent and calorie source in pemmican.
Materiais para este passo:
 Animal Fat (Tallow)500 g
Mix pemmican
Mix pemmican
Combine the pounded jerky powder with warm (not hot) rendered tallow at roughly a 1:1 ratio by weight. Add a handful of dried berries (blueberries, cranberries, or saskatoon berries) for flavour and vitamin C. Mix thoroughly until the tallow coats all the meat fibres and the mixture holds together when pressed. Pack tightly into balls, bars, or pouches.
Materiais para este passo:
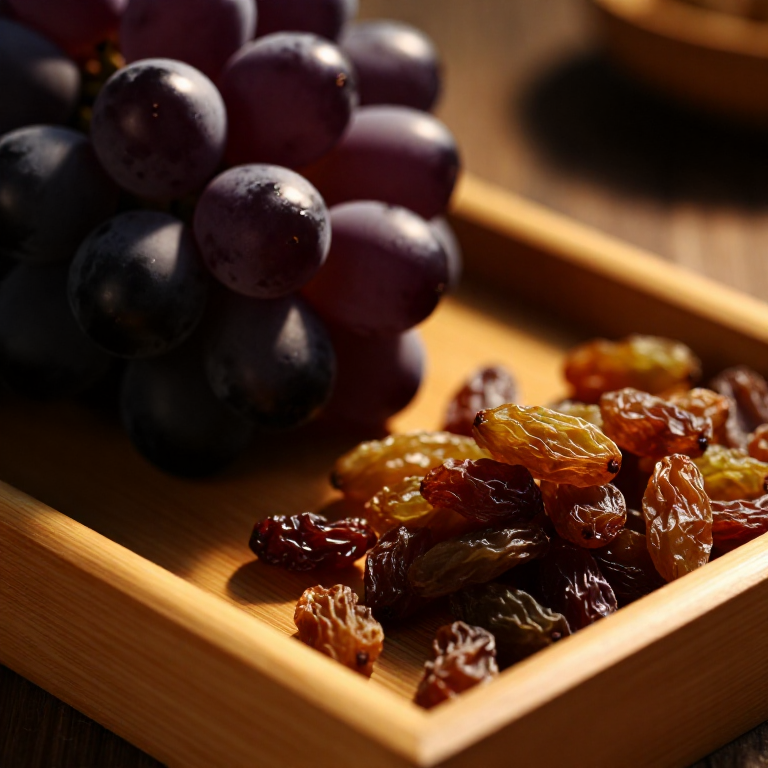
 Blueberries100 g
Store the pemmican
Store the pemmican
Wrap pemmican bars in cloth or pack into rawhide containers (parfleche). Stored in a cool, dry place, pemmican keeps for months to years — the rendered tallow seals out moisture and air, and the salt-cured, fully dried meat resists bacterial growth. This was the primary travel and emergency food of Plains nations, fur traders, and Arctic explorers for centuries.
Materiais
4- 40 gReferência
- 500 gReferência
- 100 gReferência
Ferramentas necessárias
3- Referência
- Referência
- Referência
Materiais de Blueprints conectados
Blueprints relacionados
Estes blueprints compartilham conhecimento — técnicas, materiais ou princípios
Related blueprints
Other builds that share materials, tools, or techniques with this one.


CC0 Domínio Público
Este blueprint é liberado sob CC0. Você é livre para copiar, modificar, distribuir e usar este trabalho para qualquer finalidade, sem pedir permissão.
Apoie o Maker comprando produtos através do Blueprint, onde ele ganha uma Comissão Maker definida pelos vendedores, ou crie uma nova versão deste Blueprint e inclua-o como conexão no seu próprio Blueprint para compartilhar receita.