Making Maya Blue — The Indestructible Pigment of Mesoamerica
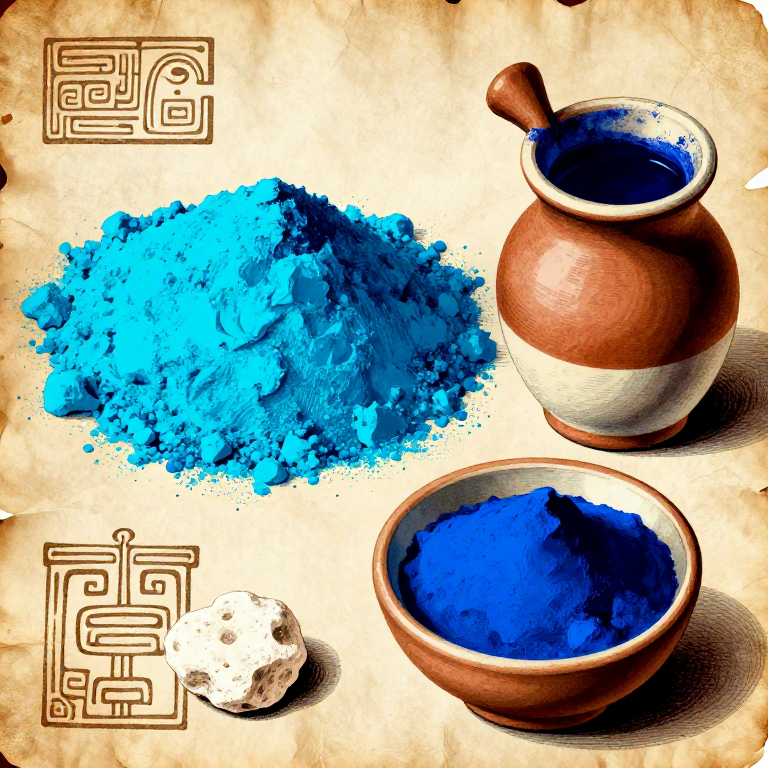
Maya Blue is one of the most extraordinary pigments in history — a vivid turquoise-blue colour created by the ancient Maya that has survived over a thousand years of tropical heat, humidity, jungle overgrowth, and even deliberate attempts at destruction, virtually unchanged. It adorns the murals of Bonampak, the sculptures of Chichén Itzá, and the pottery of the Aztec empire.
The chemistry, only fully understood in the 21st century, is elegant: indigo dye molecules (from the Indigofera plant or local añil) are heated with palygorskite clay — a fibrous mineral whose crystal structure contains nanoscale channels. At 150–200°C, the indigo molecules migrate into these channels and bond to the clay framework, creating a hybrid organic-inorganic nanocomposite. The clay shields the indigo from light, oxygen, acids, and alkalis that would normally destroy it in months. The result is a pigment with the vivid blue of indigo but the permanence of a mineral.
Maya Blue was not merely decorative — it was sacred. The Maya associated it with Chaak, the rain god, and with sacrifice. Victims at the Sacred Cenote of Chichén Itzá were painted with Maya Blue before being offered. The pigment was prepared ritually, often with the burning of copal incense during the heating step.
The process is non-toxic and uses only natural materials — clay and plant dye — making it one of the safest pigments to prepare at home.
Instruções
Weigh palygorskite clay
Weigh palygorskite clay
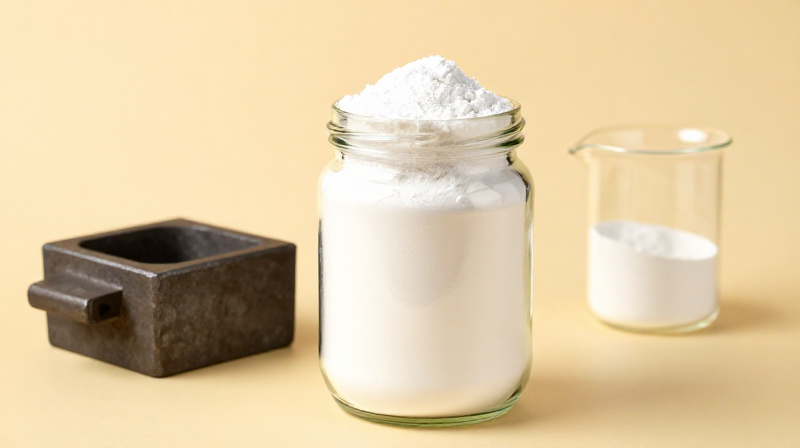
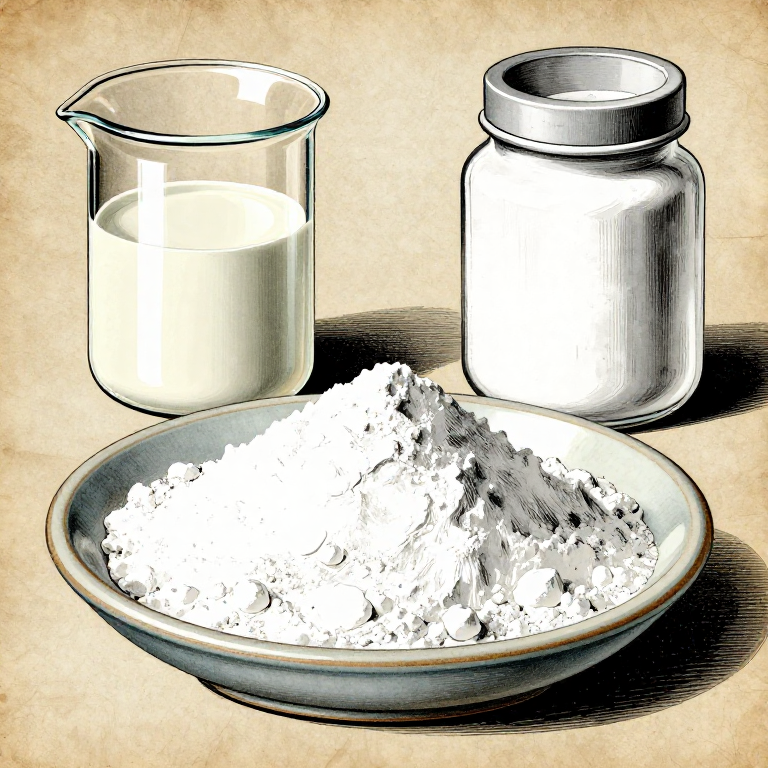
Weigh out 100 g of palygorskite clay (also known as attapulgite or sacalum clay). This is a fibrous magnesium aluminium silicate mineral whose needle-like crystals contain internal channels approximately 0.37 × 0.64 nm in cross-section — just large enough to accommodate an indigo molecule. The clay is white to pale grey when pure. It is found in deposits worldwide, including Yucatan (Mexico), Georgia (USA), and Senegal.
Materiais para este passo:
 Palygorskite Clay (Attapulgite)100 g
Grind clay to fine powder
Grind clay to fine powder
Grind the palygorskite in a stone mortar until it is a fine, soft powder. The finer the clay particles, the more surface area is available for indigo to enter the channels. Palygorskite is soft and grinds easily — much softer than quartz. Ancient Maya artisans ground the clay on stone metates (grinding stones) alongside corn.
Ferramentas necessárias:
 Stone Mortar and Pestle (large)
Sieve the ground clay
Sieve the ground clay
Pass the ground palygorskite through a fine mesh sieve to remove any coarse particles or impurities. The clay should feel silky-smooth between the fingers — like talcum powder. Any gritty particles indicate quartz or calcite inclusions that will not participate in the reaction but are harmless.
Ferramentas necessárias:
 120-Mesh Sieve
Weigh indigo powder
Weigh indigo powder
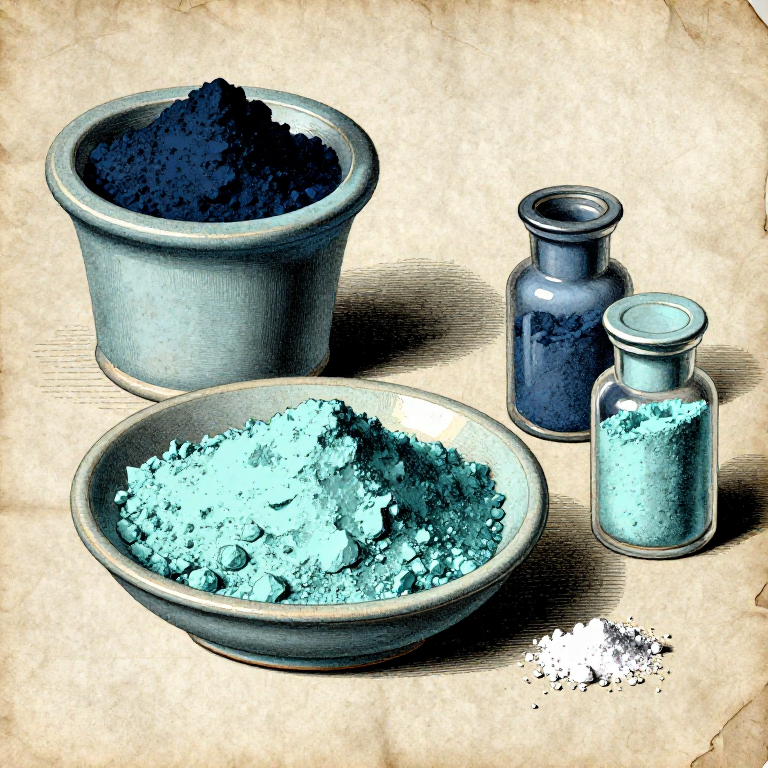
Weigh out 5 g of natural indigo powder. The indigo-to-clay ratio is critical: too little indigo (below 2%) gives a pale, weak colour; too much (above 8%) leaves unbound indigo on the surface that will wash away. A 5% ratio (5 g per 100 g clay) gives a rich, saturated turquoise-blue. The indigo must be pure indigotin — the dark blue pigment extracted from Indigofera tinctoria, Indigofera suffruticosa (the Maya añil plant), or even European woad.
Materiais para este passo:
 Natural Indigo Powder5 g
Mix indigo with clay
Mix indigo with clay
Add the indigo powder to the palygorskite clay and mix thoroughly by dry-grinding in the mortar for 5 minutes. The mixture should become a uniform grey-blue colour with no visible streaks of pure blue indigo or white clay. This intimate dry mixing ensures even distribution before the wet stage.
Ferramentas necessárias:
Stone Mortar and Pestle (large)Add water to form paste
Add water to form paste
Add approximately 50 ml of clean water to the mixed powder and work it into a thick, uniform paste. The water serves two purposes: it swells the clay channels slightly, making them more receptive to indigo, and it helps the indigo molecules migrate towards the channel openings during the heating step. The paste should be thick — like wet plaster, not runny.
Materiais para este passo:
 Clean Water50 ml
Spread paste into thin layer
Spread paste into thin layer
Spread the blue-grey paste evenly on a ceramic dish or flat stone in a layer about 5 mm thick. A thin, even layer ensures uniform heating throughout the material — thick sections may not reach the critical temperature at their centre, resulting in uneven colour. The Maya used shallow ceramic bowls (comals) for this step.
Ferramentas necessárias:
 Flat Stone Slab
Place in oven and heat slowly
Place in oven and heat slowly
Place the dish in an oven, kiln, or over a bed of coals and slowly raise the temperature to 150°C. The heating must be gradual — rapid heating causes the water to steam off violently, cracking the clay layer. At 100°C the water evaporates; above 120°C the indigo molecules begin to enter the clay channels, driven by thermal energy. The transition from adsorbed-on-surface to intercalated-in-channels is what gives Maya Blue its extraordinary stability.
Ferramentas necessárias:
 Charcoal Furnace (small)
Maintain at 150–180°C for 4–6 hours
Maintain at 150–180°C for 4–6 hours
Hold the temperature at 150–180°C for 4 to 6 hours. This is the critical step — the indigo molecules are driven into the palygorskite channels by thermal diffusion and form hydrogen bonds with the silanol groups lining the channel walls. The longer the heating at the correct temperature, the more complete the encapsulation and the more durable the final pigment. Do not exceed 220°C — above this temperature indigo begins to decompose and the colour shifts to green or grey.
Final heating at 180°C
Final heating at 180°C
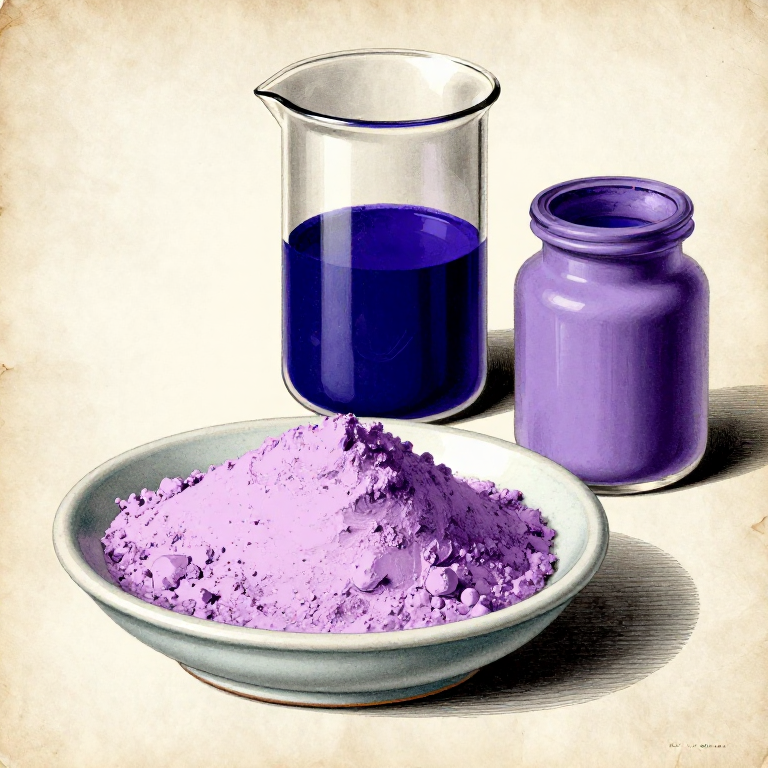
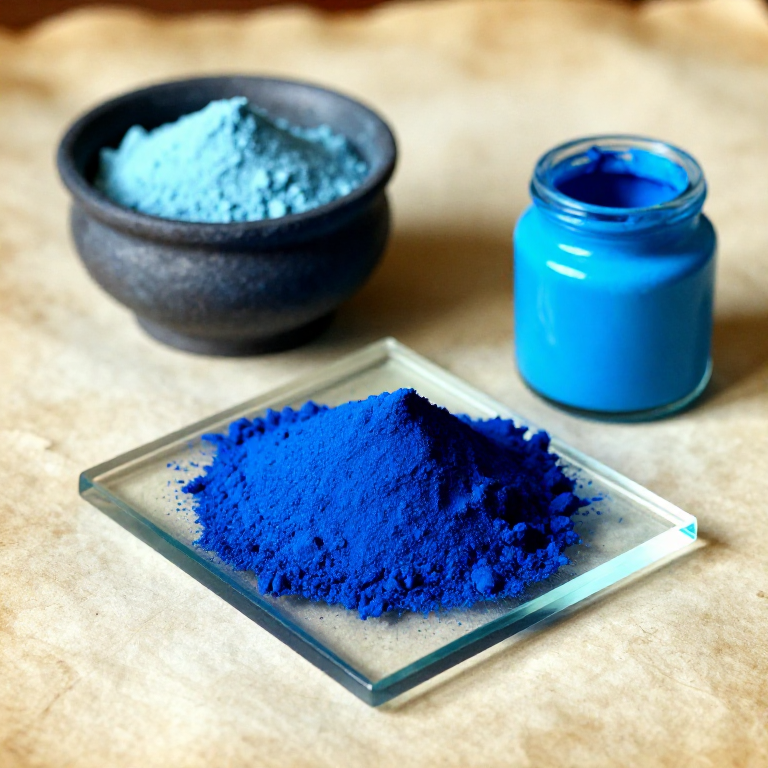
In the final hour, if possible, raise the temperature to 180°C. This last push maximises the degree of encapsulation. The colour of the heated cake should now be a vivid, saturated turquoise-blue — noticeably brighter and greener than pure indigo, which is a deep navy. This colour shift is the hallmark of successful Maya Blue formation: the clay environment modifies the electronic absorption of the indigo molecule, shifting it from blue towards turquoise.
Cool slowly
Cool slowly
Remove from heat and allow to cool to room temperature naturally. Do not quench with water. The cooling rate is not as critical as for Egyptian blue — Maya Blue forms in a much lower temperature range and is not prone to thermal shock. The cooled cake should be a hard, brittle, vivid blue material.
Break apart and grind
Break apart and grind
Break the cooled blue cake into small pieces and grind in the mortar to a fine powder. Maya Blue grinds easily — the clay matrix is soft compared to glass-frit pigments like Egyptian blue. The colour should be a uniform, bright turquoise-blue throughout. Any grey or brown regions indicate overheated zones where the indigo decomposed.
Ferramentas necessárias:
Stone Mortar and Pestle (large)Wash to remove unbound indigo
Wash to remove unbound indigo
Suspend the ground pigment in clean water and stir vigorously. Any indigo that did not enter the clay channels will wash free, colouring the water blue. Let the pigment settle, decant the blue-tinted water, and repeat until the wash water runs clear. This step is what proves the Maya Blue is truly formed: ordinary indigo disperses freely in water, but indigo locked inside palygorskite channels does not. The pigment that remains after thorough washing is genuine Maya Blue.
Materiais para este passo:
Clean Water500 mlTest acid resistance
Test acid resistance
To verify that the pigment is true Maya Blue (not merely indigo staining the clay surface), place a small pinch in a drop of vinegar. Ordinary indigo would dissolve or fade in acid; Maya Blue resists acids, alkalis, solvents, and even boiling. If the colour remains vivid and unchanged in the acid, the encapsulation was successful. This is the property that allows Maya Blue to survive for over 1,000 years in the humid tropics.
Dry the pigment
Dry the pigment
Spread the washed pigment in a thin layer on a clean surface and allow to dry completely at room temperature. This may take 24 hours depending on humidity. The dried pigment should be a fine, free-flowing turquoise-blue powder with a slight greenish cast — distinctly different from the deep navy of pure indigo.
Final grinding and sieving
Final grinding and sieving
Give the dried pigment a final light grinding in the mortar and pass through a 120-mesh sieve. The finished Maya Blue pigment is ready for use. It can be mixed with any painting medium — tempera, fresco, encaustic, or modern acrylics — and retains its extraordinary stability in all of them. Unlike most historical pigments, Maya Blue is compatible with every medium and surface.
Ferramentas necessárias:
120-Mesh SieveStore the pigment
Store the pigment
Transfer to a clean glass jar and seal. Maya Blue is arguably the most stable organic-based pigment ever created — specimens on Maya murals have survived over a millennium in the humid jungle. Stored dry, your Maya Blue will last indefinitely. Label with the date, the clay source, and the indigo percentage for future reference.
Ferramentas necessárias:
 Glass Storage Jar with Lid
Materiais
3- 50 mlReferência
- Referência
- Referência
Materiais de Blueprints conectados
Blueprints relacionados
Estes blueprints compartilham conhecimento — técnicas, materiais ou princípios
Related blueprints
Other builds that share materials, tools, or techniques with this one.
CC0 Domínio Público
Este blueprint é liberado sob CC0. Você é livre para copiar, modificar, distribuir e usar este trabalho para qualquer finalidade, sem pedir permissão.
Apoie o Maker comprando produtos através do Blueprint, onde ele ganha uma Comissão Maker definida pelos vendedores, ou crie uma nova versão deste Blueprint e inclua-o como conexão no seu próprio Blueprint para compartilhar receita.