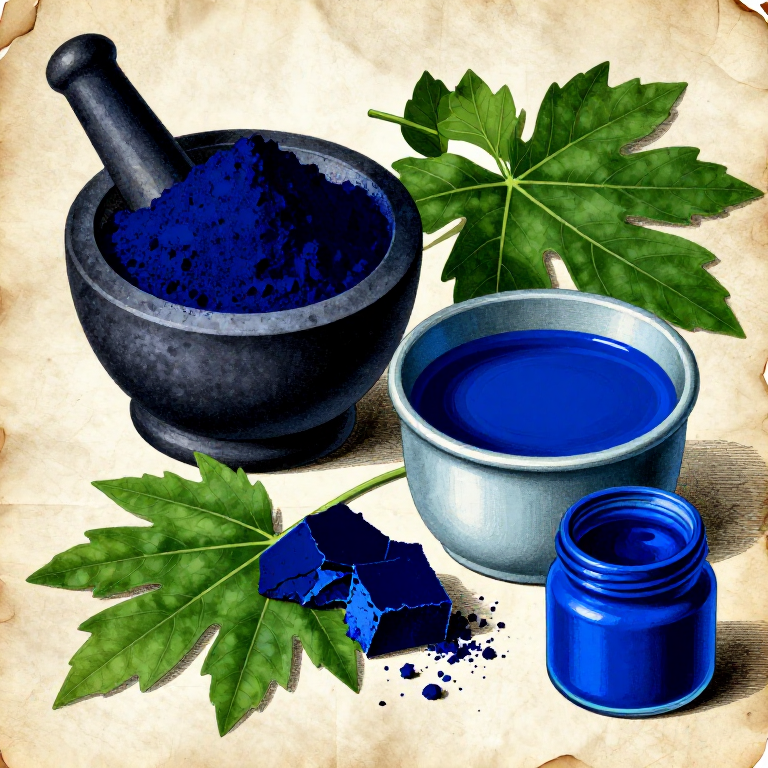
Making Indigo Pigment for Painting — Extracting the Blue Pigment Cake from Indigo Plant
Indigo (indigotin, C₁₆H₁₀N₂O₂) is one of the oldest and most important blue colourants in human history. While most commonly associated with textile dyeing (blue jeans, traditional Japanese shibori, Indian block-printing), indigo was also widely used as a PAINTING PIGMENT throughout Asia, the Middle East, and medieval Europe. As a pigment, indigo is ground from concentrated cakes of extracted indigotin and mixed with painting mediums — producing a deep, slightly violet-blue quite different from mineral blues like azurite or lapis lazuli.
The pigment form of indigo requires extracting and concentrating the indigotin from plant leaves into a dense, dried cake, which is then ground to a fine powder for use in paint. This blueprint covers the extraction process specifically for producing a painting pigment — the process is related to but distinct from the fermentation-vat technique used in textile dyeing, which requires maintaining indigo in a reduced (soluble) state.
Indigo pigment is non-toxic, moderately lightfast (it fades slowly in strong light, particularly in watercolour, but is more stable in oil), and produces rich, deep blue-violet tones. It was a standard pigment on medieval European palettes and was extensively used in Islamic manuscript painting, Indian miniature painting, and East Asian ink painting.
Instruções
Soak fresh indigo leaves in water
Soak fresh indigo leaves in water
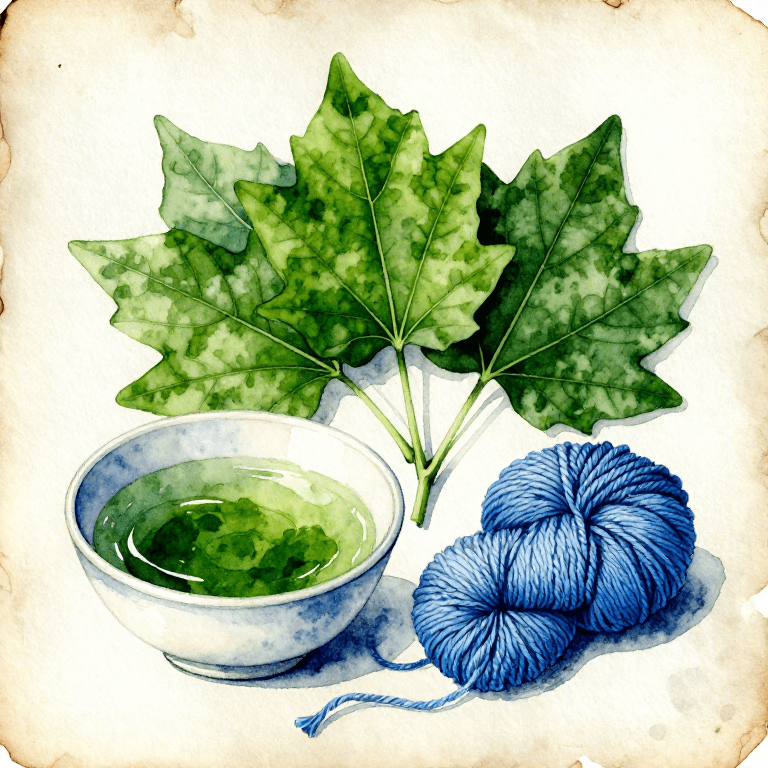
Harvest fresh leaves from Indigofera tinctoria (tropical indigo) or purchase pre-dried natural indigo powder (skip to step 4 if using powder). Pack 3-5 kg of fresh leaves into a large container and cover completely with water at room temperature. Weigh down the leaves with a stone or plate to keep them submerged. Let soak for 12-24 hours. During this soaking, the indican (a colourless glucoside in the leaf cells) dissolves into the water and is enzymatically converted to indoxyl — the immediate precursor of indigotin. The water turns yellow-green to dark greenish-brown. The smell is unpleasant (fermentation). After soaking, remove the leaves — they have given up their colour.
Materiais para este passo:
 Natural Indigo Powder100 g
Ferramentas necessárias:
 Stirring Rod (wooden)
Add alkali and aerate to precipitate indigo
Add alkali and aerate to precipitate indigo
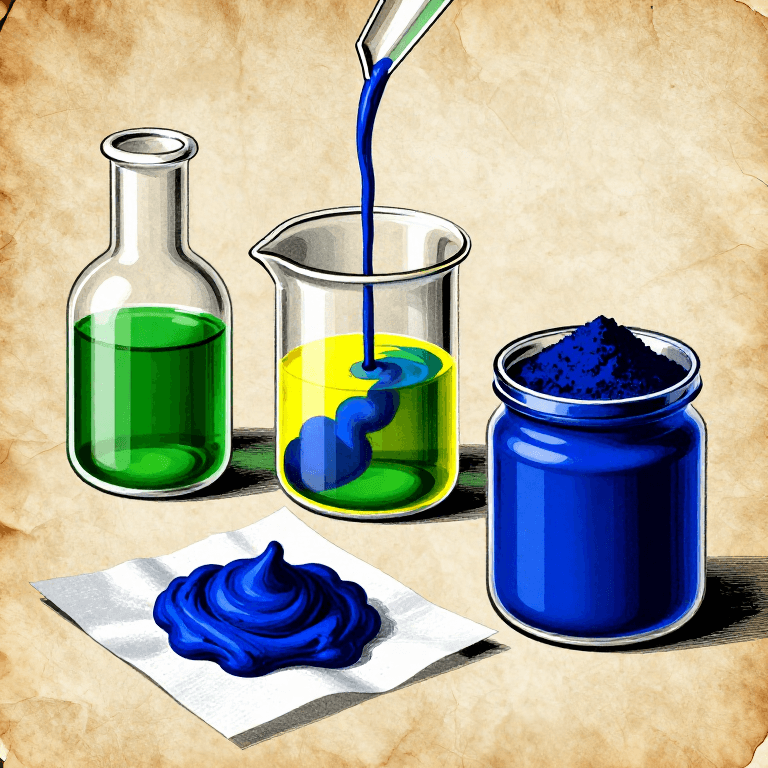
Add slaked lime (calcium hydroxide) to the soaking water — approximately 10-15 g per liter. The lime raises the pH to approximately 10-11, which accelerates the oxidation of indoxyl to indigotin. Now vigorously aerate the liquid: beat it with a wooden paddle, or pour it back and forth between containers from a height. This introduces oxygen, which converts the colourless, soluble indoxyl into insoluble blue indigotin. The liquid gradually turns from greenish-brown to deep blue as fine indigotin particles form and remain suspended. Continue aerating for 15-20 minutes until the liquid is a uniform deep blue and the froth on top is blue rather than green. This is the critical step — insufficient aeration leaves unconverted (wasted) precursor.
Materiais para este passo:
 Calcium Hydroxide (Slaked Lime)30 g
Ferramentas necessárias:
 Long Wooden Stirring Paddle
Settle and collect the pigment
Settle and collect the pigment
Let the aerated blue liquid stand undisturbed for 12-24 hours. The insoluble indigotin particles settle to the bottom as a dark blue sediment — the 'indigo mud.' Carefully pour off the clear liquid above (it should be yellowish-green if precipitation was complete). Add fresh water, stir, and let settle again. Repeat this washing 3-4 times to remove dissolved lime, plant sugars, and fermentation byproducts. Each wash produces a cleaner, purer blue sediment. After the final wash, filter the blue sediment through fine cotton cloth to remove excess water.
Ferramentas necessárias:
 Glass Settling Jar (5L)
 Clean Cotton Cloth
Dry and form the pigment cake
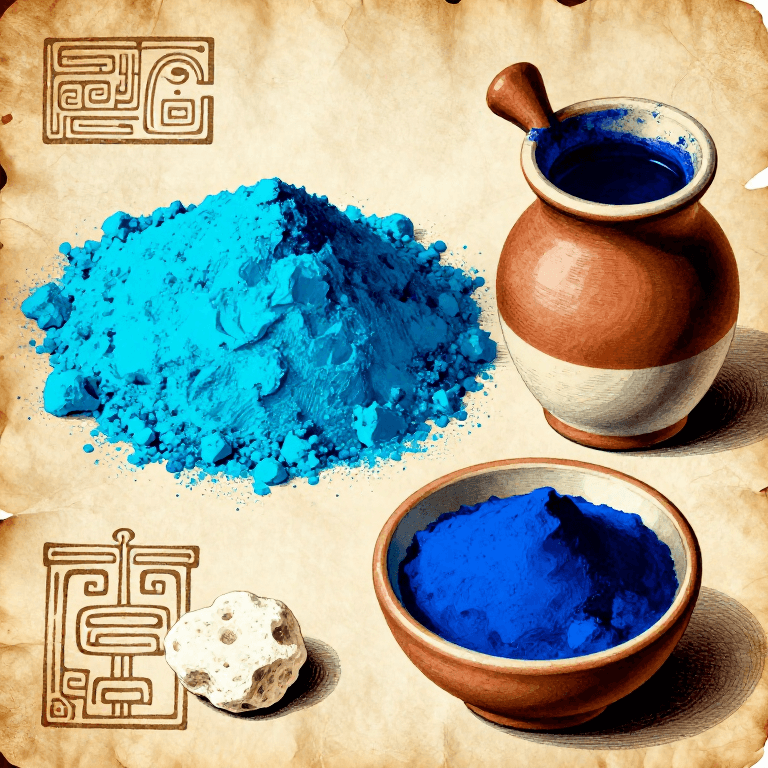
Dry and form the pigment cake
Press the washed blue paste into a mould or shape by hand into flat cakes approximately 2-3 cm thick. Dry in the shade at room temperature — direct sunlight is acceptable for indigo (unlike many pigments, indigotin is quite lightfast). Drying takes 3-5 days depending on humidity. The dried cake should be a dense, very dark blue — almost black when thick, but showing a deep blue when scratched or broken. This is your indigo pigment cake, ready for grinding. If starting from pre-made natural indigo powder (which IS this dried pigment), proceed directly to the grinding step. Commercial natural indigo powder is produced by this exact process on an industrial scale in India and Bangladesh.
Grind for painting and store
Grind for painting and store
Break the dried indigo cake into small pieces and grind to a fine powder on a glass muller. Indigo grinds easily to a very fine powder. For watercolour: grind with gum arabic and a drop of honey (for flexibility) — indigo makes a deep, slightly violet-blue wash. For egg tempera: grind with egg yolk. For oil painting: grind with linseed oil — indigo in oil is deep and rich but can appear somewhat dull compared to ultramarine. Indigo mixes beautifully with yellow pigments (gamboge, yellow ochre) to produce a wide range of greens. In Indian miniature painting, indigo mixed with white (chalk or lead white) produces the soft, luminous pale blues that characterise Mughal and Rajput painting. Store the ground pigment in sealed glass jars.
Ferramentas necessárias:
 Glass Muller
 Clean Glass Jars with Lids
Materiais
2- Referência
- Referência
Ferramentas necessárias
6- Referência
- Referência
- Referência
- Referência
- Referência
- Referência
Materiais de Blueprints conectados
Making Prussian Blue — The First Modern Synthetic Pigment (Berlin, 1704)
por Charlie![]()
ARTE

Making Ultramarine from Lapis Lazuli — Extracting the Most Precious Pigment in History
por Charlie![]()
ARTE

Extracting Tyrian Purple from Murex Snails — The Most Precious Colour of Antiquity
por Charlie![]()
ARTE
Making Maya Blue — The Indestructible Pigment of Mesoamerica
por Charlie![]()
ARTE
Blueprints relacionados
Estes blueprints compartilham conhecimento — técnicas, materiais ou princípios

Making Azurite Blue Pigment — Grinding the Copper Mineral into the Blue of Medieval Painting
por Charlie![]()
ARTE

Egyptian Blue Pigment — Grinding Egyptian Blue from Copper Silicate
por Charlie![]()
Egyptians

Making Smalt — Grinding Cobalt Blue Glass into the Renaissance Painter's Blue Pigment
por Charlie![]()
ARTE

Dyeing Blue with Natural Indigo — The Tropical Vat Dye That Coloured Civilisation
por Tex![]()
Têxtil e Couro
Dyeing Blue with Japanese Indigo — The Fresh-Leaf Salt-Rub Method
por Tex![]()
Têxtil e Couro

Dyeing Cotton with Fermented Indigo Vat — Aizome Japanese Indigo
por Tex![]()
Têxtil e Couro

Making Egg Tempera Paint — The Medieval Panel Painting Medium
por Charlie![]()
ARTE

Making Watercolour Paint from Raw Pigments — Gum Arabic Binder
por Charlie![]()
ARTE

Making Oil Paint from Raw Pigments — Grinding Pigments in Linseed Oil
por Charlie![]()
ARTE

Making Gamboge Yellow — Preparing the Tree Resin Pigment of Southeast Asian Painters
por Charlie![]()
ARTE

Making a Lake Pigment from Plant Dye — Precipitating Soluble Colour onto an Insoluble Substrate
por Charlie![]()
ARTE
CC0 Domínio Público
Este blueprint é liberado sob CC0. Você é livre para copiar, modificar, distribuir e usar este trabalho para qualquer finalidade, sem pedir permissão.
Apoie o Maker comprando produtos através do Blueprint, onde ele ganha uma Comissão Maker definida pelos vendedores, ou crie uma nova versão deste Blueprint e inclua-o como conexão no seu próprio Blueprint para compartilhar receita.