Colaboração
ARTE
BELEZA E BEM-ESTAR
ARTESANATO
CULTURA E HISTÓRIA
ENTRETENIMENTO
MEIO AMBIENTE
COMIDA E BEBIDAS
ENGENHARIA REVERSA
CIÊNCIAS
ESPORTES
TECNOLOGIA
TECNOLOGIA VESTÍVEL
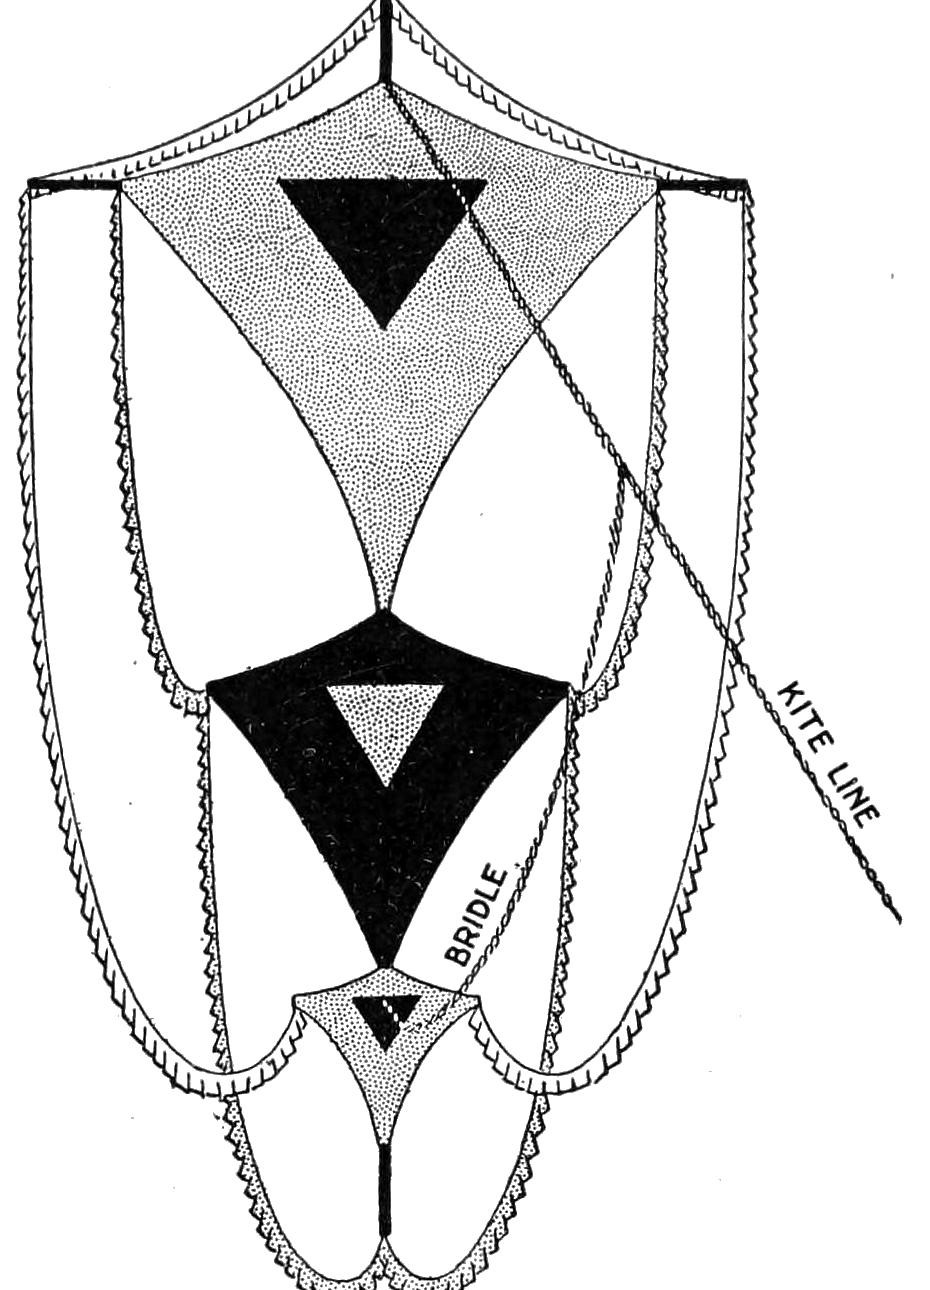


Festooned Kite: Three Tailless Kites on One 7 ft Spruce Spine With Tissue-Paper Fringes (Boy Mechanic, 1919)
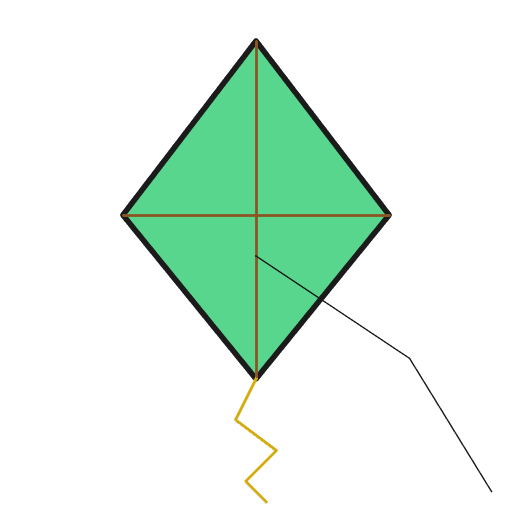
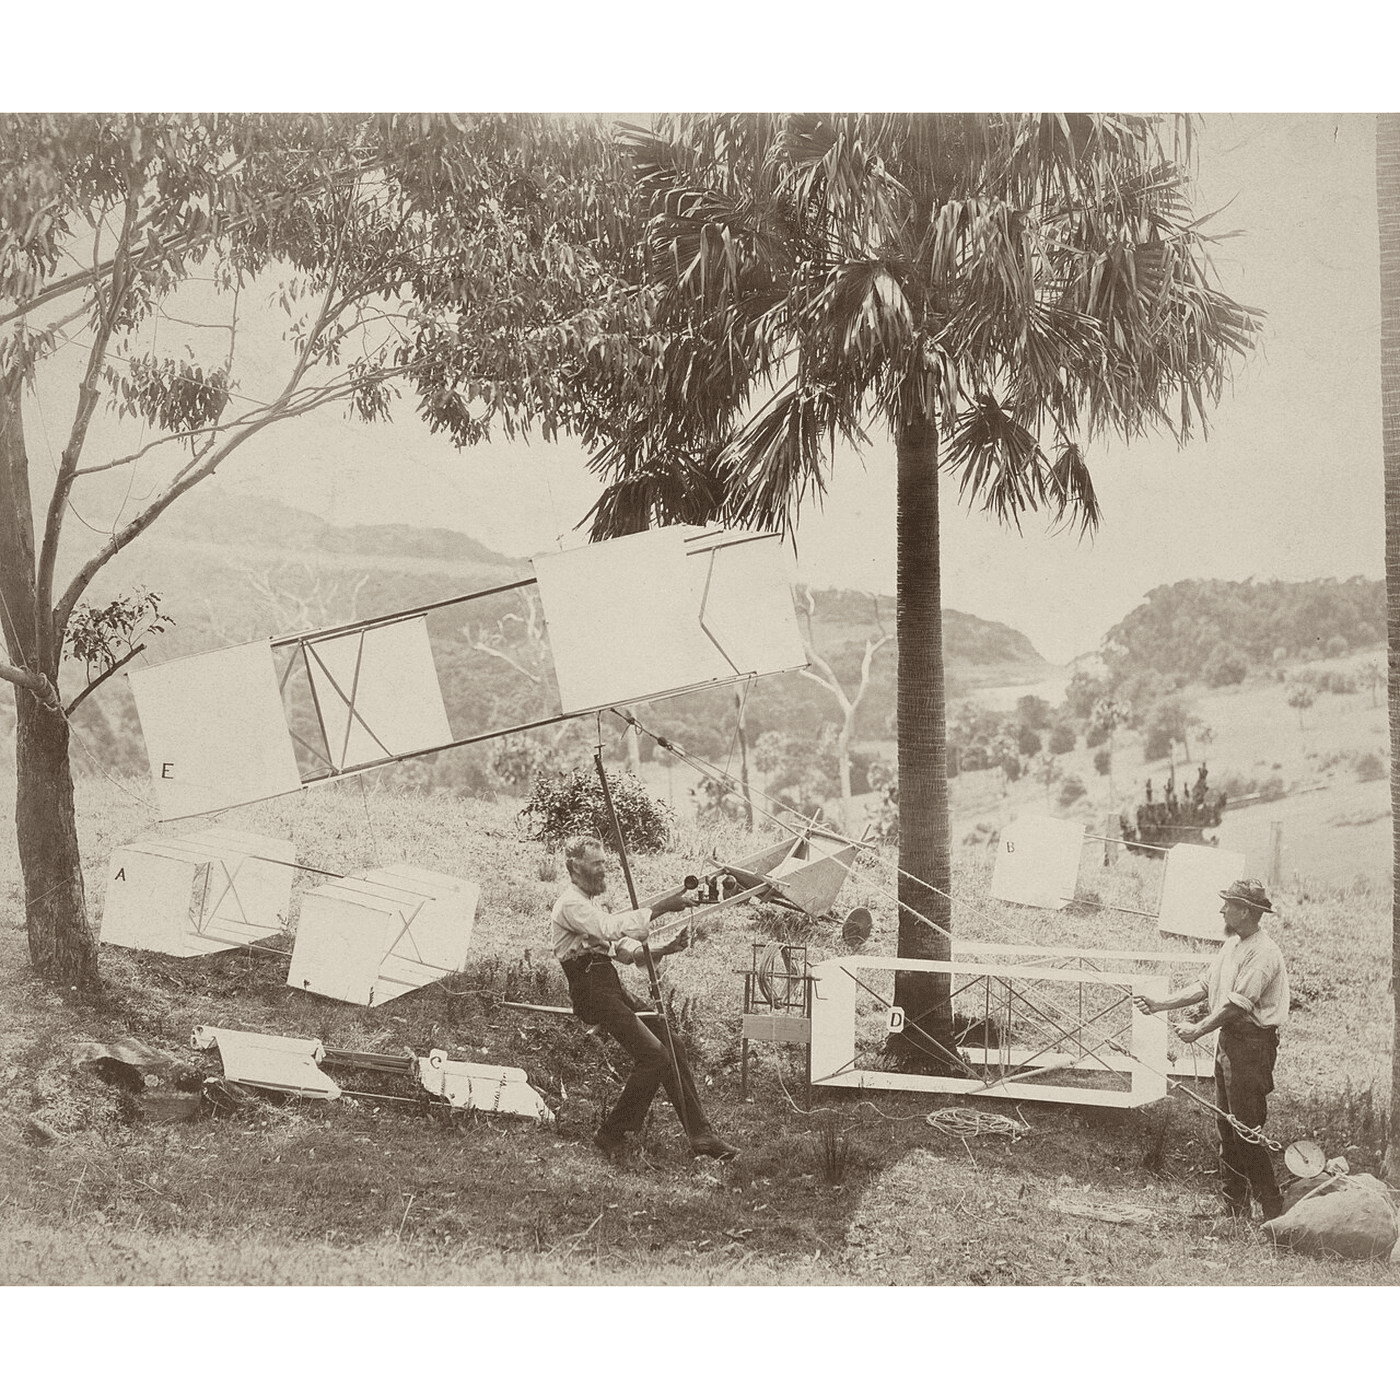
C. M. Miller's compound kite from The Boy Mechanic, Book 3 (1919): three tailless kites, 3 ft, 2 ft and 1 ft wide, strung on one 7 ft spruce spine, covered in tissue paper and hung with fringed tissue festoons from the ends of the sticks. An 87 in bridle sets it to the wind.
Intermediário
About 1 day
Instruções
1
1
Spine stations and string lengths
Spine stations and string lengths
A carregar o notebook Jupyter…
2
2
Read The Boy Mechanic, Book 3
Read The Boy Mechanic, Book 3
"More than one kite on the same framework is known as a compound kite. The one illustrated consists of three tailless kites on one long stick, called the spine."
3
3
Cut the sticks
Cut the sticks
Cut the spine of straight-grained spruce (or pine or bass) without a twist, 7 ft long by 1/4 by 1/2 in; if the wood breaks easily make it 3/4 in wide, or 3/8 in thick. Cut the bows 4 ft by 1/4 by 1/2 in, 2 ft by 1/4 by 3/8 in, and 1 ft by 1/4 by 1/4 in. A twisted spine keeps the three kites out of one plane and makes the kite unsteady.
Materiais para este passo:
 Ripa de madeira macia4 peças
Ferramentas necessárias:
 Serrote
 Plaina manual
 Fita métrica
 Lápis
4
4
Lash on the bows
Lash on the bows
Lash the upper bow 13 in from the top of the spine, its ends 6 in past the kite for the festoons; then the centre bow 5 in below D and the lower bow as in the drawing (6, 7, 29, 5, 19, 2, 10 and 6 in down the spine). Lash, do not nail: wind diagonally both left and right round the two sticks, then wind between them round the other windings to draw everything tight.
Materiais para este passo:
 Linha de papagaio1 peça
Ferramentas necessárias:
Fita métricaLápis Tesoura
5
5
String the outlines
String the outlines
Drill small holes (or notch with a knife or saw) in the spine 6 in from the top at A, 6 in from each end of the upper bow at B and C, and 29 in below the upper bow at D. Tie the outline at A and pass it through C, D and B back to A; draw it tight without springing spine or bow. Check that AC equals AB and CD equals BD, shift the string until they do, and wind each point (E) so it cannot slip. String the centre and lower kites the same way.
Materiais para este passo:
Linha de papagaio1 peçaFerramentas necessárias:
 Berbequim de mão
 Canivete de açoFita métrica
6
6
Cover and fringe
Cover and fringe
Cut the tissue about 1 in larger all round than each kite, turn over about half the allowance and paste it, leaving the cover loose. French tissue comes in fine colours and is stronger than common tissue; Chinese rice paper is strongest but only natural colour. For the festoons cut tissue strips 2-1/2 in wide, paste 1/2 in of one long edge over a string, and slit the loose edge every 1 in. Hang the festoons from the stick ends in easy curves, not tight, keeping both sides balanced.
Materiais para este passo:
 Papel de seda colorido5 folhas
 Cola de farinha de trigo1 peçaLinha de papagaio1 peça
Ferramentas necessárias:
Tesoura Pincel para cola
 Régua
7
7
Bow the kites and bridle
Bow the kites and bridle
Tie a string from end to end of the upper and centre bows on the back and spring in short brace sticks to bend them, as usual for tailless kites. Tie the 87 in bridle at A and to the spine at F, and attach the kite line 30 in from A, leaving 57 in to F.
Materiais para este passo:
Linha de papagaio1 peçaRipa de madeira macia1 peçaFerramentas necessárias:
Canivete de açoFita métrica8
8
Flying and troubleshooting
Flying and troubleshooting
Festooned kite flying.
Flow
Loading...
9
9
History and honest limits
History and honest limits
From "How to Make Combined Kites, Part II: A Festooned Kite" by C. M. Miller, in **The Boy Mechanic, Book 3**, Popular Mechanics, 1919 (Project Gutenberg 71856; checked on the archive.org scan boymechanic0003unse, pp. 155-156). He does not name the string, the paste or the kite line. The tools and metric figures are ours.
Materiais
4- 4 peçasReferência
- 4 peçasReferência
- 5 folhasReferência
- 1 peçaReferência
Ferramentas necessárias
9- Referência
- Referência
- 1 vendor sell this, none ship to you yetReferência
- 1 vendor sell this, none ship to you yetReferência
- Referência
- Referência
- Referência
- Referência
- Referência
Este projeto faz
Blueprints relacionados
Estes blueprints compartilham conhecimento — técnicas, materiais ou princípios

CC0 Domínio Público
Este blueprint é liberado sob CC0. Você é livre para copiar, modificar, distribuir e usar este trabalho para qualquer finalidade, sem pedir permissão.
Apoie o Maker comprando produtos através do Blueprint, onde ele ganha uma Comissão Maker definida pelos vendedores, ou crie uma nova versão deste Blueprint e inclua-o como conexão no seu próprio Blueprint para compartilhar receita.