ARTE
BELEZA E BEM-ESTAR
ARTESANATO
CULTURA E HISTÓRIA
ENTRETENIMENTO
MEIO AMBIENTE
COMIDA E BEBIDAS
ENGENHARIA REVERSA
CIÊNCIAS
ESPORTES
TECNOLOGIA
TECNOLOGIA VESTÍVEL
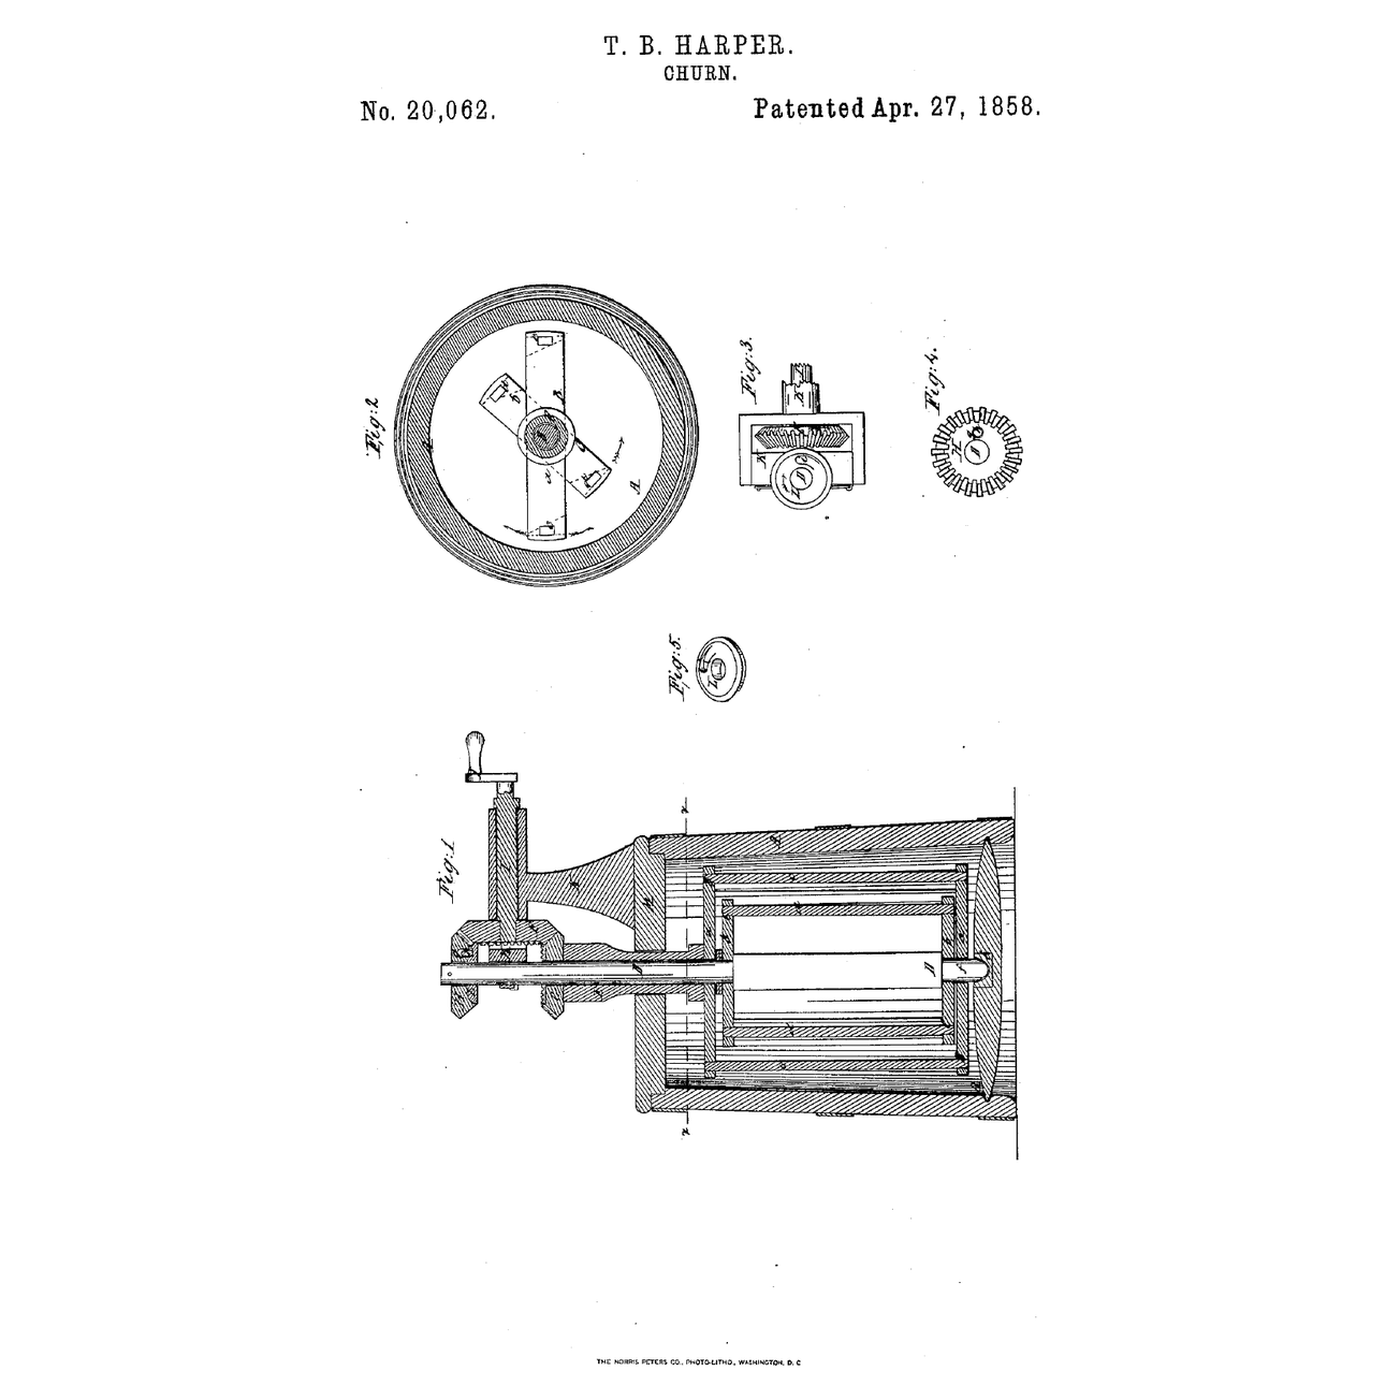


Nested Counter-Dasher Pin-Clutch Churn: Two Dashers Turn Opposite Ways, Reverse the Winch and Only the Outer One Gathers
T. B. Harper of Xenia, Ohio, received US 20,062, dated 27 April 1858, for a churn with two dashers, one inside the other. A bevel wheel turned by a winch drives both: one way the two turn opposite to each other to churn; the other way a dropping pin lets the inner dasher stand while the outer one gathers the butter.
This rung prints the dashers, the bevel gears and the pin clutch at tabletop scale, in a stock pot.
Avançado
About 6 hours, plus printing
Instruções
1
1
Wheel and pinions
Wheel and pinions
A carregar o notebook Jupyter…
2
2
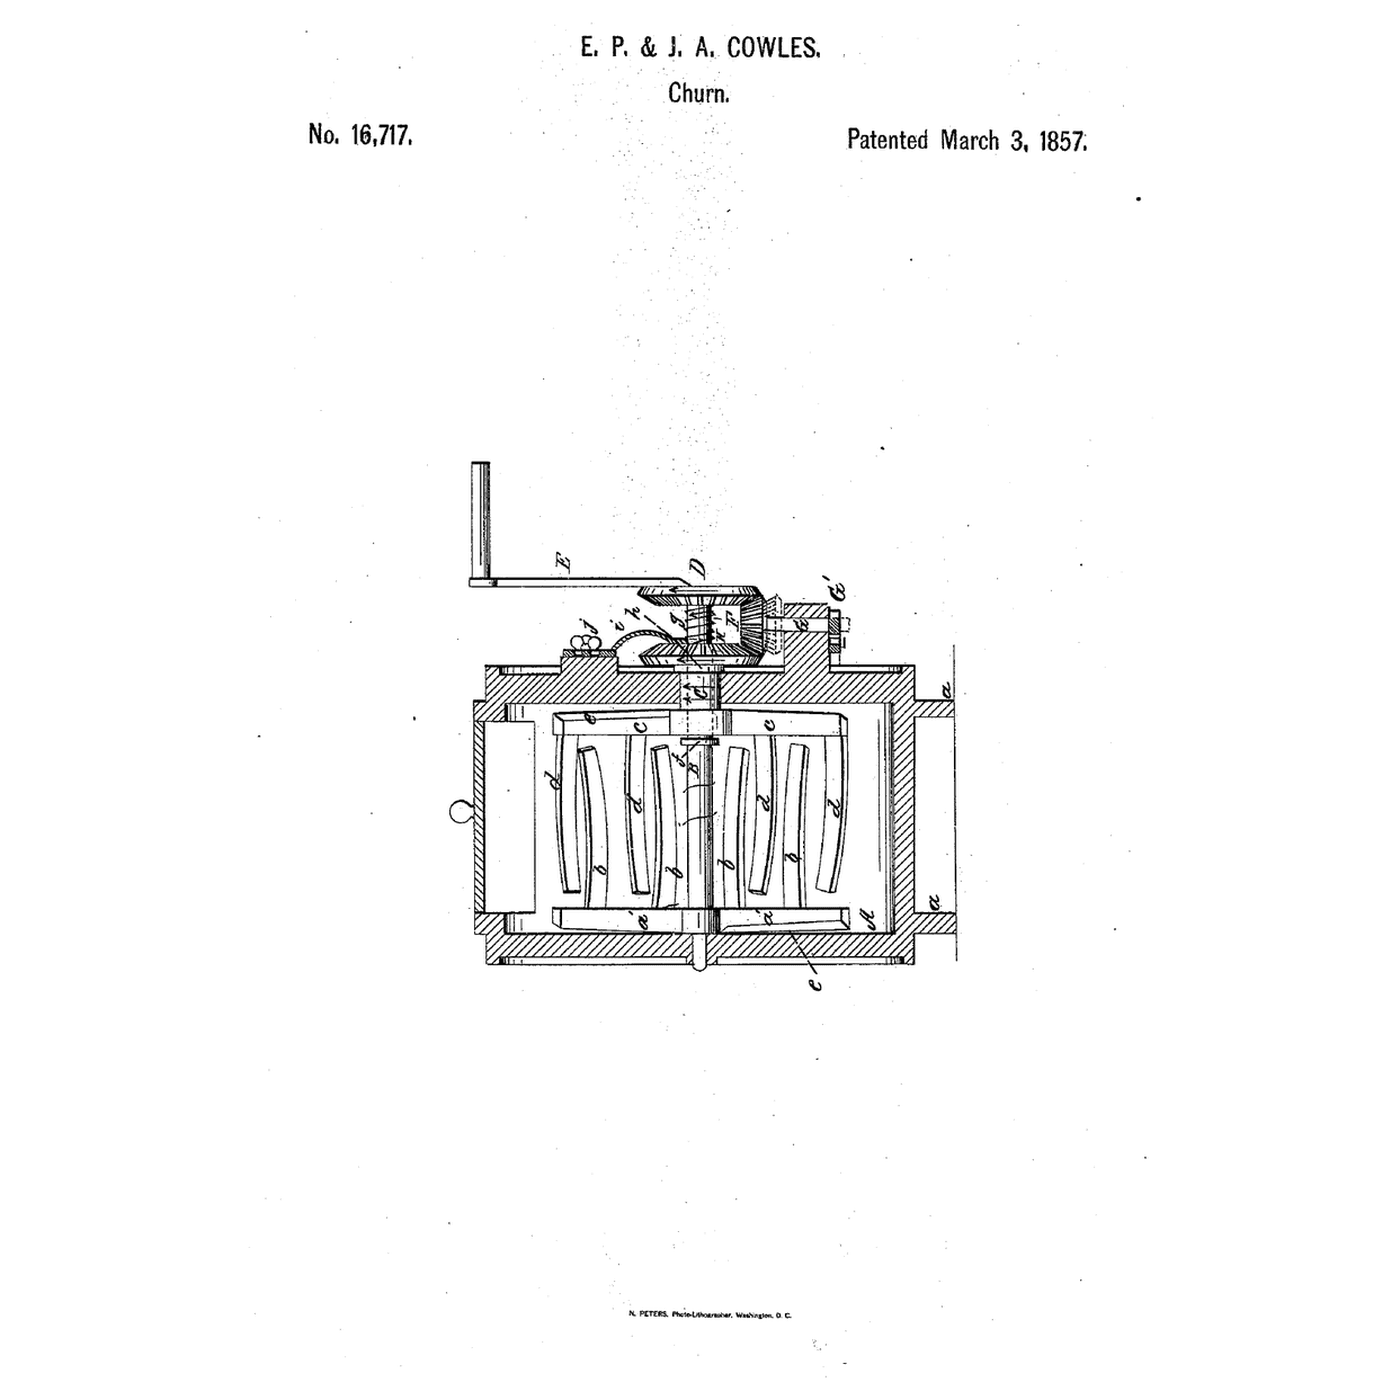
Counter-turning churns, before it
Counter-turning churns, before it
That churn turned its two beater sets together to gather; Harper stops the inner dasher with a one-way pin.
3
3
Read US 20,062
Read US 20,062
"Thus, I am enabled to produce two different movements of the dashers; one for churning, and the other for gathering the butter, by simply turning the winch in opposite directions."
4
4
Print the parts
Print the parts
Print the inner dasher (/uploads/blueprints/nested-counter-dasher-pin-clutch-churn-inner-dasher.stl), the outer dasher (/uploads/blueprints/nested-counter-dasher-pin-clutch-churn-outer-dasher.stl), the hollow journal (/uploads/blueprints/nested-counter-dasher-pin-clutch-churn-hollow-journal.stl), pinions G (/uploads/blueprints/nested-counter-dasher-pin-clutch-churn-pinion-g.stl) and H (/uploads/blueprints/nested-counter-dasher-pin-clutch-churn-pinion-h.stl), the driving wheel (/uploads/blueprints/nested-counter-dasher-pin-clutch-churn-driving-wheel.stl), the disk (/uploads/blueprints/nested-counter-dasher-pin-clutch-churn-disk-l.stl), the pin (/uploads/blueprints/nested-counter-dasher-pin-clutch-churn-pin.stl), the step (/uploads/blueprints/nested-counter-dasher-pin-clutch-churn-step.stl), the cover (/uploads/blueprints/nested-counter-dasher-pin-clutch-churn-cover.stl), the standard (/uploads/blueprints/nested-counter-dasher-pin-clutch-churn-standard.stl) and the crank (/uploads/blueprints/nested-counter-dasher-pin-clutch-churn-crank.stl). Print in PETG at 0.2 mm layers, 30 % infill, 4 walls; wash before first use.
Materiais para este passo:
 Filamento PETG1 peça
Ferramentas necessárias:
 Impressora 3D de filamento (FDM)
5
5
Dashers and shaft
Dashers and shaft
Cut a 10 mm square hardwood strip about 330 mm long as the shaft and sand it. Set the step in the bottom of the pot. Push the shaft through the inner dasher, stand it in the step, and lower the outer dasher round it, its bottom piece turning freely on the shaft. Push the hollow journal onto the outer dasher's top piece, over the shaft.
Materiais para este passo:
 Panela alta1 peça
 Ripa de madeira dura1 peça
Ferramentas necessárias:
 Serrote
 Lixa
Lixa6
6
Cover, gears and pin clutch
Cover, gears and pin clutch
Lay the cover on the pot with the journal through its centre. Slide pinion G onto the flat at the journal's top. Slide pinion H loose onto the shaft above it, put the pin in its hole, and fit the disk on the shaft over it, notch down. Screw the standard to the cover from below with two M4 screws, push a 10 mm dowel through it as the winch axle, press the driving wheel tight onto its inner end so it meshes with G below and H above, and fix the crank on its outer end with an M3 screw drilled through the dowel.
Materiais para este passo:
 Cavilhas de madeira dura1 peça
 Parafusos de máquina1 peça
Ferramentas necessárias:
 Conjunto de chaves de fendasSerrote
 Berbequim de mão
7
7
The build in 3D
The build in 3D
FreeCAD model of this build: the pot, the step, the square shaft, the inner and outer dashers with wings bevelled opposite ways, the hollow journal through the cover, the bevel wheel on the winch meshing pinion G below and pinion H above, the pin-and-notch disk and the standard.
8
8
Churn, then gather
Churn, then gather
Pour in 1 litre of heavy cream at about 15 °C, checked with the thermometer. Turn the winch the way that couples the pin, so both dashers turn opposite to each other, and time it with the stopwatch. When the butter comes, turn the winch the other way: the pin rides up its slope, the inner dasher stands still and the outer one gathers the butter at the edge. Pour off the buttermilk, wash the butter in cold water until it runs clear, work in a pinch of salt and weigh it.
Materiais para este passo:
 Natas para bater1 l
 Sal marinho grosso1 peça
 Água1 peça
Ferramentas necessárias:
 Termómetro de sonda permanente
 Cronómetro
 Balança digital de cozinha
 Taça grande de aço inoxidável
9
9
Troubleshooting
Troubleshooting
Nested counter-dasher churn troubleshooting.
Flow
Loading...
10
10
History and honest limits
History and honest limits
**T. B. Harper** of Xenia, Greene County, Ohio, US 20,062, 27 April 1858, signed 6 March 1858. Each of his dashers had top and bottom pieces joined at their ends by vertical wings, bevelled to cleave the cream one way on one dasher and the other way on the other. He claimed the pinion H, the disk L and the pin h, arranged with the winch and the two dashers as described. Our sizes, gear counts and printed parts are ours. FDM prints hold food in their layer lines, so wash well and replace when worn.
Materiais
8- 1 peçaReferência
- 1 peçaReferência
- 1 peçaReferência
- 1 peçaReferência
- 1 peçaReferência
- Referência
- 1 peçaReferência
- 1 peçaReferência
Ferramentas necessárias
9- Referência
- Referência
- Referência
- Referência
- Referência
- Referência
- Referência
- Referência
- Referência
Ficheiros de design
1Blueprints relacionados
Estes blueprints compartilham conhecimento — técnicas, materiais ou princípios



CC0 Domínio Público
Este blueprint é liberado sob CC0. Você é livre para copiar, modificar, distribuir e usar este trabalho para qualquer finalidade, sem pedir permissão.
Apoie o Maker comprando produtos através do Blueprint, onde ele ganha uma Comissão Maker definida pelos vendedores, ou crie uma nova versão deste Blueprint e inclua-o como conexão no seu próprio Blueprint para compartilhar receita.