ARTE
BELEZA E BEM-ESTAR
ARTESANATO
CULTURA E HISTÓRIA
ENTRETENIMENTO
MEIO AMBIENTE
COMIDA E BEBIDAS
ENGENHARIA REVERSA
CIÊNCIAS
ESPORTES
TECNOLOGIA
TECNOLOGIA VESTÍVEL
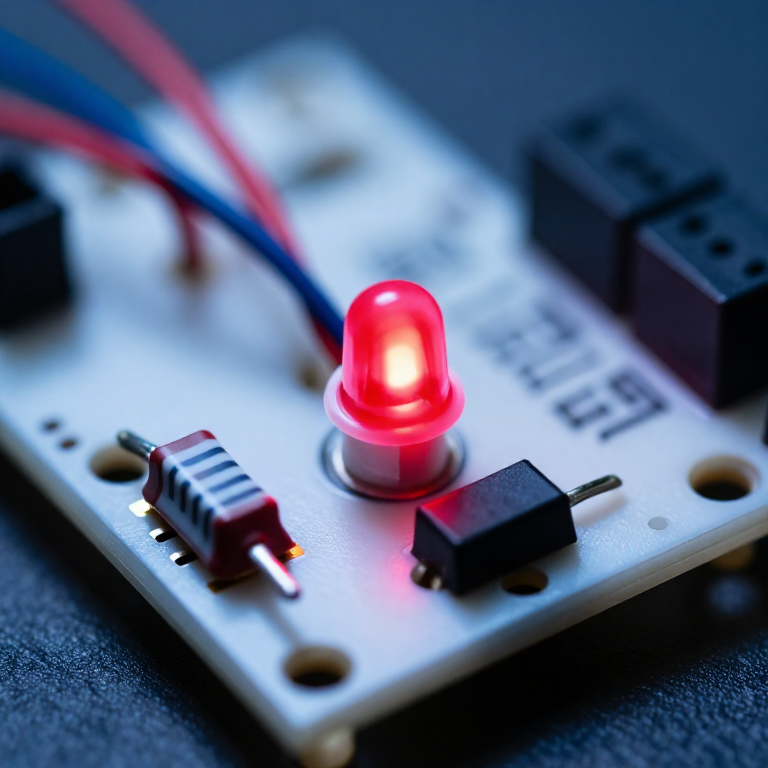


Ohm's Law at the Bench: Picking the Resistor That Saves the LED
One equation does most of the arithmetic a maker ever needs from electronics, and it is three letters long. What makes it worth a rung of its own is that the three commonest beginner disasters — the LED that dies instantly, the resistor that cooks, the divider that sags under load — are all the same equation applied carelessly.
An LED is the sharpest example. It is not a resistor: past its forward voltage the current rises almost without limit, so connecting one directly across a supply destroys it in a fraction of a second. The resistor beside it is not a formality, it is the only thing deciding the current.
Every SIK circuit published here that lights an LED has one, and this is why.
Iniciante
3 hours
Instruções
1
1
Size the resistor for an LED, and see why it is not optional
Size the resistor for an LED, and see why it is not optional
A carregar o notebook Jupyter…
Materiais para este passo:
 Kit de LED1 peça
 Kit de resistências1 peça
Ferramentas necessárias:
 Placa de ensaio
 Calculadora
 Multímetro
2
2
Check the resistor will survive the heat
Check the resistor will survive the heat
A carregar o notebook Jupyter…
Materiais para este passo:
Kit de resistências1 peçaFerramentas necessárias:
CalculadoraMultímetro3
3
The divider that works until you connect something
The divider that works until you connect something
A carregar o notebook Jupyter…
Materiais para este passo:
Kit de resistências1 peçaFerramentas necessárias:
Placa de ensaioMultímetroCalculadora4
4
Measure it, and find out what your parts really are
Measure it, and find out what your parts really are
Build the LED and its resistor on a breadboard, then measure: the supply, the voltage across the LED, and the voltage across the resistor. They should add up to the supply.
Then work out the current from the resistor's voltage and its measured resistance, and compare it with what you calculated. The LED's real forward voltage will not be exactly the table value — it varies by part, by colour bin, and with current — which is why the calculation is a starting point and the measurement is the answer.
This also demonstrates Kirchhoff's voltage law without naming it: around any loop, the voltages sum to zero. Once you have seen it on a meter it stops being an abstraction and becomes a tool for finding where a missing volt went.
Materiais para este passo:
Kit de LED1 peçaKit de resistências1 peçaFerramentas necessárias:
Placa de ensaioMultímetro Fonte de alimentação de bancada
Materiais
2- 2 peçasReferência
- desdeR$29.33
Blueprints relacionados
Estes blueprints compartilham conhecimento — técnicas, materiais ou princípios

CC0 Domínio Público
Este blueprint é liberado sob CC0. Você é livre para copiar, modificar, distribuir e usar este trabalho para qualquer finalidade, sem pedir permissão.
Apoie o Maker comprando produtos através do Blueprint, onde ele ganha uma Comissão Maker definida pelos vendedores, ou crie uma nova versão deste Blueprint e inclua-o como conexão no seu próprio Blueprint para compartilhar receita.