ARTE
BELEZA E BEM-ESTAR
ARTESANATO
CULTURA E HISTÓRIA
ENTRETENIMENTO
MEIO AMBIENTE
COMIDA E BEBIDAS
ENGENHARIA REVERSA
CIÊNCIAS
ESPORTES
TECNOLOGIA
TECNOLOGIA VESTÍVEL
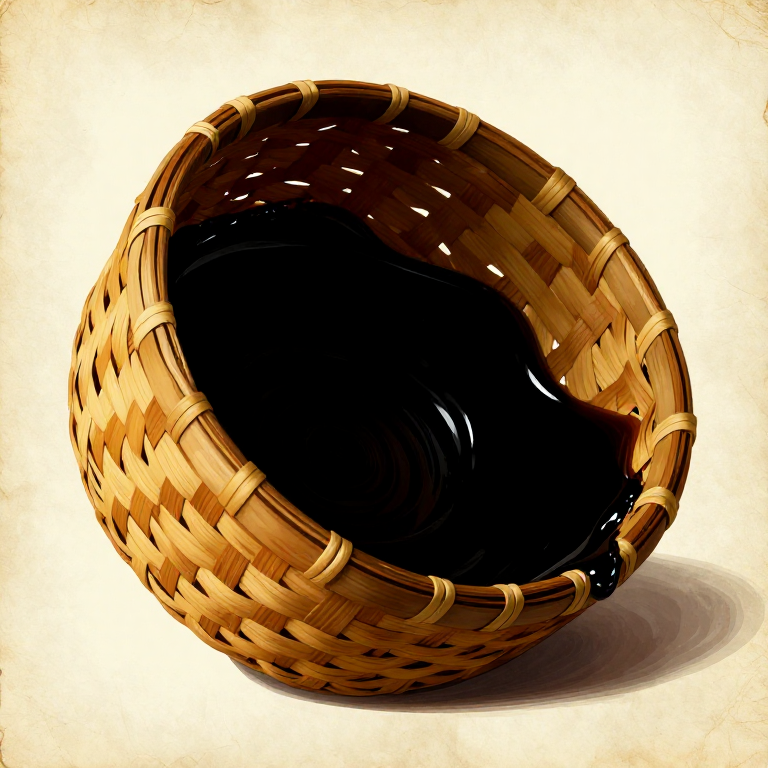


Waterproofing a Basket with Pine Pitch — Sealed Container for Liquids
Before pottery, humans needed waterproof containers for storing and transporting water, cooking by hot-stone boiling, and fermenting beverages. One of the oldest solutions was coating a tightly woven basket with pine pitch (or birch tar) to seal the gaps between the weave. Many Indigenous peoples of western North America used pitch-lined baskets as their primary cooking and water-storage vessels for thousands of years. The technique requires a very tightly woven basket (coiled construction works best) and properly prepared pine pitch that is viscous enough to coat but not so hot that it burns the basket fibres. The pitch fills every gap in the weave and, once cooled, creates a rigid, waterproof shell that can hold water indefinitely.
Intermediário
2-3 hours
Instruções
1
1
Start with a Tightly Woven Basket
Start with a Tightly Woven Basket
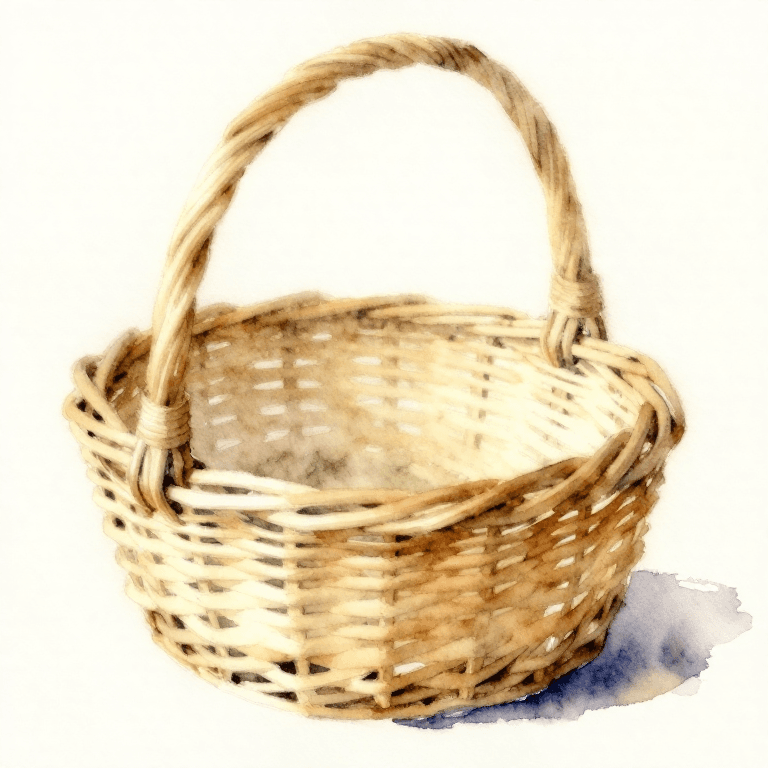
Select a tightly woven basket — coiled construction is ideal because the coils pack tightly with minimal gaps. A wicker or twill-woven basket can also work if the weave is very tight. The basket should be the size you need for its intended purpose: water storage, cooking, or carrying.
Materiais para este passo:
 Cordame1 peça
2
2
Inspect the Basket for Gaps
Inspect the Basket for Gaps
Hold the basket up to a light source and look for gaps or pinholes between the weave elements. Any gap visible to the eye will leak. Mark problem areas for extra pitch attention. If the weave has large gaps, the basket is too loosely woven and should be replaced with a tighter one.
3
3
Warm Solid Pine Resin Until It Flows
Warm Solid Pine Resin Until It Flows
Prepare pine pitch by warming solid pine resin gently over low heat until it flows freely. Do not boil the pitch — overheated pitch becomes brittle when it cools and will crack and flake off the basket. The pitch should have the consistency of warm honey, flowing slowly when tilted.
4
4
Mix Pitch with Crushed Charcoal
Mix Pitch with Crushed Charcoal
Stir a small amount of finely crushed charcoal into the warm pitch at a ratio of roughly 4 parts pitch to 1 part charcoal. The charcoal adds flexibility to the dried pitch, preventing it from becoming too brittle. It also darkens the coating, making it easier to see coverage.
Materiais para este passo:
 Carvão vegetal em pedaços1 peça
5
5
Pour the First Coat Inside the Basket
Pour the First Coat Inside the Basket
Working quickly while the pitch is warm and fluid, pour a small amount into the basket. Tilt and rotate the basket to spread the pitch across the entire inner surface. Gravity will pull the pitch into the lowest points, so keep rotating to maintain even coverage on the walls.
6
6
Spread Pitch into Corners and Seams
Spread Pitch into Corners and Seams
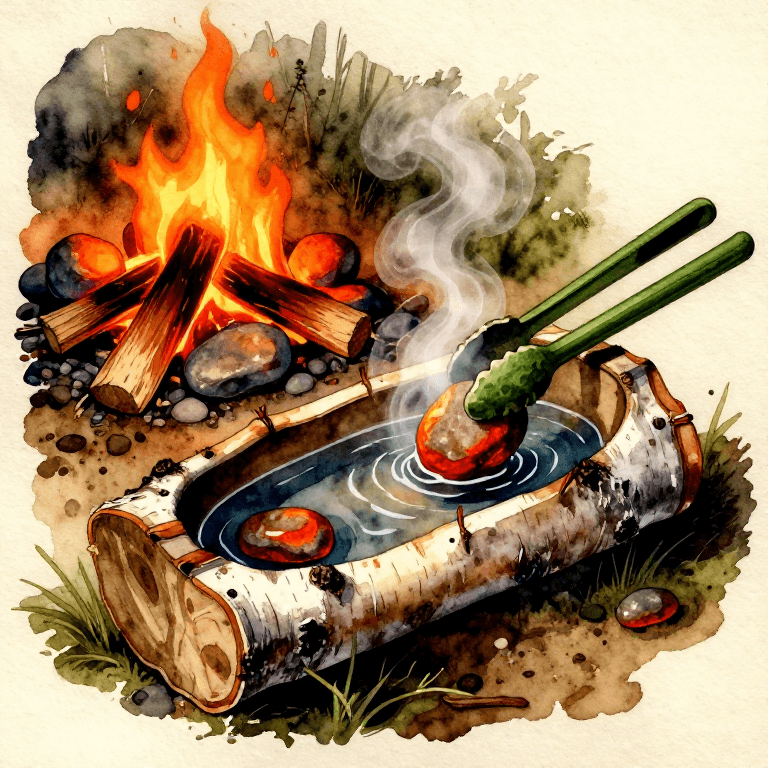
Use a heated smooth stick to push warm pitch into tight corners, along coil seams, and into any gaps identified during inspection. The stick must be warm enough that the pitch does not stick to it and cool prematurely. Reheat the stick in the fire as needed.
7
7
Apply a Second Thin Coat
Apply a Second Thin Coat
Allow the first coat to cool slightly until it is tacky but no longer flowing. Then apply a second thin coat of warm pitch over the first. Multiple thin coats seal far better than one thick coat — a thick coat traps air bubbles and cracks as it cools and contracts.
8
8
Apply a Third Coat for Full Seal
Apply a Third Coat for Full Seal
Apply a third and final thin coat, paying special attention to the bottom of the basket and the rim where the weave terminates. The rim is the most common leak point because the weave ends are cut short and may leave exposed gaps. Build up a slightly thicker bead of pitch along the rim edge.
9
9
Test for Leaks with Water
Test for Leaks with Water
Once the pitch has cooled enough to handle, fill the basket with water and watch for drips. Set the basket on a dry flat stone and wait 5 minutes. Any drip indicates a pinhole in the coating. Mark leak locations and drain the water before patching.
10
10
Seal Any Remaining Leaks
Seal Any Remaining Leaks
Apply a dab of warm pitch to the outside of the basket at each leak point, pressing it into the weave with a warm stick. Retest with water. Repeat until no drips appear after 5 minutes of holding water.
11
11
Cure the Pitch Before Regular Use
Cure the Pitch Before Regular Use
Let the pitch cure for 24 hours in a warm, dry location before putting the basket into regular service. Fresh pitch may impart a resinous taste to stored water — this fades after the first few uses. The pitch coating will last for months of regular use and can be patched with fresh pitch as needed.
Materiais de Blueprints conectados

Blueprints relacionados
Estes blueprints compartilham conhecimento — técnicas, materiais ou princípios



CC0 Domínio Público
Este blueprint é liberado sob CC0. Você é livre para copiar, modificar, distribuir e usar este trabalho para qualquer finalidade, sem pedir permissão.
Apoie o Maker comprando produtos através do Blueprint, onde ele ganha uma Comissão Maker definida pelos vendedores, ou crie uma nova versão deste Blueprint e inclua-o como conexão no seu próprio Blueprint para compartilhar receita.