
Colaboração
ARTE
BELEZA E BEM-ESTAR
ARTESANATO
CULTURA E HISTÓRIA
ENTRETENIMENTO
MEIO AMBIENTE
COMIDA E BEBIDAS
ENGENHARIA REVERSA
CIÊNCIAS
ESPORTES
TECNOLOGIA
TECNOLOGIA VESTÍVEL
Self-Watering Plant Station with ESP32 and OLED
Ed

Criado por

Ed

16. novembro 2026FI
1
0
0
0
0

Self-Watering Plant Station with ESP32 and OLED

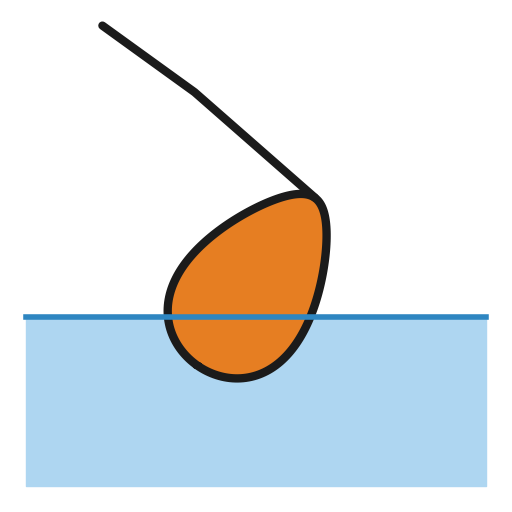
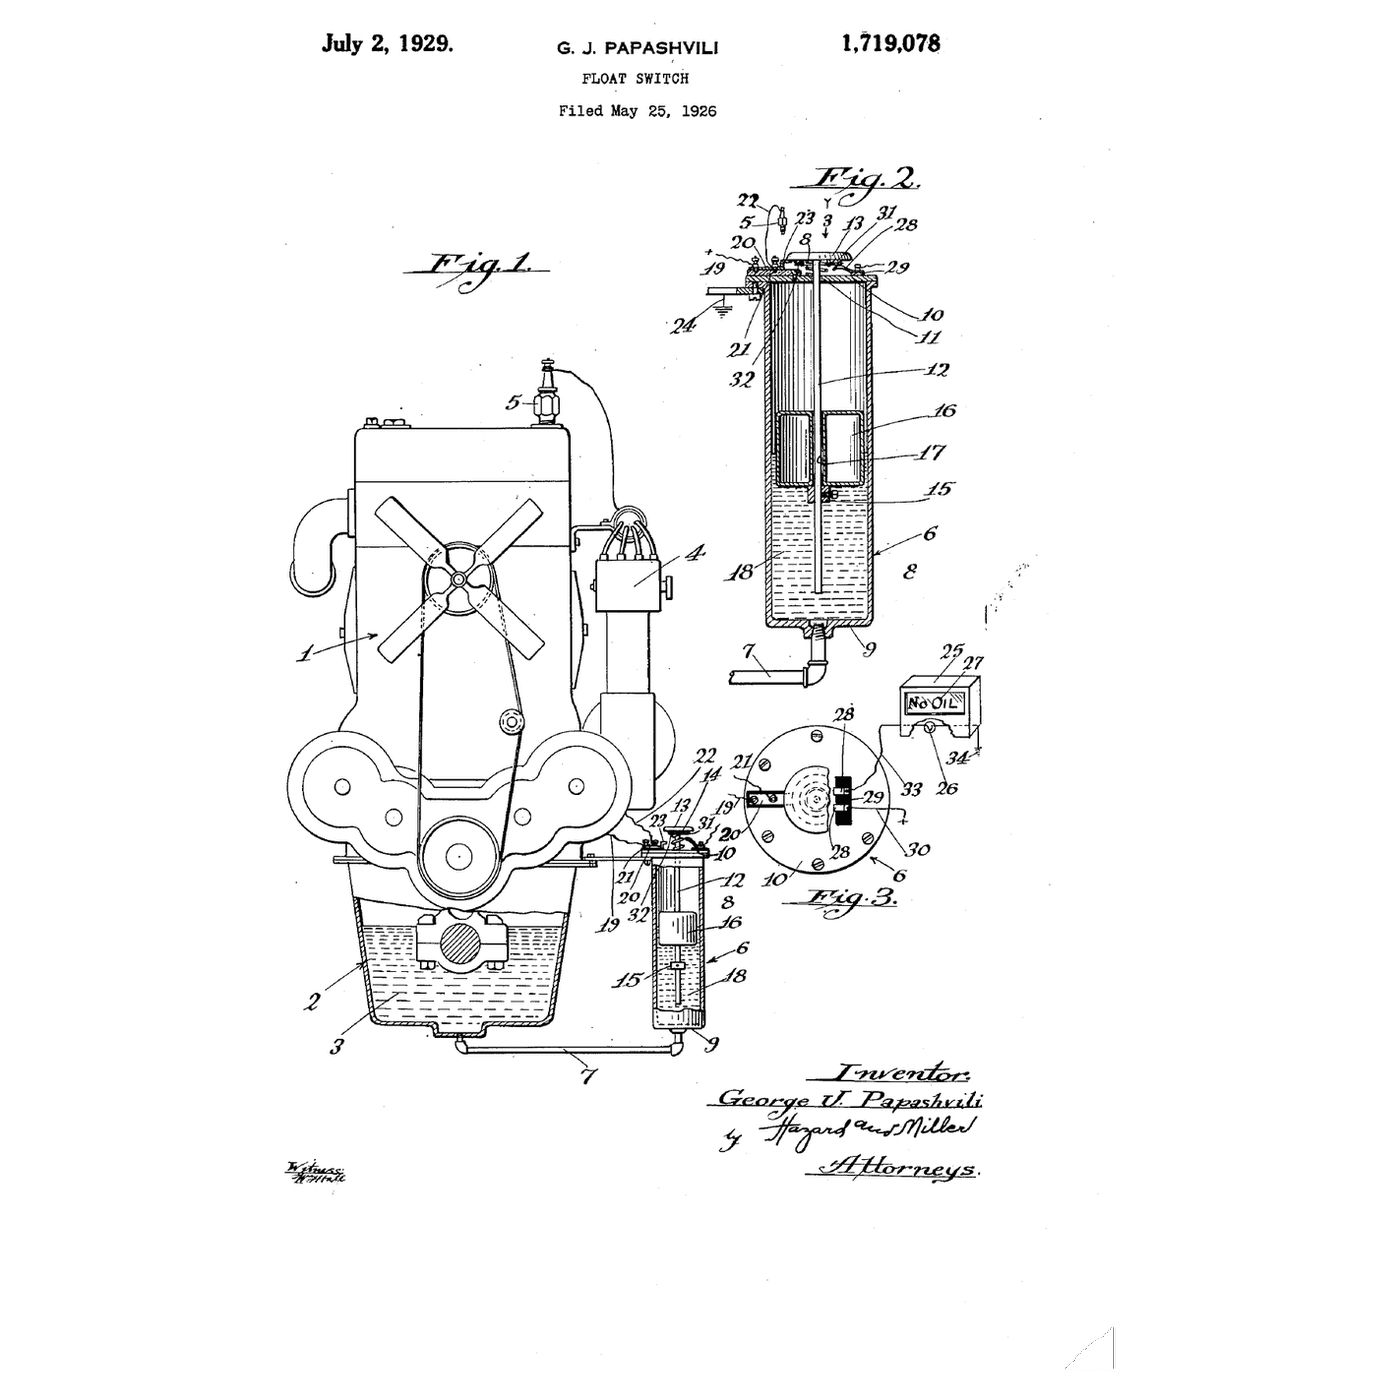
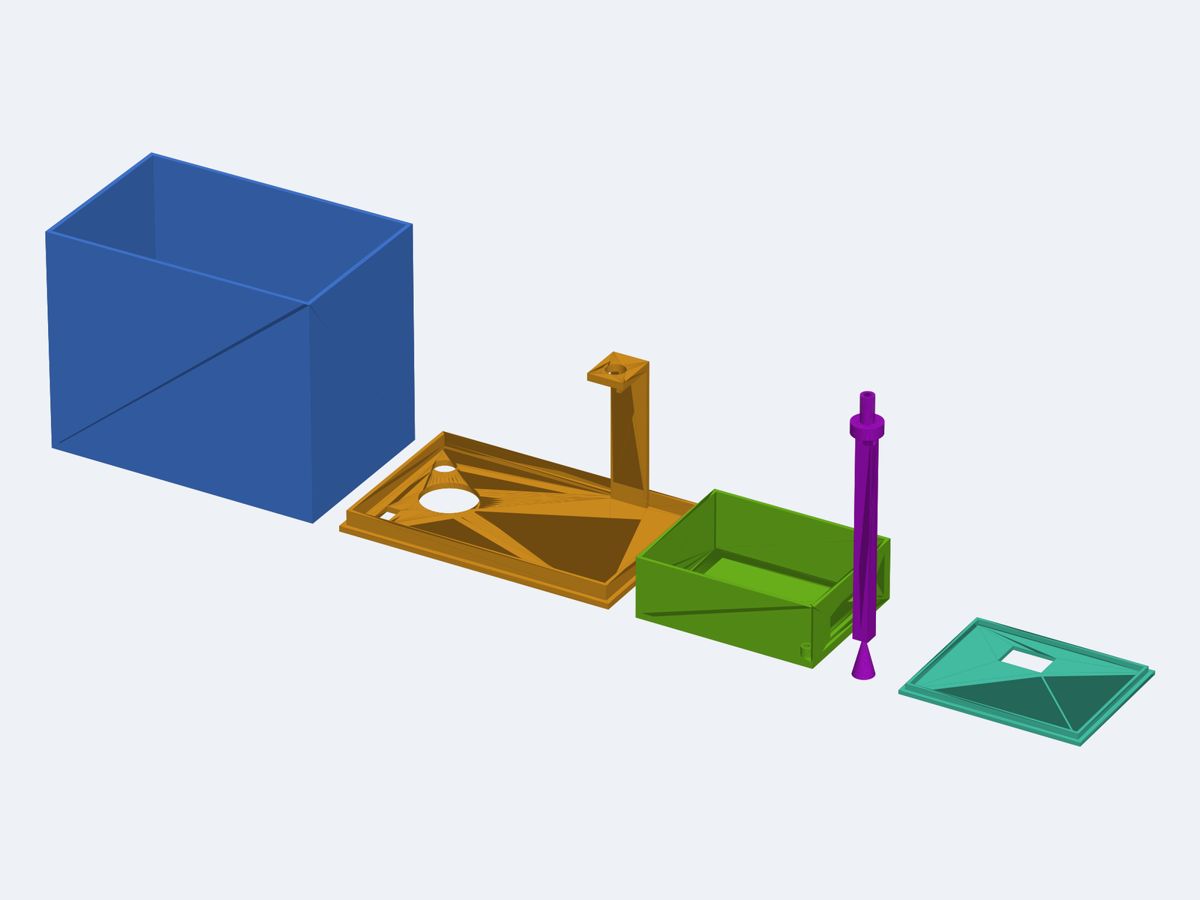
A watering unit that stands next to one houseplant. It has a printed water tank, and a lid on the tank carries the electronics box. An ESP32 reads a capacitive soil-moisture probe in the pot. When the soil is dry, it runs a small 5 V submersible pump in the tank through a logic-level MOSFET, and water goes up a silicone tube to a printed drip stake. A float switch in the tank blocks the pump when the water is low. A 0.96 in OLED shows soil moisture %, tank OK/LOW and pump state. Power comes from a 5 V USB-C adapter.

Instruções

1

Circuit board

Carregando visualizador KiCanvas...

Visualizador profissional de design PCB

2

Schematic

Carregando visualizador KiCanvas...

Visualizador profissional de design PCB

3

Print the enclosure base

Arquivo de designSTL69.0 KBCC0 - Free
4

Print the enclosure lid

Arquivo de designSTL3.2 KBCC0 - Free
5

Print the water tank

Arquivo de designSTL1.4 KBCC0 - Free
6

Print the tank lid

Arquivo de designSTL30.8 KBCC0 - Free
7

Print the drip stake

Arquivo de designSTL53.3 KBCC0 - Free
8

Firmware

firmware.inoarduino
// Self-watering controller - ESP32 DevKit (38-pin)
// Soil sensor AOUT -> GPIO34 (ADC1), float switch -> GPIO27 (internal pull-up, other side GND),
// pump MOSFET gate (via 330R) -> GPIO26, SSD1306 128x64 OLED on I2C (SDA 21, SCL 22, addr 0x3C).
// No external libraries required: a tiny SSD1306 driver and 5x7 font are included below.

#include <Wire.h>

// ---------------- user settings ----------------
const int PIN_SOIL  = 34;
const int PIN_FLOAT = 27;
const int PIN_PUMP  = 26;
const uint8_t OLED_ADDR = 0x3C;

// Float switch wiring: true = contact CLOSED when there is enough water (recommended, fail-safe:
// a broken wire reads as LOW tank and blocks the pump). Set false if your switch closes when empty.
const bool FLOAT_CLOSED_MEANS_OK = true;

// Soil sensor calibration (raw 12-bit ADC). Measure your sensor in dry air and in a glass of water.
const int RAW_DRY = 3000;
const int RAW_WET = 1300;

const int  START_BELOW_PCT   = 35;     // start watering below this moisture
const int  STOP_ABOVE_PCT    = 45;     // stop watering at/above this moisture
const unsigned long PUMP_MAX_MS  = 5000;   // max run per watering burst
const unsigned long SOAK_MS      = 60000;  // wait after a burst so water can soak in
const unsigned long TANK_DEBOUNCE_MS = 500;

// ---------------- SSD1306 driver ----------------
uint8_t fb[1024];

void oledCmd(uint8_t c) {
  Wire.beginTransmission(OLED_ADDR);
  Wire.write(0x00);
  Wire.write(c);
  Wire.endTransmission();
}

void oledInit() {
  const uint8_t init[] = {0xAE, 0xD5, 0x80, 0xA8, 0x3F, 0xD3, 0x00, 0x40, 0x8D, 0x14,
                          0x20, 0x00, 0xA1, 0xC8, 0xDA, 0x12, 0x81, 0xCF, 0xD9, 0xF1,
                          0xDB, 0x40, 0xA4, 0xA6, 0xAF};
  for (uint8_t i = 0; i < sizeof(init); i++) oledCmd(init[i]);
}

void oledShow() {
  oledCmd(0x21); oledCmd(0); oledCmd(127);
  oledCmd(0x22); oledCmd(0); oledCmd(7);
  for (int i = 0; i < 1024; i += 16) {
    Wire.beginTransmission(OLED_ADDR);
    Wire.write(0x40);
    Wire.write(&fb[i], 16);
    Wire.endTransmission();
  }
}

// 5x7 font, columns LSB = top. Only the characters used.
struct Glyph { char c; uint8_t d[5]; };
const Glyph FONT[] = {
  {' ', {0x00,0x00,0x00,0x00,0x00}}, {'%', {0x23,0x13,0x08,0x64,0x62}},
  {'-', {0x08,0x08,0x08,0x08,0x08}}, {'.', {0x00,0x60,0x60,0x00,0x00}},
  {'/', {0x20,0x10,0x08,0x04,0x02}}, {':', {0x00,0x36,0x36,0x00,0x00}},
  {'!', {0x00,0x00,0x5F,0x00,0x00}},
  {'0', {0x3E,0x51,0x49,0x45,0x3E}}, {'1', {0x00,0x42,0x7F,0x40,0x00}},
  {'2', {0x42,0x61,0x51,0x49,0x46}}, {'3', {0x21,0x41,0x45,0x4B,0x31}},
  {'4', {0x18,0x14,0x12,0x7F,0x10}}, {'5', {0x27,0x45,0x45,0x45,0x39}},
  {'6', {0x3C,0x4A,0x49,0x49,0x30}}, {'7', {0x01,0x71,0x09,0x05,0x03}},
  {'8', {0x36,0x49,0x49,0x49,0x36}}, {'9', {0x06,0x49,0x49,0x29,0x1E}},
  {'A', {0x7E,0x11,0x11,0x11,0x7E}}, {'B', {0x7F,0x49,0x49,0x49,0x36}},
  {'C', {0x3E,0x41,0x41,0x41,0x22}}, {'D', {0x7F,0x41,0x41,0x22,0x1C}},
  {'E', {0x7F,0x49,0x49,0x49,0x41}}, {'F', {0x7F,0x09,0x09,0x09,0x01}},
  {'G', {0x3E,0x41,0x49,0x49,0x7A}}, {'H', {0x7F,0x08,0x08,0x08,0x7F}},
  {'I', {0x00,0x41,0x7F,0x41,0x00}}, {'J', {0x20,0x40,0x41,0x3F,0x01}},
  {'K', {0x7F,0x08,0x14,0x22,0x41}}, {'L', {0x7F,0x40,0x40,0x40,0x40}},
  {'M', {0x7F,0x02,0x0C,0x02,0x7F}}, {'N', {0x7F,0x04,0x08,0x10,0x7F}},
  {'O', {0x3E,0x41,0x41,0x41,0x3E}}, {'P', {0x7F,0x09,0x09,0x09,0x06}},
  {'Q', {0x3E,0x41,0x51,0x21,0x5E}}, {'R', {0x7F,0x09,0x19,0x29,0x46}},
  {'S', {0x46,0x49,0x49,0x49,0x31}}, {'T', {0x01,0x01,0x7F,0x01,0x01}},
  {'U', {0x3F,0x40,0x40,0x40,0x3F}}, {'V', {0x1F,0x20,0x40,0x20,0x1F}},
  {'W', {0x3F,0x40,0x38,0x40,0x3F}}, {'X', {0x63,0x14,0x08,0x14,0x63}},
  {'Y', {0x07,0x08,0x70,0x08,0x07}}, {'Z', {0x61,0x51,0x49,0x45,0x43}},
};

const uint8_t *glyph(char c) {
  if (c >= 'a' && c <= 'z') c -= 32;
  for (unsigned i = 0; i < sizeof(FONT) / sizeof(FONT[0]); i++)
    if (FONT[i].c == c) return FONT[i].d;
  return FONT[0].d;
}

void setPixel(int x, int y) {
  if (x < 0 || x > 127 || y < 0 || y > 63) return;
  fb[x + (y / 8) * 128] |= (1 << (y & 7));
}

void drawText(int x, int y, const char *s, int scale) {
  for (; *s; s++) {
    const uint8_t *g = glyph(*s);
    for (int col = 0; col < 5; col++)
      for (int row = 0; row < 7; row++)
        if (g[col] & (1 << row))
          for (int dx = 0; dx < scale; dx++)
            for (int dy = 0; dy < scale; dy++)
              setPixel(x + col * scale + dx, y + row * scale + dy);
    x += 6 * scale;
  }
}

void drawBar(int x, int y, int w, int h, int pct) {
  for (int i = 0; i < w; i++) { setPixel(x + i, y); setPixel(x + i, y + h - 1); }
  for (int j = 0; j < h; j++) { setPixel(x, y + j); setPixel(x + w - 1, y + j); }
  int fill = (w - 4) * pct / 100;
  for (int i = 0; i < fill; i++)
    for (int j = 2; j < h - 2; j++) setPixel(x + 2 + i, y + j);
}

// ---------------- application ----------------
bool tankOk = false;
bool tankRaw = false;
unsigned long tankChangeMs = 0;
bool pumpOn = false;
unsigned long pumpStartMs = 0;
unsigned long soakUntilMs = 0;
int moisturePct = 0;
int moistureRaw = 0;

void pump(bool on) {
  if (on && !tankOk) on = false;       // hard interlock: never run with a low tank
  digitalWrite(PIN_PUMP, on ? HIGH : LOW);
  if (on && !pumpOn) pumpStartMs = millis();
  pumpOn = on;
}

int readMoistureRaw() {
  long sum = 0;
  for (int i = 0; i < 16; i++) { sum += analogRead(PIN_SOIL); delay(2); }
  return sum / 16;
}

bool readTankOkRaw() {
  bool closed = (digitalRead(PIN_FLOAT) == LOW);
  return FLOAT_CLOSED_MEANS_OK ? closed : !closed;
}

void setup() {
  pinMode(PIN_PUMP, OUTPUT);
  digitalWrite(PIN_PUMP, LOW);
  pinMode(PIN_FLOAT, INPUT_PULLUP);
  Serial.begin(115200);
  analogReadResolution(12);
  analogSetPinAttenuation(PIN_SOIL, ADC_11db);
  Wire.begin(21, 22);
  Wire.setClock(400000);
  oledInit();
  tankRaw = readTankOkRaw();
  tankOk = false;                      // start with pump blocked until the reading is stable
  tankChangeMs = millis();
}

void loop() {
  unsigned long now = millis();

  // tank: a LOW reading blocks the pump immediately, OK needs to be stable for the debounce time
  bool r = readTankOkRaw();
  if (r != tankRaw) { tankRaw = r; tankChangeMs = now; }
  if (!r) tankOk = false;
  else if (now - tankChangeMs >= TANK_DEBOUNCE_MS) tankOk = true;
  if (!tankOk && pumpOn) pump(false);

  moistureRaw = readMoistureRaw();
  long p = (long)(RAW_DRY - moistureRaw) * 100 / (RAW_DRY - RAW_WET);
  moisturePct = constrain(p, 0, 100);

  if (pumpOn) {
    if (moisturePct >= STOP_ABOVE_PCT || now - pumpStartMs >= PUMP_MAX_MS) {
      pump(false);
      soakUntilMs = now + SOAK_MS;
    }
  } else if (tankOk && moisturePct < START_BELOW_PCT && (long)(now - soakUntilMs) >= 0) {
    pump(true);
  }

  // display
  memset(fb, 0, sizeof(fb));
  char buf[24];
  drawText(0, 0, "SOIL", 2);
  snprintf(buf, sizeof(buf), "%3d%%", moisturePct);
  drawText(128 - 4 * 12, 0, buf, 2);
  drawBar(0, 18, 128, 10, moisturePct);
  drawText(0, 32, "TANK", 2);
  drawText(tankOk ? 128 - 2 * 12 : 128 - 3 * 12, 32, tankOk ? "OK" : "LOW", 2);
  drawText(0, 54, pumpOn ? "PUMP: ON" : "PUMP: OFF", 1);
  if (!tankOk) drawText(64, 54, "REFILL!", 1);
  oledShow();

  static unsigned long lastLog = 0;
  if (now - lastLog > 2000) {
    lastLog = now;
    Serial.printf("raw=%d moisture=%d%% tank=%s pump=%s\n", moistureRaw, moisturePct,
                  tankOk ? "OK" : "LOW", pumpOn ? "ON" : "OFF");
  }
  delay(100);
}
9

Solder resistors and diodes

Fit R1 330 Ohm (gate), R2 10 kOhm (gate pull-down), R3 and R4 5.1 kOhm (USB-C CC pull-downs). Fit D1 1N4007 across the pump terminal with its band to +5 V, and D2 Schottky blocking diode from +5 V to VIN with its band toward VIN. Solder them and trim the leads.

Materiais para este passo:

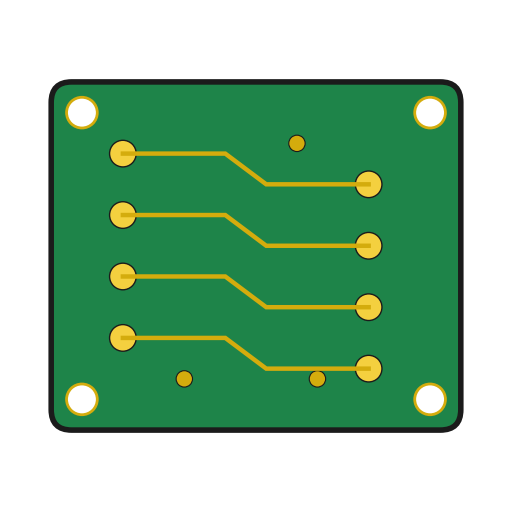
Placa de circuito impressoPlaca de circuito impresso1 peça
Resistência de 330 ohmResistência de 330 ohm1 peça
Resistor de 10 quilo-ohmsResistor de 10 quilo-ohms1 peça
Resistor de filme de carbonoResistor de filme de carbono2 peças
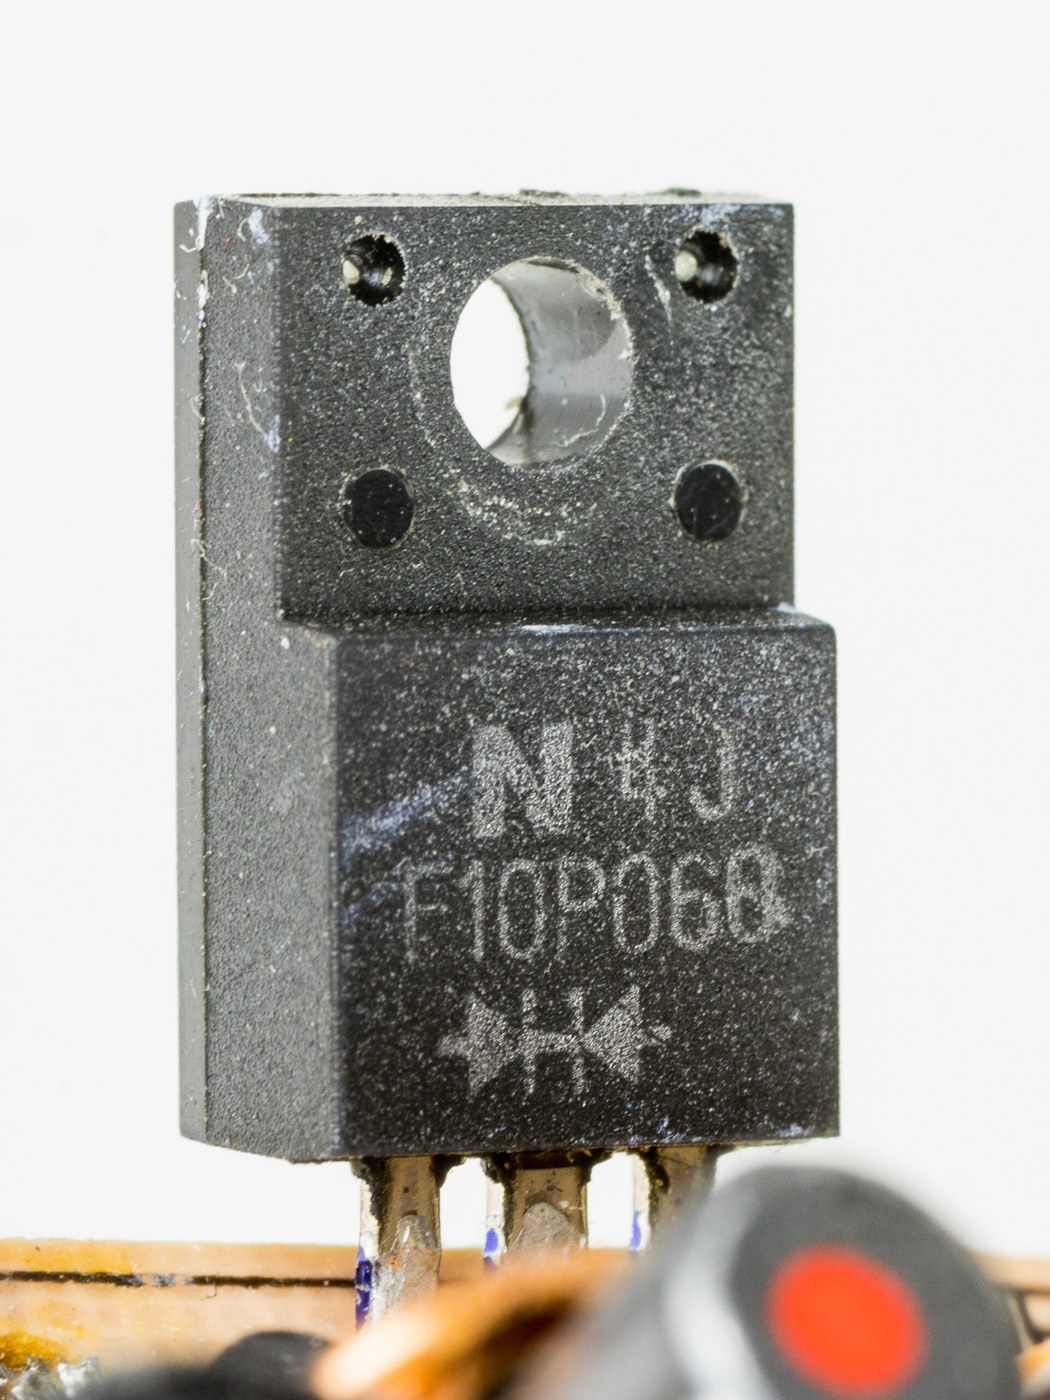
Díodo retificador 1N4007Díodo retificador 1N40071 peça
Díodo de bloqueio (Schottky)Díodo de bloqueio (Schottky)1 peça
Fio de soldaFio de solda1 peça

Ferramentas necessárias:

Ferro de soldarFerro de soldar
Alicate de corte renteAlicate de corte rente
10

Solder USB-C socket and capacitor

Solder the USB-C receptacle J1 on the left edge, including its shell tabs. Fit the 470 uF 10 V electrolytic capacitor C1 with its minus stripe to GND and solder it.

Materiais para este passo:

USB-C Receptacle1 peça
Condensador eletrolíticoCondensador eletrolítico1 peça
Fio de soldaFio de solda1 peça

Ferramentas necessárias:

Ferro de soldarFerro de soldar
11

Solder MOSFET, sockets and terminals

Solder the IRLZ44N Q1 upright with its tab facing the way shown on the silkscreen. Then solder the two 1x19 female sockets for the ESP32, the 1x4 female socket for the OLED, and the screw terminals J4 (pump), J5 (soil probe) and J6 (float switch). Their openings face the board edge.

Materiais para este passo:

MOSFET de nível lógico IRLZ44NMOSFET de nível lógico IRLZ44N1 peça
Barra de pinosBarra de pinos3 peças
Bloco de terminais de parafusoBloco de terminais de parafuso3 peças
Fio de soldaFio de solda1 peça

Ferramentas necessárias:

Ferro de soldarFerro de soldar
12

Check the board for shorts

With no modules plugged in, measure the resistance between +5 V and GND, and between 3V3 and GND. Neither should read as a short. Check the polarity of D1, D2 and C1 against the silkscreen.

Ferramentas necessárias:

MultímetroMultímetro
13

Mount the board in the enclosure

Plug the ESP32 DevKit into the sockets with its antenna end at pin 1, as marked on the board. Plug the OLED into its 4-pin socket after checking that its pin order is GND, VCC, SCL, SDA. Screw the board onto the 5 mm standoffs of the printed enclosure base.

Materiais para este passo:

Placa de desenvolvimento ESP32Placa de desenvolvimento ESP321 peça
SSD1306 OLED Display Module1 peça
Parafuso autoatarraxanteParafuso autoatarraxante4 peças

Ferramentas necessárias:

Conjunto de chaves de fendasConjunto de chaves de fendas
14

Flash and calibrate the firmware

Connect the soil probe to J5 (1 = GND, 2 = 3V3, 3 = AOUT), using hookup wire where its leads are too short. Unplug USB-C and connect the ESP32's own USB port to the computer. Upload firmware.ino for the esp32:esp32:esp32 board. In the serial monitor at 115200 baud, note the raw reading with the probe in dry air and again with it in a glass of water up to the line marked on the probe. Enter these as RAW_DRY and RAW_WET, then upload again.

Materiais para este passo:

Capacitive Soil Moisture Sensor1 peça
Fio de ligaçãoFio de ligação1 peça

Ferramentas necessárias:

Computador com o IDE ArduinoComputador com o IDE Arduino
USB Data Cable
Conjunto de chaves de fendasConjunto de chaves de fendas
Descarnador de fiosDescarnador de fios
15

Leak-test the water tank

Fill the printed PETG tank to the brim and stand it on paper towel overnight. If the paper is wet, reprint the tank with more walls and test again.

Ferramentas necessárias:

Papel de cozinhaPapel de cozinha
ÁguaÁgua
16

Fit the pump, tube and float switch

Cut the silicone tube long enough to reach the pot. Push the silicone tube onto the pump outlet and set the pump on the tank floor under the 12 mm lid hole. Fix the vertical float switch through the 10.5 mm hole in the lid arm tab with its nut, so the float hangs below the tab and drops when the water is low. Lead the tube through the 12 mm hole. Lead the pump and float wires through the cable slot.

Materiais para este passo:

Bomba de água submersívelBomba de água submersível1 peça
Interruptor de boiaInterruptor de boia1 peça
Tubo de siliconeTubo de silicone1 m

Ferramentas necessárias:
X-ato de oficinaX-ato de oficina
Conjunto de chaves de fendasConjunto de chaves de fendas
17

Wire the pump, probe and float switch

Stick the enclosure base to the flat lid area beside the holes with double-sided tape. Extend the leads with hookup wire where they are too short, and insulate the joints with heat shrink. Pump to J4 (1 = +5 V, the red pump wire; 2 = drain). Float switch to J6. Bring the wires in through the slot in the side wall, then push the enclosure lid on.

Materiais para este passo:

Fita de dupla faceFita de dupla face1 peça
Fio de ligaçãoFio de ligação1 peça
Manga termorretráctilManga termorretráctil1 peça
Fio de soldaFio de solda1 peça

Ferramentas necessárias:

Descarnador de fiosDescarnador de fios
Ferro de soldarFerro de soldar
Pistola de ar quentePistola de ar quente
Conjunto de chaves de fendasConjunto de chaves de fendas
18

Place the probe and drip stake

Push the soil probe into the pot up to its marked line, keeping the electronics end dry. Push the tube onto the drip stake spigot and push the stake into the soil. Set the tank lower than the pot so that the full water line sits below the soil surface. Otherwise water can siphon from the tank into the pot after the pump stops.

Ferramentas necessárias:

Vaso de floresVaso de flores
19

Power up and test

Fill the tank and plug in the USB-C adapter and cable. Check the OLED shows soil % and tank OK. Lift the probe into air: the pump should run for at most 5 s and then wait 60 s. Empty the tank until the float drops: the display should show LOW and the pump must not run. Measure the 5 V rail while the pump runs and check that it stays above about 4.5 V.

Materiais para este passo:

USB-C Power Adapter1 peça
USB-C Cable1 peça

Ferramentas necessárias:

MultímetroMultímetro
ÁguaÁgua
20

How this product was generated

AI Generated with Prompt to Product

Materiais

24

Ferramentas necessárias

12

Ficheiros de design

5
  • cus_ai_ed_electronics_01-pcb-prodjob_01M7JF9J0992HT4DPFFBR6HWMQ-pcb-1-4ae5c860.stlSTLCC0
    69.0 KB
  • cus_ai_ed_electronics_01-pcb-prodjob_01M7JF9J0992HT4DPFFBR6HWMQ-pcb-2-bba1cabe.stlSTLCC0
    3.2 KB
  • cus_ai_ed_electronics_01-product-prodjob_01M7JF9J0992HT4DPFFBR6HWMQ-1-bf47bc6c.stlSTLCC0
    1.4 KB
  • cus_ai_ed_electronics_01-product-prodjob_01M7JF9J0992HT4DPFFBR6HWMQ-2-e11cea1f.stlSTLCC0
    30.8 KB
  • cus_ai_ed_electronics_01-product-prodjob_01M7JF9J0992HT4DPFFBR6HWMQ-3-bea0de92.stlSTLCC0
    53.3 KB

CC0 Domínio Público

Este blueprint é liberado sob CC0. Você é livre para copiar, modificar, distribuir e usar este trabalho para qualquer finalidade, sem pedir permissão.

Apoie o Maker comprando produtos através do Blueprint, onde ele ganha uma Comissão Maker definida pelos vendedores, ou crie uma nova versão deste Blueprint e inclua-o como conexão no seu próprio Blueprint para compartilhar receita.

Discussão

(0)

Entrar para participar da discussão

Carregando comentários...