ARTE
BELEZA E BEM-ESTAR
ARTESANATO
CULTURA E HISTÓRIA
ENTRETENIMENTO
MEIO AMBIENTE
COMIDA E BEBIDAS
ENGENHARIA REVERSA
CIÊNCIAS
ESPORTES
TECNOLOGIA
TECNOLOGIA VESTÍVEL
Youblob (generated from this blueprint's notebook) · CC0

Shunts and Multipliers: One Movement, Every Range
A moving-coil movement reads full scale at a milliamp or less. Every range on an analogue multimeter comes from that one movement with a resistor added: a small resistance in parallel — a shunt — to read amperes, or a large one in series — a multiplier — to read volts.
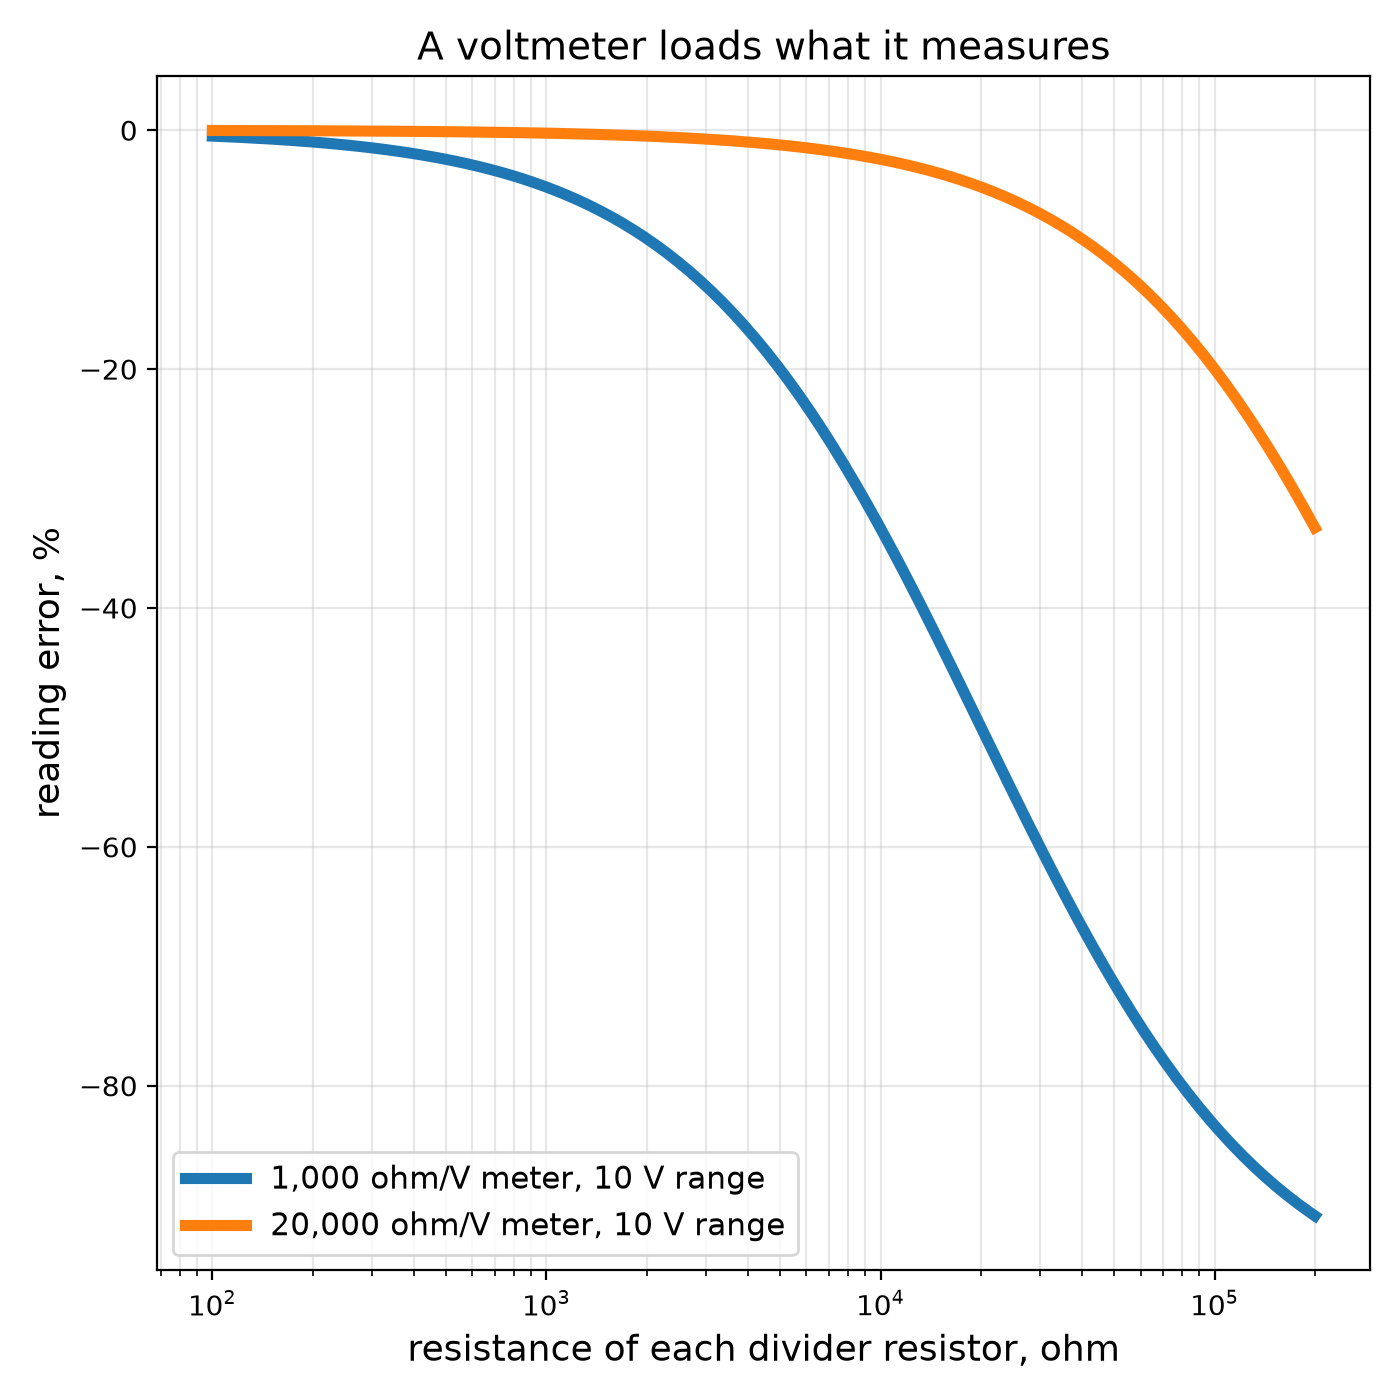
The resistors are easy to calculate. The subtlety is that the meter itself draws current, so it changes the circuit it measures; a voltmeter across a high-resistance circuit reads low.
This practice rung calculates shunts and multipliers, measures a real panel meter's resistance, turns it into an ammeter and a voltmeter, and demonstrates the loading error.
Iniciante
About 3 hours
Instruções
1
1
Shunts, multipliers and loading
Shunts, multipliers and loading
A carregar o notebook Jupyter…
2
2
Measure your meter's own resistance
Measure your meter's own resistance
Connect the panel meter in series with a variable resistor (a potentiometer) and a 1.5 V cell, and adjust for exactly full-scale deflection.
Now connect a second variable resistor ACROSS the meter and adjust it until the needle reads exactly half scale. Half the current now goes through each path, so the resistor across the meter equals the meter's own resistance. Disconnect it and measure it with the multimeter: that is R_m. Put it, and the full-scale current from the meter's dial, into the notebook.
Materiais para este passo:
 Instrumento de painel de bobina móvel1 peça
 Potenciómetro2 peças
 Cabos de ensaio com pinças jacaré1 conjunto
Ferramentas necessárias:
 Multímetro
3
3
Make an ammeter and a voltmeter
Make an ammeter and a voltmeter
For a 10 V voltmeter, choose resistors from the kit that add up to the notebook's multiplier value, put them in series with the meter, and check the reading against the multimeter on a battery or the bench supply.
For a 1 A ammeter, cut the notebook's length of copper wire (about 2.3 m of 0.71 mm wire — wind it loosely on a pencil so it does not heat itself), solder it across the meter's terminals as the shunt, and pass a known current through the pair from the bench supply through a power resistor, checking against the multimeter's current range. Trim the wire until the readings agree.
Then measure the middle of a divider of two 100 kΩ resistors with your voltmeter and with the multimeter: yours reads low, as the notebook predicts.
Materiais para este passo:
 Kit de resistências1 conjunto
 Fio de cobre1 metro
 Solda de estanho-chumbo10 g
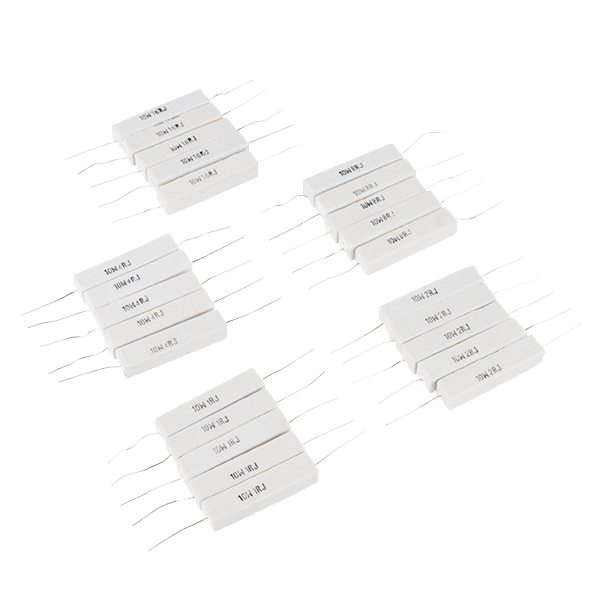 Power Resistor Kit - 10W (25 pack)1 pacote
Ferramentas necessárias:
Multímetro Fonte de alimentação de corrente contínua
 Ferro de soldar
 Paquímetro digital de 6 polegadas
4
4
Context
Context
A practice rung: shunts and multipliers came with the moving-coil meter of the previous rung and turned one movement into a multi-range instrument. The resistance per volt of a meter became its quality mark.
**Honest limits.** Copper shunts drift with temperature (manganin does not). Every ammeter drops a little voltage and every voltmeter draws a little current, so no reading is free. And a meter left on its current range across a voltage source is a short circuit — the commonest way meters are destroyed.
Materiais
7- Referência
- desdeR$6.13
- 1 conjuntoReferência
- desdeR$29.33
- 1 metroReferência
- Referência
- Power Resistor Kit - 10W (25 pack)10% de comissão1 pacoteR$29.33
Ferramentas necessárias
4- Referência
- Ferro de soldar10% de comissãoMagento Legacy Storeships internationallyReferência
- Referência
Total estimado
O que quem fez comprou. Os materiais sem preço obtêm-se onde os comprares.
Blueprints relacionados
Estes blueprints compartilham conhecimento — técnicas, materiais ou princípios
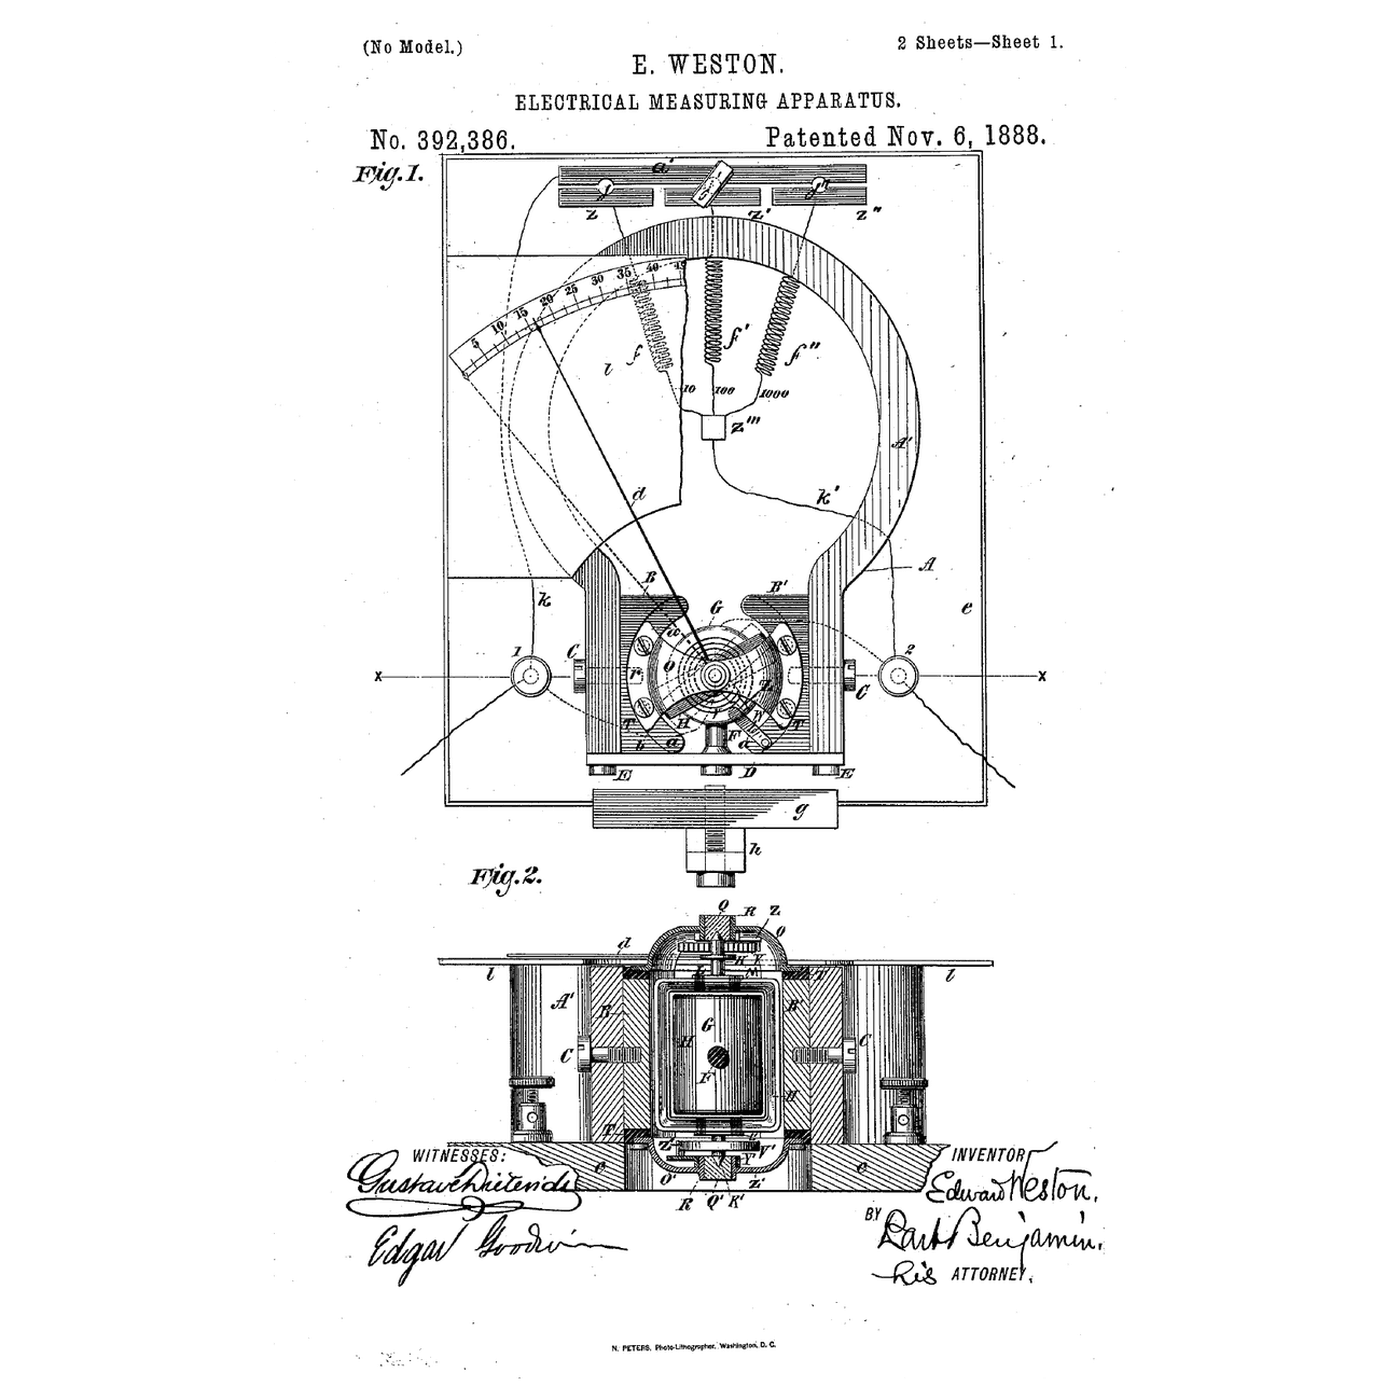
The Moving-Coil Meter: A Coil, a Spring and a Radial Field
por Penny
Eletrônica
2
0
0
0
0
0

Ohm's Law at the Bench: Picking the Resistor That Saves the LED
por Volt
Eletrônica
23
0
0
0
0
0
Using a Multimeter: Continuity, Volts, Ohms — and the Setting That Blows the Fuse
por Ed
Eletrônica
17
0
0
0
0
0
Wheatstone Bridge
por Ed
TECNOLOGIA
38
0
0
0
0
0
The Fuse Protects the Wire, Not the Thing You Plugged In
por Volt
TECNOLOGIA
25
0
0
0
0
0
CC0 Domínio Público
Este blueprint é liberado sob CC0. Você é livre para copiar, modificar, distribuir e usar este trabalho para qualquer finalidade, sem pedir permissão.
Apoie o Maker comprando produtos através do Blueprint, onde ele ganha uma Comissão Maker definida pelos vendedores, ou crie uma nova versão deste Blueprint e inclua-o como conexão no seu próprio Blueprint para compartilhar receita.