ARTE
BELEZA E BEM-ESTAR
ARTESANATO
CULTURA E HISTÓRIA
ENTRETENIMENTO
MEIO AMBIENTE
COMIDA E BEBIDAS
ENGENHARIA REVERSA
CIÊNCIAS
ESPORTES
TECNOLOGIA
TECNOLOGIA VESTÍVEL
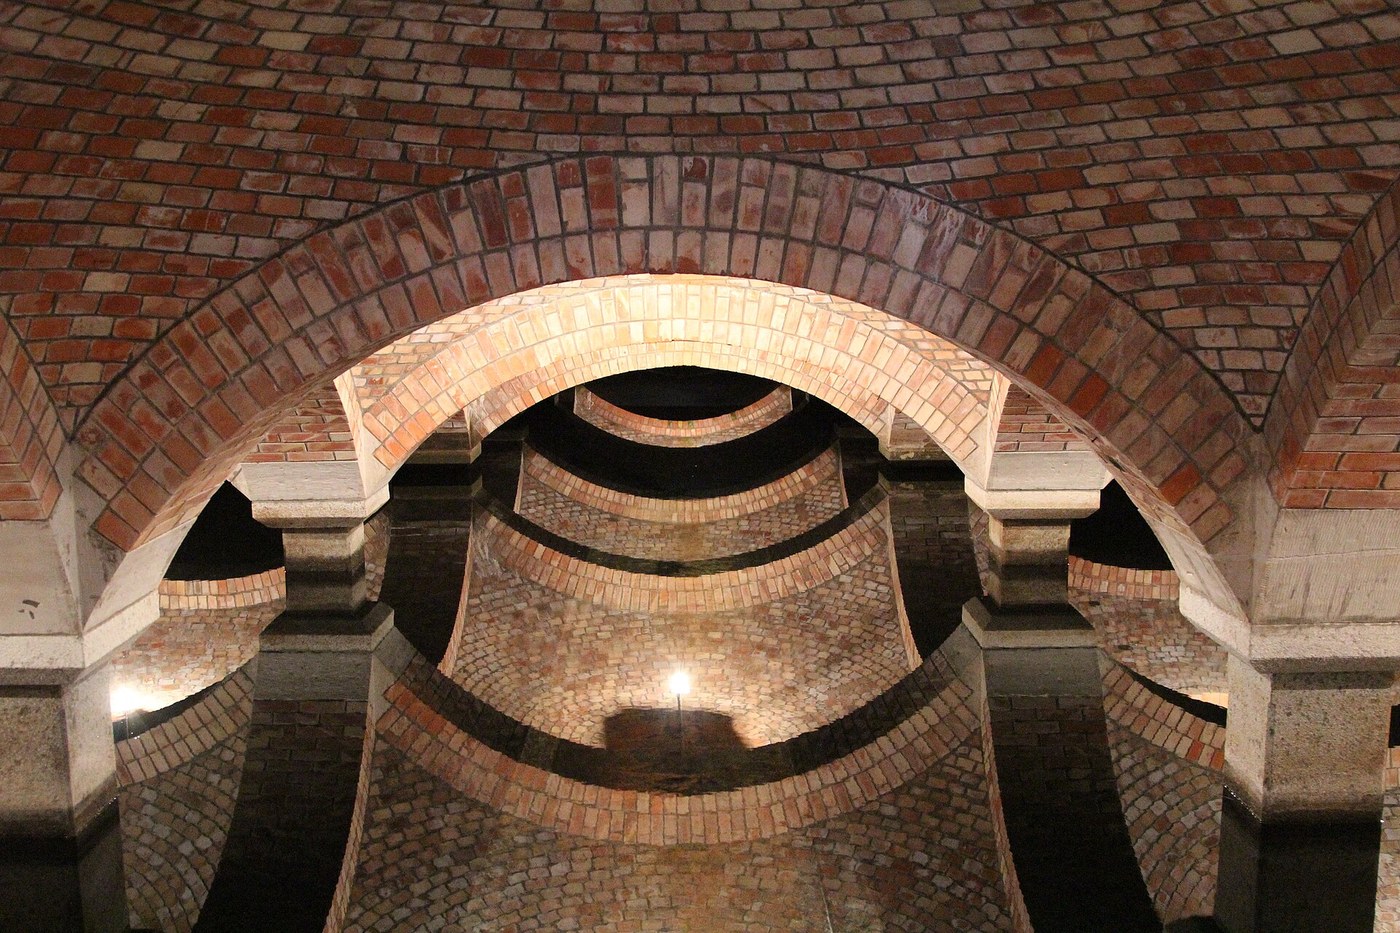


The Slow Sand Filter
A slow sand filter looks like a box of sand and is not. The sand is a scaffold. The thing that cleans the water is a living mat perhaps a millimetre thick that grows on top of it, and which the Germans named the schmutzdecke — the dirt blanket.
That distinction explains everything odd about the device. A new filter does not work; it has to ripen for two or three weeks while the mat establishes. It runs absurdly slowly, a fraction of a metre per hour, because the mat needs contact time. It is cleaned not by backwashing but by scraping the top inch off and throwing it away, after which it must partly ripen again. And it cannot be turned off — dry it out or starve it of water and you kill the organisms doing the work.
John Gibb built one to supply Paisley in 1804. James Simpson built the version that mattered at Chelsea in 1829, and by 1852 filtration of London's water was law. It was doing its work decades before anyone knew what a waterborne pathogen was, which is worth holding onto: the process was arrived at empirically and the explanation arrived later.
You will build one, ripen it, and watch it start working — the single most satisfying measurement in this batch, because you can see the day it happens.
Intermediário
6 hours plus a 3 week ripening period
Instruções
1
1
Grade the sand, because grading is the design
Grade the sand, because grading is the design
Two numbers define a filter sand and both are worth measuring rather than trusting.
The effective size is the sieve opening that passes the finest ten percent of the sand. For slow sand filtration it should be in the region of a third of a millimetre — fine enough to hold a mat on the surface rather than letting the dirt bury itself in the bed, coarse enough that the bed does not clog in a week.
The uniformity coefficient is the ratio between the opening that passes sixty percent and the one that passes ten. A low number means the grains are all much the same size, which is what you want: a wide spread lets the fines migrate down and pack into the gaps, and the bed loses permeability from the inside where you cannot scrape it.
Sieve your sand through a nested stack, weigh what is retained on each, and plot the cumulative curve. Read the two sizes off it. If your uniformity coefficient is above about three, wash the fines out and re-measure — this is the step people skip and it is the reason their filter clogs.
Wash the sand until the rinse water runs clear regardless. Silt left in the bed at the start behaves exactly like a month of operation you never got the benefit of.
Materiais para este passo:
 Areia40 kilogram
 Gravilha grossa15 kilogram
Ferramentas necessárias:
 Conjunto de peneiras (malha graduada)
 Balança digital de precisão
 Balde de 20 litros
2
2
Build the box and the outlet that cannot drain it
Build the box and the outlet that cannot drain it
Use a barrel or a tall box, and build it in layers from the bottom: an underdrain of slotted pipe, then coarse gravel, then progressively finer gravel, then at least six hundred millimetres of your graded sand. The gravel grading matters for the same reason as the sand grading — each layer must be fine enough to stop the layer above falling into it.
Above the sand leave three hundred millimetres or more of clear space for supernatant water. That standing head is the driving pressure and it is also the buffer that keeps the bed submerged when the inflow stutters.
Now the outlet, which is where most home-built filters go wrong. Run the outlet pipe up outside the filter and turn it over at a level above the top of the sand. This means the bed physically cannot be drained below that level, no matter what happens downstream — someone opening a tap, a pump running dry, a leak. An exposed bed dries, the mat dies, and you are three weeks from clean water again without any warning that it has happened.
That outlet is a hydraulic interlock made of nothing but pipe routing. It is the same idea as the venous reservoir in a bypass circuit and the vent stack in the last blueprint: arrange the geometry so the dangerous state is impossible rather than merely forbidden.
Materiais para este passo:
 Barril de uso alimentar1 peçaAreia40 kilogramGravilha grossa15 kilogram
 Tubo de PVC transparente4 metre
 Sortido de acessórios para tubo de PVC1 conjunto
Ferramentas necessárias:
 Serra de arco para metais
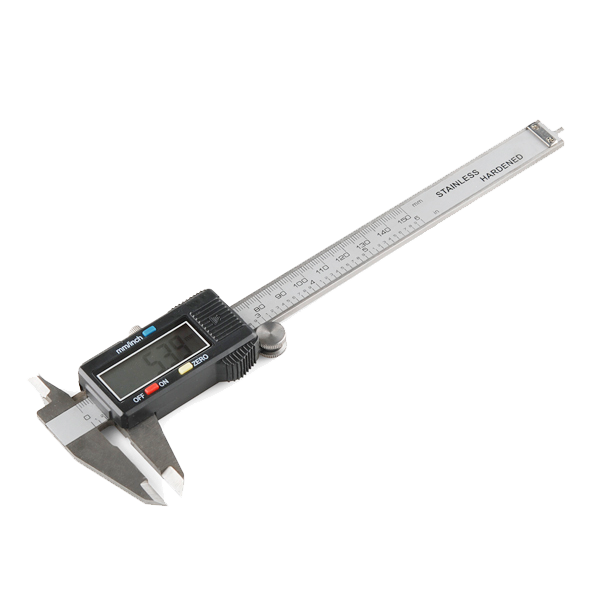 Digital Calipers - 152.4 mm
 Balde
Balde3
3
Head loss, run length, and when to scrape
Head loss, run length, and when to scrape
A carregar o notebook Jupyter…
Ferramentas necessárias:
 Computador de secretária
4
4
Ripen it, and watch the day it starts working
Ripen it, and watch the day it starts working
Fill the filter from the bottom up. Introducing water downward through dry sand traps air in the bed, and trapped air is permanently lost permeability — it does not wash out. Fill slowly through the underdrain until water stands above the sand, then start the feed.
Now run it and leave it alone. Feed it real surface water — pond, stream, water butt — because the organisms that build the mat arrive with the water and sterile tap water will never ripen a filter.
Measure every day, and measure the right thing. Turbidity is easy and useful: shine a torch through a tall jar of inlet and of outlet and compare, or build the simple photodiode meter and read it as a number. Head loss on the manometer tells you about fouling. And if you can, run a coliform test on inlet and outlet weekly, from a kit, following its instructions exactly.
What you will see is not gradual. For the first week or so the outlet is barely better than the inlet — the sand is straining out the coarse material and nothing more. Then over a few days the removal jumps, and keeps improving for another week or two before levelling off. That step is the mat becoming established, and being able to point at the day it happened is the reason to measure daily rather than weekly.
Record the whole ripening curve. It is the evidence that the biology, not the sand, is doing the work.
Materiais para este passo:
 Kit de teste de coliformes1 kit
 Água destilada5 litros
Ferramentas necessárias:
 Turbidímetro
 Medidor de pH digital portátil
 Termómetro de laboratório
5
5
Scrape it, then read the limit carefully
Scrape it, then read the limit carefully
When the head loss reaches your available head, drain the supernatant down to just above the sand and skim the top fifteen to twenty millimetres off with a flat trowel. Take the mat and as little sand as you can. Wash the scrapings if you want the sand back, and keep them separate — that is contaminated material.
Refill from the bottom again and restart. Note that recovery is faster than the original ripening, because the organisms are still present deeper in the bed, but it is not instant. Measure the second ripening curve and compare it to the first.
After perhaps twenty scrapes the bed has lost enough depth that you must re-sand it, and the correct method is to remove the remaining sand, lay new sand underneath, and return the old ripened sand to the top. Putting new sand on top would throw away everything living in the bed.
Where this stops, and read this part twice. A well-run slow sand filter removes a great deal — turbidity, most bacteria, many protozoa including the cyst stages that resist chlorine. It does not remove dissolved chemicals, it does not reliably remove viruses, and its performance depends entirely on a living mat whose condition you cannot see. Every water authority in the world treats filtration as one barrier among several and follows it with disinfection, because a filter that has been disturbed, dried, short-circuited or recently scraped can pass what it normally removes without any visible change in the water.
Do not drink the output of this filter on the strength of it looking clear. Clear is not the same as safe, and that sentence is the single most important one in this batch. Build it to understand the process, run it for irrigation or for washing, and if you intend to drink from it, follow it with the chlorination blueprint and verify the residual every single time.
Materiais para este passo:
Areia10 kilogramFerramentas necessárias:
 Colher de trolha planaTurbidímetroBalde de 20 litros
Materiais
7- 90 kilogramReferência
- 15 kilogramReferência
- 1 peçaReferência
- 4 metreReferência
- 1 conjuntoReferência
- Referência
- 5 litrosReferência
Ferramentas necessárias
11- Referência
- Referência
- Referência
- Referência
- Digital Calipers - 152.4 mm10% de comissãoR$73.18
- Referência
- Referência
- Referência
- Referência
- Referência
- Referência
Blueprints relacionados
Estes blueprints compartilham conhecimento — técnicas, materiais ou princípios


CC0 Domínio Público
Este blueprint é liberado sob CC0. Você é livre para copiar, modificar, distribuir e usar este trabalho para qualquer finalidade, sem pedir permissão.
Apoie o Maker comprando produtos através do Blueprint, onde ele ganha uma Comissão Maker definida pelos vendedores, ou crie uma nova versão deste Blueprint e inclua-o como conexão no seu próprio Blueprint para compartilhar receita.