Colaboração
ARTE
BELEZA E BEM-ESTAR
ARTESANATO
CULTURA E HISTÓRIA
ENTRETENIMENTO
MEIO AMBIENTE
COMIDA E BEBIDAS
ENGENHARIA REVERSA
CIÊNCIAS
ESPORTES
TECNOLOGIA
TECNOLOGIA VESTÍVEL
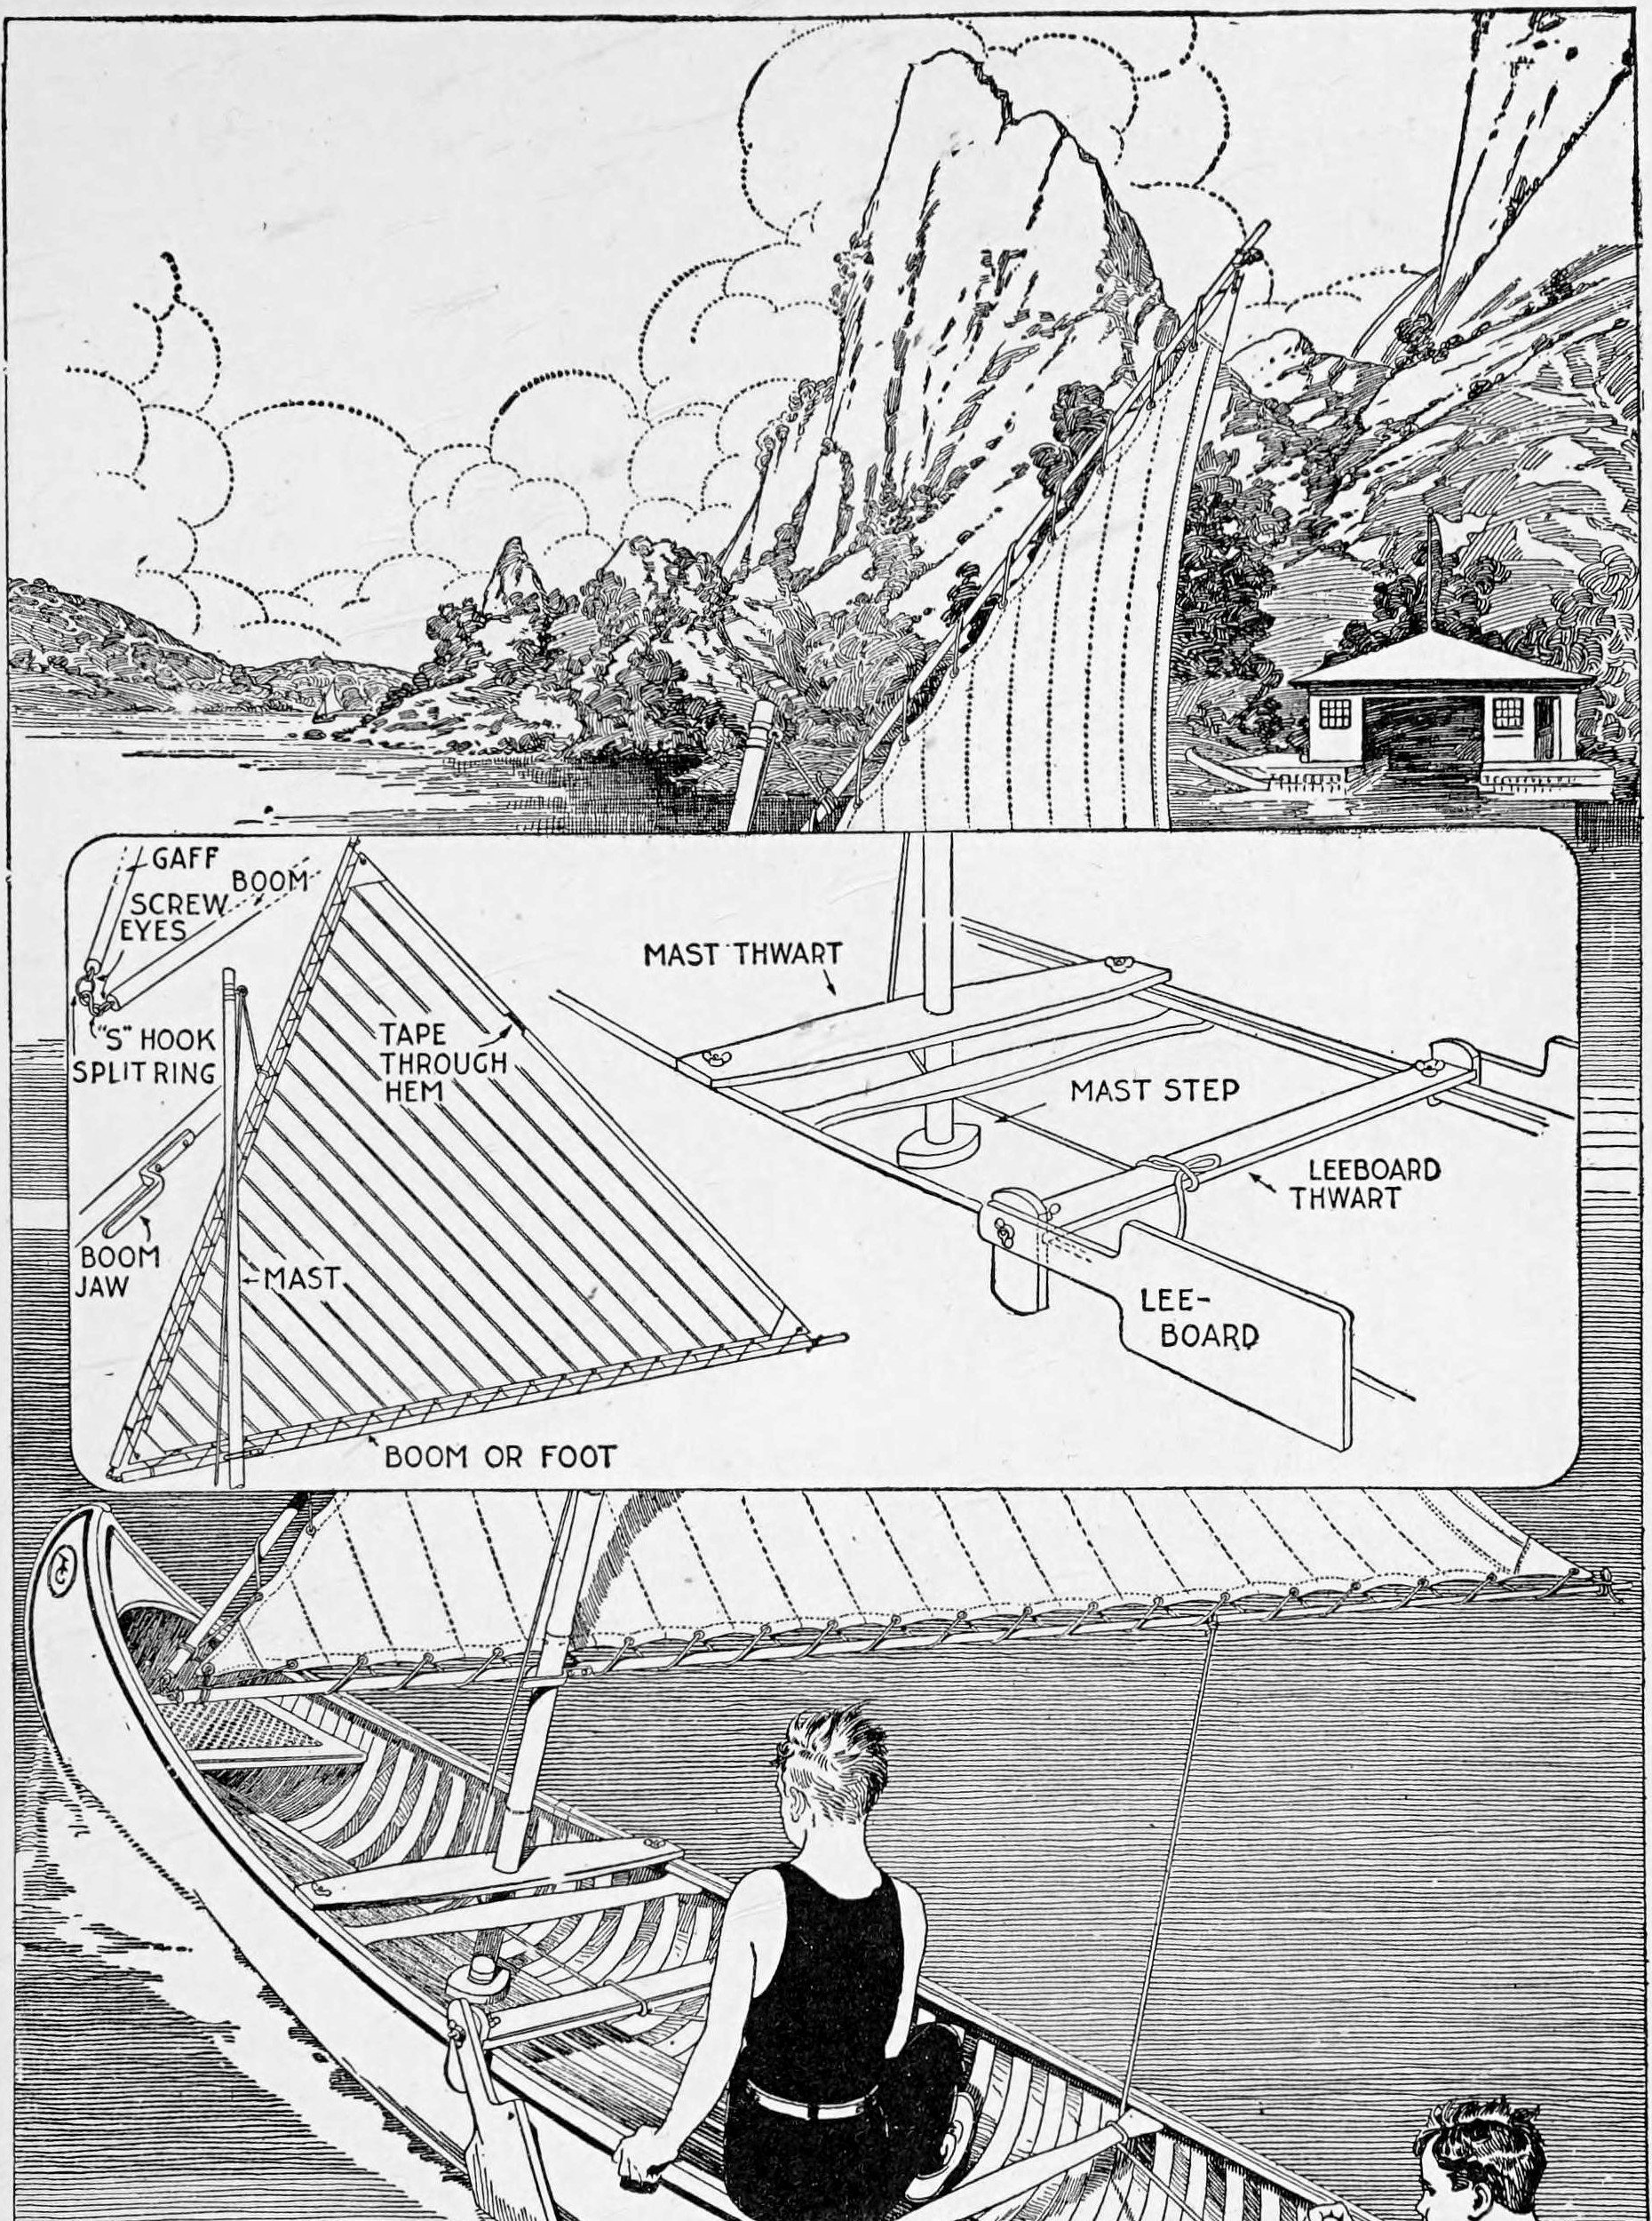


Canoe Sailing Rig: Bamboo Mast, 9 ft Lateen Sail, Clamp-In Mast Thwart and Leeboards (Boy Mechanic, 1919)
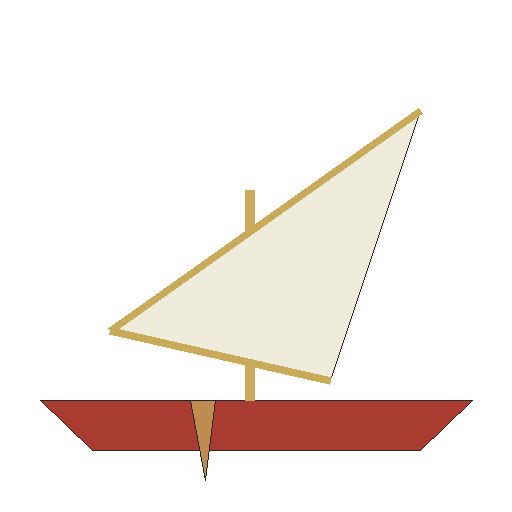
Stillman Taylor's sailing outfit for a 16 ft open canoe from The Boy Mechanic, Book 3 (1919): a 6 ft 10 in bamboo mast, a 9 ft lateen sail of cotton sheeting on two bamboo spars, a mast thwart and leeboard thwart that clamp to the gunwales with brass lantern-board hooks, and leeboards set by thumb nuts. Steer with the paddle.
Intermediário
A few days
Instruções
1
1
Rig sizes and sail area
Rig sizes and sail area
A carregar o notebook Jupyter…
2
2
Read The Boy Mechanic, Book 3
Read The Boy Mechanic, Book 3
"The lateen rig is best for an open canoe, because a shorter mast is required for the same sail area ... It is not safe to rig a canoe too heavily, and the rig described has been found to be well proportioned."
3
3
Make the mast
Make the mast
Cut bamboo 1-1/2 in across to 6 ft 10 in (carpet dealers' rolling bamboo of 1-1/2 to 2 in serves). Whittle a tapered wooden plug about 3 in long to wedge firmly in the top without splitting the cane, bore a small hole through the cane 2 in from the top, and fix a screw eye into the plug for the halyard. Drive small brads through the cane into the plug, and fit a brass ferrule over the end.
Materiais para este passo:
 Varas de bambu1 peça
 Tábua de madeira de lei1 peça
 Olhal de rosca1 peça
 Pregos1 peça
 Anel metálico1 peça
Ferramentas necessárias:
 Serrote
 Faca para couro
 Berbequim de mão
 Martelo
4
4
Make the spars
Make the spars
Use two bamboo fishing rods, 1 in at the butt and 10 ft long, as gaff and boom. Fix a 1-1/2 in screw eye with a 1/2 in eye at the end of each and join the spar ends with a 1-1/2 in brass split ring and a 1-3/4 in brass S hook. Fasten the 2 in brass boom jaw on the boom with its open end 18 in from the boom's forward end.
Materiais para este passo:
 Vara de bambu2 peçasOlhal de rosca2 peças
 Argola partida (porta-chaves)1 peça
 Gancho em S1 peça
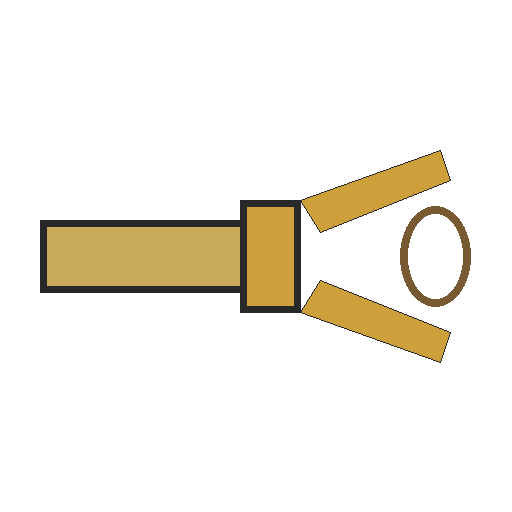 Boca de retranca1 peça
 Parafusos para madeira1 peça
Ferramentas necessárias:
Berbequim de mão Chave de fendas
 Fita métrica
5
5
Sew the sail
Sew the sail
Lay the spars on the cloth and pencil a triangle 9 ft on each side. Sew the widths of 1 yd unbleached cotton sheeting together, lapped about 1/2 in and stitched close to both edges, preferably on a machine. Sew bights (folds) 1/2 in wide, 6 in apart, parallel with the leech. Reinforce the corners with segments of cloth. Along the edges lashed to the spars fold and sew 1 in hems, running a 1/2 in tape into the leech hem; fasten the tape to the spar at each end to take up stretch and stop a flapping leech.
Materiais para este passo:
 Pano de algodão8 yard
 Linha de costura1 peça
 Fita de sarja de algodão1 peça
Ferramentas necessárias:
 Máquina de costura
 Tesoura
 LápisFita métrica
6
6
Make the thwarts and mast step
Make the thwarts and mast step
Mast thwart: two cedar or pine boards 28 by 10 by 3/8 in and a piece 27-1/2 by 3-1/2 by 3/4 in, made as in the plate with a hole in the centre for the mast and a brass lantern-board hook at each end to clamp it to the gunwales. Mast step: a block 5 by 2-1/2 by 1 in, shaped neatly, fixed to the grating (or the ribs). Leeboard thwart: cedar or white pine 5 ft by 4 by 7/8 in, with short upright ends set at an angle to the canoe's curve so it wedges in just aft of the mast; groove the ends to the thwart and screw them on. He gives no leeboard sizes; bolt a leeboard to each end with a 3 in by 5/16 in brass bolt, washer and thumb nut so its angle can be set.
Materiais para este passo:
 Tábua de cedro4 peças
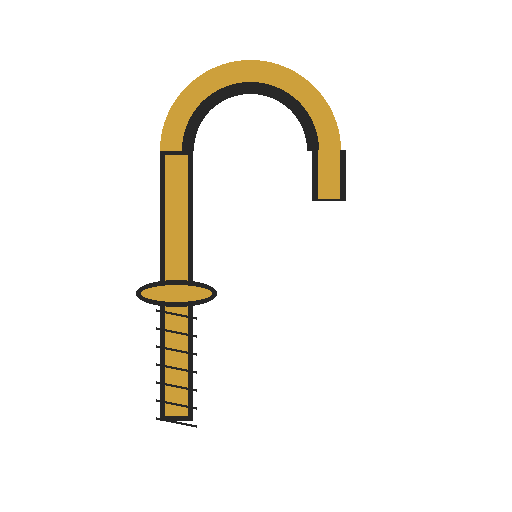 Gancho de tábua de lanterna4 peças
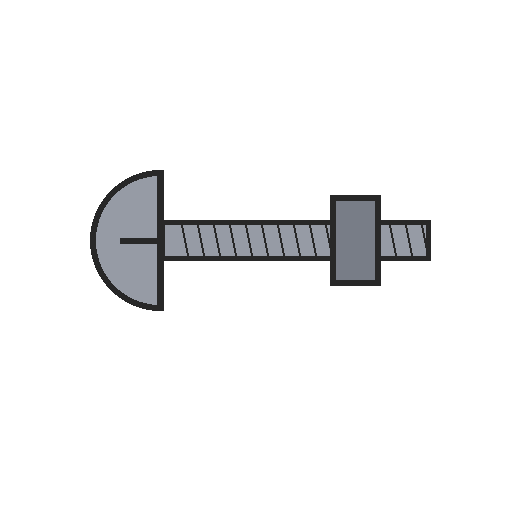 Parafuso de fogão2 peças
 Anilha plana2 peças
 Porca borboleta2 peçasParafusos para madeira1 peça
Ferramentas necessárias:
Serrote Serra de recortes
 Plaina manual
 Formões
 Arco de pua e brocaChave de fendas
7
7
Finish and rig
Finish and rig
Smooth all woodwork with sharp tools, sandpaper lightly, and give three coats of spar varnish. Lash the sail to the spars, run the 1/4 in cotton-rope halyard through the screw eye at the masthead until the gaff is close to the top, and find the balance by tying the halyard at different points along the gaff. Run the halyard under the forward thwart to the stern, never tied to it, and loop the main sheet round a thwart and hold it, never made fast.
Materiais para este passo:
 Lixa1 peça
 Verniz marítimo1 peça
 Corda de algodão1 peça
Ferramentas necessárias:
 Trincha largaTesoura
8
8
Sailing safely
Sailing safely
Canoe sailing.
Flow
Loading...
9
9
History and honest limits
History and honest limits
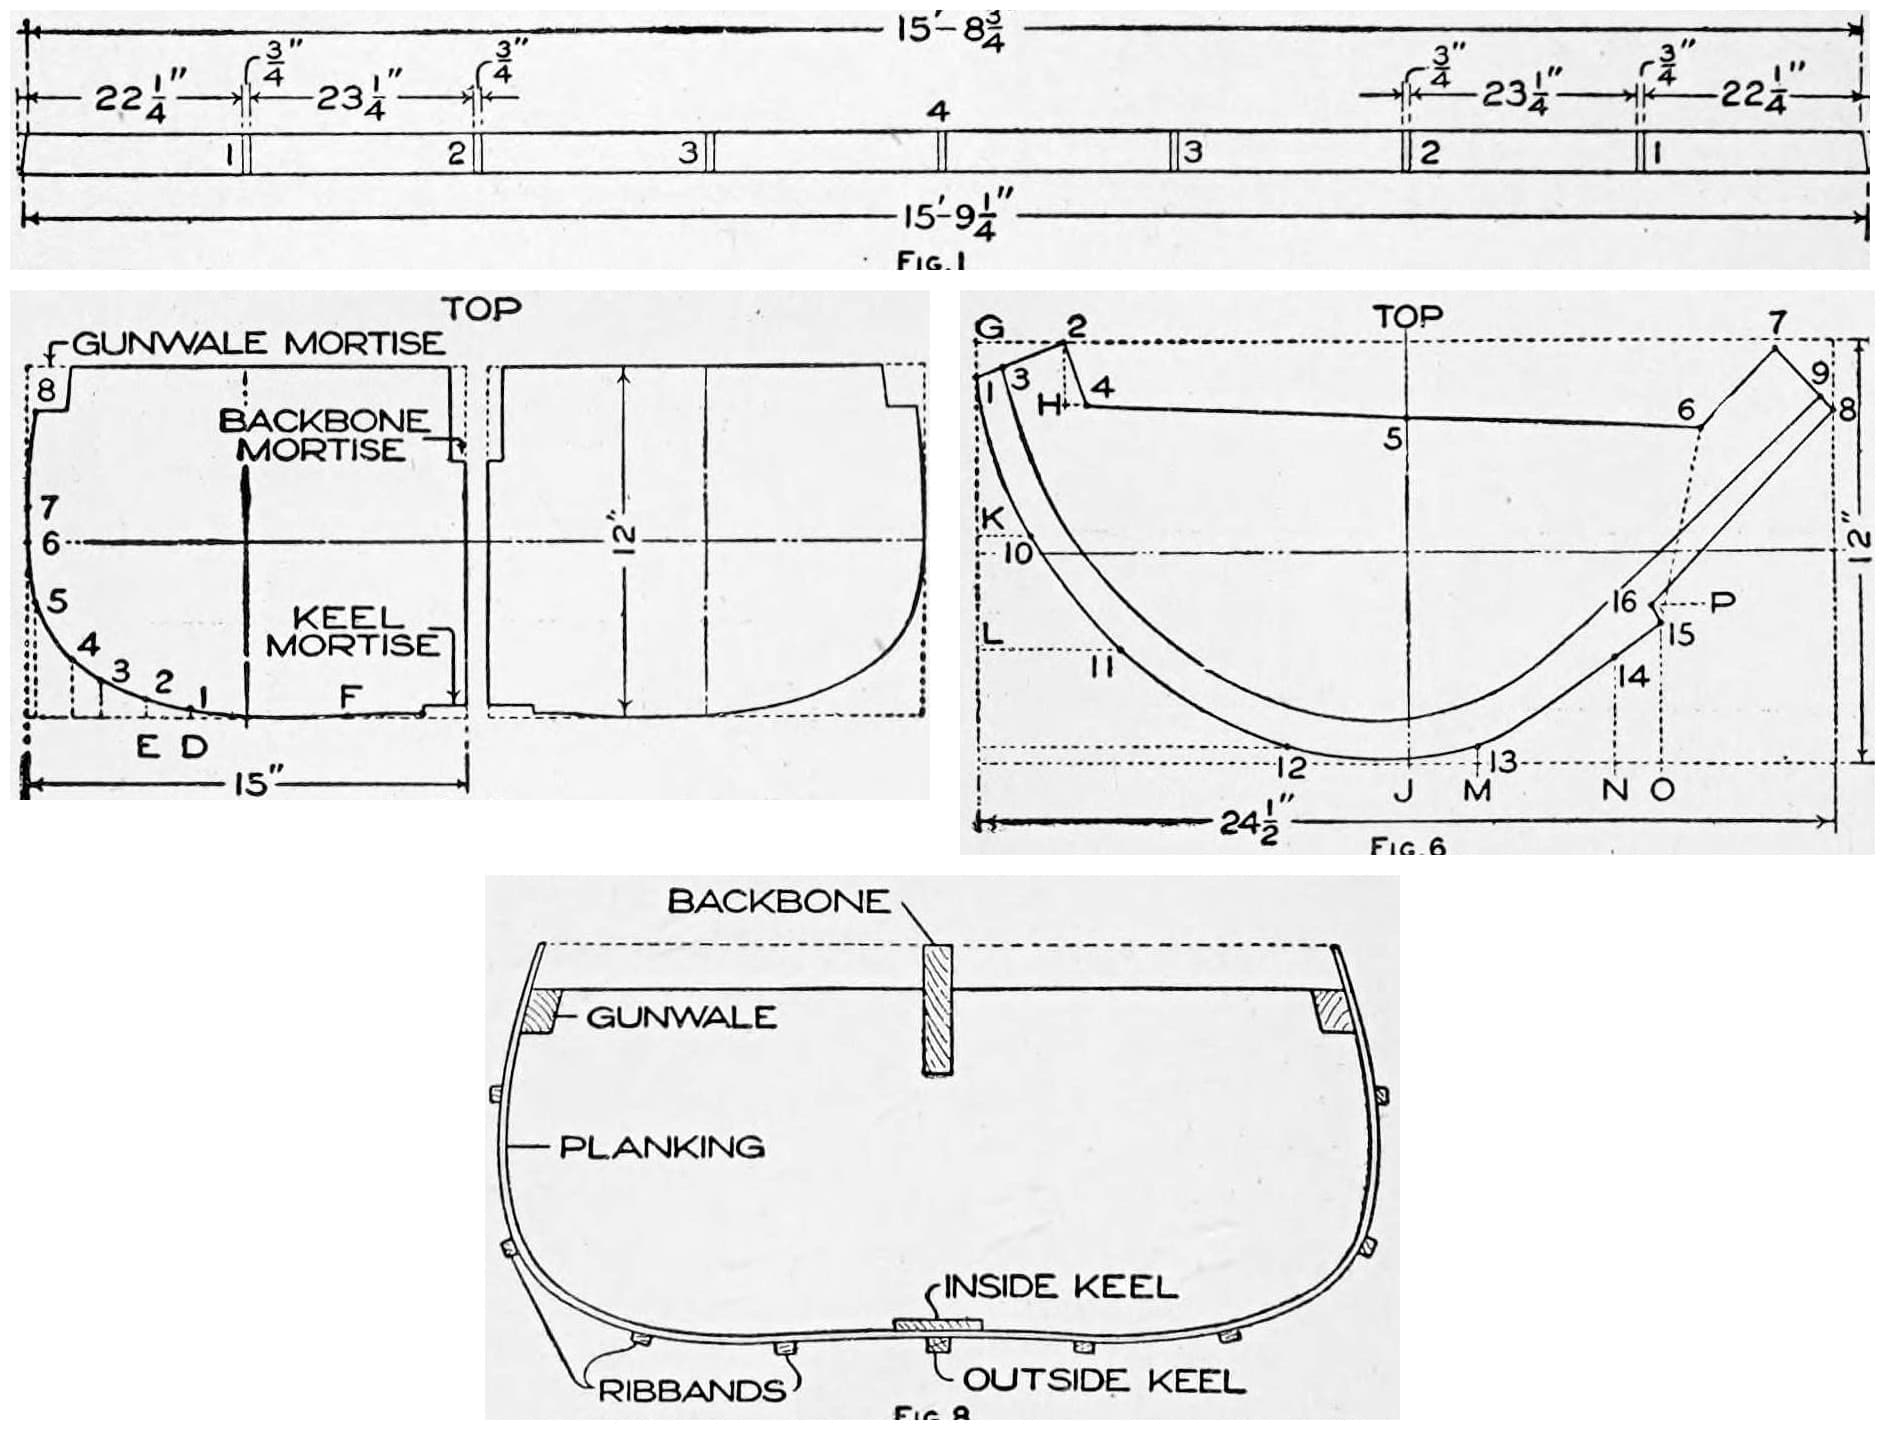
From "How to Build a Canoe, Part II" by Stillman Taylor, in **The Boy Mechanic, Book 3**, Popular Mechanics, 1919 (Project Gutenberg 71856; checked on the archive.org scan boymechanic0003unse, pp. 86-88). He gives no leeboard sizes (they vary with the canoe); the list calls the leeboard bolts brass stove bolts with thumb nuts and the text carriage bolts with wing nuts. Cedar for the leeboards, the sail area and the metric figures are ours.
Materiais
21- 1 peçaReferência
- 1 peçaReferência
- 2 peçasReferência
- 1 peçaReferência
- 1 peçaReferência
- 2 peçasReferência
- Referência
- 1 peçaReferência
- 1 peçaReferência
- 2 peçasReferência
- 8 yardReferência
- 1 peçaReferência
- 1 peçaReferência
- 4 peçasReferência
- 4 peçasReferência
- 2 peçasReferência
- 2 peçasReferência
- 2 peçasReferência
- 1 peçaReferência
- 1 peçaReferência
- 1 peçaReferência
Ferramentas necessárias
14- Referência
- Referência
- Referência
- Referência
- Referência
- 1 vendor sell this, none ship to you yetReferência
- Referência
- Referência
- 1 vendor sell this, none ship to you yetReferência
- Referência
- Referência
- Referência
- Referência
- Referência
Este projeto faz
Blueprints relacionados
Estes blueprints compartilham conhecimento — técnicas, materiais ou princípios
CC0 Domínio Público
Este blueprint é liberado sob CC0. Você é livre para copiar, modificar, distribuir e usar este trabalho para qualquer finalidade, sem pedir permissão.
Apoie o Maker comprando produtos através do Blueprint, onde ele ganha uma Comissão Maker definida pelos vendedores, ou crie uma nova versão deste Blueprint e inclua-o como conexão no seu próprio Blueprint para compartilhar receita.