ARTE
BELEZA E BEM-ESTAR
ARTESANATO
CULTURA E HISTÓRIA
ENTRETENIMENTO
MEIO AMBIENTE
COMIDA E BEBIDAS
ENGENHARIA REVERSA
CIÊNCIAS
ESPORTES
TECNOLOGIA
TECNOLOGIA VESTÍVEL
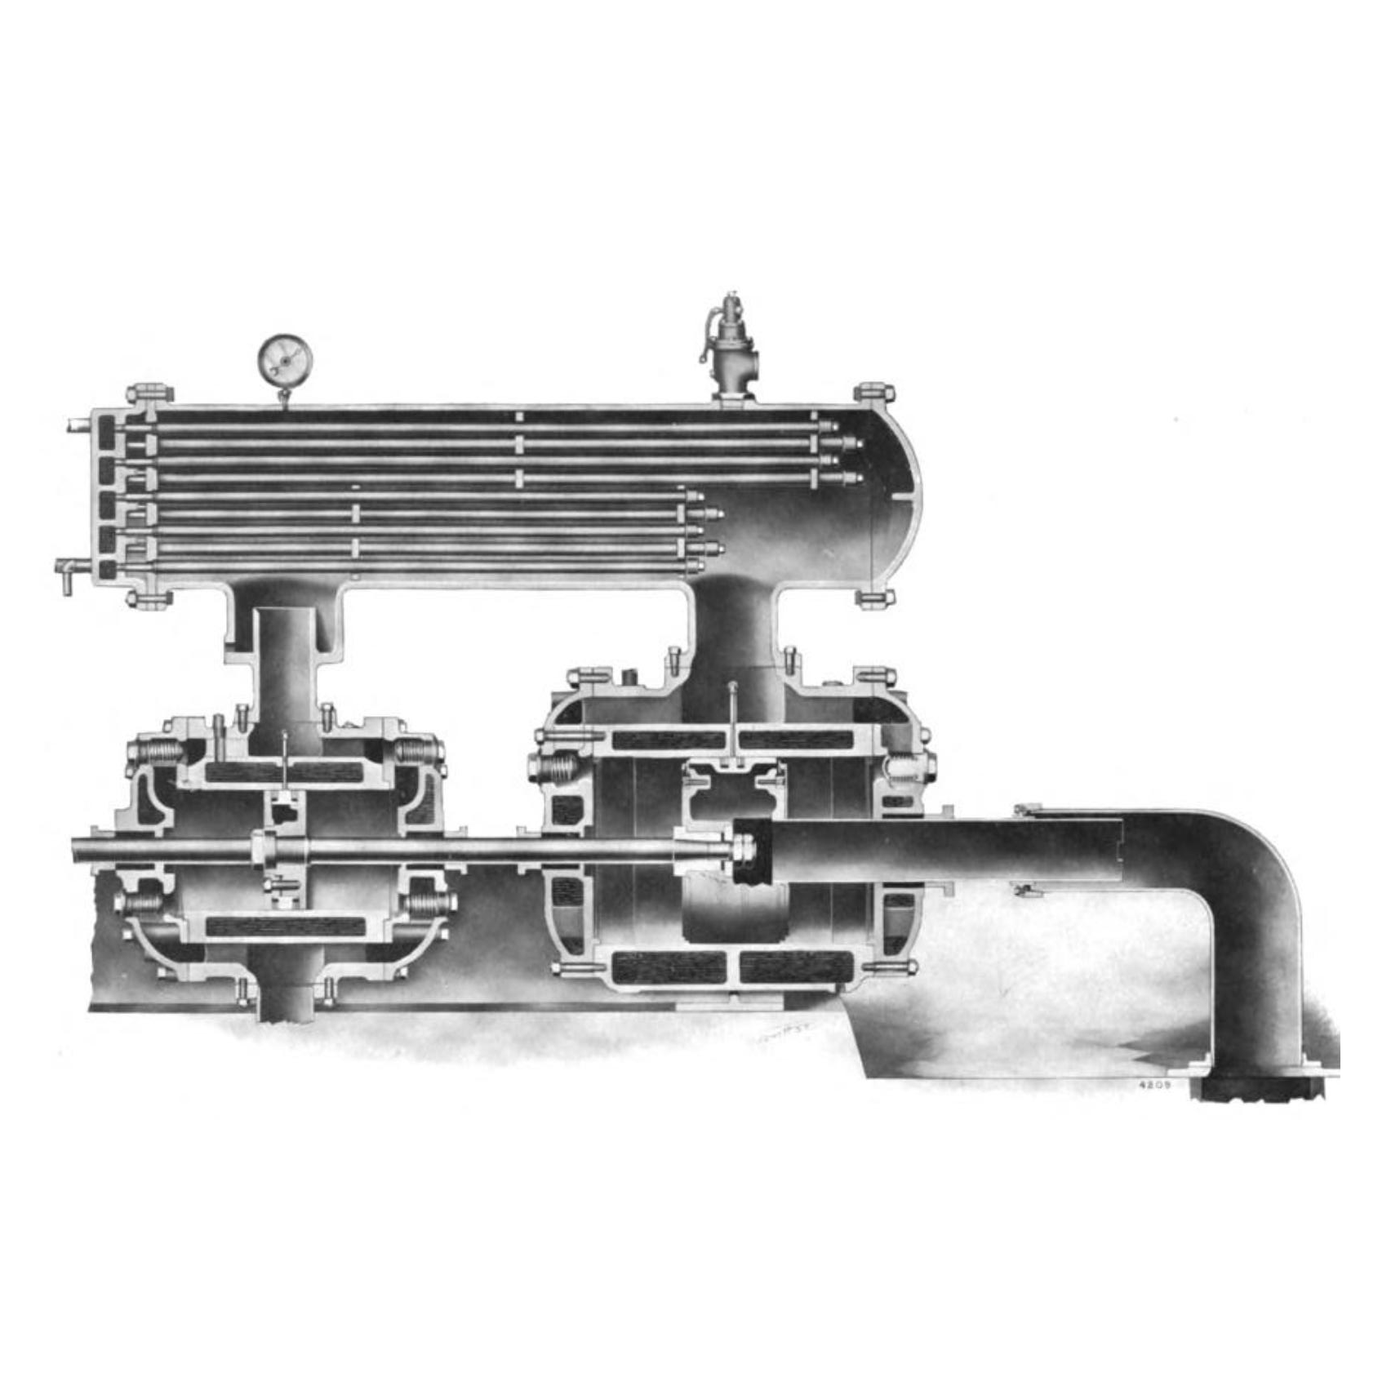

The Heat of Compression: Why Compressed Air Is Hot and Wet
Every compressor in this batch — scroll, liquid ring, screw, and the piston compressor in a workshop — does two things it was not asked to do. It heats the air, and it wrings water out of it.
The heat is not a defect: squeezing a gas does work on it, and the work appears as temperature. The water is not a leak: air carries vapour, and compressed and cooled air can carry much less of it. Both follow from a few lines of physics, and both decide how a real air system is laid out — two stages with an intercooler, a tank with a drain, a pipe that falls towards a trap.
This rung measures them on a workshop compressor: its real delivery by a pump-up test, its discharge temperature, and the water in its tank.
Iniciante
About 3 hours
Instruções
1
1
How hot, and what it costs
How hot, and what it costs
A carregar o notebook Jupyter…
2
2
Measure the discharge temperature
Measure the discharge temperature
Clamp the thermocouple's tip against the discharge pipe where it leaves the compressor pump with a hose clip — not with plastic tape, which softens on a pipe this hot — and start with the tank empty. Log the temperature every 30 seconds as the tank fills, with the tank pressure beside it. Aim the infrared thermometer at the cylinder head fins at the same moments.
The discharge pipe will climb well past boiling on most small piston compressors as the pressure rises — nowhere near the notebook's adiabatic ceiling, because the cylinder loses heat through its fins, but enough to burn. That is why the pipe to the tank is metal and often finned, and why a plastic hose must never be fitted there.
Do not touch the head or the discharge pipe while it runs, or for several minutes after.
Materiais para este passo:
 Sortido de abraçadeiras de mangueira1 conjunto
Ferramentas necessárias:
 Compressor de ar (tipo panqueca)
 Termopar com mostrador
 Termómetro de infravermelhos
 Cronómetro
 Luvas de trabalho em couro
 Proteção auditiva
 Chave inglesa ajustável
3
3
The pump-up test: what does it really deliver?
The pump-up test: what does it really deliver?
The litres per minute printed on a compressor are usually displacement — the swept volume of the piston — not the air it actually delivers. The pump-up test measures the real figure, the **free air delivery**.
Read the tank volume off its plate. Drain the tank, close the drain and all outlets, and start the compressor. Time how long the gauge takes to climb from 4 bar to 6 bar — somewhere in the middle, well away from the cut-out.
Free air delivered = tank volume × (6 − 4) ÷ 1.013 ÷ time. A 24 L tank that takes 40 seconds to go from 4 to 6 bar gains 47 litres of free air: 71 L/min. Expect a figure well below the displacement on the label. The tank air is warm when you read it; for a closer figure, repeat after it has cooled and compare.
Ferramentas necessárias:
Compressor de ar (tipo panqueca) ManómetroCronómetro
4
4
Where the water comes from
Where the water comes from
A carregar o notebook Jupyter…
5
5
Drain the tank and weigh the water
Drain the tank and weigh the water
Note the room humidity on the hygrometer before a working session. At the end, with the tank still under a little pressure, put a measuring jug under the drain and open it slowly: water and rusty sludge come out first, then air.
Weigh the water and compare with the notebook's estimate for your delivery, run time and humidity. It will be lower — some of the water left as mist with the air, some is still on the tank walls — but it will be the same order.
Then lay the air system out to deal with it: the main line falling slightly away from the tank towards a low point with a drain, and each tool taken off the TOP of the main so water running along the bottom does not go down to the tool.
Ferramentas necessárias:
 Jarro medidor
 Balança digital
 Higrómetro (medidor de humidade)Chave inglesa ajustável
6
6
Water at the tool: find where it gets through
Water at the tool: find where it gets through
The usual reasons compressed air arrives wet, in the order to check them.
Flow
Loading...
7
7
Context
Context
This is a practice rung: the physics underneath every compressor in this batch, measured on the one most makers own. It carries no patent; the relations are those of ideal-gas thermodynamics.
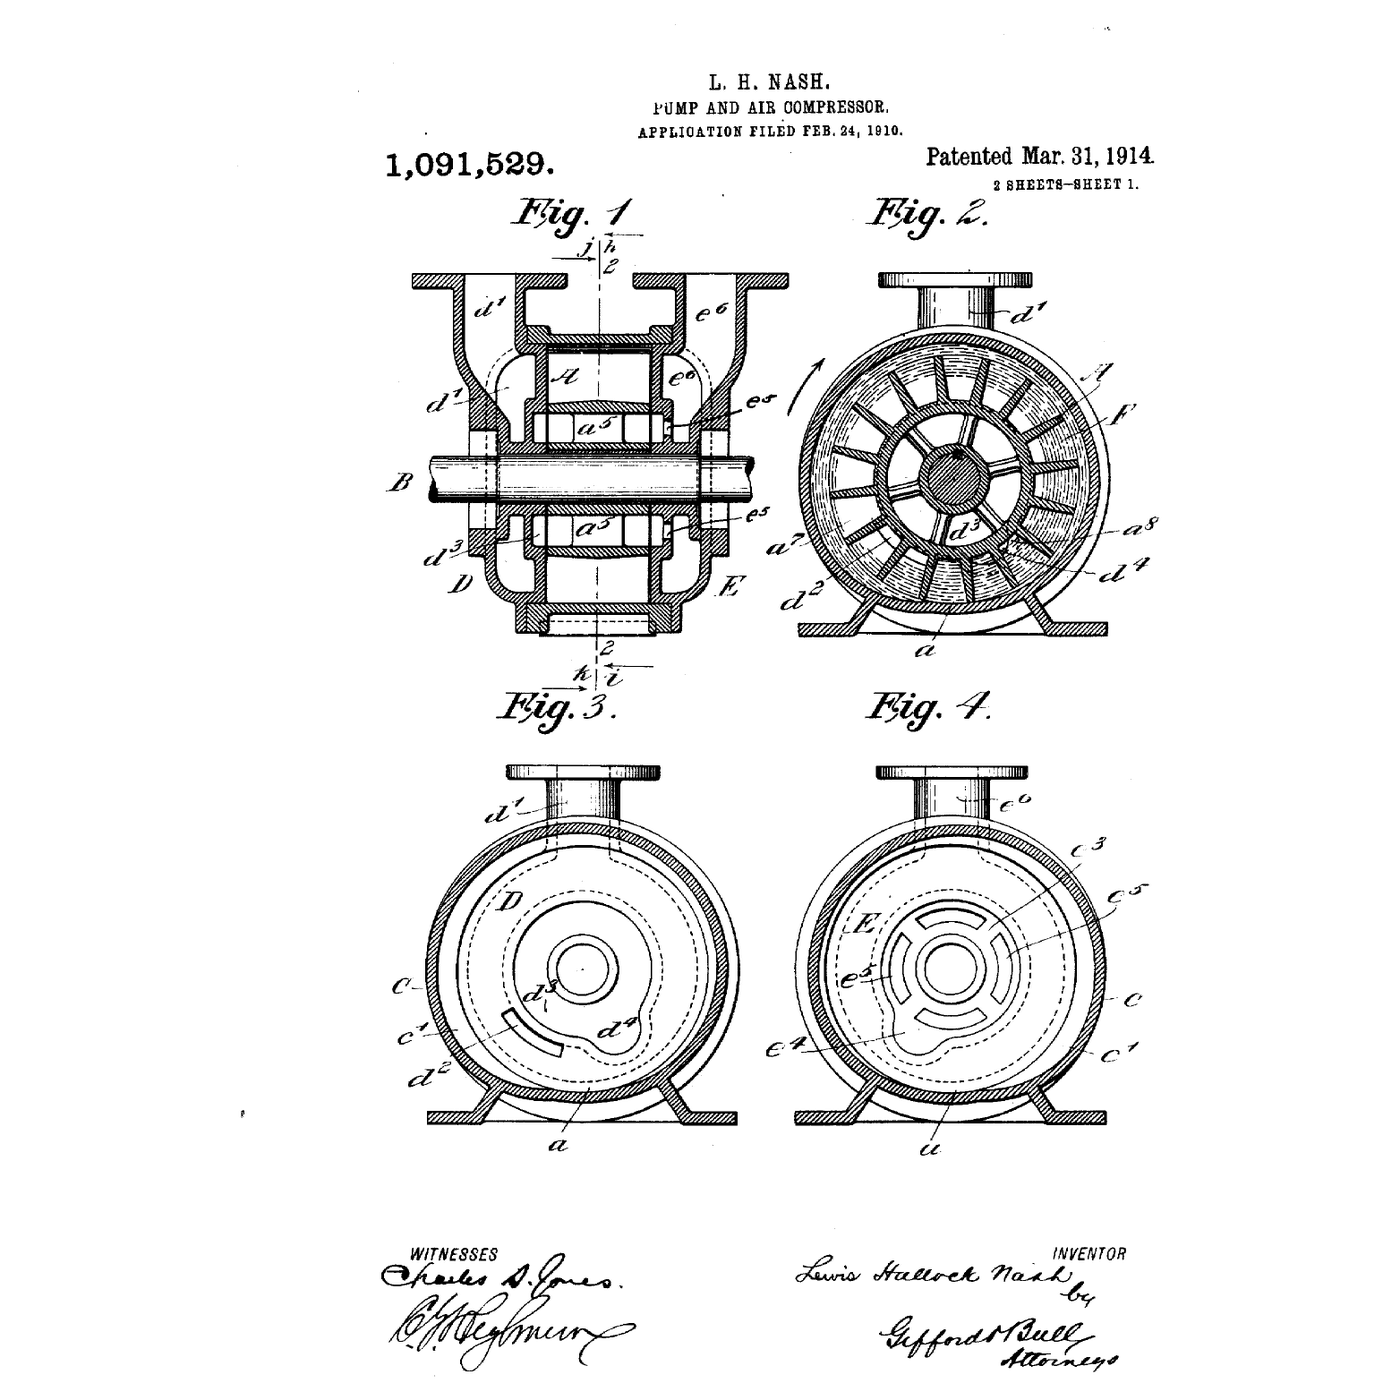
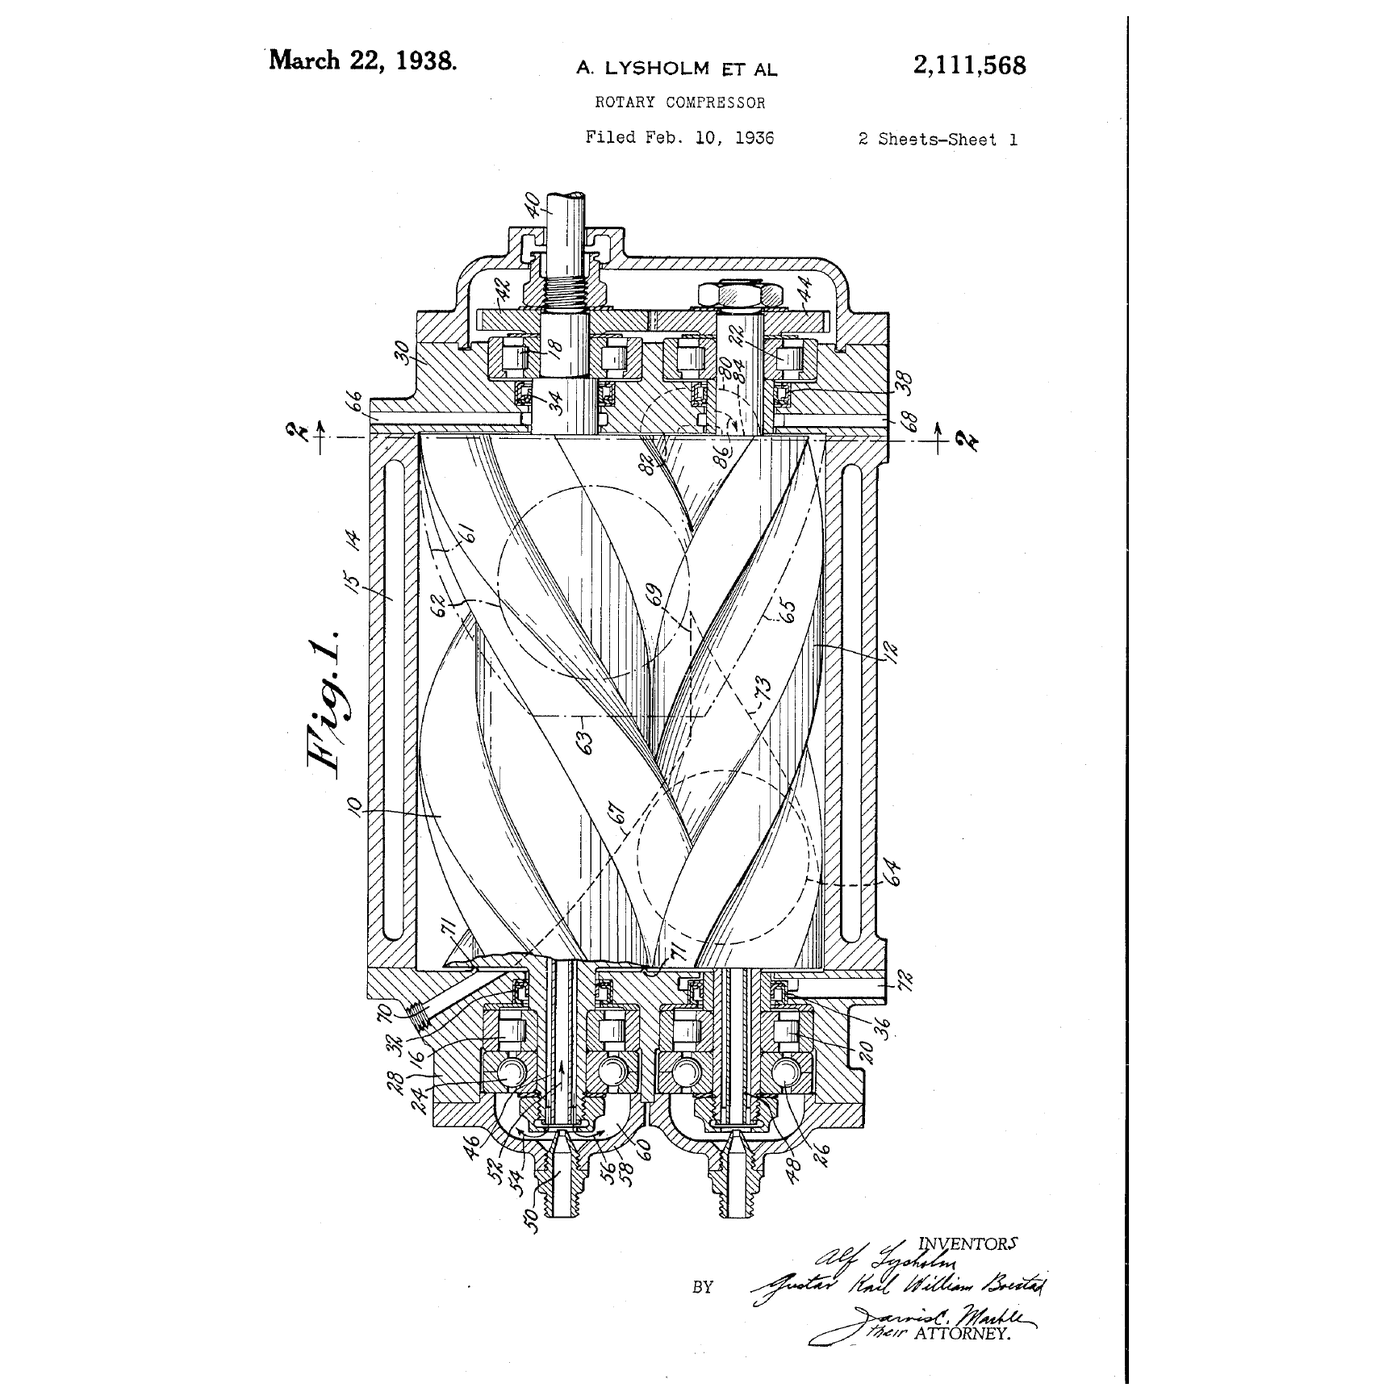
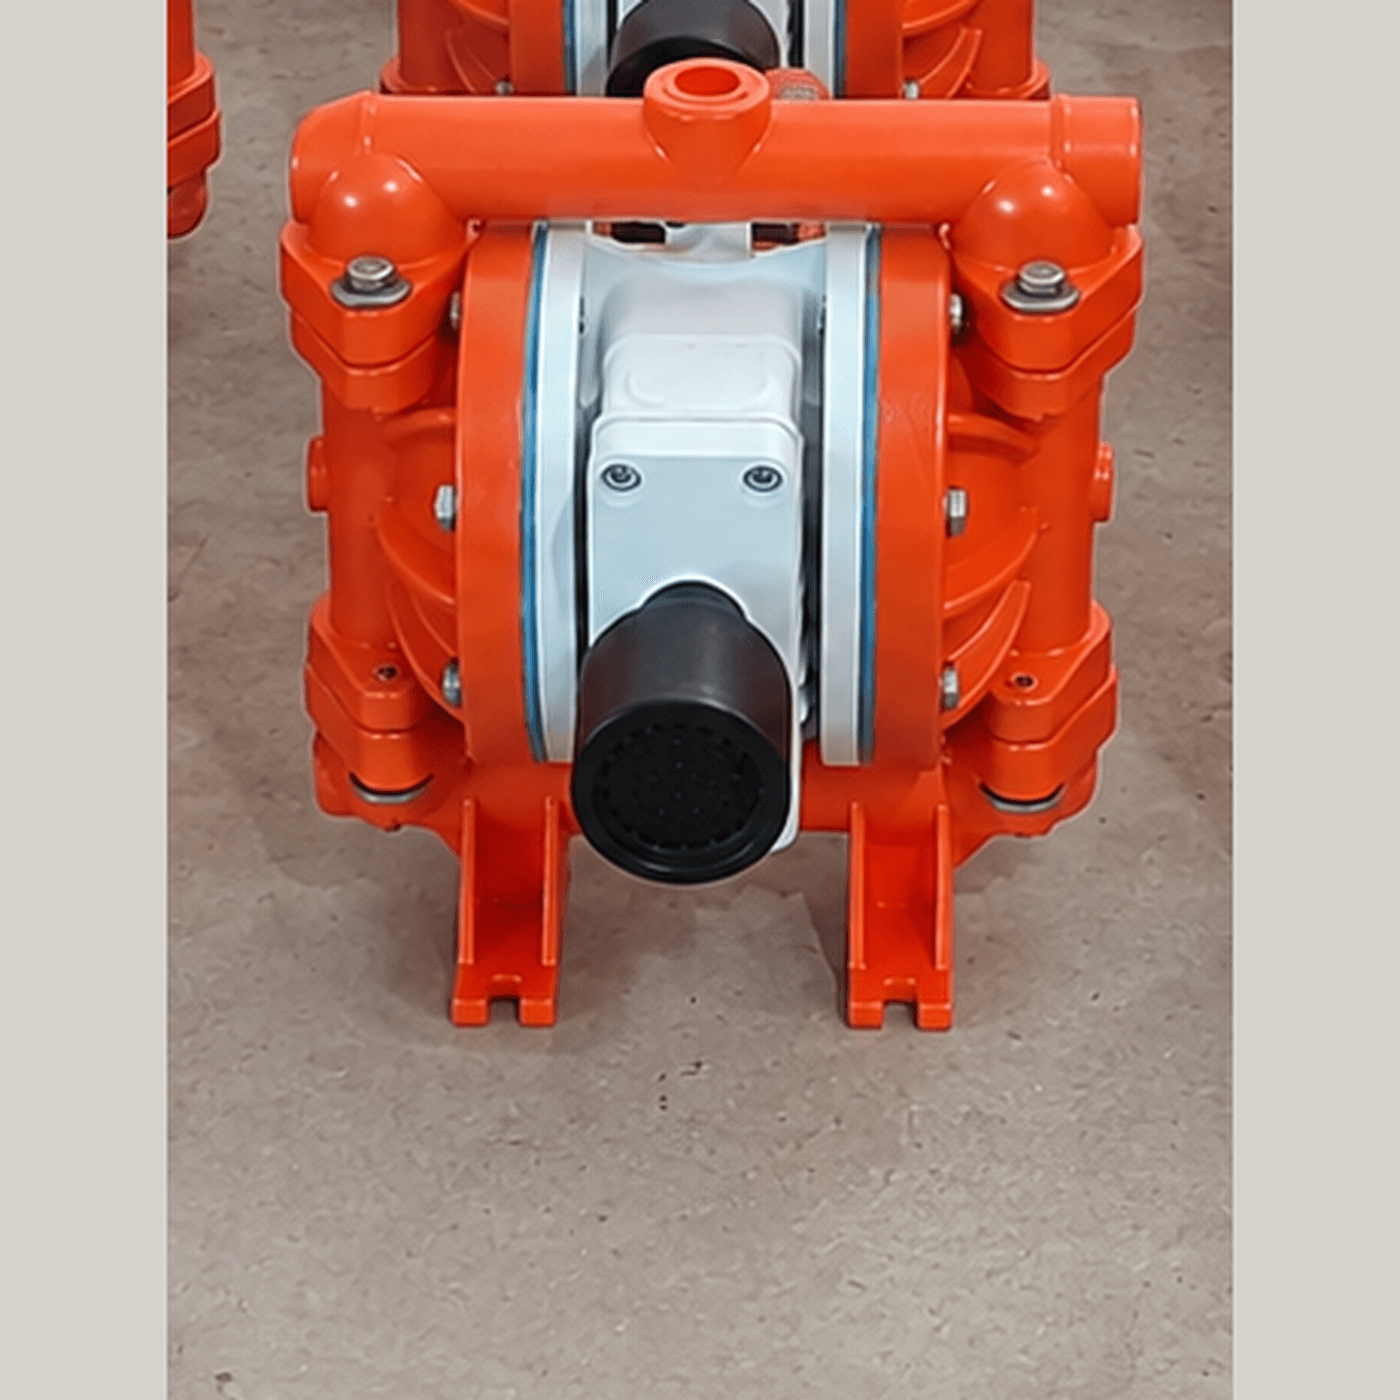
What it explains in the machines before it: the **liquid-ring pump** stays cool because its ring swallows the heat as fast as it is made — close to the isothermal floor. The **oil-flooded screw** does the same with oil. The **scroll** and the dry **screw** compress with little cooling and run hot. And the **air-operated diaphragm pump** throws its compressed air away through the exhaust, cold, which is why it can ice up.
**Honest limits of the numbers.** The temperatures are ideal adiabatic ceilings; real machines lose heat through their walls and run cooler. The condensate figures assume the air is cooled back to intake temperature — warm air in the tank holds more, and drops it later, downstream, in the pipes.
Materiais
1- 1 conjuntoReferência
Ferramentas necessárias
11- Referência
- Referência
- Referência
- Referência
- Referência
- Proteção auditiva10% de comissãoReferência
- Referência
- Referência
- Referência
- Referência
- Referência
Blueprints relacionados
Estes blueprints compartilham conhecimento — técnicas, materiais ou princípios

Boyle's Law — Squeeze a Syringe of Air
por Charlie
Química
43
0
0
0
2
0
Guericke Air Pump
por Penny
TECNOLOGIA
49
0
0
0
0
0
Holding a Pressure: The Reducing Regulator
por Martin
Mecânica
13
0
0
0
0
0
Watt Indicator Diagram
por Martin
TECNOLOGIA
54
0
0
0
0
0
The Scroll Compressor: Two Spirals, One Orbiting, No Valves
por Emma
Mecânica
10
0
0
0
0
0
The Liquid-Ring Pump: The Water Is the Piston
por Martin
Mecânica
17
0
0
0
0
0
The Screw Compressor: A Built-In Ratio, and the Cost of the Wrong One
por Martin
Mecânica
10
0
0
0
0
0
The Air-Operated Double-Diaphragm Pump: It Stalls Instead of Bursting
por Emma
Mecânica
10
0
0
0
0
0
CC0 Domínio Público
Este blueprint é liberado sob CC0. Você é livre para copiar, modificar, distribuir e usar este trabalho para qualquer finalidade, sem pedir permissão.
Apoie o Maker comprando produtos através do Blueprint, onde ele ganha uma Comissão Maker definida pelos vendedores, ou crie uma nova versão deste Blueprint e inclua-o como conexão no seu próprio Blueprint para compartilhar receita.