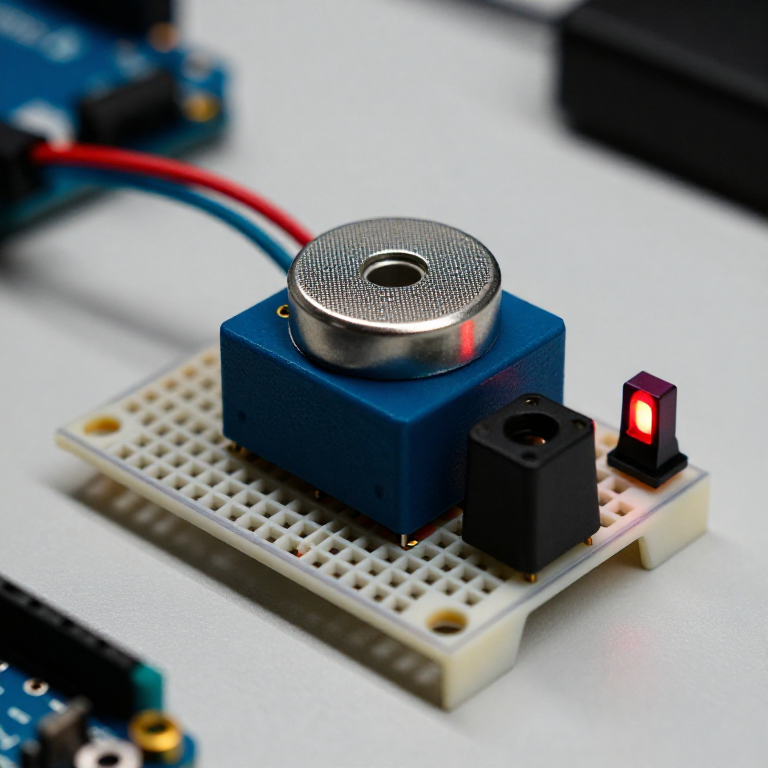


Building a Carbon Monoxide Detector
Build a circuit that senses carbon monoxide (CO) — the invisible, odourless gas from any incomplete combustion — and raises an alarm when it rises. An MQ-7 sensor gives the Arduino a reading that climbs with CO; the code compares it to a clean-air baseline and triggers a buzzer and red LED. A great way to learn gas sensing — but read the safety note: this is a demonstration, NOT a certified life-safety CO alarm.
说明
Wire the sensor, buzzer and LED
Wire the sensor, buzzer and LED
On the breadboard: MQ-7 VCC to Arduino 5V, GND to GND, and its analog output (AOUT) to Arduino A0. Active buzzer + to pin 8, - to GND. Red LED anode to pin 7 through a 330 Ω resistor, cathode to GND.
此步骤所需材料:
 Arduino Uno R31 个
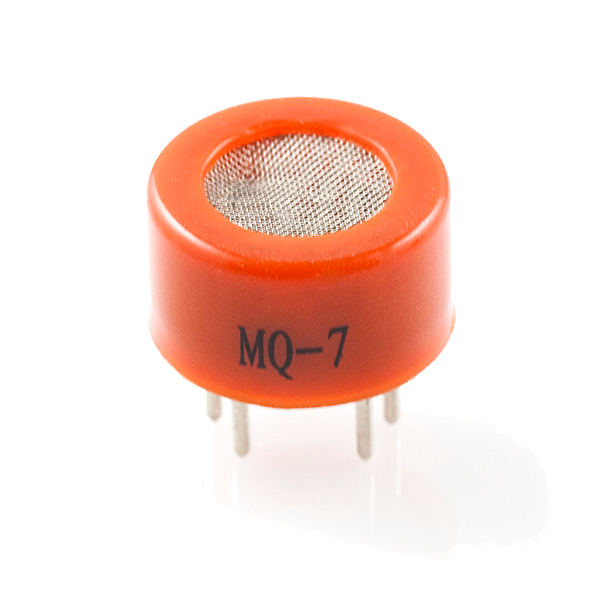 Carbon Monoxide Sensor - MQ-71 个
 有源蜂鸣器模块1 个
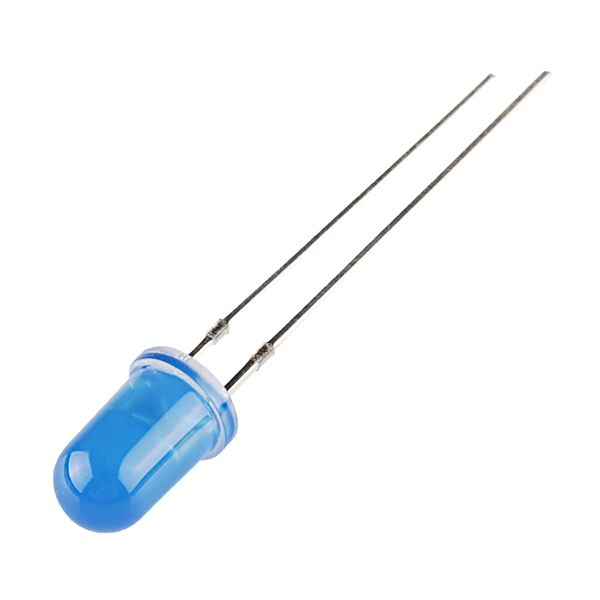 LED - Basic 5mm1 个
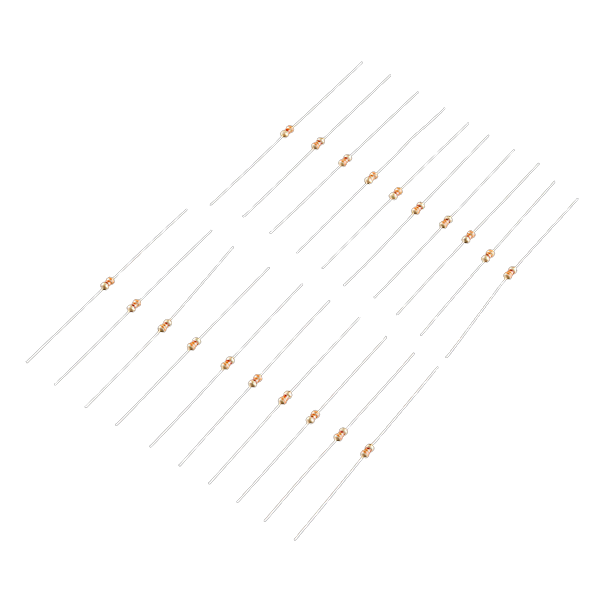 Resistor 330 Ohm 1/6 Watt PTH - 20 pack1 个
 Breadboard1 个
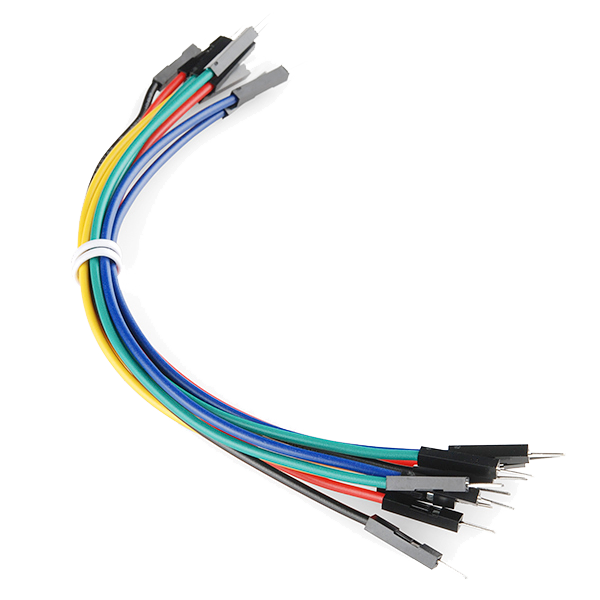 Jumper Wires (Male-to-Male)1 包
Connect and open the IDE
Connect and open the IDE
Plug the Arduino into your computer with the USB cable, open the Arduino IDE, and select Arduino Uno and its serial port.
此步骤所需材料:
 USB-B Cable1 个
所需工具:
 装有 Arduino IDE 的电脑
Upload the detector sketch
Upload the detector sketch
Paste this sketch and upload. It warms the sensor for two minutes, records a clean-air baseline, then sounds the buzzer and lights the LED whenever the reading climbs above that baseline.
Warm up, baseline and test
Warm up, baseline and test
Power it in fresh air and let the 2-minute warm-up set the clean-air baseline (a brand-new MQ-7 also needs a longer 24–48 h burn-in before its readings settle). Then hold a small CO source nearby in a ventilated room — the smoke from a just-blown-out match works — and the buzzer and LED should trigger. Change ALARM_MARGIN to make it more or less sensitive.
Important safety limits
Important safety limits
This is a LEARNING project and, at best, a supplementary indicator — it is NOT a certified life-safety device. A hobby MQ-7 gives a relative reading, not a calibrated ppm; it drifts over time and needs regular re-baselining, and it also responds to smoke and other gases. Carbon monoxide is invisible, odourless and can be fatal: for real protection always use a UL- or EN-certified CO alarm. Never rely on this circuit to keep anyone safe.
材料
8- Arduino Uno R3 SMD10% 佣金1 个$26.95
- 1 个$7.02
- 1 个占位符
- LED - Basic 5mm10% 佣金1 个$0.77
- $1.19
- Breadboard - Classic10% 佣金1 个$9.46
- $4.99
- $5.66
所需工具
2- Breadboard - Classic10% 佣金$9.46
相关蓝图
这些蓝图共享知识——技术、材料或原理


CC0 公共领域
此蓝图以 CC0 协议发布。你可以自由复制、修改、分发和使用此作品,无需征得许可。
通过购买蓝图中的产品支持创客,他们将获得 创客佣金 (由供应商设定),或创建此蓝图的新版本并将其作为连接包含在你自己的蓝图中以分享收入。