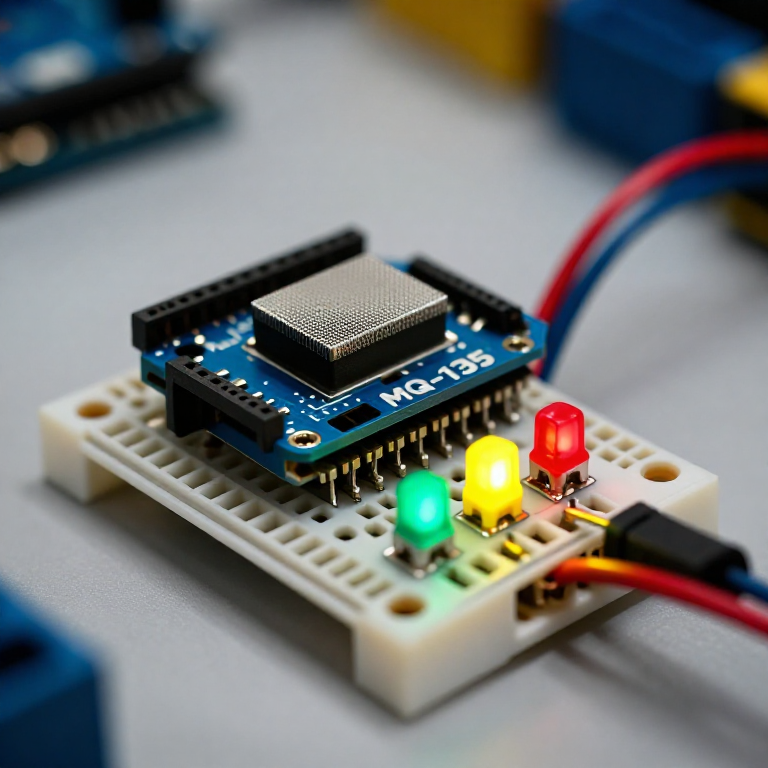


Building an Air-Quality Monitor
Build a traffic-light air-quality monitor. An MQ-135 sensor responds to smoke, fumes, alcohol, CO2 and other gases; the Arduino compares the reading to clean air and lights a green, yellow or red LED for good, moderate or poor air. A hands-on way to watch indoor air change — with the honest limit that it shows RELATIVE quality, not a calibrated ppm figure.
说明
Wire the sensor and three LEDs
Wire the sensor and three LEDs
On the breadboard: MQ-135 VCC to Arduino 5V, GND to GND, and its analog output (AOUT) to A0. Wire three LEDs — ideally green, yellow and red — to pins 5, 6 and 7, each through a 330 Ω resistor to GND (long leg to the pin).
此步骤所需材料:
 Arduino Uno R31 个
 MQ-135 空气质量传感器模块1 个
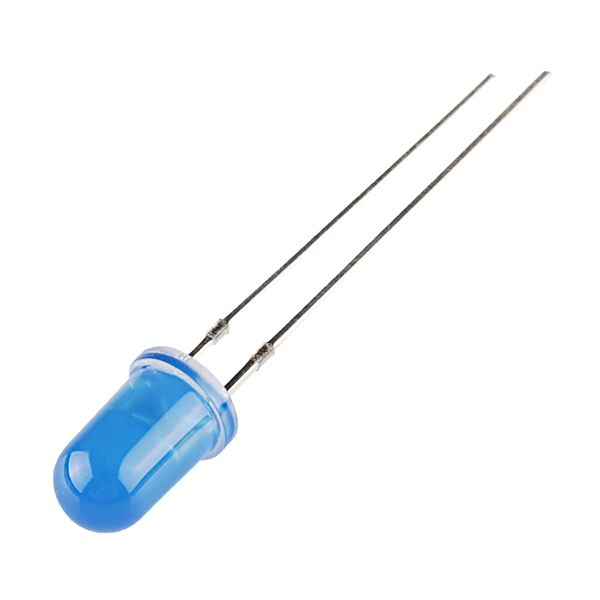 LED - Basic 5mm (25 pack)1 包
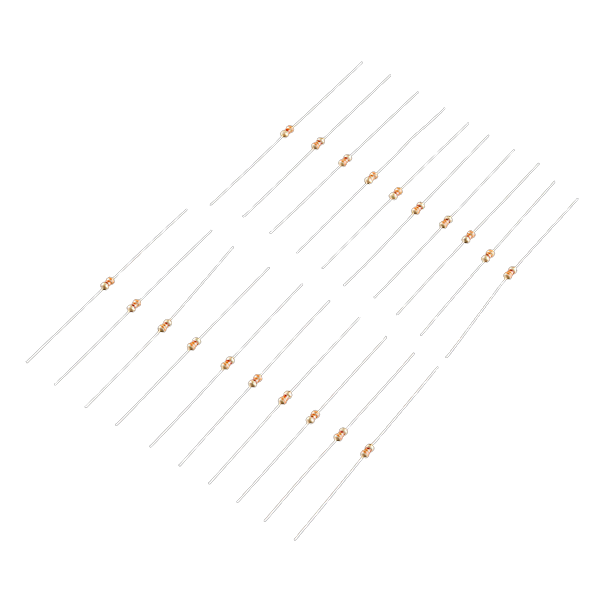 Resistor 330 Ohm 1/6 Watt PTH - 20 pack1 包
 Breadboard1 个
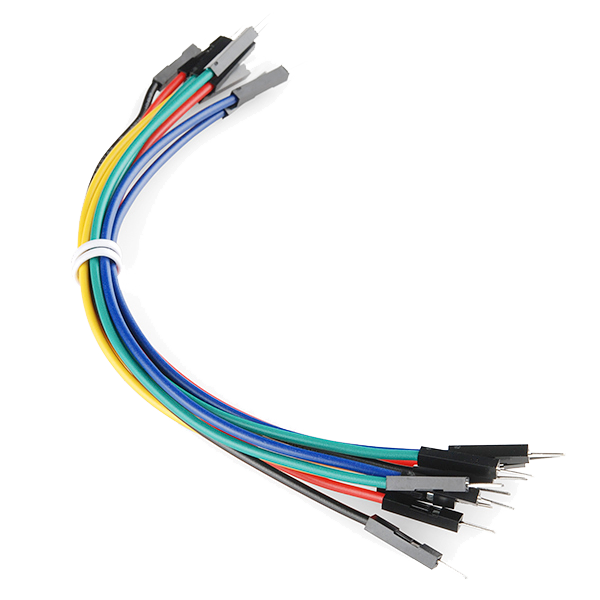 Jumper Wires (Male-to-Male)1 包
Connect and open the IDE
Connect and open the IDE
Plug the Arduino into your computer with the USB cable, open the Arduino IDE, and select Arduino Uno and its serial port.
此步骤所需材料:
 USB-B Cable1 个
所需工具:
 装有 Arduino IDE 的电脑
Upload the traffic-light sketch
Upload the traffic-light sketch
Paste this sketch and upload. It warms the sensor, records a clean-air baseline, then lights green for good air, yellow for moderate and red for poor. Open the Serial Monitor to see the raw reading.
Warm up, baseline and test
Warm up, baseline and test
Run it in fresh air and let the 2-minute warm-up set the baseline (a new MQ-135 also needs a 24–48 h burn-in to settle). Then test it: breathe on it, spray a little deodorant nearby, or hold a blown-out match's smoke close — it should climb to yellow then red, and return to green in clean air. Tune MODERATE and POOR to change the thresholds.
Know the limits
Know the limits
The MQ-135 reacts to many gases at once and gives a RELATIVE reading, not a calibrated CO2 or ppm value — despite what some tutorials claim, real ppm needs proper calibration against known concentrations. It also drifts and needs re-baselining. Treat this as an air-change indicator and a great sensing project, not a laboratory instrument.
材料
7- Arduino Uno R3 SMD10% 佣金1 个$26.95
- 占位符
- LED - Basic 5mm10% 佣金1 包$0.77
- $1.19
- Breadboard - Classic10% 佣金1 个$9.46
- $4.99
- $5.66
所需工具
2- Breadboard - Classic10% 佣金$9.46
相关蓝图
这些蓝图共享知识——技术、材料或原理
CC0 公共领域
此蓝图以 CC0 协议发布。你可以自由复制、修改、分发和使用此作品,无需征得许可。
通过购买蓝图中的产品支持创客,他们将获得 创客佣金 (由供应商设定),或创建此蓝图的新版本并将其作为连接包含在你自己的蓝图中以分享收入。