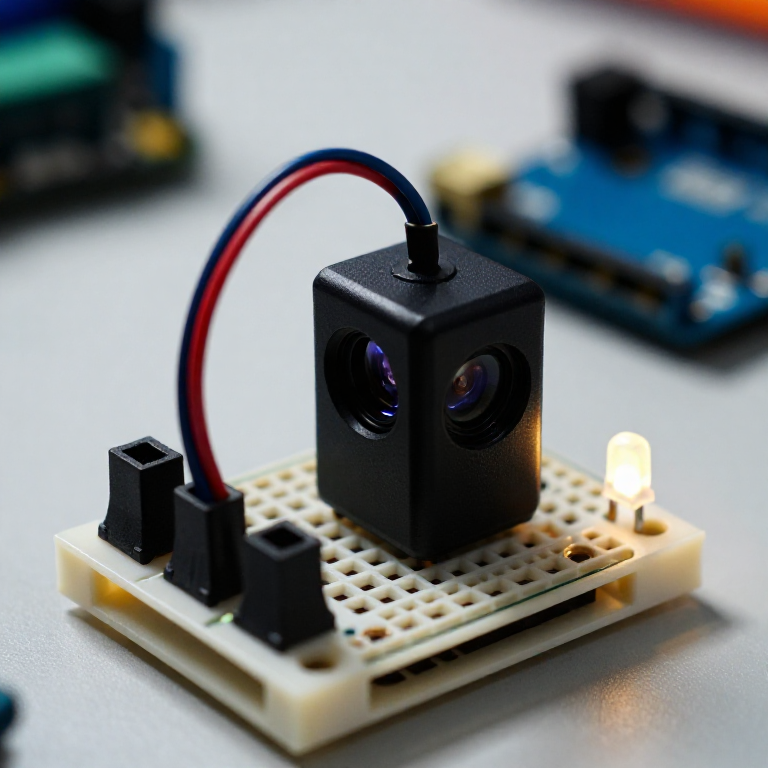


Building an Infrared Distance Sensor
Measure distance with light. A Sharp infrared sensor bounces a beam off an object and reports, as a voltage, the angle it returns at — closer objects give a higher reading. The Arduino turns that into an approximate distance and lights an LED when something comes near: a touchless switch, a hand-wave trigger, or a robot's eyes. Unlike the ultrasonic sensor, this uses infrared light, works at short range, and makes no sound.
说明
Wire the sensor and LED
Wire the sensor and LED
The Sharp sensor has a 3-wire cable: VCC (red) to Arduino 5V, GND (black) to GND, and signal (white or yellow) to A0. On the breadboard, wire an LED from pin 7 through a 330 Ω resistor to GND (long leg to the pin).
此步骤所需材料:
 Arduino Uno R31 个
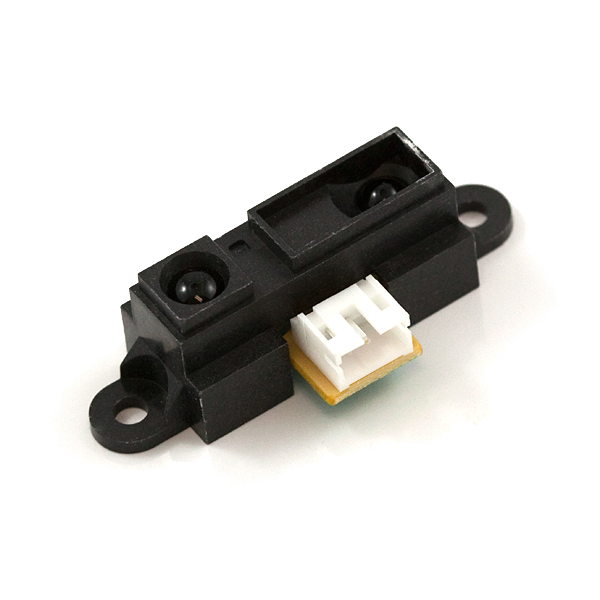 Infrared Proximity Sensor - Sharp GP2Y0A21YK1 个
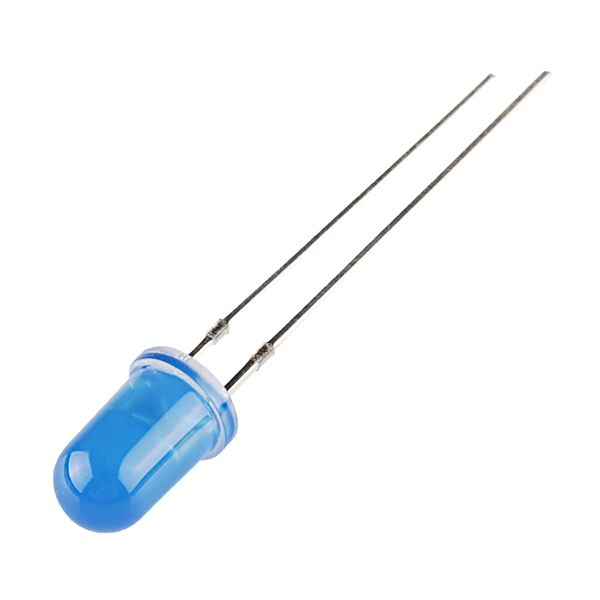 LED - Basic 5mm1 个
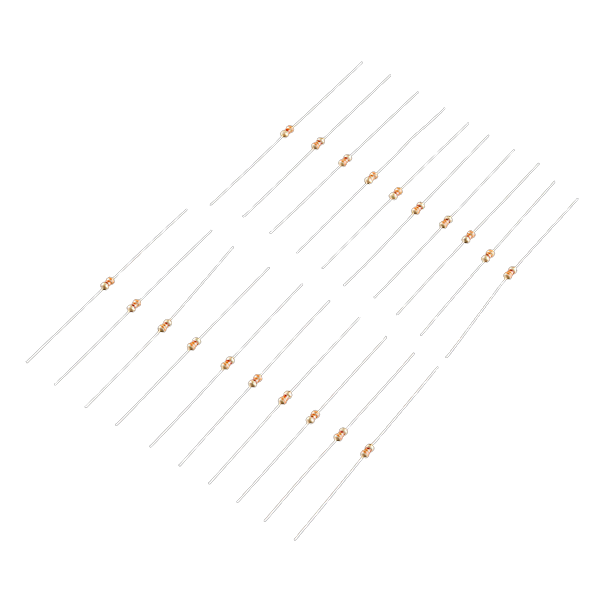 Resistor 330 Ohm 1/6 Watt PTH - 20 pack1 包
 Breadboard1 个
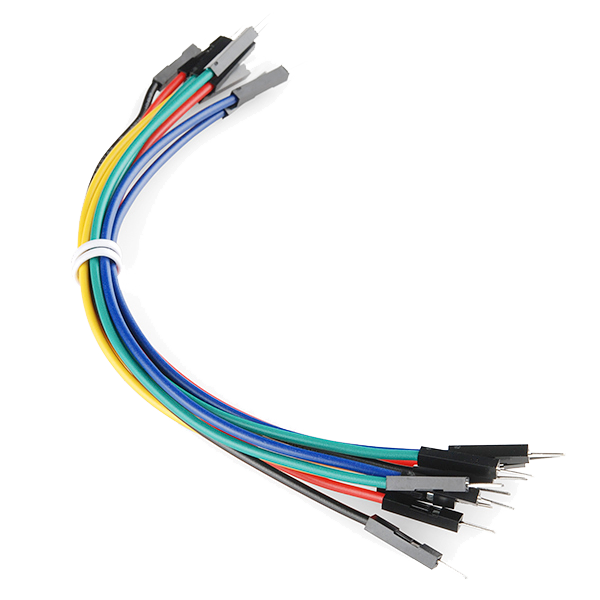 Jumper Wires (Male-to-Male)1 包
Connect and open the IDE
Connect and open the IDE
Plug the Arduino into your computer with the USB cable, open the Arduino IDE, and select Arduino Uno and its serial port.
此步骤所需材料:
 USB-B Cable1 个
所需工具:
 装有 Arduino IDE 的电脑
Upload the distance sketch
Upload the distance sketch
Paste this sketch and upload, then open the Serial Monitor. It reads the sensor, estimates the distance, and lights the LED when something is within 20 cm.
Test and understand the curve
Test and understand the curve
Open the Serial Monitor and move your hand between about 10 and 80 cm — the printed distance should track it, and the LED lights inside 20 cm. Two things to know: below ~10 cm the reading becomes ambiguous (the sensor's curve folds back), and the output is non-linear, so for real accuracy note the raw value at a few known distances and fit your own curve.
Put it to work
Put it to work
Use it as a touchless switch (wave to trigger), a shelf or drawer 'is-it-open' sensor, or an obstacle detector for a small robot. Change NEAR_CM to set the trigger distance, or swap in the short-range (4–30 cm) or long-range (20–150 cm) Sharp sensor for a different span.
材料
7- Arduino Uno R3 SMD10% 佣金1 个$26.95
- $13.18
- LED - Basic 5mm10% 佣金1 个$0.77
- $1.19
- Breadboard - Classic10% 佣金1 个$9.46
- $4.99
- $5.66
所需工具
2- Breadboard - Classic10% 佣金$9.46
相关蓝图
这些蓝图共享知识——技术、材料或原理


CC0 公共领域
此蓝图以 CC0 协议发布。你可以自由复制、修改、分发和使用此作品,无需征得许可。
通过购买蓝图中的产品支持创客,他们将获得 创客佣金 (由供应商设定),或创建此蓝图的新版本并将其作为连接包含在你自己的蓝图中以分享收入。