合作
艺术
美容与健康
工艺
文化与历史
娱乐
环境
食品与饮料
逆向工程
科学
体育
技术
可穿戴设备
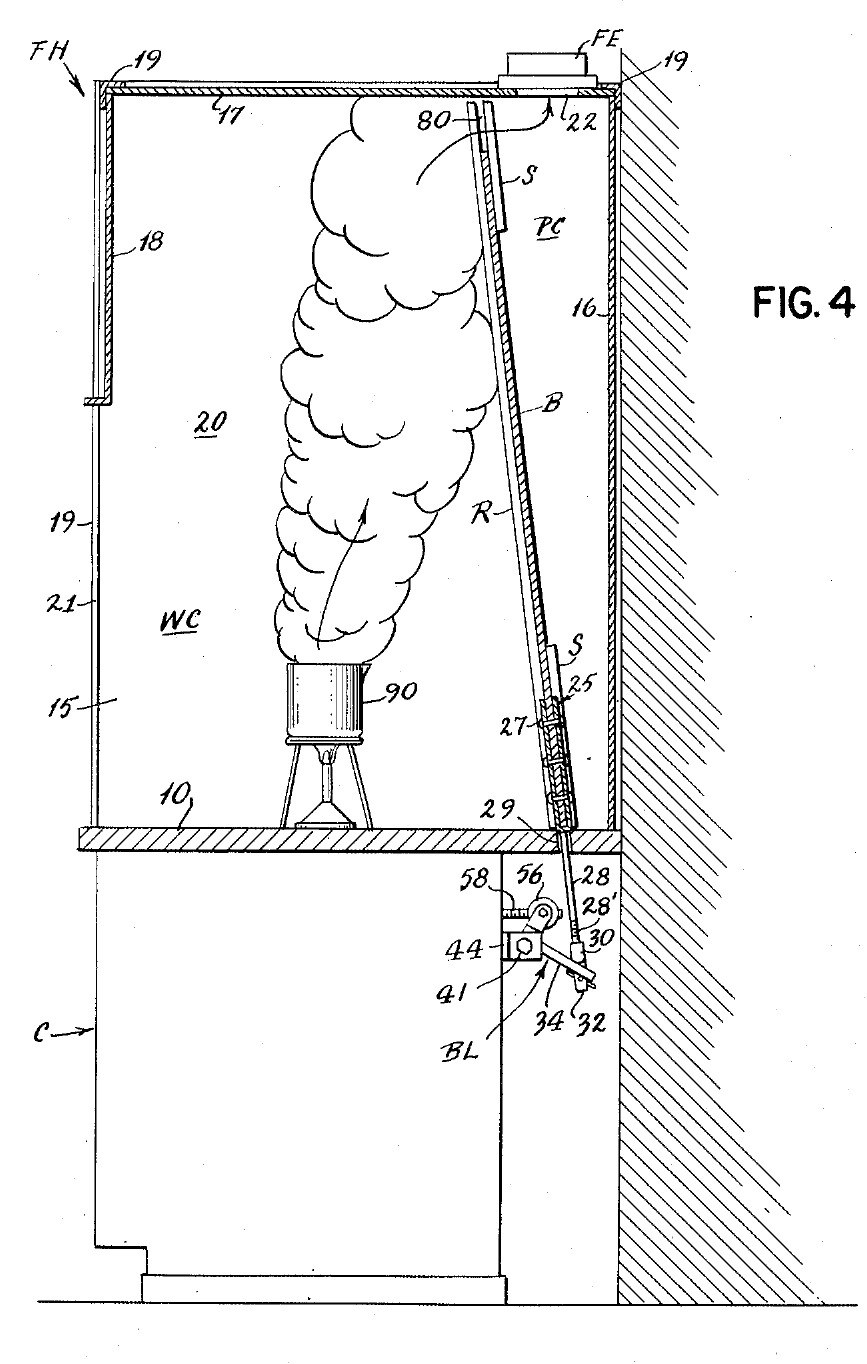


Fume Hood (Ducted): Sloping Stone Baffle Set from Outside by a Crank (Liptay, US 2,779,265, 1957)
A bench fume hood on a stone counter, drawn off through a duct with a fan. Inside, a sloping stone baffle leaves a gap at the top and one at the bottom. A crank under the counter slides the baffle: one gap grows as the other shrinks, so the air sweeps light fumes out at the top or heavy fumes out at the bottom, with no one reaching inside.
Result: a ducted hood whose air flow can be set for light or heavy fumes during work.
Source: J. M. Liptay, US 2,779,265 (1957). Unknown: sizes, air flow, the fan and most materials. Picture: the patent drawing.
高级
Unknown
说明
1
1
Build the cabinet and stone counter
Build the cabinet and stone counter
Build a sheet metal cabinet. Fix spaced sheet metal channels to its front panel and rear wall, and lay a stone slab on them as the counter. Bore a hole through the slab near the back, at the middle, for the baffle's lifting rod. Not given: sizes, the metal.
此步骤所需材料:
 未知金属1 cabinet and channels
 平整石板1 counter
所需工具:
 铁皮剪
 台钻
 未知尺寸
2
2
Build the hood
Build the hood
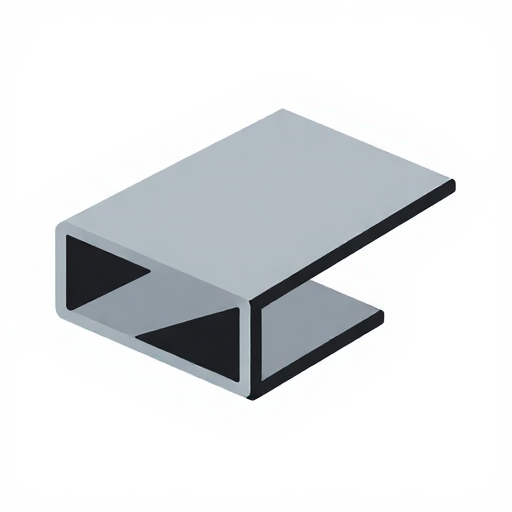
On the counter, make a frame of corner angle irons. Fix to it two sides, a rear wall, a roof and a front panel. Leave the front open below the front panel: this is the large opening where you work and where air comes in. Cut the fume outlet in the roof, towards the back. Not given: the panel material, sizes.
此步骤所需材料:
 低碳钢角钢1 corner frame
 未知材料1 sides, rear wall, roof, front panel
所需工具:
 钢锯未知尺寸
3
3
Fit the exhaust pipe and fan
Fit the exhaust pipe and fan
Fix an exhaust pipe over the roof outlet, with a fan in it, to draw the fumes out. Not given: the pipe, the fan, the air flow.
此步骤所需材料:
 风管1 exhaust pipe
 鼓风机1 fan
所需工具:
 活动扳手
4
4
Fit the sloping baffle
Fit the sloping baffle
Make a solid stone baffle almost as wide as the hood. Set it sloping up and forward from the rear wall, so it splits the inside into the work space in front and a duct behind that widens upward to the outlet. Guide it on sloping rails in front and strips behind, fixed to the sides, so it can slide. Leave a gap between its top and the roof, and one between its bottom and the counter. Not given: the rails' metal, sizes.
此步骤所需材料:
平整石板1 baffle未知金属1 rails and strips所需工具:
未知尺寸5
5
Make the lifting rod
Make the lifting rod
Cut a notch in the middle of the baffle's lower edge. Make a V-shaped yoke whose legs straddle the baffle front and back, rivet the legs to it, and give the yoke a rod that hangs down through the hole in the counter. Thread the rod's lower end. Not given: the metal.
此步骤所需材料:
未知金属1 yoke, rod, rivets所需工具:
 铆钉工具组
 丝锥板牙套装
6
6
Fit the bell crank
Fit the bell crank
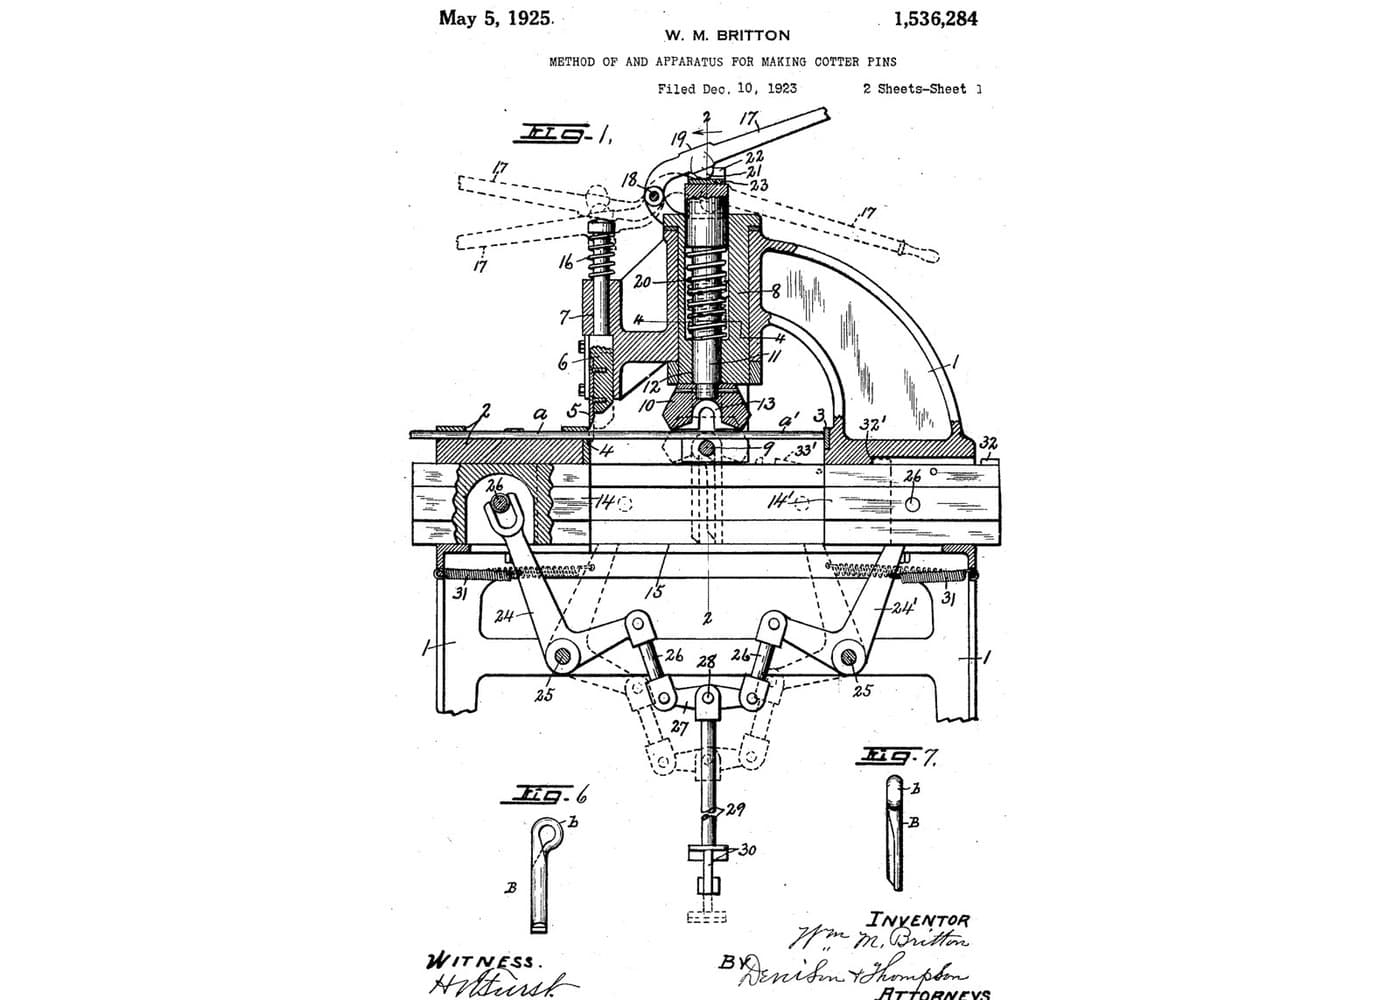
Under the counter, pivot a bell crank lever on a bolt through the lugs of a bracket fixed to the cabinet's rear channel. Screw a coupling onto the rod's threaded end. The coupling's two curved lips rock on the lever's long arm, and its tongue hangs through a slot in the arm, held by a cotter pin. On the short arm, a yoke turns on two bolts set fast in the threaded cross-holes of a round nut. Ours: hex bolts and nuts.
此步骤所需材料:
 直角杠杆1 bell crank未知金属1 bracket, coupling, round nut
 六角螺栓组合3 个
 六角螺母1 个
 开口销1 个
所需工具:
丝锥板牙套装活动扳手7
7
Fit the crank and set the baffle
Fit the crank and set the baffle
Screw a metal operating rod through the round nut and run it forward to the cabinet front. Screw its front socket onto the shaft of a hand crank and pin it with a cotter pin. Weld an angle iron to the inside of the front panel to stiffen it. Clamp a bushing through the panel with a nut, and set a ball bearing between two rings on the shaft, between the bushing and the crank. Turning the crank tips the bell crank, which raises the rod and baffle or lets them slide down by their own weight: as one gap grows the other shrinks. Air comes in at the front; the upper stream carries light fumes to the top gap, the lower stream heavy fumes to the bottom gap. Open the top fully for light fumes, the bottom fully for heavy ones, or set any point between, without reaching inside. A sliding safety sash may be fitted over the front opening, to watch dangerous reactions safely.
此步骤所需材料:
未知金属1 operating rod, crank, bushing开口销1 个六角螺母1 个低碳钢角钢1 stiffener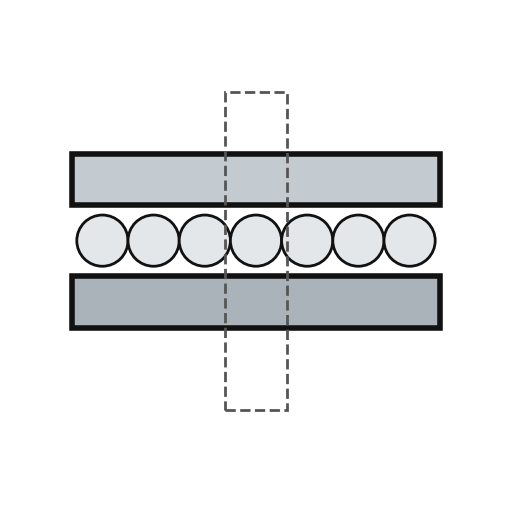 推力球轴承1 个
所需工具:
 电弧焊机丝锥板牙套装活动扳手
材料
11- 1 operating rod, crank, bushing占位符
- 1 baffle占位符
- 1 stiffener占位符
- 1 sides, rear wall, roof, front panel占位符
- 1 exhaust pipe占位符
- 1 fan占位符
- 1 bell crank占位符
- 3 个占位符
- 2 个占位符
- 2 个占位符
- 1 个占位符
已连接蓝图材料

此蓝图制作


CC0 公共领域
此蓝图以 CC0 协议发布。你可以自由复制、修改、分发和使用此作品,无需征得许可。
通过购买蓝图中的产品支持创客,他们将获得 创客佣金 (由供应商设定),或创建此蓝图的新版本并将其作为连接包含在你自己的蓝图中以分享收入。