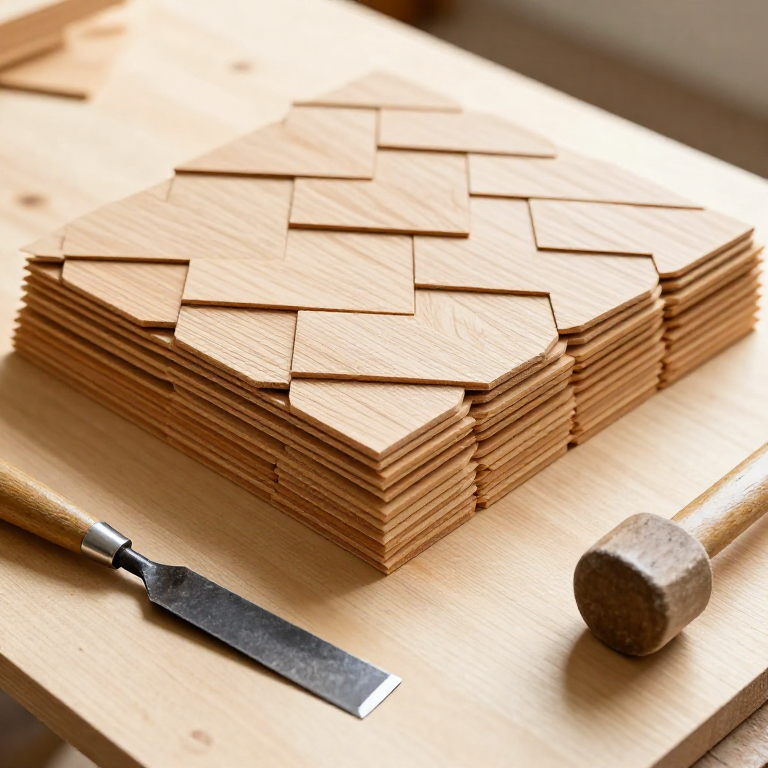
Making Wooden Shingles — Riving Roof Tiles from a Bolt of Timber
Before fired clay tiles or slate became affordable, every roof in the temperate world was covered in wooden shingles — thin, flat pieces of riven timber that overlap like fish scales to shed rain. A single roof might need a thousand shingles, but a skilled worker with a froe and mallet can produce several hundred in a day. Shingles made from durable heartwood — oak, cedar, chestnut, or larch — last 30 to 50 years without treatment.
Shingles must be riven, never sawn. A riven shingle has intact grain running from top to bottom — water runs along the fibres and drips off the bottom edge without soaking in. A sawn shingle has cut fibres that act like tiny straws, wicking water into the wood and rotting it within a few years. This is the fundamental reason riving survived alongside sawmills for centuries — shingles were one product where the old method was simply better.
The technique requires a bolt (a short log section) of straight-grained wood and a froe — an L-shaped cleaving blade that gives precise control over the split line. Each shingle is split from the bolt, then shaved smooth on one face with a drawknife. The result is a lightweight, weather-resistant roof tile produced entirely from hand tools and local timber.
说明
Select and crosscut a bolt
Select and crosscut a bolt
Split the bolt into halves and quarters
Split the bolt into halves and quarters
Rive shingles with a froe
Rive shingles with a froe
所需工具:
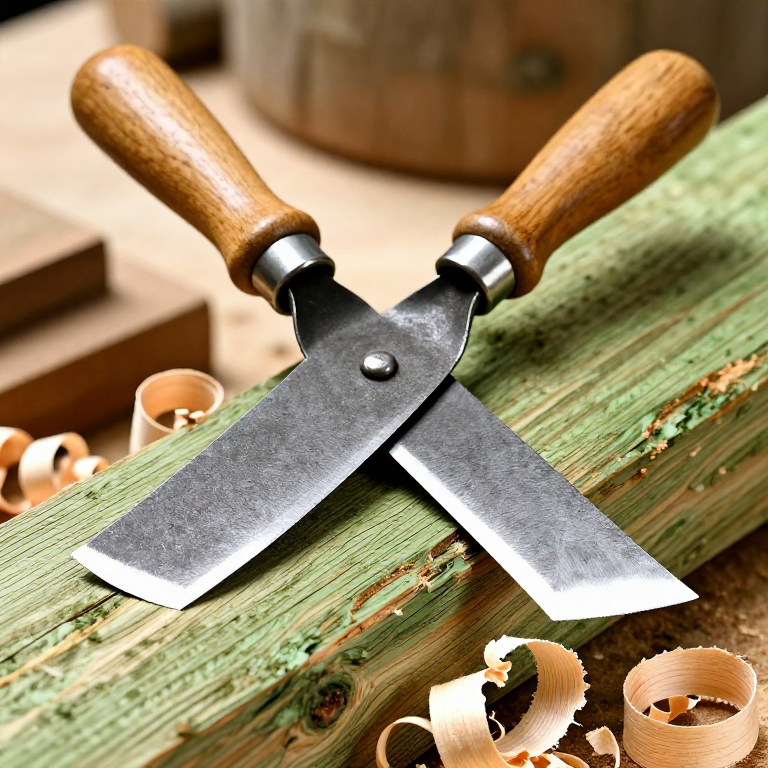
 Froe
Froe Wooden Mallet
Dress the face with a drawknife
Dress the face with a drawknife
所需工具:
 Drawknife
Taper the top edge
Taper the top edge
Stack and season before installation
Stack and season before installation
已连接蓝图材料
Required Equipment
Equipment this kind of build typically needs — buy from any maker below.
- CriticalHand Saw·
 Portable Band Saw
 Track-Mounted Chain Saw Quarry Cutter
 Band Saw (9-inch, Benchtop)
 Miter Box with Saw
 Small Hand Saw
 Jeweler's Saw
 - CriticalTape Measure·
 Barrier Tape
 Bias Tape
 Finish Line Tape Dispenser
 Measuring Tape 3m
 Plumber's Tape (PTFE)
 Measuring Tape (30m)
 - RecommendedChisel·
 Thin Flat Chisel (10mm)
 Cold Chisel (flat, 25mm)
 Copper Chisel
 Cold Chisel (pointed)
 Chisel Set (Wood)
 Steel Chisel
 - RecommendedClamps·
 Injection Mold Clamp Kit
 Parallel Clamp
 Wheel Loader with Marble Clamp
 C-Clamp
 Utility Clamp (Burette/Flask)
 Toggle Clamp Set (4 Types)
 - RecommendedDust Mask / Respirator·
 Full-Face Gas Mask (ABEK multi-gas cartridge)
 Dust Mask
 Venetian Mask Blank (Papier-Mache)
 Full-Face Respirator
 Respirator Fit Test Kit
 Respirator with Acid Gas Cartridge
 - RecommendedSafety Glasses·
 Safety Sign (Caution/Warning)
 Splash-Proof Safety Goggles
 Reflective Safety Vest Kit (DIY)
 Chemical Splash Goggles
 Safety Netting for Rockfall
 Steel-Toed Safety Boots
 - RecommendedSandpaper·
 Sandpaper (120 Grit)
 Sandpaper (1000 Grit)
 Sandpaper (80 Grit)
 Wet/Dry Sandpaper Pack (400-3000 Grit)
 Sandpaper 220 Grit (Fine)
 Sandpaper (320 Grit)
 - RecommendedWork Gloves·
 Boxing Gloves (Training)
 Leather Gauntlet Gloves
 Cotton Gloves
 Welding Gloves
 Heavy-Duty Gloves
 Leather Work Gloves
 - OptionalFire Extinguisher·
 ABC Fire Extinguisher
 Fire Extinguisher
 - OptionalFirst Aid Kit·
 First Aid Kit
 Mountain First Aid Kit (Altitude)
 Workshop First Aid Kit
 Bow Release Aid
You can swap these in
Can't get one of the materials? Swap it for an equivalent — these work just as well.
- Instead of Drawknife, try:
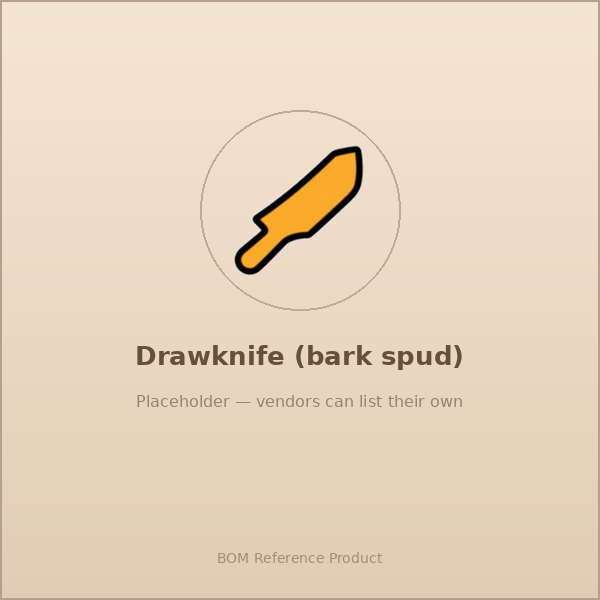 Drawknife (bark spud)
 - Instead of Wooden Mallet, try:
 Rubber Mallet
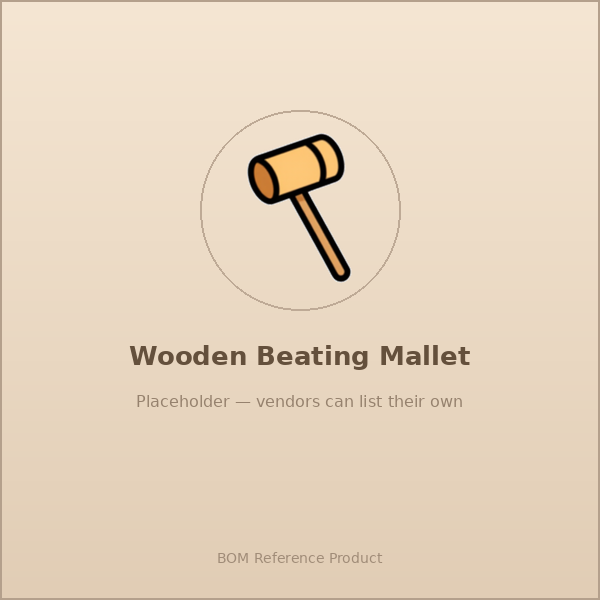 Wooden Beating Mallet
 Timber Framing Mallet (Deadblow)
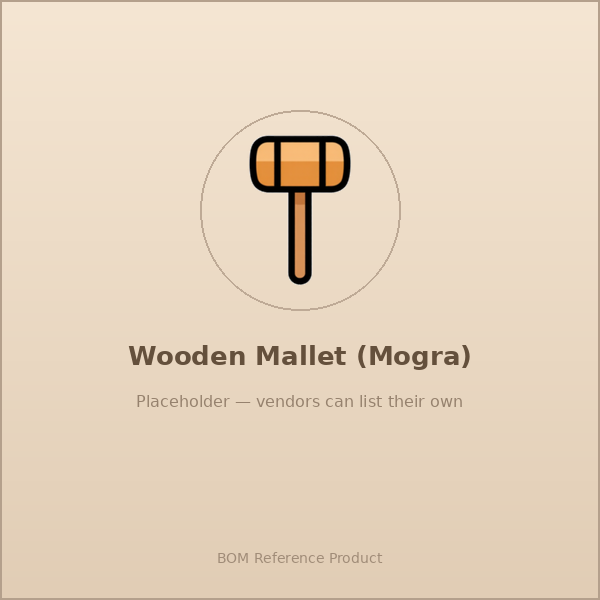 Wooden Mallet
 Carving Mallet (Lignum Vitae)
 Dead Blow Mallet
Recommended for this build
Products makers often use with builds like this one.
 CordageFrequently used with this build's materials
 Hand AugerUsed together and in similar builds
 AxeFrequently used with this build's materials
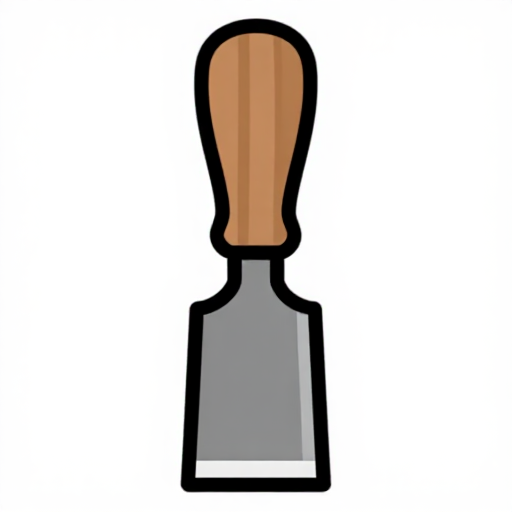 Chisel SetFrequently used with this build's materials
 AwlFrequently used with this build's materials
 Hemp CordFrequently used with this build's materials
 Dowel RodFrequently used with this build's materials
 Wood GlueFrequently used with this build's materials
相关蓝图
这些蓝图共享知识——技术、材料或原理
Related blueprints
Other builds that share materials, tools, or techniques with this one.
CC0 公共领域
此蓝图以 CC0 协议发布。你可以自由复制、修改、分发和使用此作品,无需征得许可。
通过购买蓝图中的产品支持创客,他们将获得 创客佣金 (由供应商设定),或创建此蓝图的新版本并将其作为连接包含在你自己的蓝图中以分享收入。