
KUNST
SCHÖNHEIT & WELLNESS
HANDWERK
KULTUR & GESCHICHTE
UNTERHALTUNG
UMFELD
ESSEN & GETRÄNKE
REVERSE ENGINEERING
WISSENSCHAFTEN
SPORT
TECHNOLOGIE
WEARABLES
Braked-Disk Slat-and-Wing Churn: Up Between the Slats, Down Through the Disk
Martin

Erstellt von

Martin

7. Oktober 2026NO
30
0
0
0
0

Braked-Disk Slat-and-Wing Churn: Up Between the Slats, Down Through the Disk

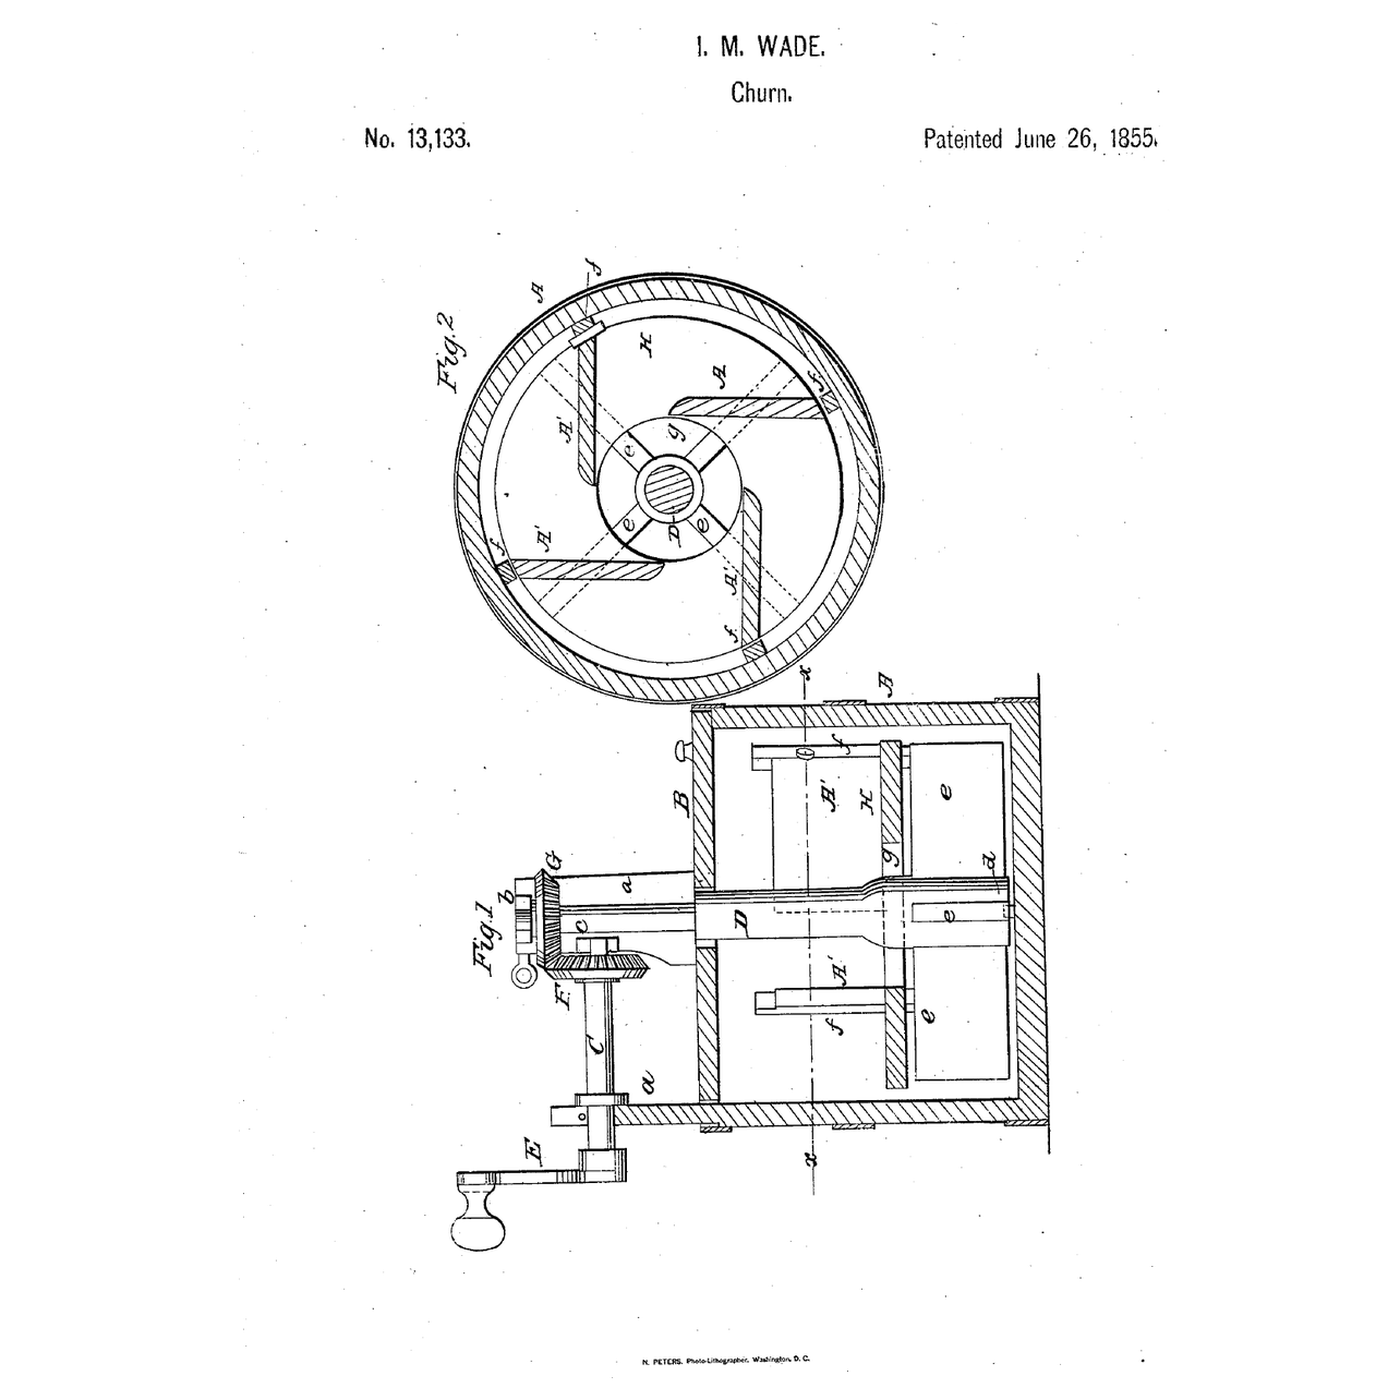
Wade sent the cream round a loop: up the sides and down through the middle. Isaac M. Wade of Clinton, Lenawee County, Michigan, received US 13,133, dated 26 June 1855, for a churn with radial wings on the foot of a vertical shaft, turned through bevel wheels by a crank; vertical slats round the inside of the tub that the wings just clear; and on the slats' shoulders a disk with a central aperture and four brakes, "flat wooden strips secured edgewise on the disk," placed tangent to the aperture and held still by a pin. The wings force the cream "upward between the slats (f) and thrown against the brakes A¹, which direct it to the aperture (g)," and the slats and brakes "prevent the cream from rotating." This rung compares the openings, then prints the slats, the disk with its brakes, the wings, step and gears, builds the churn, and makes butter.
Fortgeschritten
About 4 hours, plus printing

Anweisungen

1

Up the sides, down the middle

Jupyter-Notebook wird geladen …
2

Still breakers round a turning dasher, before it

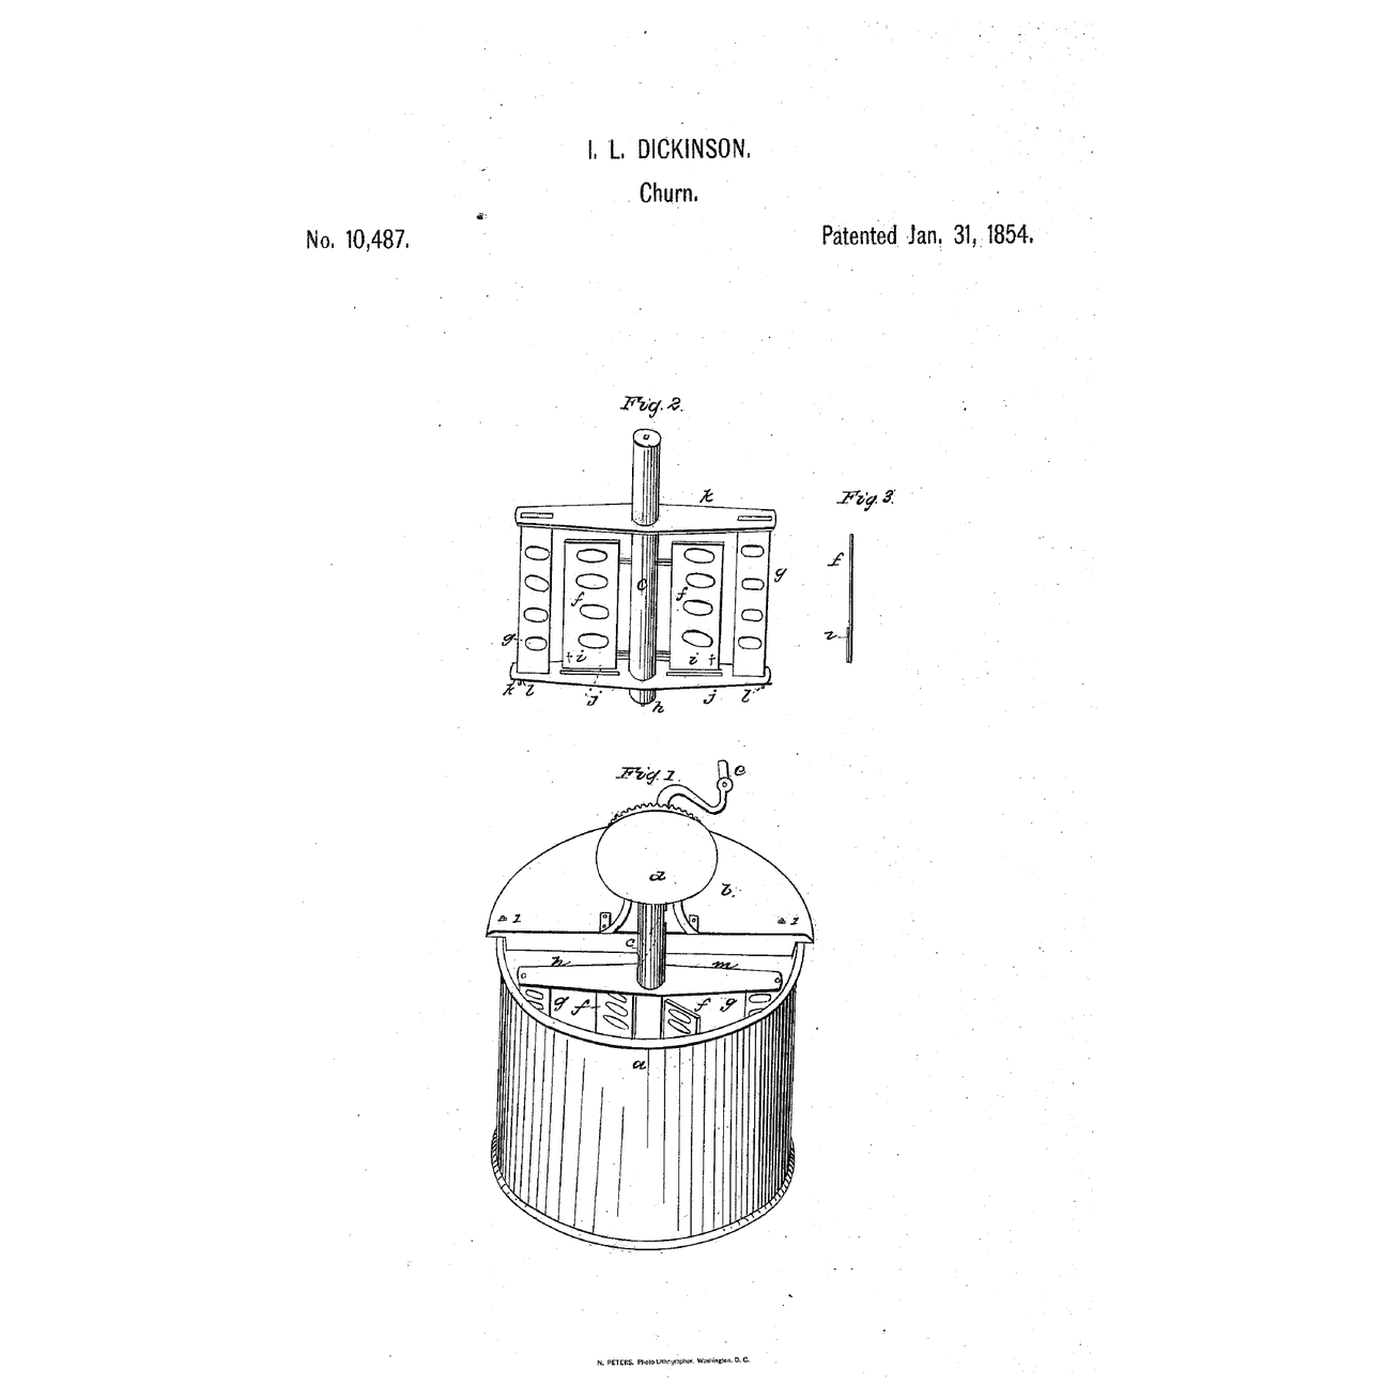
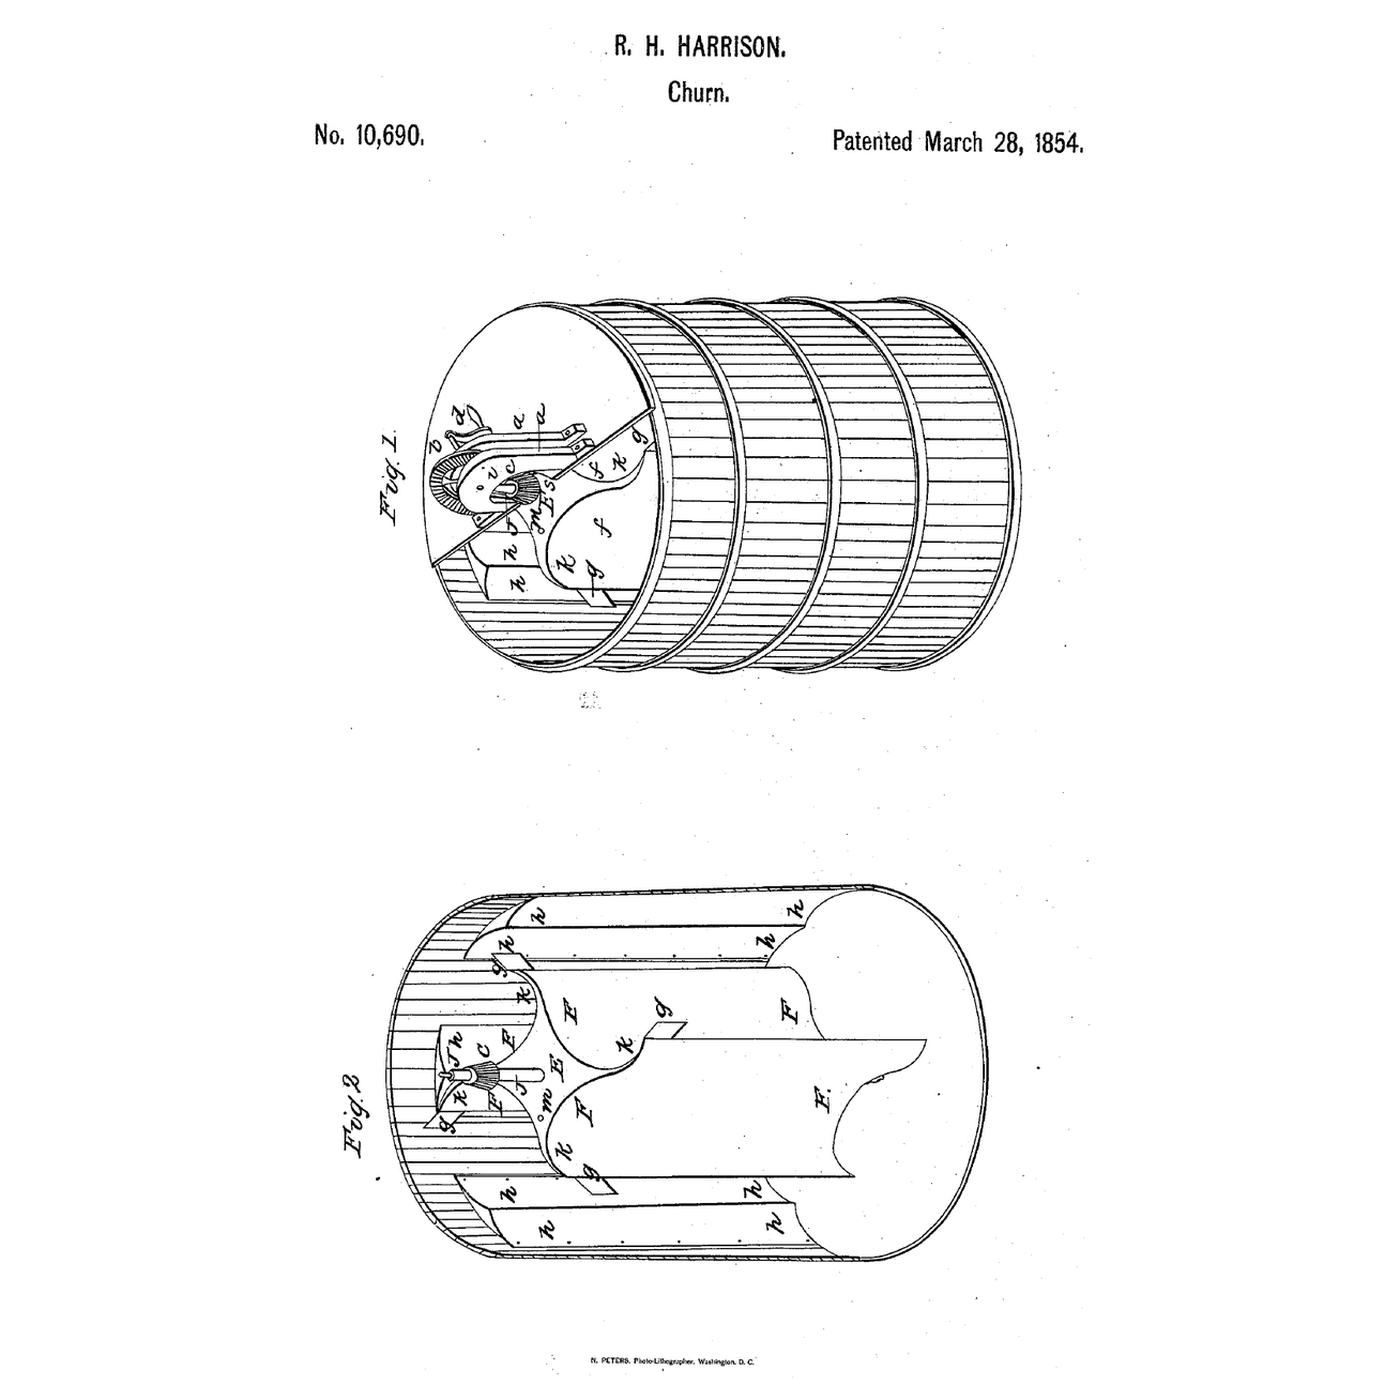
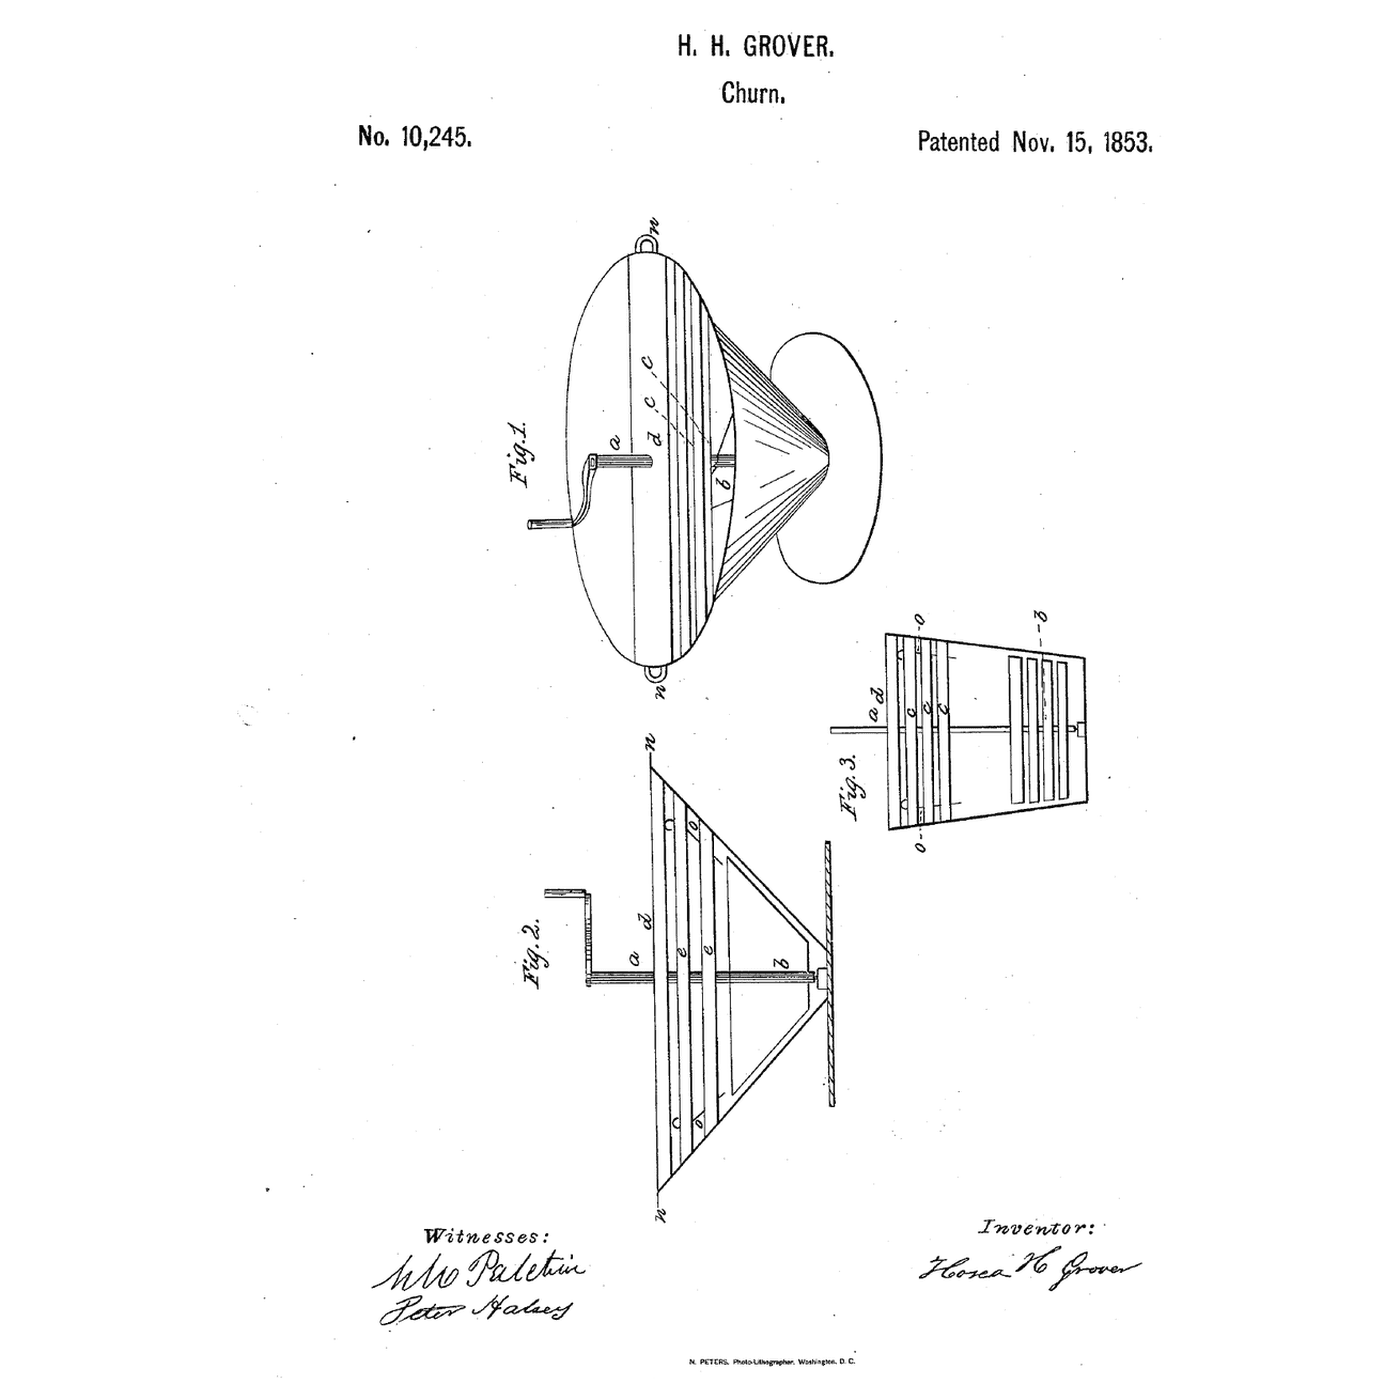
The embedded blueprint turns dashers between still breakers. Wade's still slats and brakes send the cream in a loop, up the side and down through a disk.
3

Read US 13,133

"On the upper surface of the disk H, are attached four brakes A¹. These brakes are formed of flat wooden strips secured edgewise on the disk and extend upward nearly as high as the slats (f). The brakes are placed tangentially with the circular aperture (g), at the center of the disk H, and extend to the edge of the disk."
4

Print the parts

Print four slats with their shoulders, the disk with its aperture and four brakes, the wings, the step, the 36-tooth crown wheel, the 12-tooth pinion and the standard. Print in PETG at 0.2 mm layers, 30 % infill, 4 walls; wash before first use.

Materialien für diesen Schritt:

PETG-FilamentPETG-Filament1 Stück

Benötigte Werkzeuge:

FDM-3D-DruckerFDM-3D-Drucker
5

Print the slat

The slat, printed as step 4 describes.
DesigndateiSTLCC0 - Free
6

Print the disk with its aperture and four brakes

The disk with its aperture and four brakes, printed as step 4 describes.
DesigndateiSTLCC0 - Free
7

Print the wings

The wings, printed as step 4 describes.
DesigndateiSTLCC0 - Free
8

Print the step

The step, printed as step 4 describes.
DesigndateiSTLCC0 - Free
9

Print the crown wheel

The crown wheel, printed as step 4 describes.
DesigndateiSTLCC0 - Free
10

Print the pinion

The pinion, printed as step 4 describes.
DesigndateiSTLCC0 - Free
11

Print the standard

The standard, printed as step 4 describes.
DesigndateiSTLCC0 - Free
12

Tub, slats, wings and disk

Use a straight-sided round food-grade container about 190 mm across inside and 230 mm deep. Seal the four slats upright to its wall, evenly spaced, with food-safe silicone, their shoulders inward. Stand the step in the bottom, a 10 mm square hardwood shaft in it, and slide the wings down onto the step. Drop the disk over the shaft onto the shoulders and push a short pin through its notch beside a slat, as his pin h.

Materialien für diesen Schritt:

Vorratsbehälter in LebensmittelqualitätVorratsbehälter in Lebensmittelqualität1 Stück

SilikondichtmasseSilikondichtmasse1 Stück
HartholzdübelHartholzdübel1 Stück
Rundstahl (Baustahl)Rundstahl (Baustahl)1 Stück

Benötigte Werkzeuge:

HandsägeHandsäge
Bügelsäge (Metallsäge)Bügelsäge (Metallsäge)
SchleifpapierSchleifpapier
13

Lid, gears and crank

Cut the lid in half and fix one half with a hole for the shaft. Push the pinion onto the shaft's top, screw the standard to the lid half and run a short 10 mm rod through its bearing into the crown wheel so its teeth mesh the pinion; screw a dowel handle into the wheel's boss.

Materialien für diesen Schritt:

Rundstahl (Baustahl)Rundstahl (Baustahl)1 Stück
HartholzdübelHartholzdübel1 Stück
Holzschraube #8 x 1"Holzschraube #8 x 1"1 Stück
MaschinenschraubenMaschinenschrauben1 Stück

Benötigte Werkzeuge:

Bügelsäge (Metallsäge)Bügelsäge (Metallsäge)

Schraubendreher-SatzSchraubendreher-Satz
AkkubohrschrauberAkkubohrschrauber
14

The build in 3D

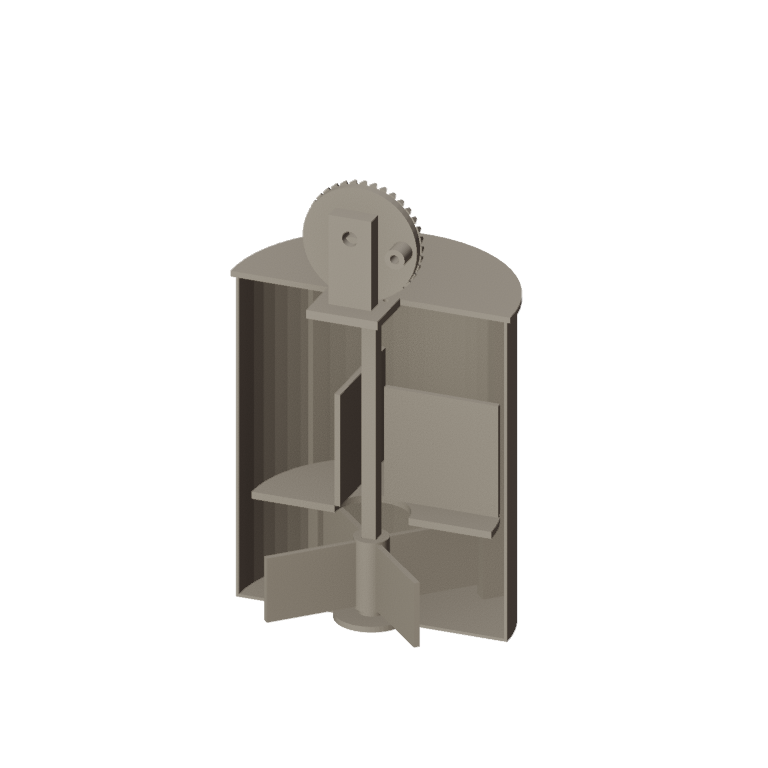
FreeCAD model of this build, not of the patent: the tub cut away to show the wings on the step, the slats on the wall, the disk resting on their shoulders with its aperture and brakes, and the crown wheel and pinion on the half lid.
DesigndateiBLENDCC0 - Free
15

Churn the loop

Let the heavy cream stand until it reaches about 15 °C, checked with the thermometer. Pour in 2 litres, enough to cover the disk. Crank steadily and watch the cream rise at the side and fall through the aperture; time until the butter comes. Pour off the buttermilk, add cold water, churn a little and pour off again until it runs clear; work in a pinch of salt and weigh the butter.
Schritt 15 - Image 1

Materialien für diesen Schritt:

SchlagsahneSchlagsahne2000 ml
Grobes MeersalzGrobes Meersalz1 Stück
WasserWasser1 Stück

Benötigte Werkzeuge:

Einsteck-FühlerthermometerEinsteck-Fühlerthermometer
StoppuhrStoppuhr
Digitale KüchenwaageDigitale Küchenwaage
Große Rührschüssel aus EdelstahlGroße Rührschüssel aus Edelstahl
16

Cream that just goes round

Braked-disk churn troubleshooting.

Flow

Loading...
17

History and honest limits

**Isaac M. Wade** of Clinton, Lenawee County, Michigan, received US 13,133, dated 26 June 1855. The drawing marks the brakes A′ where the text has A¹. He wrote that the churn "operates well and with but a small expenditure of power even when a large quantity of cream is placed in the case"; that is his claim. He claimed the arrangement of the wings on the shaft's foot, the slats on the tub's inner side and the brakes on the disk. **Honest limits.** A container, printed parts and a crown wheel with a spur pinion stand in for his tub and bevel wheels. FDM prints hold food in their layer lines, so wash well and replace when worn. Your times and weights are the result.

Materialien

10

Benötigte Werkzeuge

10

Designdateien

8

Dieser Bauplan stellt her

CC0 Gemeinfrei

Dieser Blueprint ist unter CC0 veröffentlicht. Sie dürfen dieses Werk für jeden Zweck frei kopieren, ändern, verbreiten und verwenden, ohne um Erlaubnis zu fragen.

Unterstützen Sie den Maker, indem Sie Produkte über seinen Blueprint kaufen, wo er eine Maker-Provision von Anbietern festgelegt, verdient. Oder erstellen Sie eine neue Iteration dieses Blueprints und verbinden Sie ihn in Ihrem eigenen Blueprint, um Einnahmen zu teilen.

Diskussion

(0)

Anmelden um an der Diskussion teilzunehmen

Kommentare werden geladen...