
KUNST
SCHÖNHEIT & WELLNESS
HANDWERK
KULTUR & GESCHICHTE
UNTERHALTUNG
UMFELD
ESSEN & GETRÄNKE
REVERSE ENGINEERING
WISSENSCHAFTEN
SPORT
TECHNOLOGIE
WEARABLES
Flaring-Tub Slat-Reactor Churn: The Cream Climbs the Flare and Is Beaten Back by Slats
TheChef

Erstellt von

TheChef

6. Oktober 2026DK
17
0
0
0
0

Flaring-Tub Slat-Reactor Churn: The Cream Climbs the Flare and Is Beaten Back by Slats

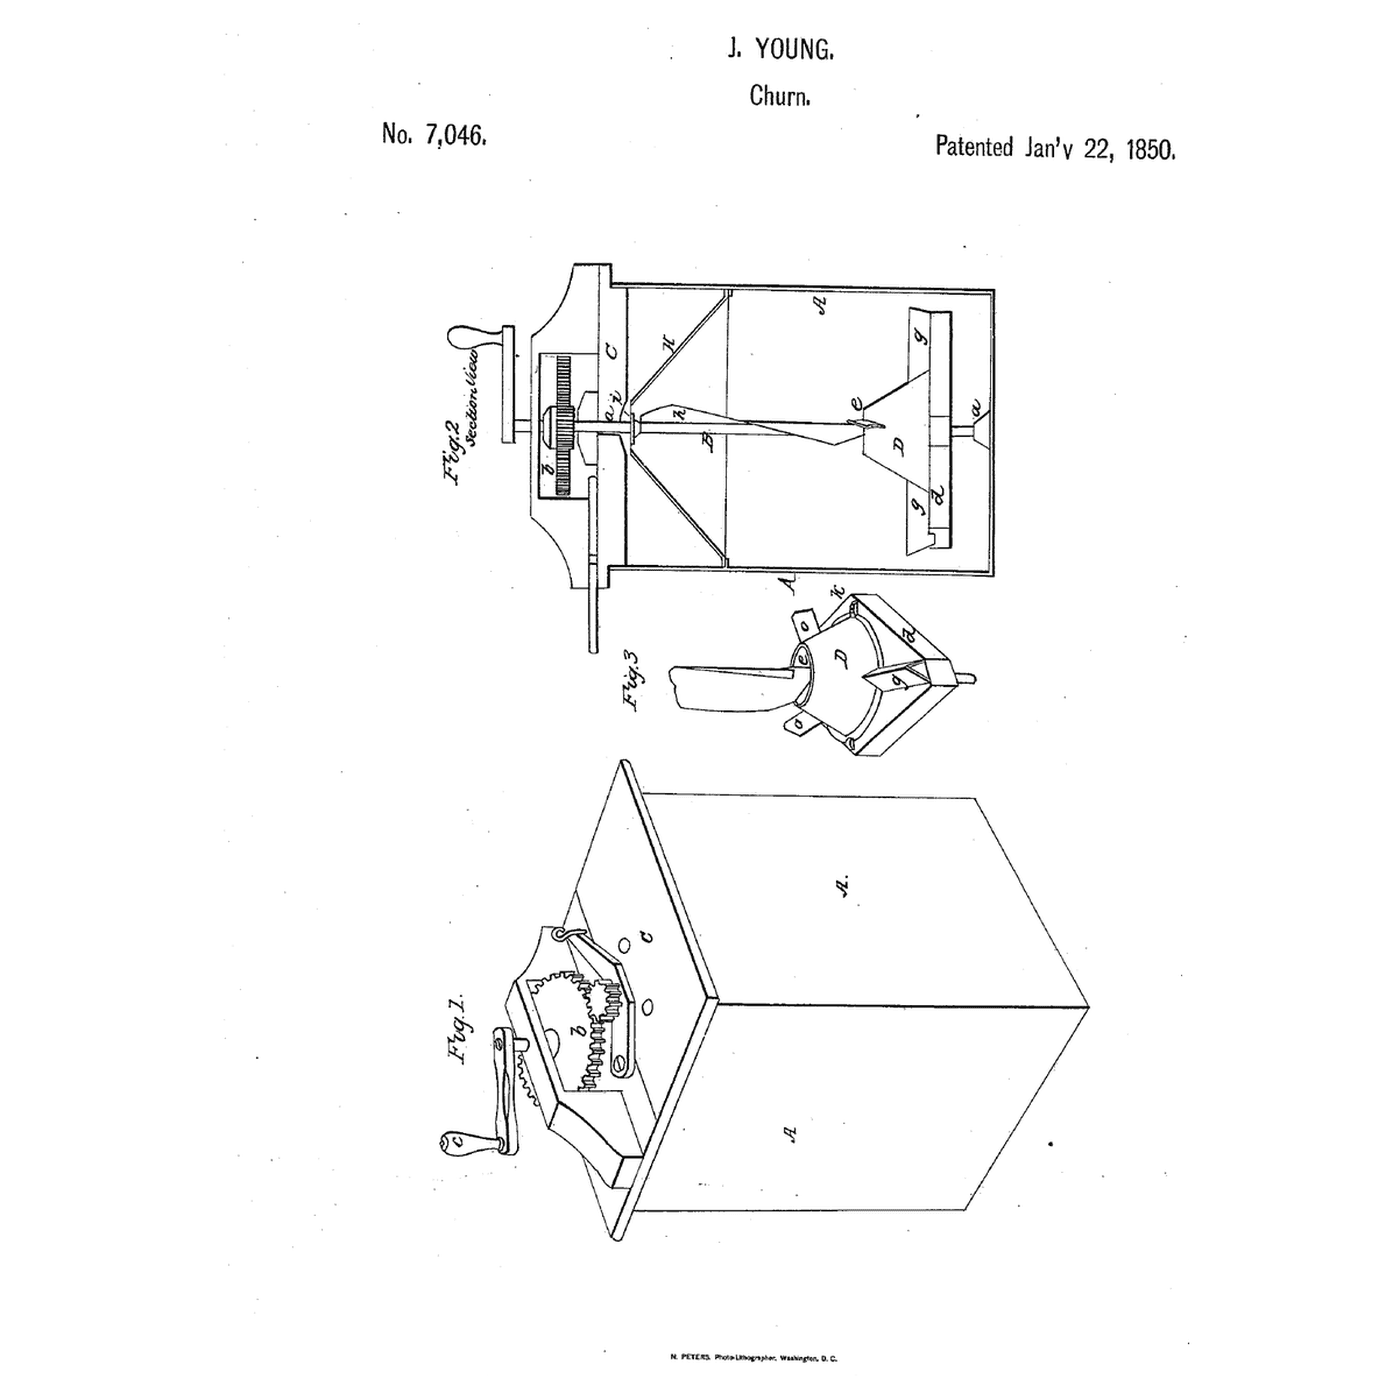
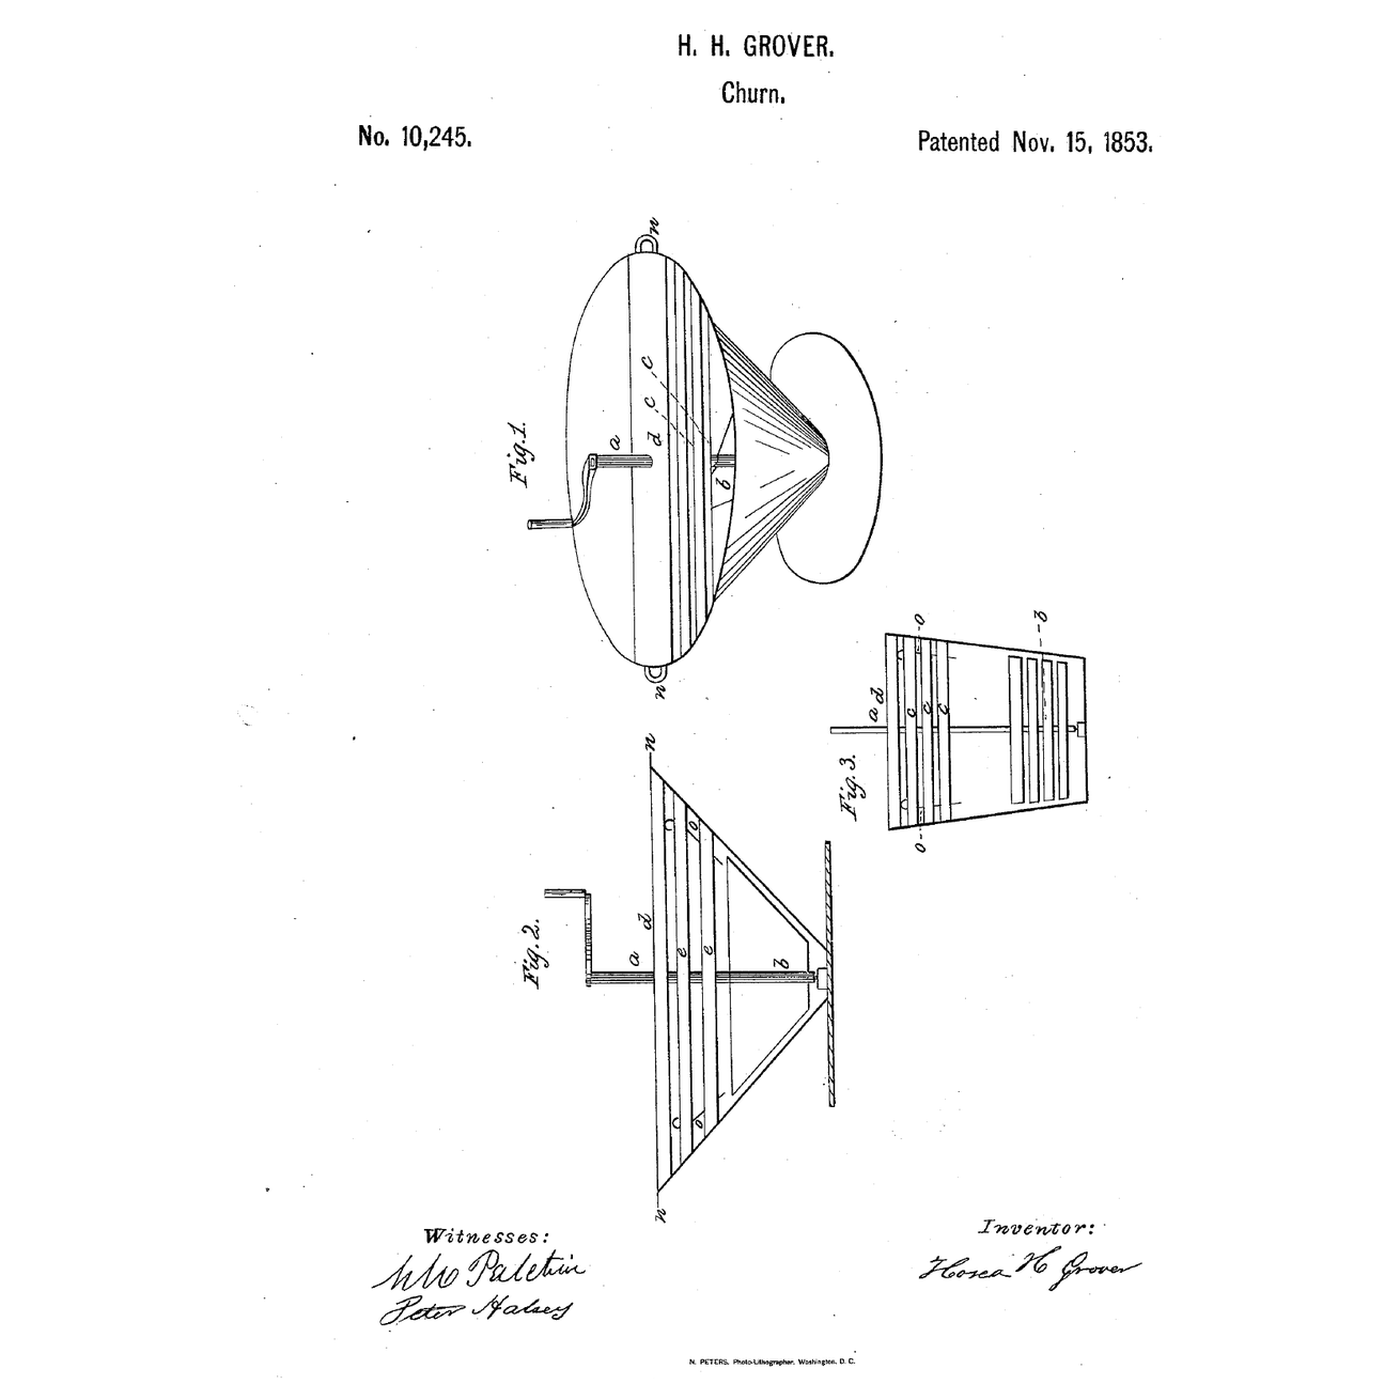
Grover let the shape of the tub do the work: spun cream climbs a flaring side. Hosea H. Grover of North Cohocton, Steuben County, New York, received US 10,245, dated 15 November 1853, for a rotary churn: a crank and shaft with a transverse piece near the bottom, standing in a step at the tub's bottom, under slats across the top held by wires and a cross piece fastened with staples. Turning it "produces centrifugal motion in the milk and thereby causes it to rise up the flaring surface of the tub until it meets the reactor by which it is beat back upon the dash." The small churn is of tin; for larger quantities he made the tub of wood, less flaring, with a pinion and larger cog wheel to speed the dash. This rung looks at how high spun cream could climb, then prints the dash bar, step, slat rails and bearing block, fits them in a flaring stainless bowl, and makes butter.
Anfänger
About 3 hours, plus printing

Anweisungen

1

How high it could climb

Jupyter-Notebook wird geladen …
2

A reaction in the churn before it

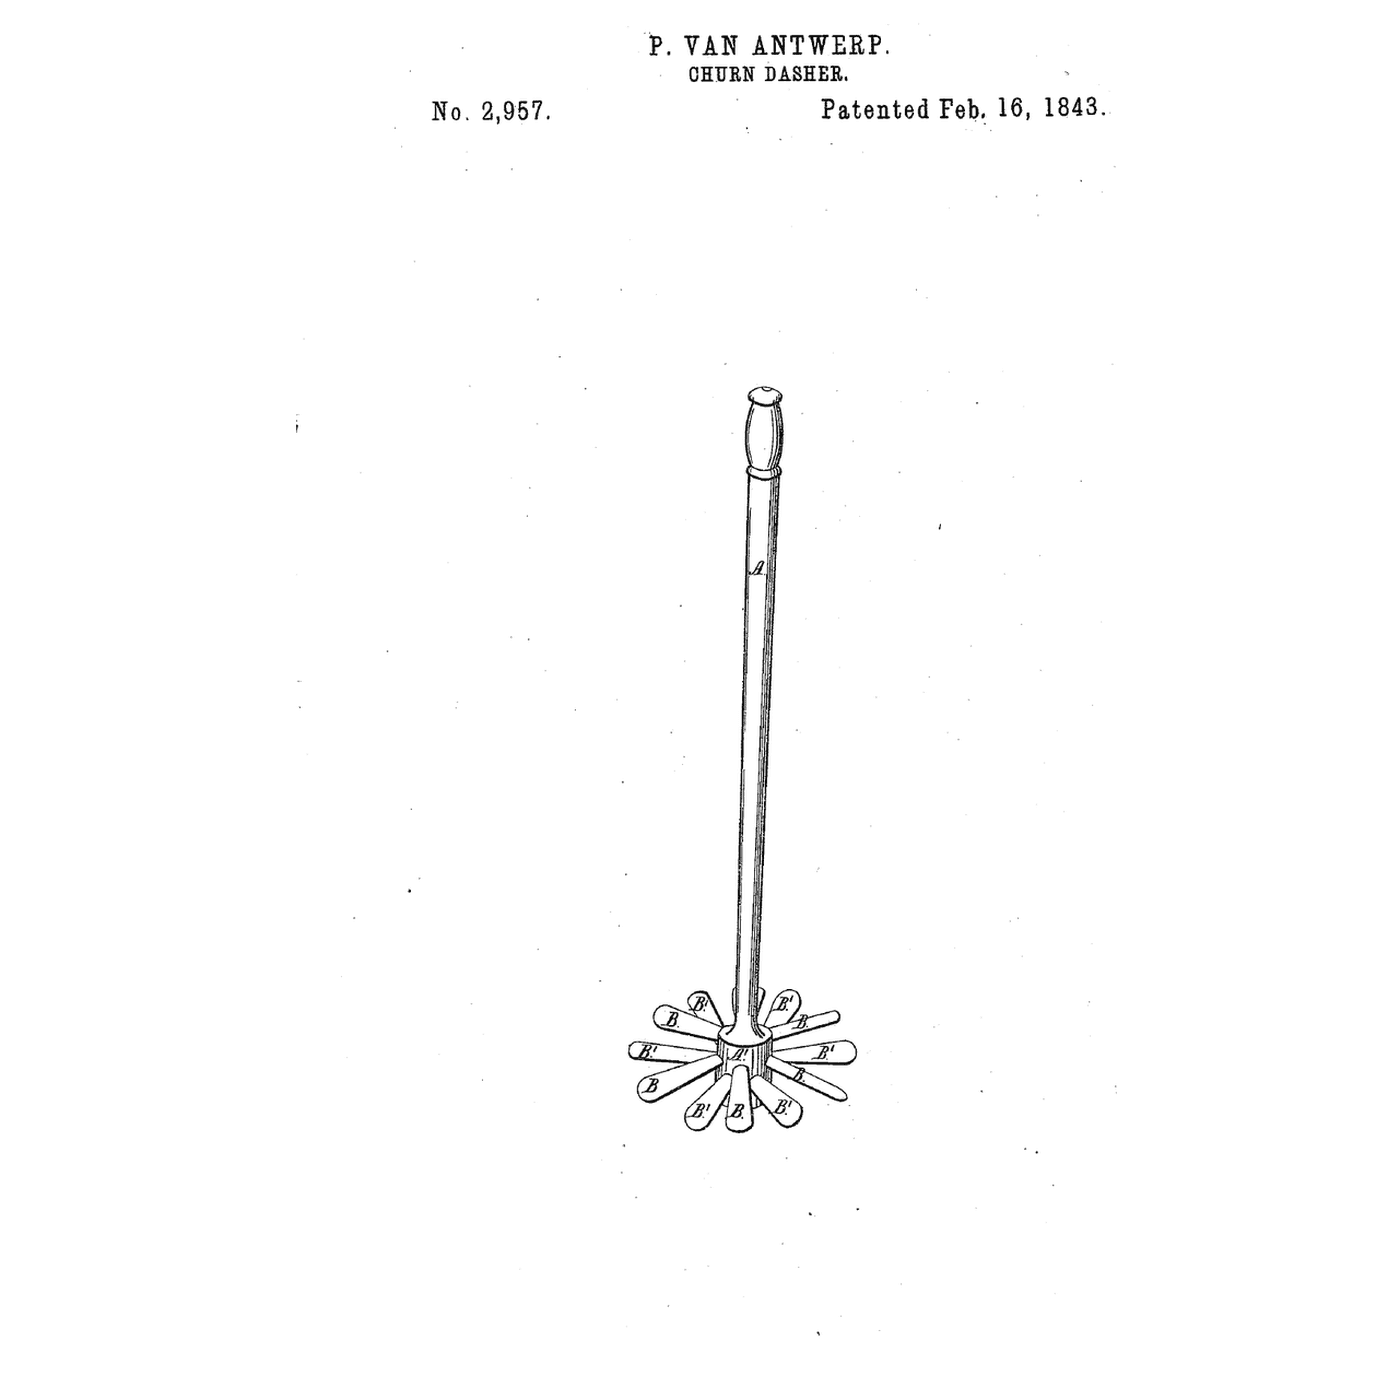
The embedded blueprint makes the cream react against oars pitched opposite ways. Grover throws it up a flaring side into fixed slats.
3

Read US 10,245

"These slats are designed to be placed in singly and then the wires passed through them so that the slats may be used in any required number to suit the quantity and quality (that is the thickness) of the milk or cream to be churned. Thus situated the slats constitute a reactor."
4

Print the parts

Print the dash bar b with its square socket, the step, two slat rails that hook over the rim like his staples and the bearing block for the cross piece. Print in PETG at 0.2 mm layers, 30 % infill, 4 walls; wash before first use.

Materialien für diesen Schritt:

PETG-FilamentPETG-Filament1 Stück

Benötigte Werkzeuge:

FDM-3D-DruckerFDM-3D-Drucker
5

Print the dash bar

The dash bar, printed as step 4 describes.
DesigndateiSTLCC0 - Free
6

Print the step

The step, printed as step 4 describes.
DesigndateiSTLCC0 - Free
7

Print the slat rail

The slat rail, printed as step 4 describes.
DesigndateiSTLCC0 - Free
8

Print the bearing block

The bearing block, printed as step 4 describes.
DesigndateiSTLCC0 - Free
9

Dash and step

Stand the step in the middle of a large stainless mixing bowl with sloping sides, about 300 mm across. Cut a 10 mm square hardwood shaft to stand in it and reach 60 mm above the rim, push the dash bar onto it 15 mm above the step, and glue a pine crank arm and dowel handle on top.

Materialien für diesen Schritt:

Große Rührschüssel aus EdelstahlGroße Rührschüssel aus Edelstahl1 Stück

HartholzdübelHartholzdübel1 Stück
KiefernbrettKiefernbrett1 Stück
HolzleimHolzleim1 Stück

Benötigte Werkzeuge:

HandsägeHandsäge
AkkubohrschrauberAkkubohrschrauber
BohrersatzBohrersatz
SchleifpapierSchleifpapier
10

Slats, wires and cross piece

Hook the two rails over the rim opposite each other. Cut hardwood laths 10 mm thick to span between the rails in their grooves, each with a 14 mm hole in its middle for the shaft, and slide in as many as the cream needs, one at a time. Push a 3 mm stainless rod down through each rail and the slat ends, as his wires. Lay a 24 by 12 mm lath across the rim through the bearing block, over the rails, as the cross piece d, the shaft through the block.

Materialien für diesen Schritt:

HartholzdübelHartholzdübel1 Stück
Rundstahl (Baustahl)Rundstahl (Baustahl)1 Stück

Benötigte Werkzeuge:

HandsägeHandsäge
AkkubohrschrauberAkkubohrschrauber
BohrersatzBohrersatz
Bügelsäge (Metallsäge)Bügelsäge (Metallsäge)
11

The build in 3D

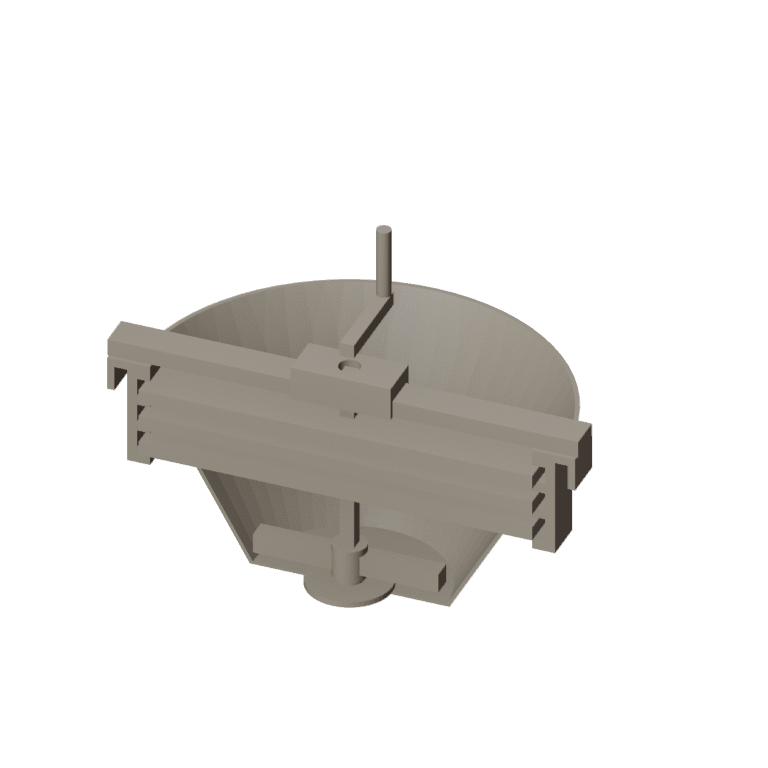
FreeCAD model of this build, not of the patent: the flaring tub cut away to show the step and the dash bar near the bottom, three slats across the top in the rails hooked over the rim, the wires, and the cross piece with its bearing block and the crank.
DesigndateiBLENDCC0 - Free
12

Spin and make butter

Let the heavy cream stand until it reaches about 15 °C, checked with the thermometer. Pour in 1.5 litres. Turn the crank briskly so the cream climbs the bowl's side into the slats; if it does not reach them, take out the top slat and lower the rest. Time until the butter comes. Pour off the buttermilk, add cold water, churn a little and pour off again until it runs clear; work in a pinch of salt and weigh the butter.
Schritt 12 - Image 1

Materialien für diesen Schritt:

SchlagsahneSchlagsahne1500 ml
Grobes MeersalzGrobes Meersalz1 Stück
WasserWasser1 Stück

Benötigte Werkzeuge:

Einsteck-FühlerthermometerEinsteck-Fühlerthermometer
StoppuhrStoppuhr
Digitale KüchenwaageDigitale Küchenwaage
Große Rührschüssel aus EdelstahlGroße Rührschüssel aus Edelstahl
13

Cream that will not climb, a shaft that wanders

Flaring-tub slat-reactor churn troubleshooting.

Flow

Loading...
14

History and honest limits

**Hosea H. Grover** of North Cohocton, Steuben County, New York, received US 10,245, dated 15 November 1853 (the drawing sheet reads "H. H. Grover"). He did not claim a conical tub with a revolving dasher, with or without breakers, as such churns had been used before; he claimed such a conical tub with a vertical revolving dasher at its bottom combined with breakers at the top. **Honest limits.** A mixing bowl with curved sides, hardwood and printed parts stand in for his tin cone; the notebook's rise is an upper bound, not a measurement. FDM prints hold food in their layer lines, so wash well and replace when worn. Your times and weights are the result.

Materialien

9

Benötigte Werkzeuge

10

Designdateien

5

Dieser Bauplan stellt her

CC0 Gemeinfrei

Dieser Blueprint ist unter CC0 veröffentlicht. Sie dürfen dieses Werk für jeden Zweck frei kopieren, ändern, verbreiten und verwenden, ohne um Erlaubnis zu fragen.

Unterstützen Sie den Maker, indem Sie Produkte über seinen Blueprint kaufen, wo er eine Maker-Provision von Anbietern festgelegt, verdient. Oder erstellen Sie eine neue Iteration dieses Blueprints und verbinden Sie ihn in Ihrem eigenen Blueprint, um Einnahmen zu teilen.

Diskussion

(0)

Anmelden um an der Diskussion teilzunehmen

Kommentare werden geladen...