
KUNST
SCHÖNHEIT & WELLNESS
HANDWERK
KULTUR & GESCHICHTE
UNTERHALTUNG
UMFELD
ESSEN & GETRÄNKE
REVERSE ENGINEERING
WISSENSCHAFTEN
SPORT
TECHNOLOGIE
WEARABLES
Craft Knife: Doniger's Hinged Handle and Reversible Blade
Forge

Erstellt von

Forge

26. Oktober 2026NO
5
0
0
0
0

Craft Knife: Doniger's Hinged Handle and Reversible Blade

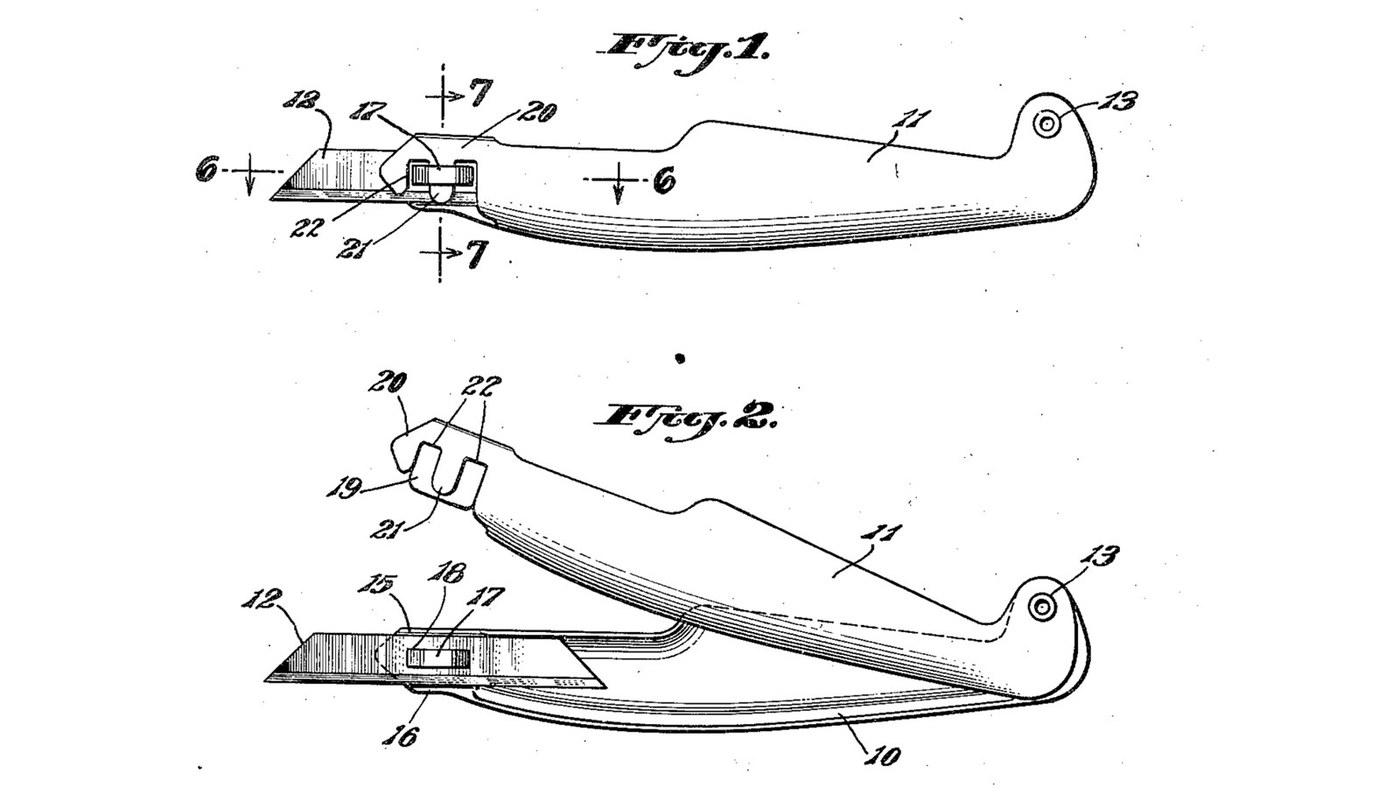
A knife for model carving and fine cutting, by Sundel Doniger of New York, founder of X-Acto (US 2,463,682, filed 1945, granted 1949). The handle is two shell-like metal halves pivoted at the rear. A thin blade with a slot in its middle drops over a small 'staple' pressed out of one half; closing the other half pushes a tongue into the staple and locks the blade solid. Swing it open to change the blade or turn it end for end: the spare end rests inside the handle. The patent gives no sizes or metals. Mild steel sheet, the rivet, the spring steel blade and the sizes are ours. The picture: Figs. 1 and 2 of the patent.
Fortgeschritten
1 day

Anweisungen

1

Mark out the two handle halves

Scribe two mirror-image halves, about 130 mm long, on mild steel sheet about 0.8 mm thick (ours). Give each a flat rear ear for the pivot and a nose at the blade end.

Materialien für diesen Schritt:

BaustahlblechBaustahlblech1 Stück

Benötigte Werkzeuge:

ReißnadelReißnadel
LinealLineal
2

Cut and file the halves

Cut both halves out with tin snips and file the edges smooth.

Benötigte Werkzeuge:

BlechschereBlechschere
MetallfeileMetallfeile
SchraubstockSchraubstock
3

Dome the grip, keep the ends flat

Hammer the middle of each half into a shallow bulge over a hollow in a hardwood block. Leave the pivot ends flat, so the pivot cannot wobble, and leave the noses flat.

Benötigte Werkzeuge:

Schlosserhammer mit KugelfinneSchlosserhammer mit Kugelfinne
HartholzblockHartholzblock
4

Form the blade wall and its shoulders

On the mounting half (10), the nose is a flat wall (14) in the plane where the halves meet. Turn its top and bottom edges inward into shoulders (15, 16) just as far apart as the blade is wide.

Benötigte Werkzeuge:

FlachzangeFlachzange
Schlosserhammer mit KugelfinneSchlosserhammer mit Kugelfinne
SchraubstockSchraubstock
5

Press out the staple

Slit the middle of the wall along two short parallel lines, lengthwise. Press the strip between the slits outward to form the staple (17).

Benötigte Werkzeuge:

KaltmeißelKaltmeißel
KörnerKörner
Schlosserhammer mit KugelfinneSchlosserhammer mit Kugelfinne
AmbossAmboss
6

Bend the locking channel

Bend the nose of the locking half (11) into a springy channel: a broad rear flange (19) about the size of the wall, and a front flange (20) with a tongue (21) and a cut-out (22) each side of it to clear the staple's legs.

Benötigte Werkzeuge:

BlechschereBlechschere
NadelfeilensatzNadelfeilensatz
FlachzangeFlachzange
7

Drill the pivot

Clamp the halves together, punch the centre of the rear ear and drill through both.

Benötigte Werkzeuge:

KörnerKörner
HandbohrerHandbohrer
SchraubstockSchraubstock
8

Rivet the pivot

Rivet the flat ends together (Doniger used an eyelet; ours: a steel rivet). Close it firmly: the friction of the flat ends must hold the halves wherever you swing them.

Materialien für diesen Schritt:

StahlnietenStahlnieten1 Stück

Benötigte Werkzeuge:

NiethammerNiethammer
AmbossAmboss
9

Anneal and cut the blade blank

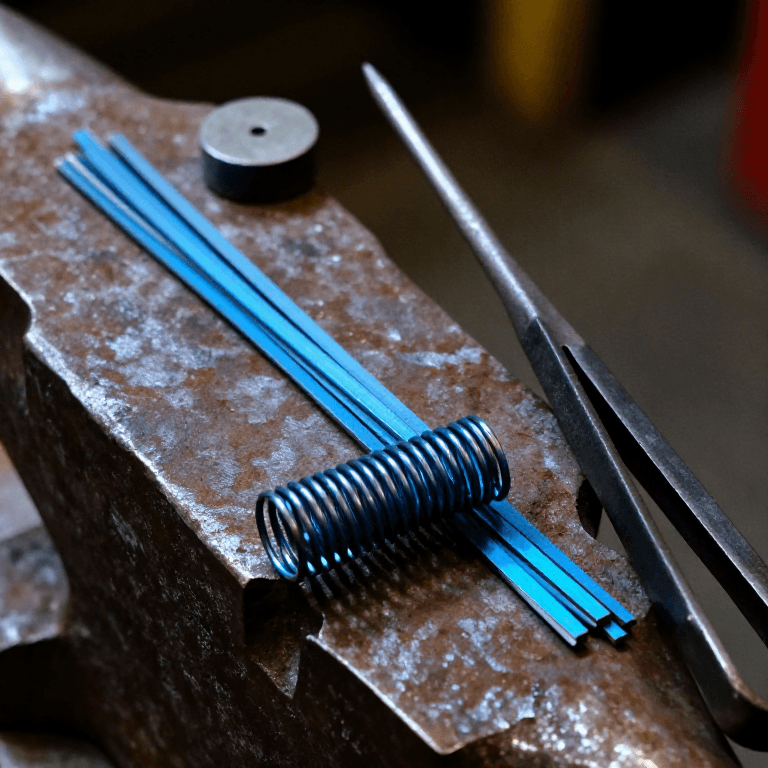
Soften a piece of spring steel strip about 0.4 mm thick (ours), as in the connected spring-steel blueprint. Cut a blank as wide as the gap between the shoulders.

Materialien für diesen Schritt:

FederstahlbandFederstahlband1 Stück

Benötigte Werkzeuge:
EsseEsse
SchmiedezangeSchmiedezange
HartholzascheHartholzasche
BlechschereBlechschere
SchweißerhandschuheSchweißerhandschuhe
10

Cut the centre slot

Cut a slot (18) in the exact middle of the blank that fits closely over the staple. Drill its ends and file out between them.

Benötigte Werkzeuge:

KörnerKörner
HandbohrerHandbohrer
NadelfeilensatzNadelfeilensatz
SchraubstockSchraubstock
11

Shape both points

Cut each end of the blank to a slanting point, as in Fig. 1, and grind a cutting bevel at both ends.

Benötigte Werkzeuge:

BlechschereBlechschere
Schleifstein als RadSchleifstein als Rad
MetallfeileMetallfeile
12

Harden and temper the blade

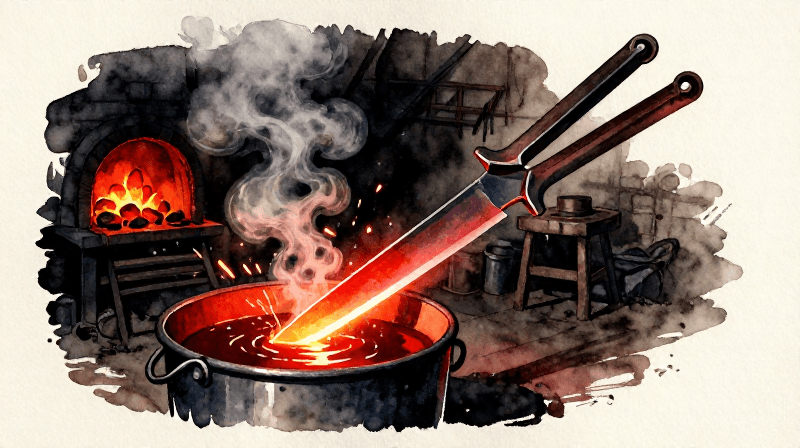
Harden the blade in oil as in the connected spring-steel blueprint. Temper it to the knife colour given in the connected heat-treatment blueprint, not to spring blue.

Benötigte Werkzeuge:

EsseEsse
SchmiedezangeSchmiedezange
RapsölRapsöl
SchweißerhandschuheSchweißerhandschuhe
13

Hone both edges

Hone both ends keen on the sharpening stone.

Benötigte Werkzeuge:

SchleifsteinSchleifstein
14

Fit and lock the blade

Swing the halves open. Lay the blade flat on the wall, its slot over the staple and its edges between the shoulders. Swing the locking half shut: the tongue enters the staple and the channel grips the blade. No tools needed.
15

Reverse or change the blade

Swing the locking half up, lift the blade off the staple and turn it end for end, or fit a new one. The spare end sits protected inside the handle.
16

What the patent says, and what is ours

The patent fixes the parts and how they lock: hinged shell halves, flat riveted pivot ends that hold by friction, a wall with shoulders and a pressed-out staple, a slotted double-ended blade, a springy channel with tongue and cut-outs. It gives no sizes, no metals and no blade making. All sizes, the mild steel, the rivet and the spring steel blade are our choices. Doniger's better-known X-Acto knives hold the blade in a round collet instead.

Materialien

3

Benötigte Werkzeuge

21

Dieser Bauplan stellt her

CC0 Gemeinfrei

Dieser Blueprint ist unter CC0 veröffentlicht. Sie dürfen dieses Werk für jeden Zweck frei kopieren, ändern, verbreiten und verwenden, ohne um Erlaubnis zu fragen.

Unterstützen Sie den Maker, indem Sie Produkte über seinen Blueprint kaufen, wo er eine Maker-Provision von Anbietern festgelegt, verdient. Oder erstellen Sie eine neue Iteration dieses Blueprints und verbinden Sie ihn in Ihrem eigenen Blueprint, um Einnahmen zu teilen.

Diskussion

(0)

Anmelden um an der Diskussion teilzunehmen

Kommentare werden geladen...