KUNST
SCHÖNHEIT & WELLNESS
HANDWERK
KULTUR & GESCHICHTE
UNTERHALTUNG
UMFELD
ESSEN & GETRÄNKE
REVERSE ENGINEERING
WISSENSCHAFTEN
SPORT
TECHNOLOGIE
WEARABLES
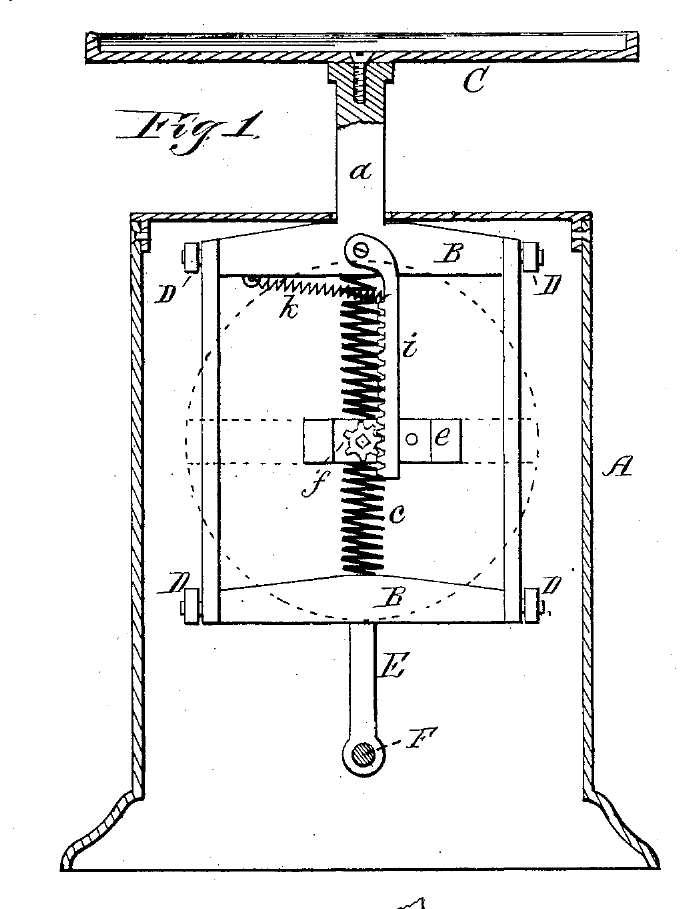


Dial Spring Scale with Tare Screw: Fray & Pigg, 1881
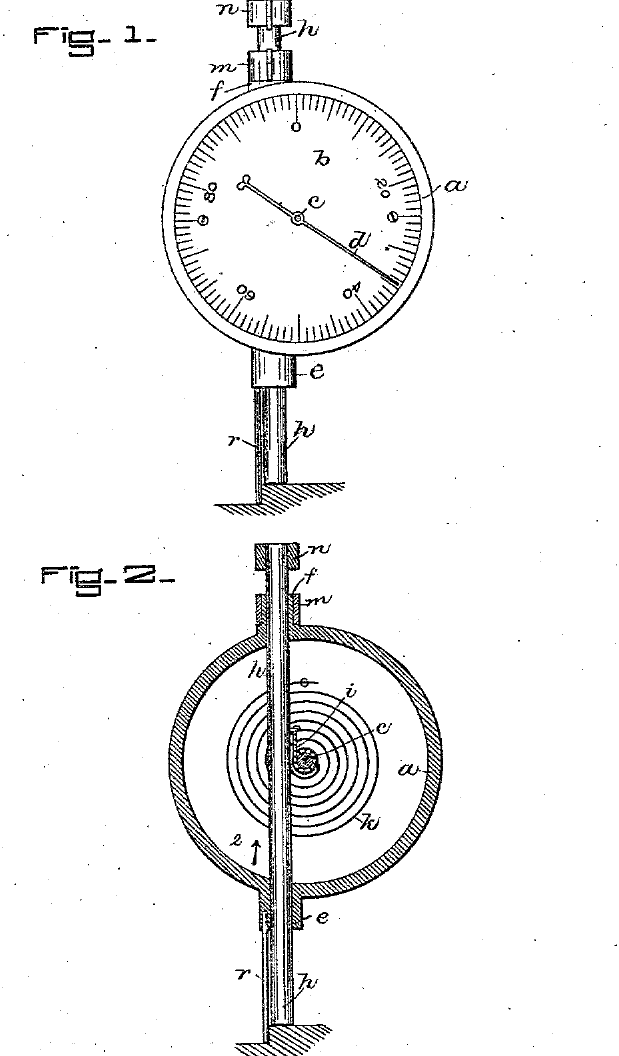
John S. Fray and Horace Pigg of Bridgeport, Connecticut, patented this weighing scale in 1881, US 243,539. A dish sits on the standard of a frame hung on two pairs of cross-arms, so it moves straight up and down. A coil spring on a right-angle lever carries the load, and a rack on the frame turns a pinion carrying the pointer round the dial. To take up the tare, a screw rod through the front of the case moves the lever's lower end. Because the spring hangs vertically from the lever's horizontal arm, the adjustment is more sensitive and the bearing surfaces fewer.
Fortgeschritten
Workshop process
Anweisungen
1
1
Case and frame
Case and frame
Make the upright case with removable front and top. Cast or otherwise form the frame with a standard that passes up through the top to the weighing dish, and pivot it on upper and lower cross-arms whose other ends pivot to the back of the case.
Materialien für diesen Schritt:
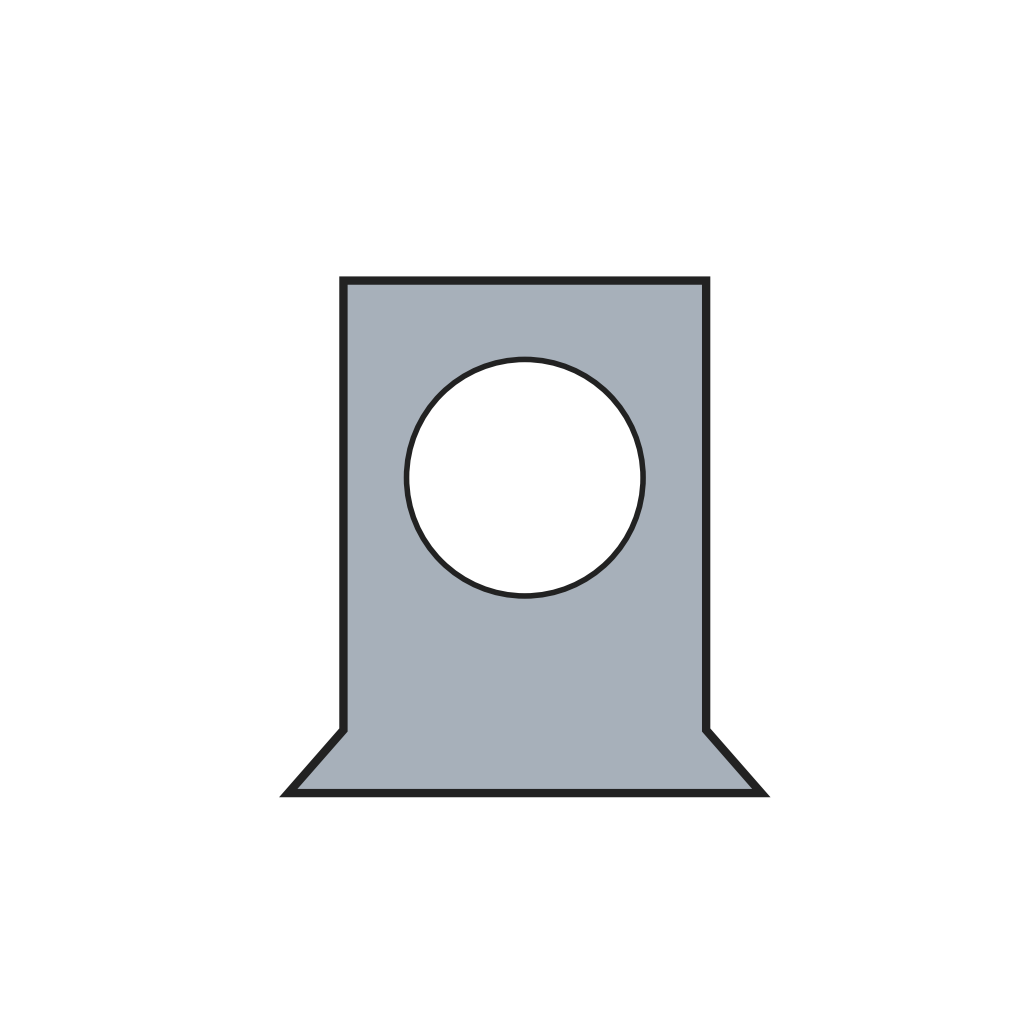 Waagengehäuse1 Stück
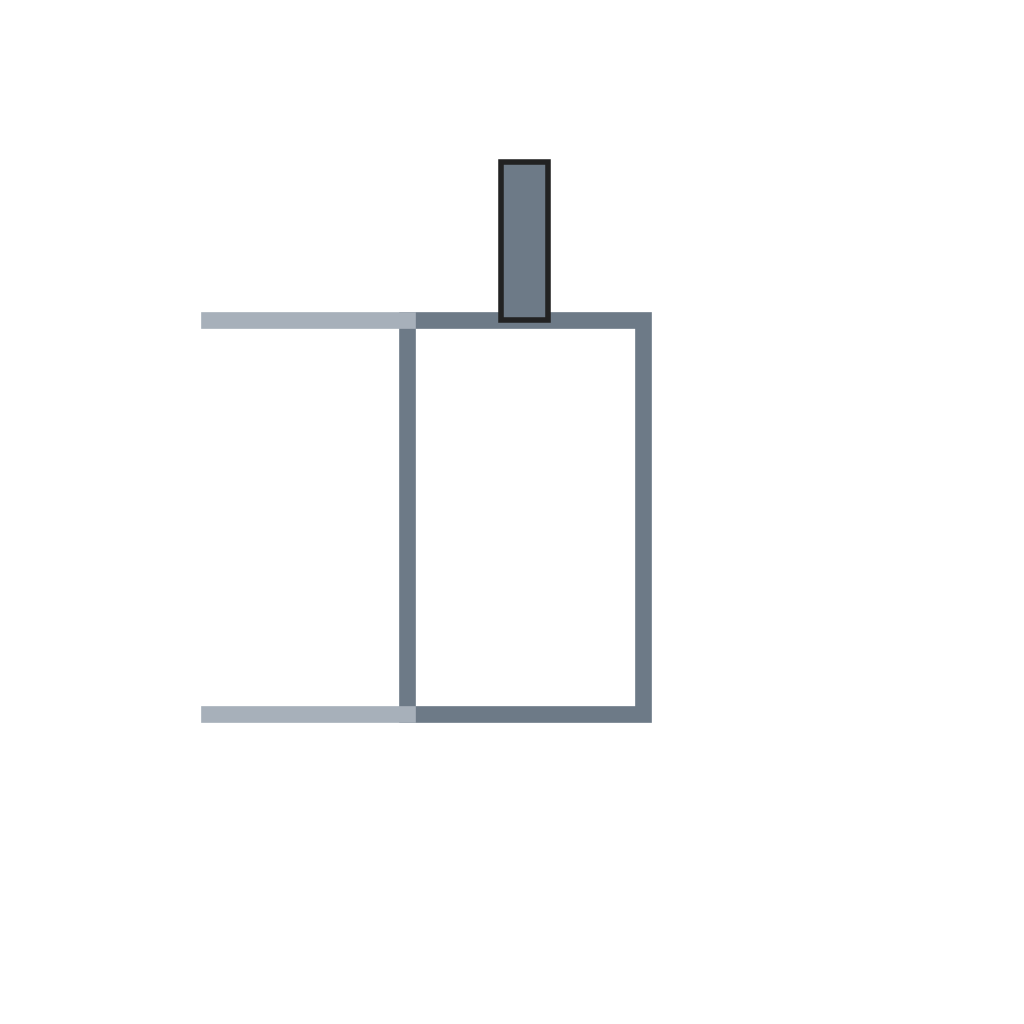 Waagengestell mit Querlenkern1 Stück
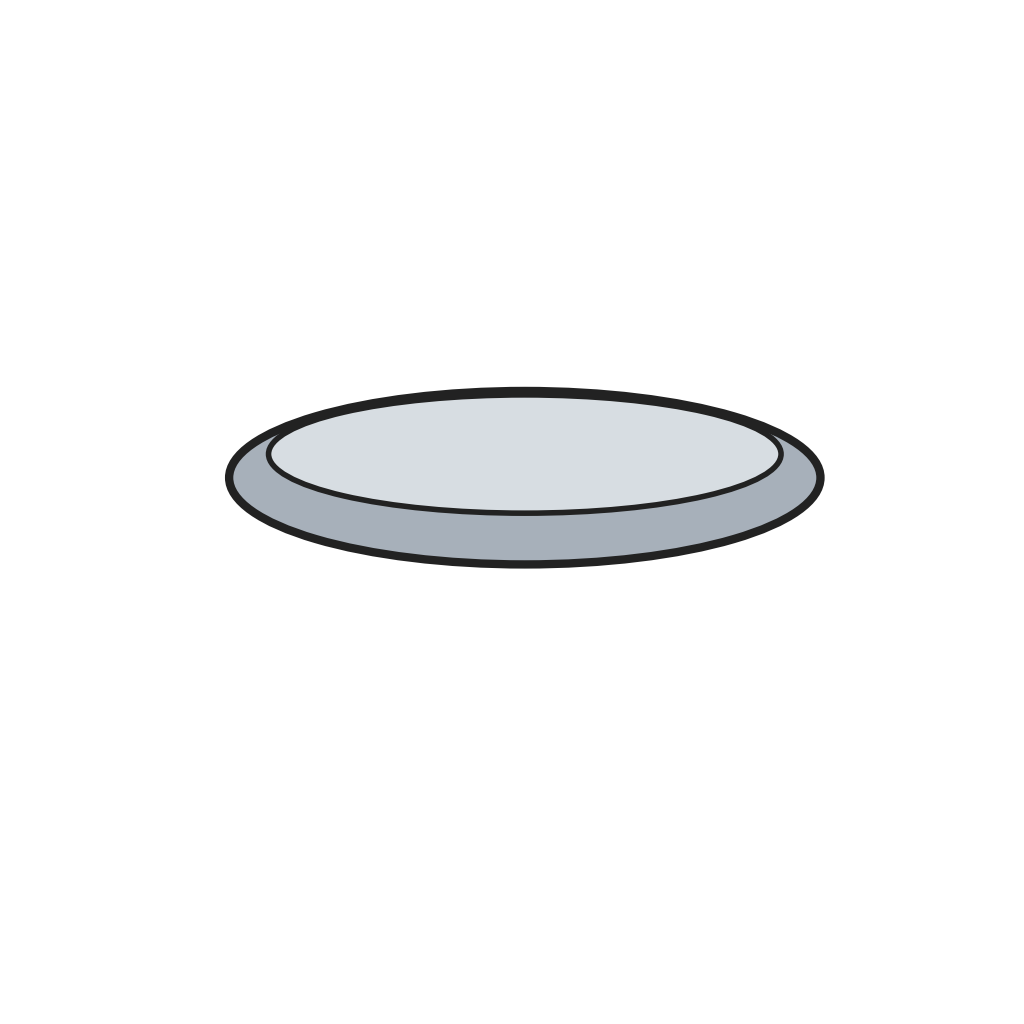 Wägeschale1 Stück
Benötigte Werkzeuge:
 Schraubendreher-Satz
2
2
Spring and lever
Spring and lever
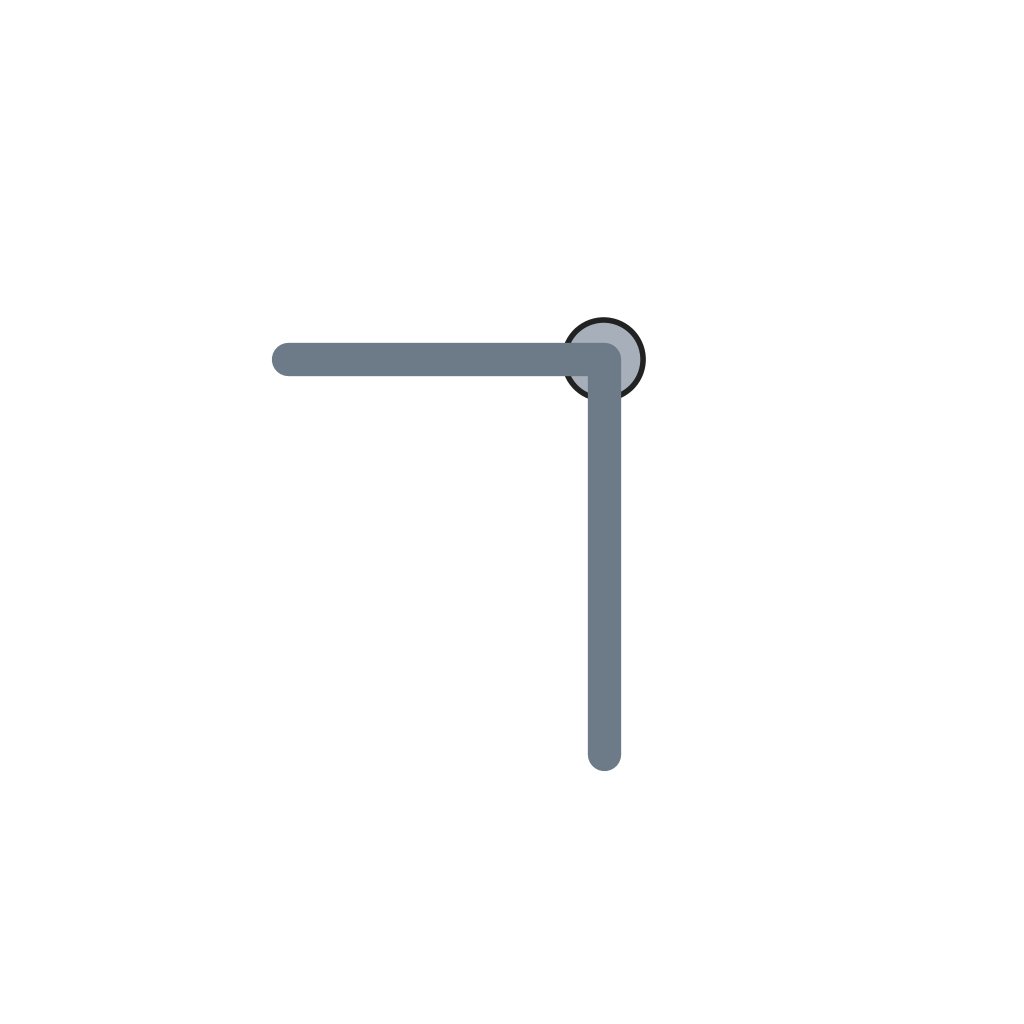
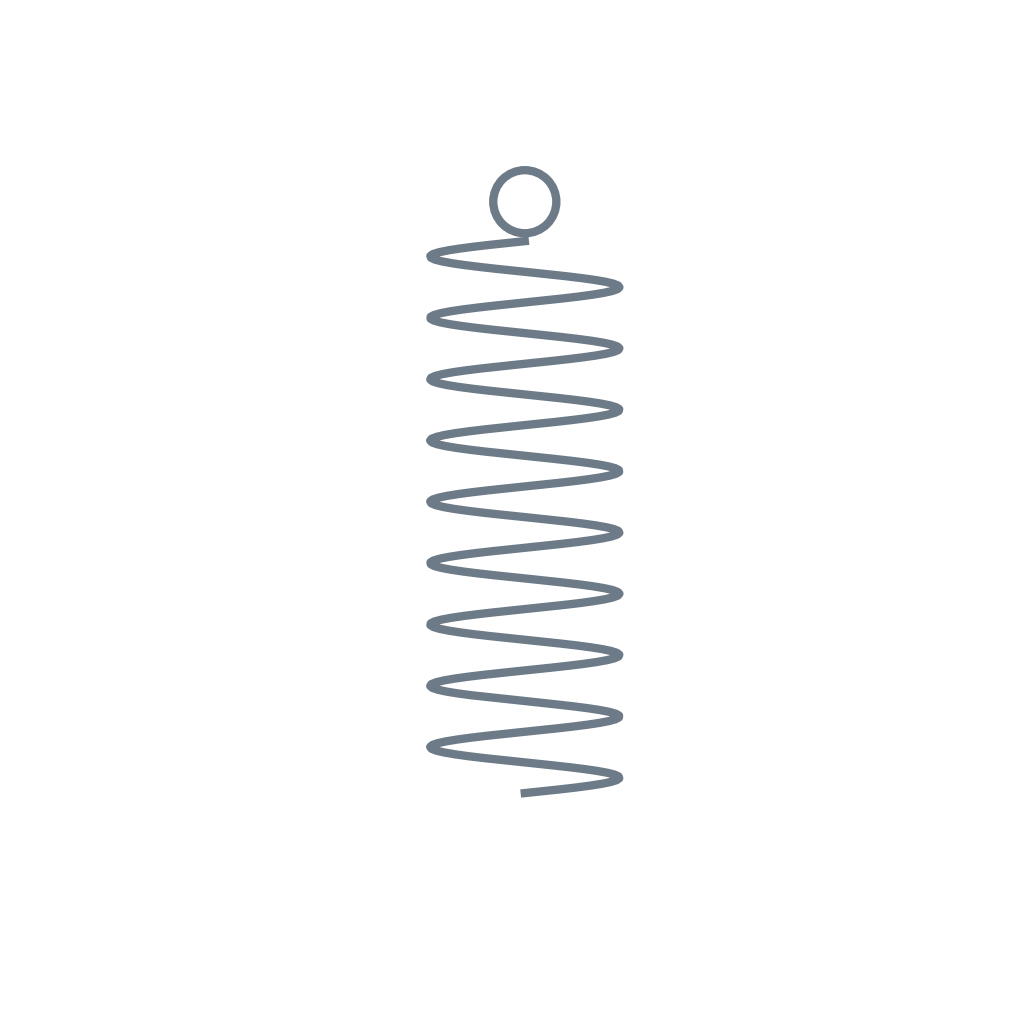
Pivot the right-angle lever at the back of the frame. Hang the coil spring from its horizontal arm and connect the spring's lower end to the frame by a screw, so the tension can be regulated.
Materialien für diesen Schritt:
 Winkelhebel1 Stück
 Waagen-Schraubenfeder1 Stück
Benötigte Werkzeuge:
Schraubendreher-Satz3
3
Rack and dial
Rack and dial
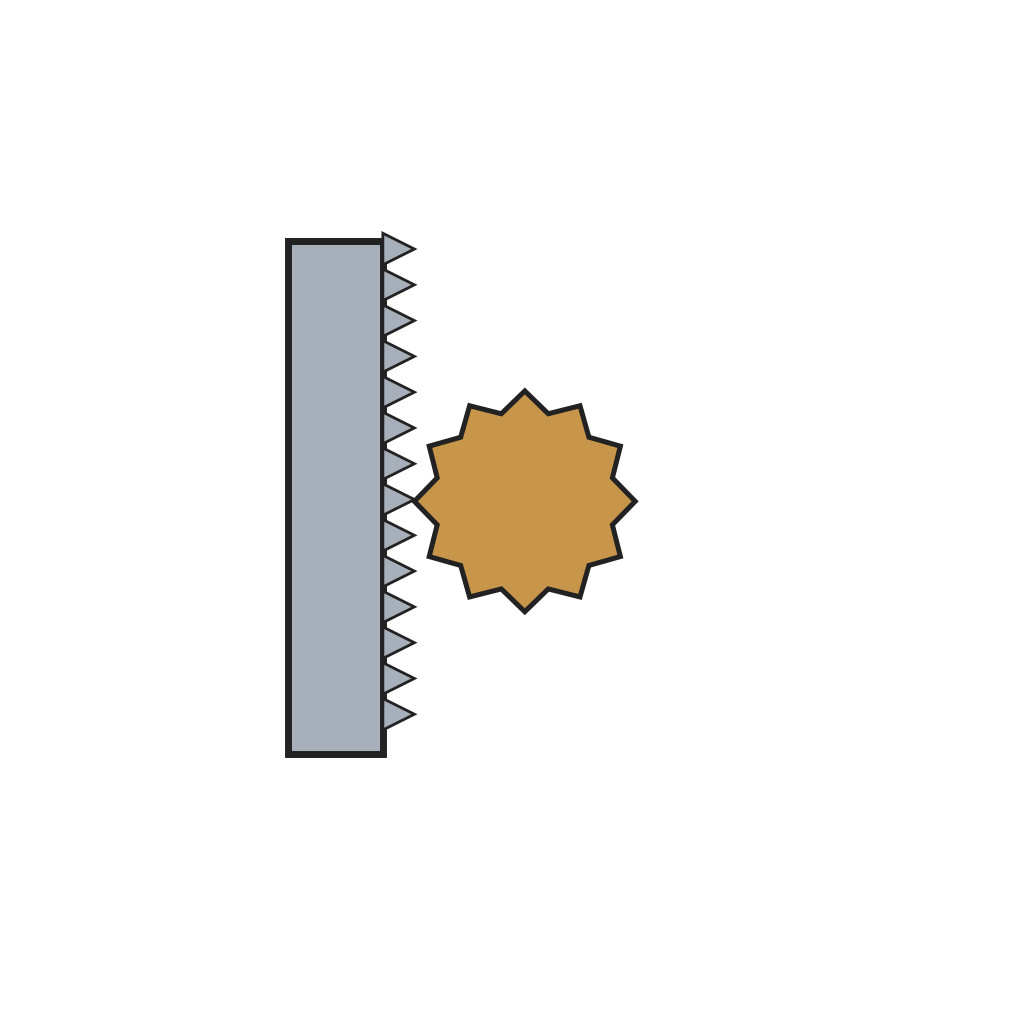
Journal the pinion in a bracket so its front end passes through the dial plate and carries the pointer. Pivot the rack bar to the frame and keep it in mesh with a light spring, so the frame's descent turns the pointer.
Materialien für diesen Schritt:
 Zahnstange und Ritzel1 Stück
 Waagen-Skala und Zeiger1 Stück
Benötigte Werkzeuge:
Schraubendreher-Satz Präzisionspinzetten-Satz
4
4
Tare screw
Tare screw
Pass the tare rod horizontally through the front of the case into a threaded opening in the lever's lower end, so turning it sets the pointer to zero with the container on the dish.
Materialien für diesen Schritt:
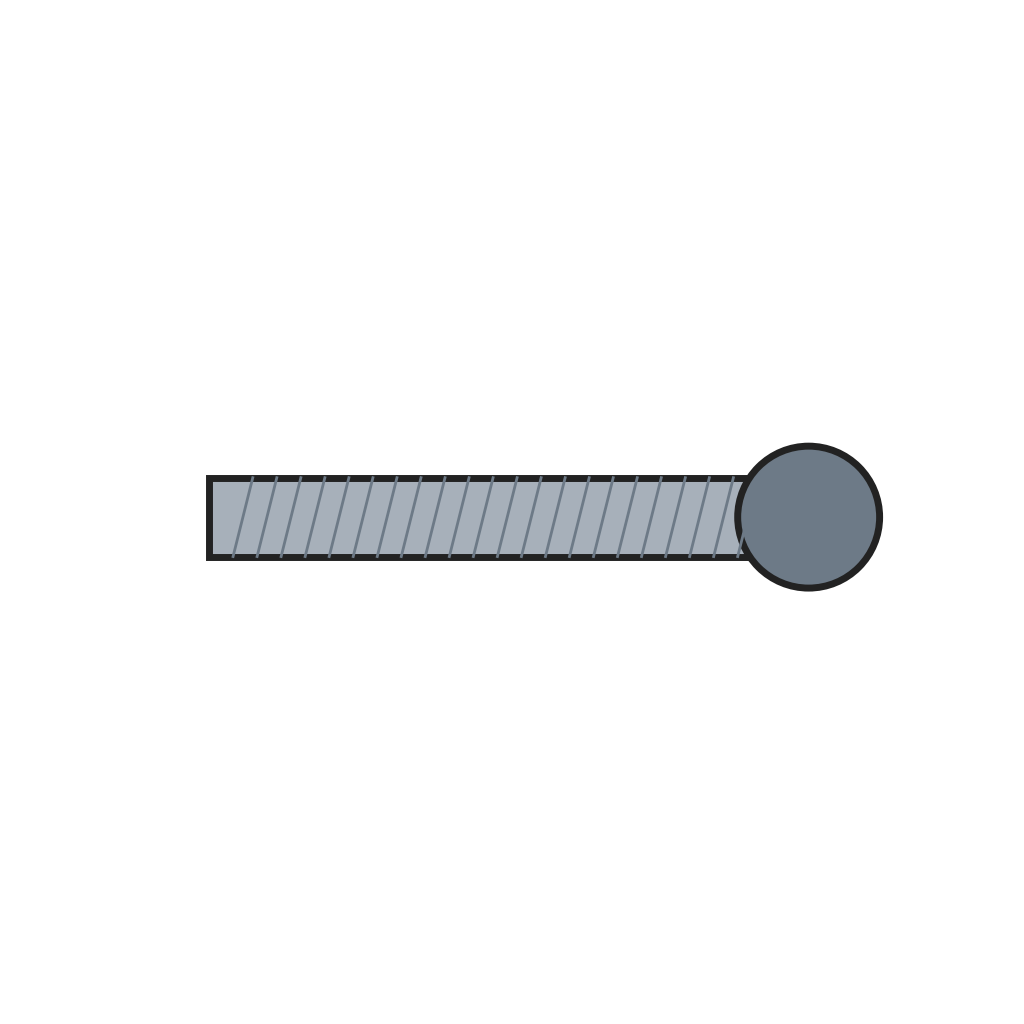 Tara-Gewindestange1 Stück
Benötigte Werkzeuge:
 Gewindeschneidsatz
Materialien
8- 1 StückPlatzhalter
- Platzhalter
- 1 StückPlatzhalter
- 1 StückPlatzhalter
- 1 StückPlatzhalter
- 1 StückPlatzhalter
- 1 StückPlatzhalter
- 1 StückPlatzhalter
Benötigte Werkzeuge
3- Platzhalter
- Platzhalter
- Platzhalter
Dieser Bauplan stellt her

Verwandte Blueprints
Diese Blueprints teilen Wissen — Techniken, Materialien oder Prinzipien

CC0 Gemeinfrei
Dieser Blueprint ist unter CC0 veröffentlicht. Sie dürfen dieses Werk für jeden Zweck frei kopieren, ändern, verbreiten und verwenden, ohne um Erlaubnis zu fragen.
Unterstützen Sie den Maker, indem Sie Produkte über seinen Blueprint kaufen, wo er eine Maker-Provision von Anbietern festgelegt, verdient. Oder erstellen Sie eine neue Iteration dieses Blueprints und verbinden Sie ihn in Ihrem eigenen Blueprint, um Einnahmen zu teilen.