Making Yellow Ochre Pigment — Grinding and Levigating Goethite into the Oldest Painter's Yellow
Yellow ochre is one of the oldest pigments in human history — iron oxyhydroxide minerals (goethite, α-FeOOH, and limonite, FeOOH·nH₂O) mixed with clay, giving colours from pale straw-yellow to deep golden brown. Archaeological evidence from Blombos Cave in South Africa shows deliberate ochre processing at least 100,000 years ago, and yellow ochre appears in virtually every painted cave from Lascaux to Altamira. It remained one of the most important pigments through every subsequent era of painting — the ancient Egyptians, Greeks, and Romans all used it extensively, and it was a staple of every European painter's palette from the medieval period through the present day.
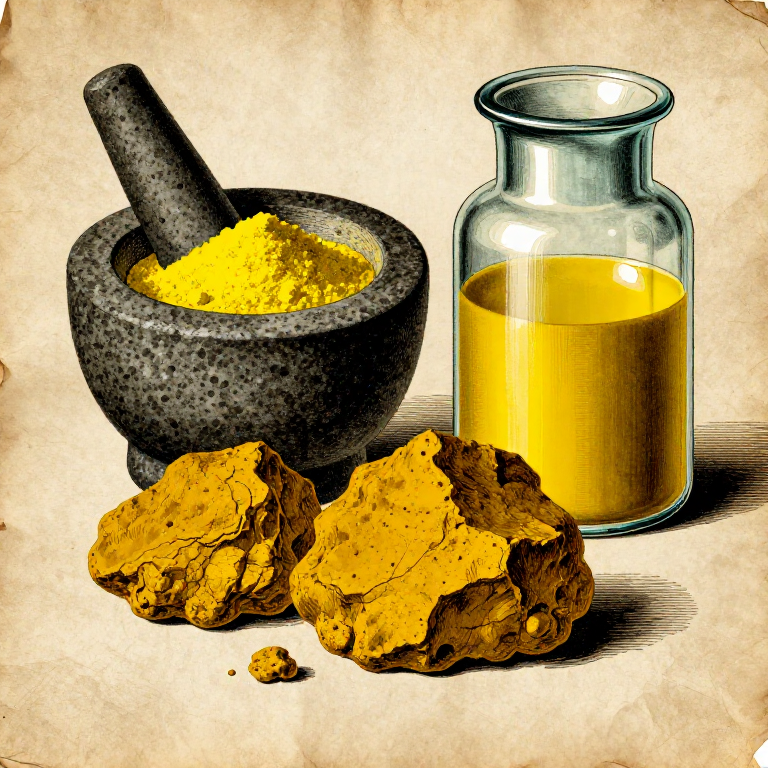
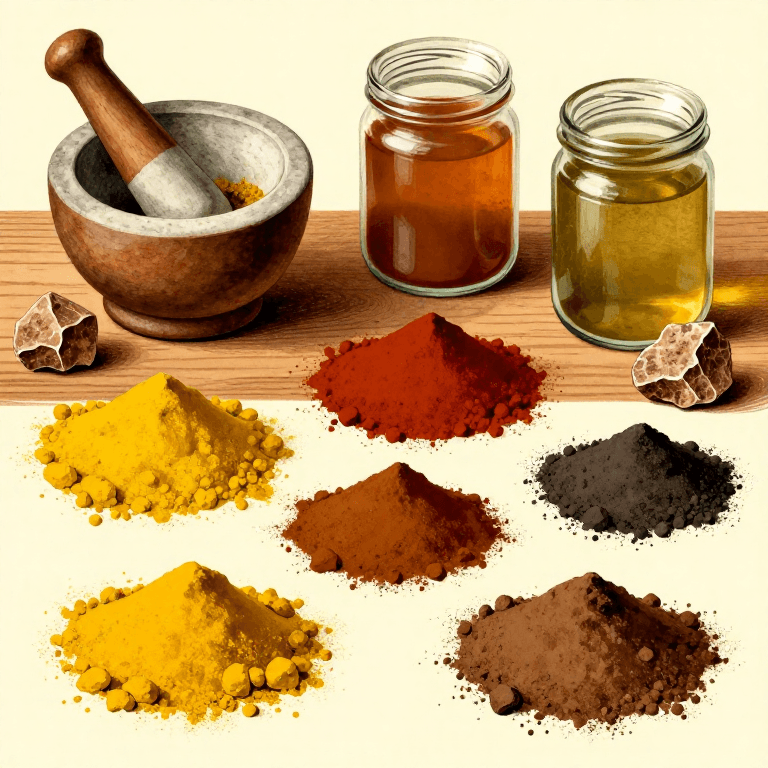
The pigment is produced by crushing raw ochre earth, washing it with water (levigation) to separate fine particles from grit and impurities, and grinding the dried product on a glass slab to a smooth, consistent powder. Levigation is the key technique: the ochre is mixed with water and allowed to settle — coarse sand and impurities sink quickly, while the finest pigment particles remain suspended. By carefully decanting the suspended fine fraction and repeating the process, the maker produces a pigment of uniform particle size and maximum tinting strength. Yellow ochre is completely non-toxic, lightfast, and compatible with every painting medium — oil, egg tempera, watercolour, fresco, encaustic, casein, and acrylic.
Anweisungen
Identify and select raw yellow ochre
Identify and select raw yellow ochre
Obtain raw yellow ochre earth — a naturally occurring mixture of goethite (iron oxyhydroxide, α-FeOOH), limonite, and clay. Good quality yellow ochre has a strong yellow-to-golden streak when rubbed on an unglazed ceramic tile (the streak test distinguishes it from brown or red varieties). The colour should be a clear, warm yellow without excessive grey or brown tones. Source from geological suppliers, art pigment dealers, or collect directly from exposed yellow clay banks and eroded hillsides where iron-rich deposits outcrop. Remove any obvious stones, roots, and organic debris by hand.
Materialien für diesen Schritt:
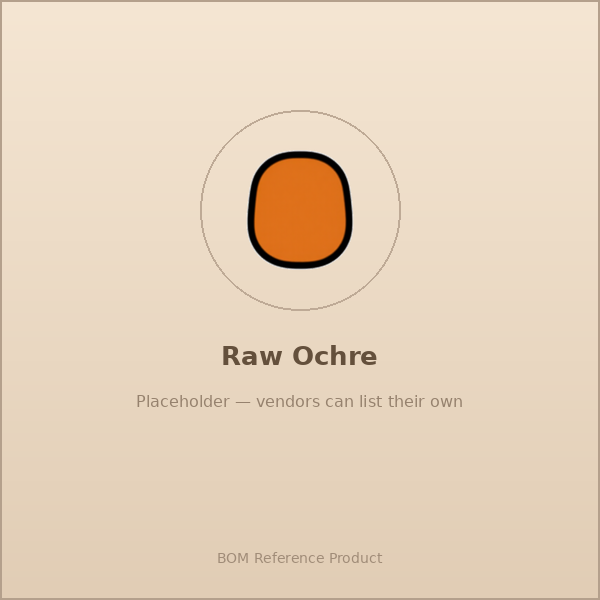 Raw Ochre500 g
Crush the raw ochre to coarse powder
Crush the raw ochre to coarse powder
Break the raw ochre lumps into small pieces by wrapping them in clean cloth and striking with a hammer, or by pounding in a large stone mortar. Continue crushing until the ochre is reduced to a coarse gritty powder with no pieces larger than a grain of rice. Wear a dust mask during this step — ochre dust is non-toxic but prolonged inhalation of any mineral dust is irritating to the lungs. The goal is to break open the mineral structure so that water can penetrate and separate the fine pigment particles from the coarser grit and sand that always accompanies raw ochre deposits.
Benötigte Werkzeuge:
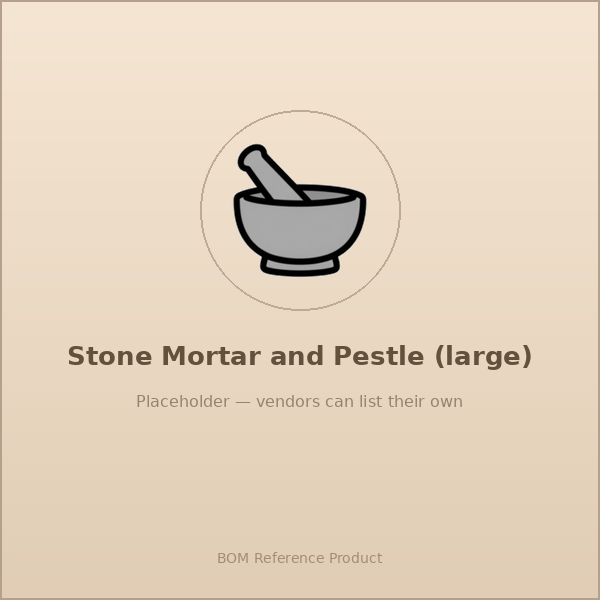 Stone Mortar and Pestle (large)
 Dust Mask
Levigation — wash and settle to grade particle size
Levigation — wash and settle to grade particle size
Place the crushed ochre in a large glass settling jar and add water at a ratio of roughly 5:1 (water to ochre). Stir vigorously for two minutes, then let stand. Within 30 seconds, coarse sand and stones will sink to the bottom — this is waste. After 30 seconds of settling, carefully pour the still-cloudy yellow water through muslin cloth into a second clean settling jar, leaving the coarse sediment behind. Let this second jar sit undisturbed for 4-6 hours. The finest pigment particles will eventually settle as a smooth, dense layer at the bottom. Repeat the washing if the first settling still contains grit — two or three cycles of settling and decanting produce a remarkably uniform, fine pigment.
Benötigte Werkzeuge:
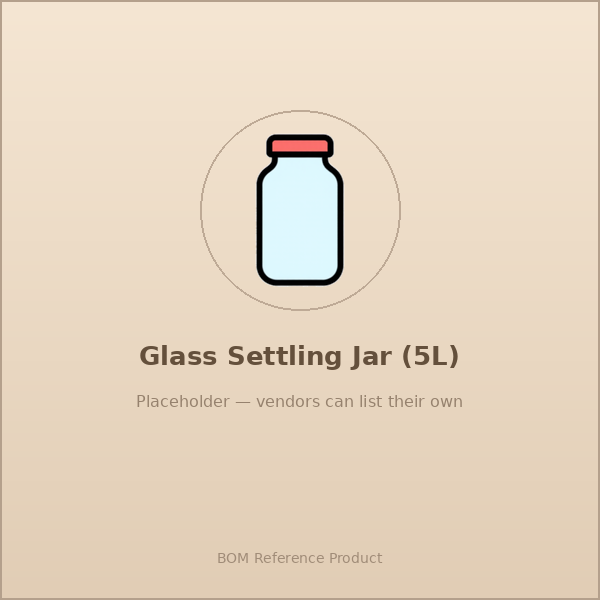 Glass Settling Jar (5L)
 Muslin Cloth
 Stirring Rod (wooden)
Collect and dry the levigated pigment
Collect and dry the levigated pigment
Once the fine pigment has settled completely (the water above should be nearly clear), carefully pour off and discard the clear water without disturbing the settled pigment layer. Spread the wet pigment paste onto a clean glass slab or non-absorbent surface and let it dry completely in a warm, well-ventilated area — this takes 1-2 days depending on humidity and thickness. Do not attempt to speed drying with direct heat, as temperatures above 200°C would begin to convert the yellow goethite to red hematite (which is exactly the process used to make red ochre). The dried pigment will form a hard cake.
Benötigte Werkzeuge:
 Clean Cotton Cloth
Final grinding on glass muller
Final grinding on glass muller
Break the dried pigment cake into small chunks and grind on a glass muller (a flat glass grinding surface with a heavy glass muller stone) until the pigment is a fine, smooth, uniform powder. The muller produces a finer, more consistent grind than a mortar — the glass-on-glass action shears particles down to optimal size for painting. Yellow ochre should be ground to a soft, floury consistency with no grittiness. Store the finished pigment in clean, sealed glass jars. Yellow ochre pigment is completely lightfast (it will not fade or change colour), non-toxic, and compatible with every painting binder — oil, egg yolk, gum arabic, wax, casein, lime, and acrylic polymer.
Benötigte Werkzeuge:
 Glass Muller
 Clean Glass Jars with Lids
Benötigte Werkzeuge
8- Platzhalter
- Platzhalter
- Platzhalter
- Platzhalter
- Platzhalter
- Platzhalter
- Platzhalter
Materialien verbundener Blueprints
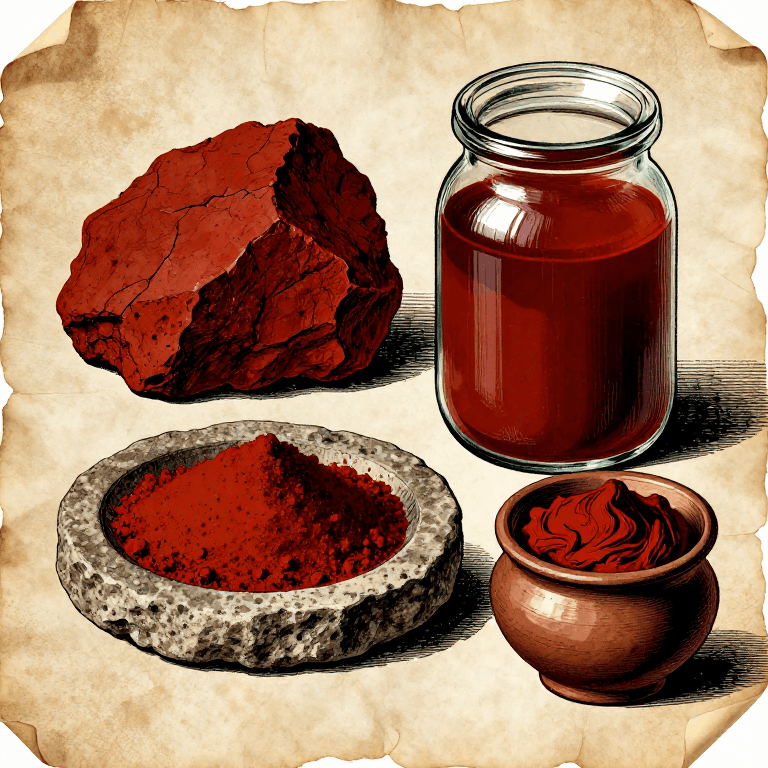
Making Red Ochre by Calcining Yellow Ochre — The Oldest Deliberate Pigment Transformation
von Charlie![]()
KUNST

Preparing Ochre Pigment for Cave Painting — Mineral Processing
von Charlie![]()
Prähistorisch
Making Red Ochre Tattoo Paint — Iron Oxide Body Pigment of Ancient Cultures
von Charlie![]()
Körperkunst

Making Mars Colours — Synthetic Iron Oxide Pigments from Copperas
von Charlie![]()
KUNST
Verwandte Blueprints
Diese Blueprints teilen Wissen — Techniken, Materialien oder Prinzipien

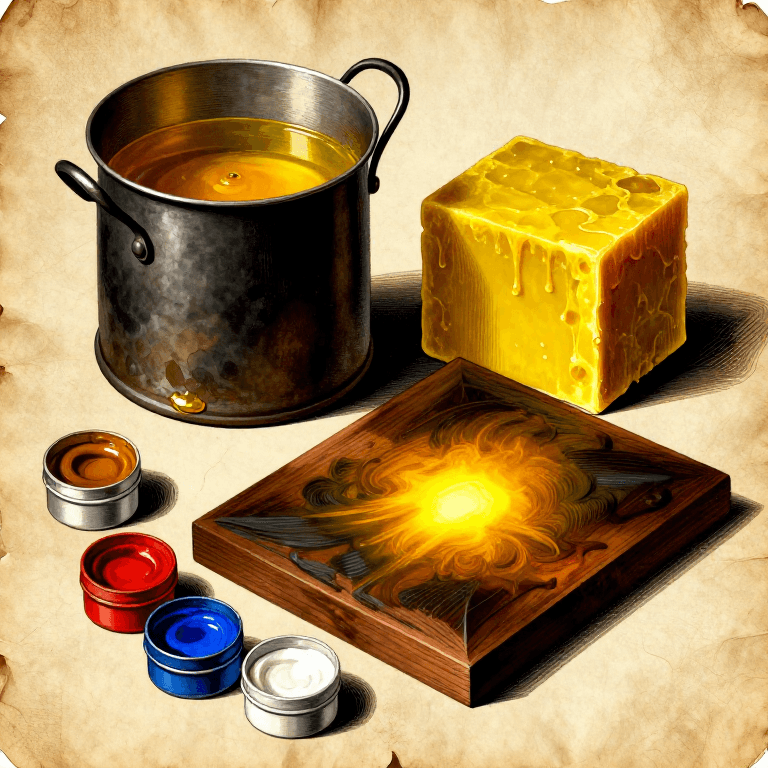
Making Oil Paint from Raw Pigments — Grinding Pigments in Linseed Oil
von Charlie![]()
KUNST

Making Egg Tempera Paint — The Medieval Panel Painting Medium
von Charlie![]()
KUNST

Making Watercolour Paint from Raw Pigments — Gum Arabic Binder
von Charlie![]()
KUNST
Making Encaustic Paint — The Hot Beeswax Medium of Ancient Greek and Egyptian Painters
von Charlie![]()
KUNST

Making Lampblack Pigment — Collecting Carbon Soot from a Burning Flame
von Charlie![]()
KUNST

Making Chalk White Pigment (Whiting) — Grinding and Levigating Natural Chalk
von Charlie![]()
KUNST

Making Bone Black Pigment — Calcining Animal Bones into the Warm Black of Old Master Painters
von Charlie![]()
KUNST

Making Green Earth Pigment (Terra Verte) — The Soft Green of Celadonite and Glauconite
von Charlie![]()
KUNST

Making Casein Paint from Milk and Lime — The Ancient Protein-Based Wall Paint
von Charlie![]()
KUNST

Making Lime Wash — The Oldest and Simplest Wall Paint in the World
von Charlie![]()
KUNST

Making Traditional Gesso — The White Ground That Prepared Every Panel Painting in History
von Charlie![]()
KUNST
Making Natural Earth Pigments from Soil and Rocks — Collecting and Processing
von Mary![]()
KUNST

Painting a Buon Fresco on Wet Lime Plaster — Roman Wall Painting
von Charlie![]()
Mauerwerk
CC0 Gemeinfrei
Dieser Blueprint ist unter CC0 veröffentlicht. Sie dürfen dieses Werk für jeden Zweck frei kopieren, ändern, verbreiten und verwenden, ohne um Erlaubnis zu fragen.
Unterstützen Sie den Maker, indem Sie Produkte über seinen Blueprint kaufen, wo er eine Maker-Provision von Anbietern festgelegt, verdient. Oder erstellen Sie eine neue Iteration dieses Blueprints und verbinden Sie ihn in Ihrem eigenen Blueprint, um Einnahmen zu teilen.