
KUNST
SCHÖNHEIT & WELLNESS
HANDWERK
KULTUR & GESCHICHTE
UNTERHALTUNG
UMFELD
ESSEN & GETRÄNKE
REVERSE ENGINEERING
WISSENSCHAFTEN
SPORT
TECHNOLOGIE
WEARABLES
Pass-Through Barrel Churn: A Twisted-Wing Dasher That Comes Out Whole Through a Hatch
Woody

Erstellt von

Woody

6. Oktober 2026NO
33
0
0
0
0

Pass-Through Barrel Churn: A Twisted-Wing Dasher That Comes Out Whole Through a Hatch

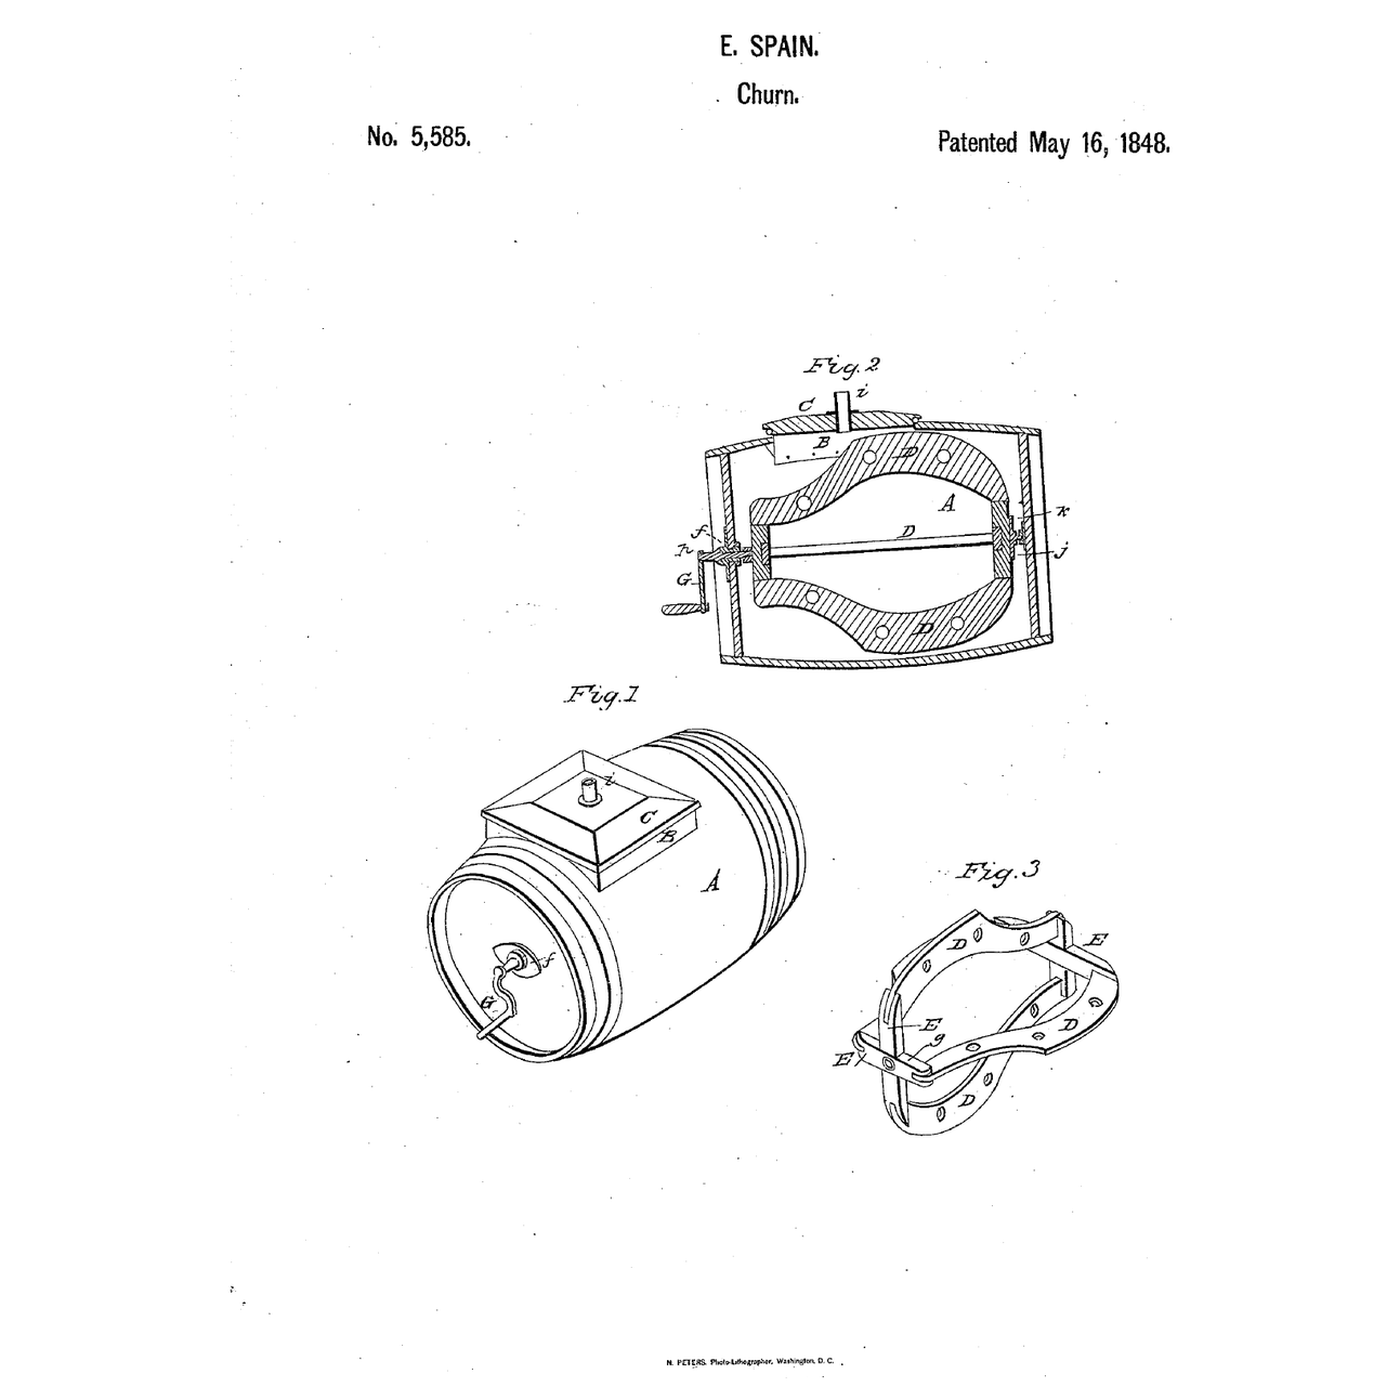
Spain set out to keep "the cream when it becomes thick, from revolving with the dasher," and to get the whole dasher out through a small hatch for cleaning. Edward Spain of Philadelphia, Pennsylvania, received US 5,585, dated 16 May 1848, for a barrel churn whose dasher has four beating wings, each broader at one end than the other, joined to a long and a short bar crossed at each end, the long arms at one end opposite the short arms at the other. It runs on a pivot in a bearing box at one end; the crank's axle screws into a nut at the other; unscrewed, the dasher is lifted onto its pivot end and passed out "diagonally into the square aperture in the barrel." This rung looks at the wings' geometry, then prints the dasher, bearing box and hatch, fits them to a container laid on its side, and makes butter.
Fortgeschritten
About 4 hours, plus printing

Anweisungen

1

The wings' geometry

Jupyter-Notebook wird geladen …
2

Oblique wings on a crank before it

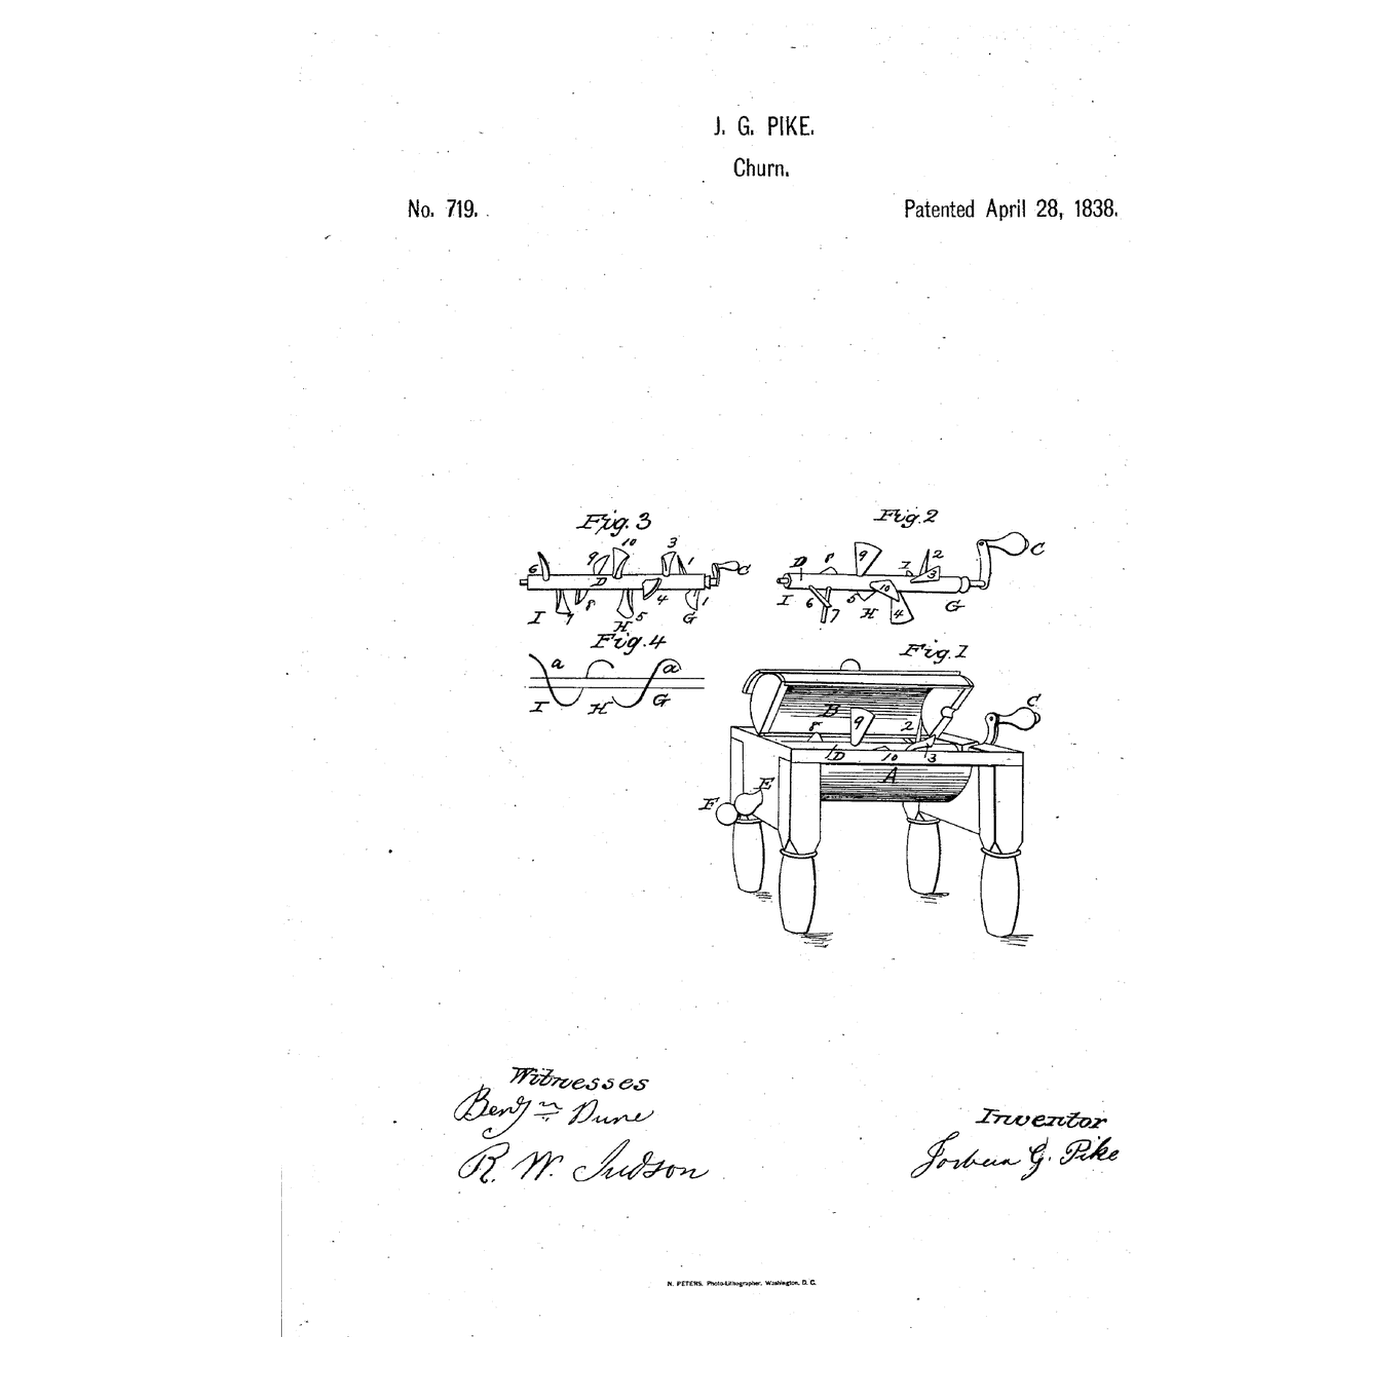
The embedded blueprint sets four wings at 30° to the axle on a cross. Spain twists his wings from a long arm at one end to a short arm at the other.
3

Read US 5,585

"The dasher is removed from the churn by unscrewing the operating axle from the same, and elevating the dasher on to its pivot end by passing the broad ends of the beating wings at its opposite end, diagonally into the square aperture in the barrel; when it can readily be lifted out."
4

Print the parts

Print the dasher standing on one end, with supports, and press an M10 nut into the socket at its crank end. Print the bearing box, the hatch frame and the cover with its vent tube. Print in PETG at 0.2 mm layers, 30 % infill, 4 walls; wash before first use.

Materialien für diesen Schritt:

PETG-FilamentPETG-Filament1 Stück
SechskantmutterSechskantmutter1 Stück

Benötigte Werkzeuge:

FDM-3D-DruckerFDM-3D-Drucker
RollgabelschlüsselRollgabelschlüssel
5

Print the dasher

The dasher, printed as step 4 describes.
DesigndateiSTLCC0 - Free
6

Print the bearing box

The bearing box, printed as step 4 describes.
DesigndateiSTLCC0 - Free
7

Print the hatch frame

The hatch frame, printed as step 4 describes.
DesigndateiSTLCC0 - Free
8

Print the hatch cover with its vent tube

The hatch cover with its vent tube, printed as step 4 describes.
DesigndateiSTLCC0 - Free
9

The barrel

Lay a round food-grade container about 170 mm across on its side. Cut a 66 mm square hatch in its side near one end and set the hatch frame in it with silicone. Screw the bearing box inside the far end on the axis, and drill the near end on the axis for the axle. Stand it on two pine cradles.

Materialien für diesen Schritt:

Vorratsbehälter in LebensmittelqualitätVorratsbehälter in Lebensmittelqualität1 Stück

SilikondichtmasseSilikondichtmasse1 Stück
KiefernbrettKiefernbrett1 Stück
Holzschraube #8 x 1"Holzschraube #8 x 1"1 Stück

Benötigte Werkzeuge:

Laubsäge (Schweifsäge)Laubsäge (Schweifsäge)
AkkubohrschrauberAkkubohrschrauber
BohrersatzBohrersatz
HandsägeHandsäge
Schraubendreher-SatzSchraubendreher-Satz
10

Dasher and crank

Pass the dasher in through the hatch, pivot end first, and seat its pivot in the bearing box. Cut a length of M10 threaded rod, pass it through the near end and screw it into the dasher's nut. Bend or fix a crank handle on its outer end.

Materialien für diesen Schritt:

GewindestangeGewindestange1 Stück
SechskantmutterSechskantmutter1 Stück
HartholzdübelHartholzdübel1 Stück

Benötigte Werkzeuge:

Bügelsäge (Metallsäge)Bügelsäge (Metallsäge)
RollgabelschlüsselRollgabelschlüssel
SchleifpapierSchleifpapier
11

The build in 3D

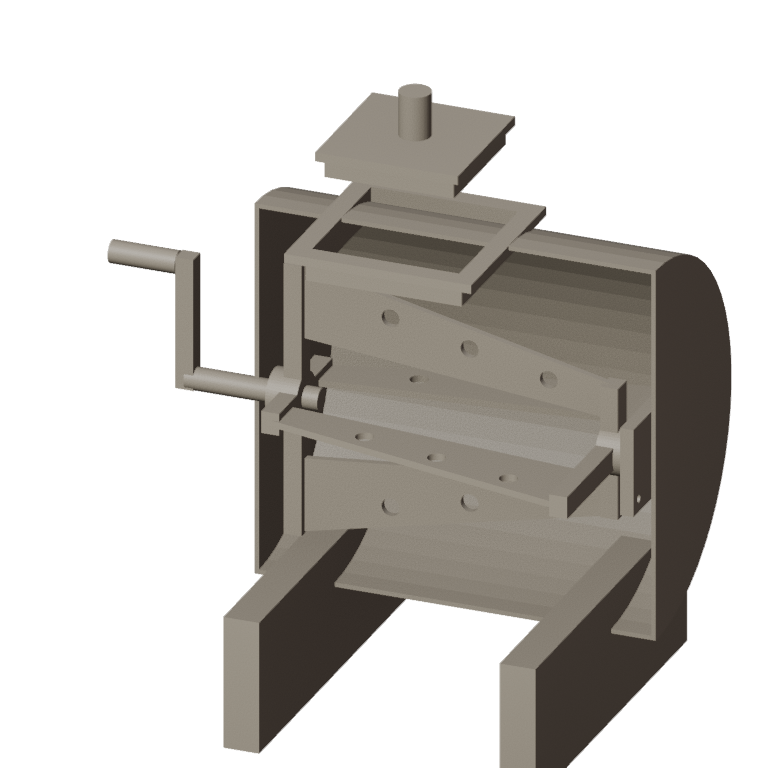
FreeCAD model of this build, not of the patent: the barrel cut away to show the dasher of four tapering wings between a long-and-short cross at each end, the bearing box, the axle and crank, the hatch frame and its cover with the vent tube, and the cradles.
DesigndateiBLENDCC0 - Free
12

Crank and make butter

Let the heavy cream stand until it reaches about 15 °C, checked with the thermometer. Pour in 1 litre through the hatch and fit the cover. Turn the crank steadily and time until the butter comes. Unscrew the axle and lift the dasher out through the hatch. Pour off the buttermilk, add cold water, churn a little and pour off again until it runs clear; work in a pinch of salt and weigh the butter.
Schritt 12 - Image 1

Materialien für diesen Schritt:

SchlagsahneSchlagsahne1000 ml
Grobes MeersalzGrobes Meersalz1 Stück
WasserWasser1 Stück

Benötigte Werkzeuge:

Einsteck-FühlerthermometerEinsteck-Fühlerthermometer
StoppuhrStoppuhr
Digitale KüchenwaageDigitale Küchenwaage
Große Rührschüssel aus EdelstahlGroße Rührschüssel aus Edelstahl
13

A dasher that will not come out, an axle that slips

Pass-through barrel churn troubleshooting.

Flow

Loading...
14

History and honest limits

**Edward Spain** of Philadelphia received US 5,585, dated 16 May 1848. A sheet-metal lining, its upper edge stiffened by a strong wire, supported the aperture so "the perfect contour of the churn about the aperture, is preserved"; a tube through the cover let "the gas" escape and fresh air enter. He claimed the form of the dasher, which gives the cream a compound reciprocating and rotary motion and lets a large dasher pass whole through a small square aperture. **Honest limits.** A food-grade container and printed parts stand in for his staved barrel and wooden dasher. FDM prints hold food in their layer lines, so wash well and replace when worn. Your times and weights are the result.

Materialien

11

Benötigte Werkzeuge

13

Designdateien

5

Dieser Bauplan stellt her

CC0 Gemeinfrei

Dieser Blueprint ist unter CC0 veröffentlicht. Sie dürfen dieses Werk für jeden Zweck frei kopieren, ändern, verbreiten und verwenden, ohne um Erlaubnis zu fragen.

Unterstützen Sie den Maker, indem Sie Produkte über seinen Blueprint kaufen, wo er eine Maker-Provision von Anbietern festgelegt, verdient. Oder erstellen Sie eine neue Iteration dieses Blueprints und verbinden Sie ihn in Ihrem eigenen Blueprint, um Einnahmen zu teilen.

Diskussion

(0)

Anmelden um an der Diskussion teilzunehmen

Kommentare werden geladen...