KUNST
SCHÖNHEIT & WELLNESS
HANDWERK
KULTUR & GESCHICHTE
UNTERHALTUNG
UMFELD
ESSEN & GETRÄNKE
REVERSE ENGINEERING
WISSENSCHAFTEN
SPORT
TECHNOLOGIE
WEARABLES


Pendulum Swing Dash Churn: Rock the Hanging Tank, the Dasher Works Itself
Richardson made the swing of the churn drive the dasher.
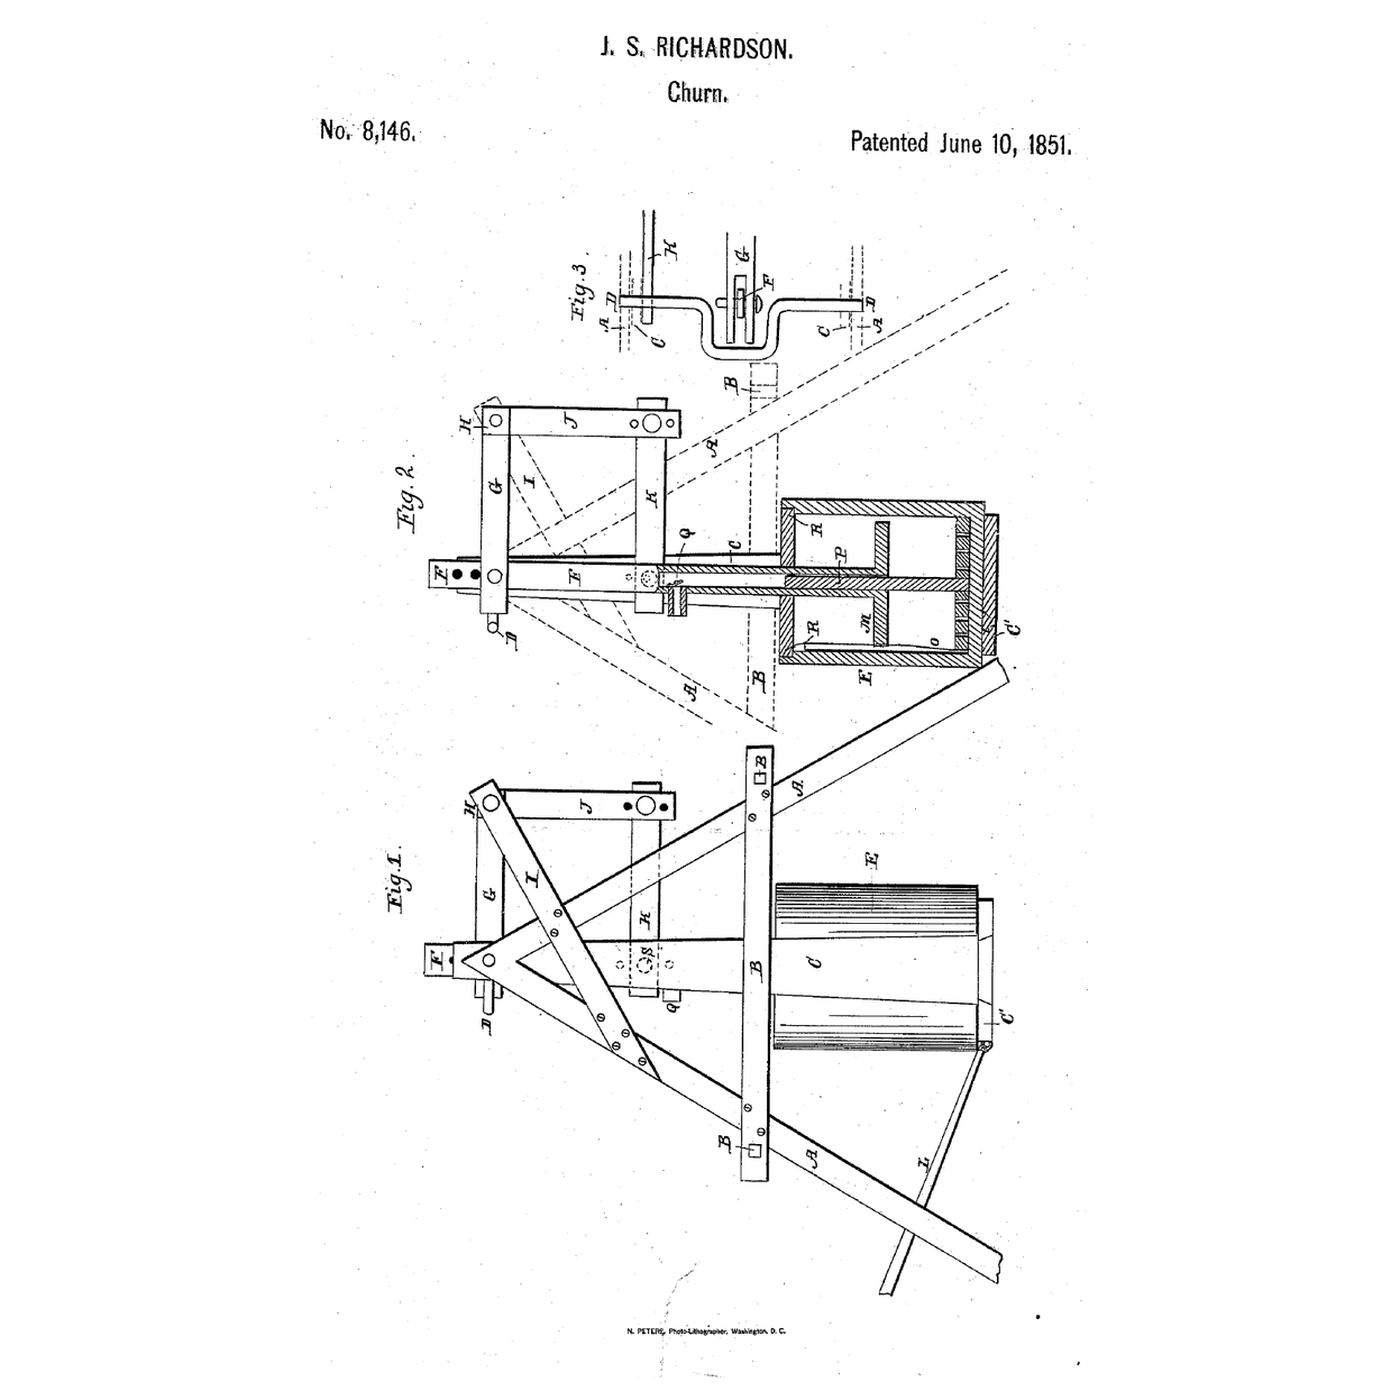
Ithiel S. Richardson of Boston, Massachusetts, received US 8,146, dated 10 June 1851, for what he called the "Oscillating Perpendicular Dash-Churn": a tank hung in a swing between standards four feet long, joined at the top and spread three and a half feet at the bottom; a connecting rod from the swing rocks a bent lever on a rock shaft that works the dash stick up and down. The dash stick is hollow over a staff on a perforated false bottom, with a valved plug to let air in, so no vacuum slows the dasher; afterward the false bottom lifts out as a strainer, "bringing with it the butter."
This rung works out the swing's pace, then prints the dasher, false bottom and valve plug, builds the frame and swing, and makes butter.
Erfahren
About 6 hours, plus printing
Anweisungen
1
1
The swing's pace
The swing's pace
Jupyter-Notebook wird geladen …
2
2
A swinging churn that works its dashers before it
A swinging churn that works its dashers before it
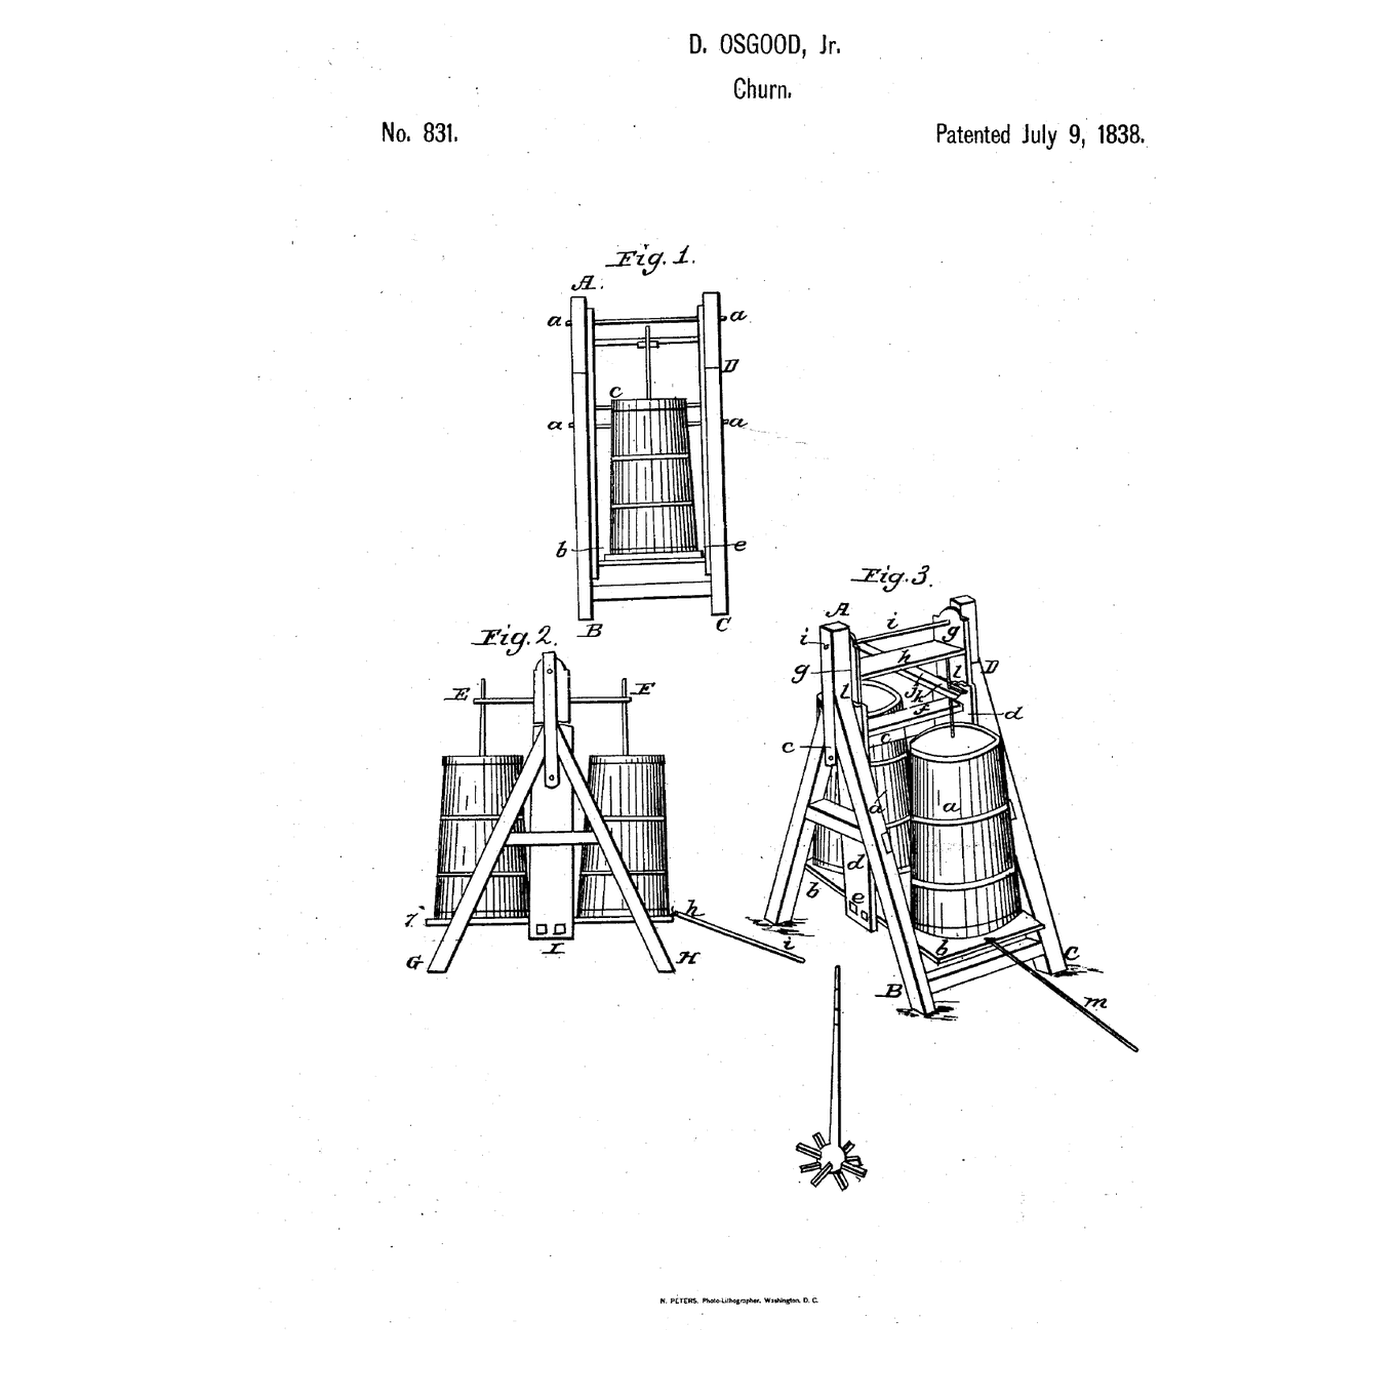
The embedded blueprint swings a platform whose toothed pieces work two dashers. Richardson hangs the tank in a pendulum frame and works one dasher through a bent lever.
3
3
Read US 8,146
Read US 8,146
"The hand holding the rod L communicates a backward and forward motion to the swing, which motion the swing communicates from one of its upright parts, through the connecting rod K to the arm J of the bent lever G H J, which bent lever, from its arm G, gives the motion to the dash stick F."
4
4
Print the parts
Print the parts
Print the perforated dasher with its socket, the perforated false bottom with its staff socket and the valve plug. Print in PETG at 0.2 mm layers, 30 % infill, 4 walls; wash before first use.
Materialien für diesen Schritt:
 PETG-Filament1 Stück
Benötigte Werkzeuge:
 FDM-3D-Drucker
5
5
Print the dasher
Print the dasher
The dasher, printed as step 4 describes.
6
6
Print the false bottom
Print the false bottom
The false bottom, printed as step 4 describes.
7
7
Print the valve plug
Print the valve plug
The valve plug, printed as step 4 describes.
8
8
Frame and swing
Frame and swing
Build two A-frames of pine about 800 mm tall and join their tops with a 12 mm steel rod. Hang a swing from it: two pine uprights and a plywood board at their feet. Stand a straight-sided food-grade container on the board as the tank, strapped to the uprights.
Materialien für diesen Schritt:
 Kiefernbrett1 Stück
 Rundstahl (Baustahl)1 Stück
 Sperrholzplatte1 Stück
 Vorratsbehälter in Lebensmittelqualität1 Stück
 Holzschraube #8 x 1"1 Stück
 Lederstreifen1 Stück
Benötigte Werkzeuge:
 Handsäge
 Akkubohrschrauber
 Bohrersatz
 Schraubendreher-Satz
 Schraubzwingen
9
9
Dasher, lever and rod
Dasher, lever and rod
Bore a length of 18 mm food-grade tube as the hollow dash stick and fit the valve plug through its side near the top, with a small leather flap inside so air enters but cannot leave that way. Glue the dasher on its foot. Set the false bottom in the tank with a 12 mm dowel staff rising inside the dash stick, and hold it with a wedge. Pivot a pine bent lever on a rock shaft across the frame's top, couple its long arm to the dash stick and its short arm by a pine rod to one swing upright.
Materialien für diesen Schritt:
 PVC-Rohr1 StückLederstreifen1 Stück
 Hartholzdübel1 StückKiefernbrett1 Stück
 Maschinenschrauben1 Stück
 Sechskantmutter1 Stück
 Zweikomponentenepoxid1 Stück
Benötigte Werkzeuge:
 Bügelsäge (Metallsäge)AkkubohrschrauberBohrersatzSchraubendreher-Satz
 Rollgabelschlüssel
10
10
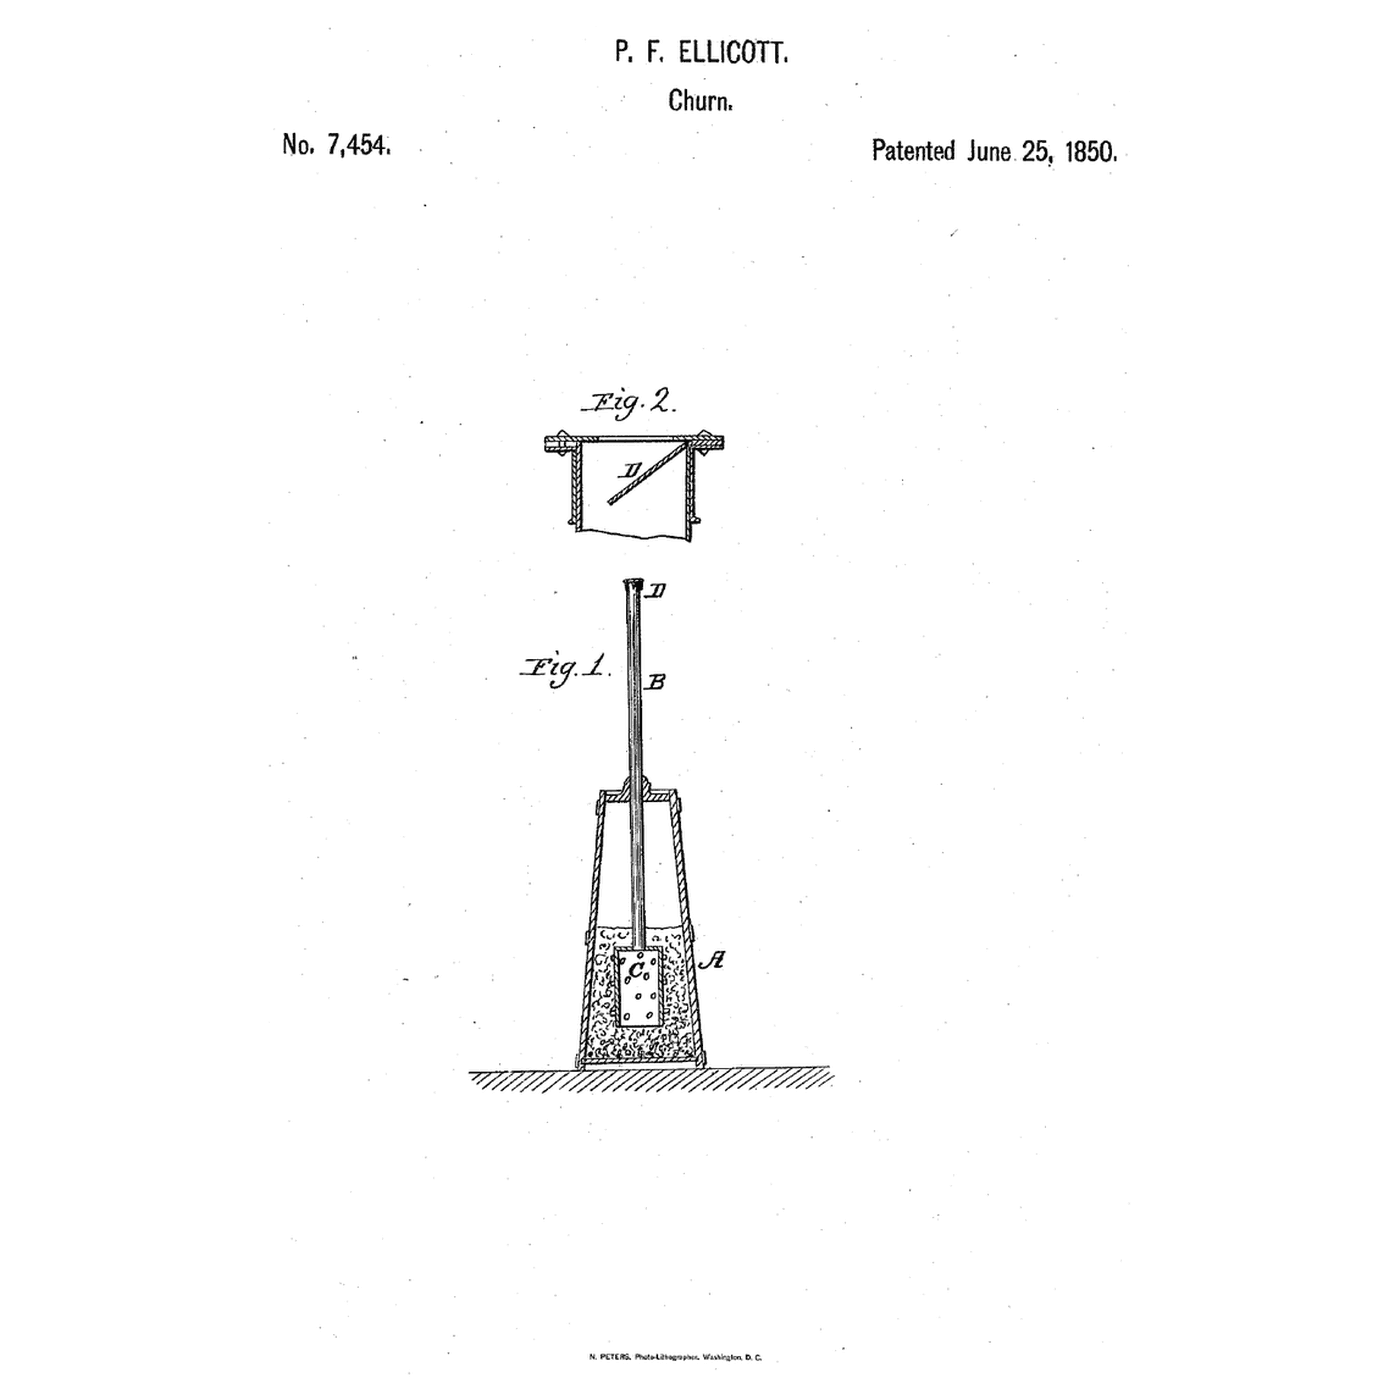
The patent drawing
The patent drawing
US 8,146 drawing sheet, public domain (expired patent).
11
11
Swing and make butter
Swing and make butter
Let the heavy cream stand until it reaches about 15 °C, checked with the thermometer. Pour in 2 litres and put on the lid. Swing the tank steadily to and fro at its own pace; the dasher rises and falls. Time until the butter comes. Lift the false bottom out by its staff, bringing the butter with it, and let the buttermilk drain back. Rinse and salt the butter in a bowl, and weigh it.
Materialien für diesen Schritt:
 Schlagsahne2000 ml
 Grobes Meersalz1 Stück
 Wasser1 Stück
Benötigte Werkzeuge:
 Einsteck-Fühlerthermometer
 Stoppuhr
 Digitale Küchenwaage
 Große Rührschüssel aus Edelstahl
12
12
A dasher that sticks, a swing that won't keep going
A dasher that sticks, a swing that won't keep going
Pendulum swing dash churn troubleshooting.
Flow
Loading...
13
13
History and honest limits
History and honest limits
**Ithiel S. Richardson** of Boston, Suffolk County, Massachusetts, received US 8,146, dated 10 June 1851 (the drawing sheet's lettering reads "J. S."; the specification gives Ithiel). His standards were 2½ by 1½ inches square and four feet long; the swing's board was 12 by 16 inches; the stroke could be shortened by moving the couplings. He claimed the combination of the rock shaft, levers, connecting rod and swing for producing the perpendicular movement of the dasher.
**Honest limits.** A smaller frame, a food-grade container and printed parts stand in for his. FDM prints hold food in their layer lines, so wash well and replace when worn. Your times and weights are the result.
Materialien
15- 1 StückPlatzhalter
- 1 StückPlatzhalter
- 1 StückPlatzhalter
- 1 StückPlatzhalter
- Platzhalter
- 1 StückPlatzhalter
- 2 StückPlatzhalter
- 1 StückPlatzhalter
- 1 StückPlatzhalter
- 1 StückPlatzhalter
- 1 StückPlatzhalter
- 1 StückPlatzhalter
- 2000 mlPlatzhalter
- 1 StückPlatzhalter
- 1 StückPlatzhalter
Benötigte Werkzeuge
12- Platzhalter
- Platzhalter
- 1 vendor sell this, none ship to you yetPlatzhalter
- Platzhalter
- Platzhalter
- Platzhalter
- Platzhalter
- Platzhalter
- Platzhalter
- Platzhalter
- Platzhalter
- Platzhalter
Designdateien
3Dieser Bauplan stellt her

Verwandte Blueprints
Diese Blueprints teilen Wissen — Techniken, Materialien oder Prinzipien

CC0 Gemeinfrei
Dieser Blueprint ist unter CC0 veröffentlicht. Sie dürfen dieses Werk für jeden Zweck frei kopieren, ändern, verbreiten und verwenden, ohne um Erlaubnis zu fragen.
Unterstützen Sie den Maker, indem Sie Produkte über seinen Blueprint kaufen, wo er eine Maker-Provision von Anbietern festgelegt, verdient. Oder erstellen Sie eine neue Iteration dieses Blueprints und verbinden Sie ihn in Ihrem eigenen Blueprint, um Einnahmen zu teilen.