ARTE
BELLEZA Y BIENESTAR
ARTESANÍA
CULTURA E HISTORIA
ENTRETENIMIENTO
MEDIO AMBIENTE
COMIDA Y BEBIDAS
INGENIERÍA INVERSA
CIENCIAS
DEPORTES
TECNOLOGÍA
TECNOLOGÍA VESTIBLE
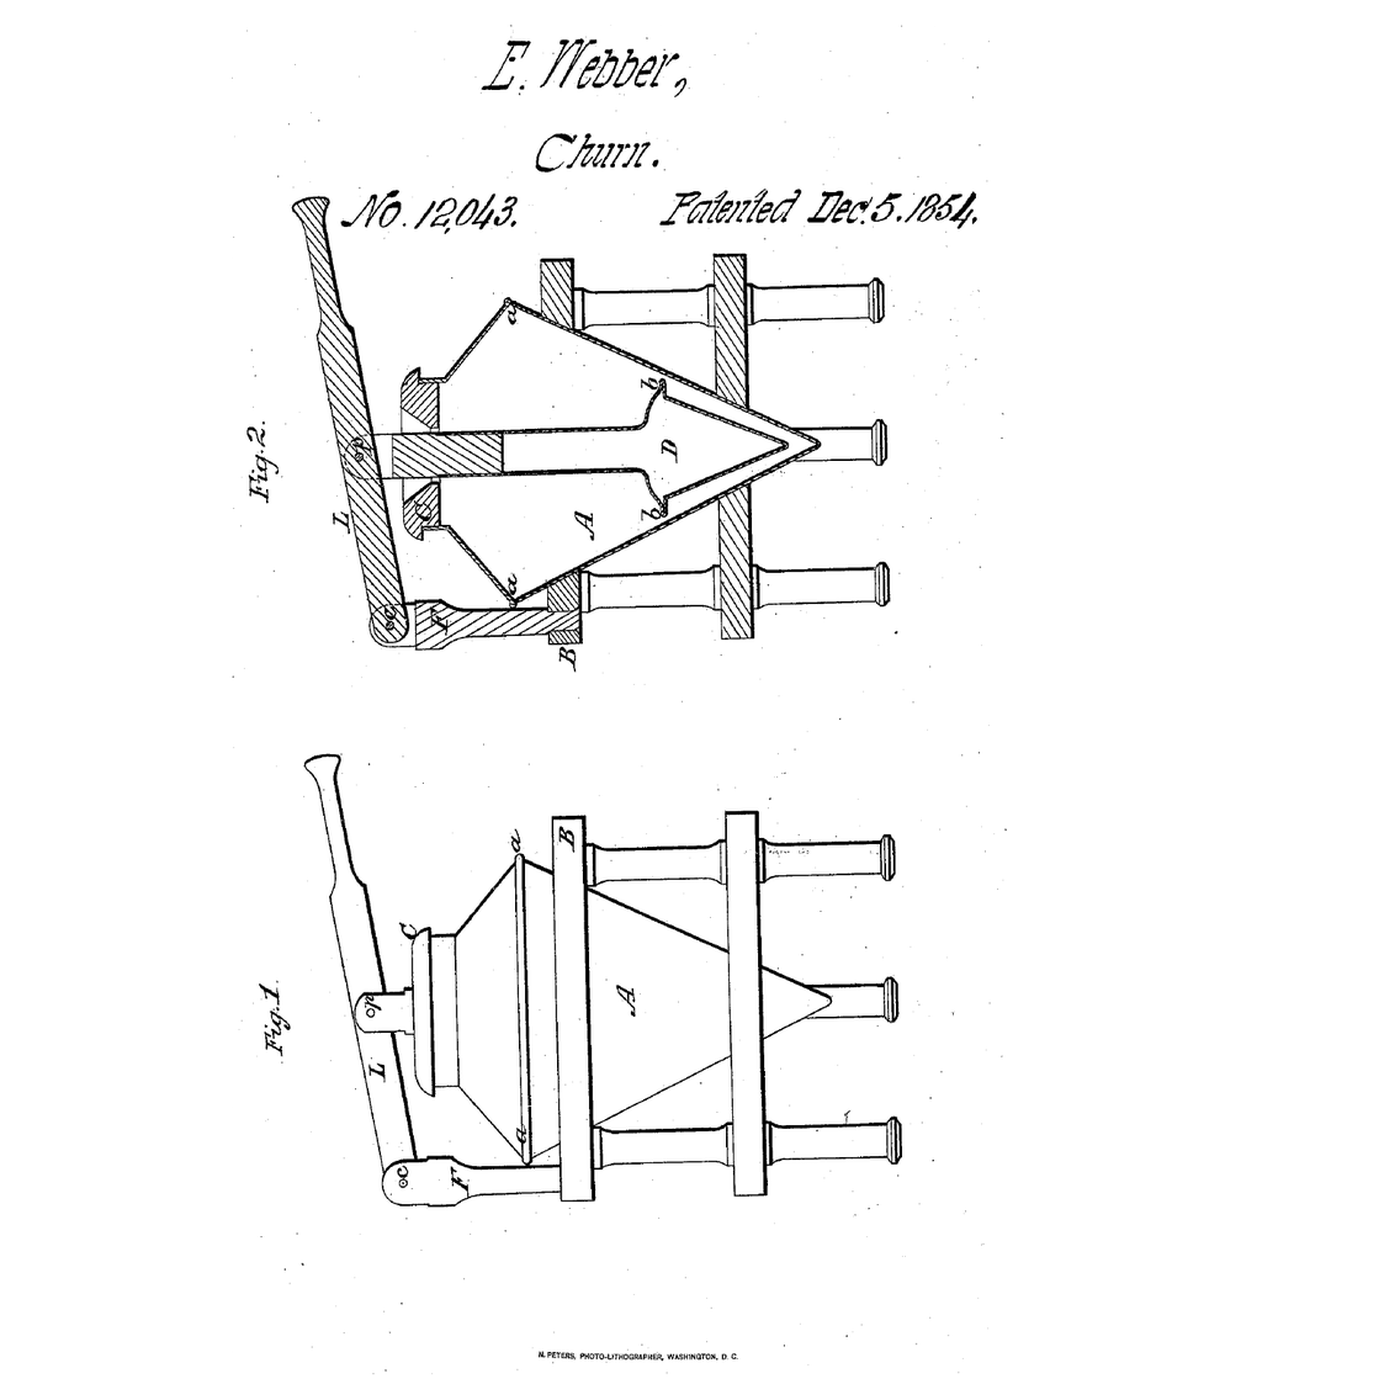

Buoyant Cone Dasher Churn: A Flanged Cone in a Cone, Pressed Down and Floating Back Up
Webber made the dasher the same shape as the churn, and let it float.
Elbridge Webber of Gardiner, Kennebec County, Maine, received US 12,043, dated 5 December 1854, for a churn body "in the shape of an inverted cone" whose sides incline inward again above the base to a mouth closed by a perforated cover, and "a dasher of the same form having a projecting flange around the base of the cone," worked by a lever on a standard. Each downward stroke forces the cream up between the conical sides, "while the flange by intercepting its upward flow causes the current to be broken"; the dasher's buoyancy lifts it again. A pin frees the lever so the dasher can be drawn out.
This rung works out the dasher's lift, then prints the two halves of the body, the cover and the sealed dasher, builds the frame and lever, and makes butter.
Intermedio
About 3 hours, plus printing
Instrucciones
1
1
The floating dasher
The floating dasher
Cargando el cuaderno de Jupyter…
2
2
An inverted-cone churn before it
An inverted-cone churn before it
The embedded blueprint spins the cream up a flaring tub. Webber drives it up between two cones with a flanged dasher that floats back.
3
3
Read US 12,043
Read US 12,043
"The operation of my improved churn is as follows: After placing the cream in the churn and securing the mouth by the cover C, the dasher D is alternately raised and lowered by means of the lever L, the downward motion forcing up the cream from the body of the churn between the conical sides of churn and dasher, while the flange by intercepting its upward flow causes the current to be broken and deflected around said flange."
4
4
Print the parts
Print the parts
Print the lower cone and the upper cone, each on its flange, the perforated cover and the dasher, point up, with 4 walls so its hollow stays sealed. The body needs a bed at least 210 mm across. Print in PETG at 0.2 mm layers, 30 % infill, 4 walls; wash before first use.
Materiales para este paso:
 Filamento PETG1 pieza
Herramientas necesarias:
 Impresora 3D de filamento (FDM)
5
5
Print the lower cone
Print the lower cone
The lower cone, printed as step 4 describes.
6
6
Print the upper cone
Print the upper cone
The upper cone, printed as step 4 describes.
7
7
Print the cover
Print the cover
The cover, printed as step 4 describes.
8
8
Print the dasher
Print the dasher
The dasher, printed as step 4 describes.
9
9
Body and frame
Body and frame
Bolt the two cones together through their flanges with a bead of food-safe silicone between, and check the body holds water. Build a pine frame of three legs and a ring that takes the body below its flange, and a pine standard beside it as high as the dasher rod's top.
Materiales para este paso:
 Sellador de silicona1 pieza
 Tornillos de máquina1 pieza
 Tuerca hexagonal1 pieza
 Tabla de pino1 pieza
 Tornillo para madera n.º 8 x 1"1 pieza
Herramientas necesarias:
 Serrucho
 Segueta (sierra de marquetería)
 Taladro inalámbrico
 Juego de brocas
 Juego de destornilladores
10
10
Dasher, cover and lever
Dasher, cover and lever
Glue a 10 mm square hardwood rod into the dasher's socket. Set the dasher in the body, slip the cover over the rod and into the mouth. Pivot a pine lever on the standard and join it to the rod's top with a removable pin, as his pin p.
Materiales para este paso:
 Espigas de madera dura1 piezaTabla de pino1 pieza
 Redondo de acero dulce1 pieza
 Epoxi de dos componentes1 pieza
Herramientas necesarias:
SerruchoTaladro inalámbricoJuego de brocas11
11
The patent drawing
The patent drawing
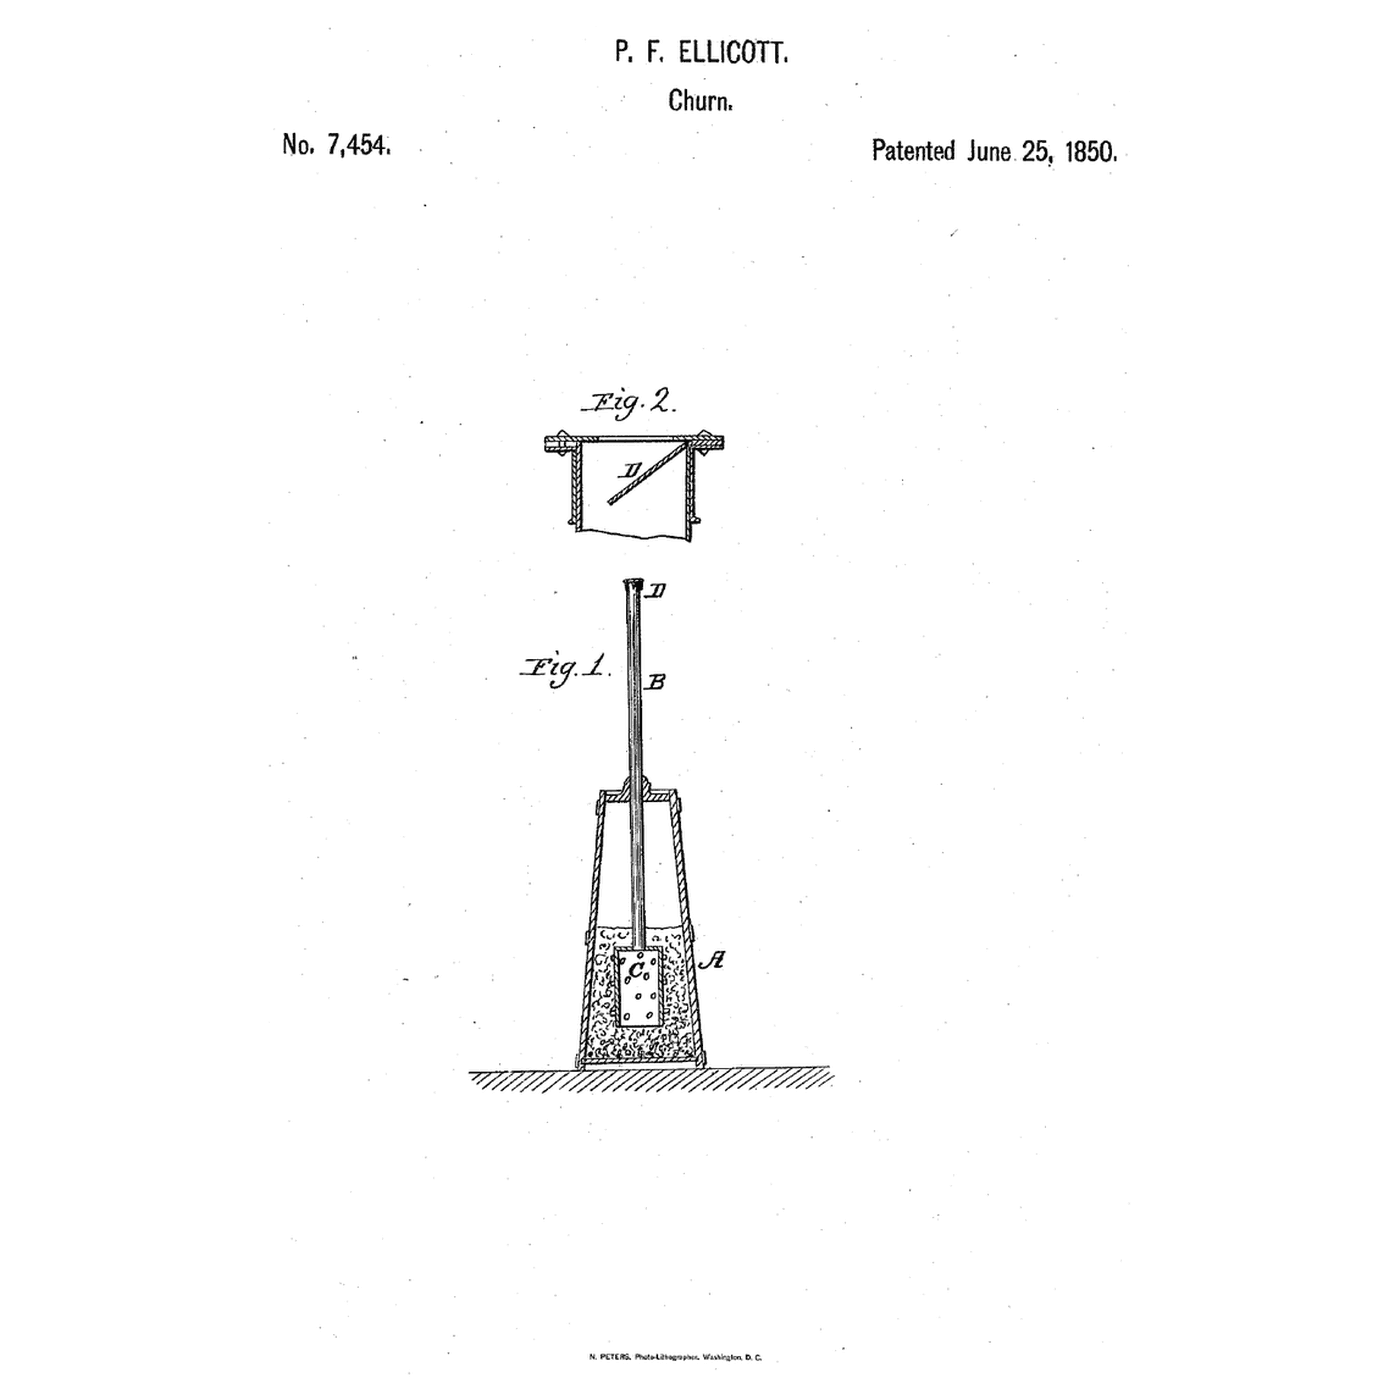
US 12,043 drawing sheet, public domain (expired patent).
12
12
Press and let it float
Press and let it float
Let the heavy cream stand until it reaches about 15 °C, checked with the thermometer. Pour in 600 ml and fit the cover. Press the lever down and let the dasher float back up, in a steady rhythm; time until the butter comes. Pull the pin, lift out the dasher and pour off the buttermilk. Pour off the buttermilk, add cold water, churn a little and pour off again until it runs clear; work in a pinch of salt and weigh the butter.
Materiales para este paso:
 Crema de leche espesa600 ml
 Sal marina gruesa1 pieza
 Agua1 pieza
Herramientas necesarias:
 Termómetro de sonda permanente
 Cronómetro
 Báscula digital de cocina
 Bol grande de acero inoxidable
13
13
A dasher that will not rise
A dasher that will not rise
Buoyant cone dasher troubleshooting.
Flow
Loading...
14
14
History and honest limits
History and honest limits
**Elbridge Webber** of Gardiner, Kennebec County, Maine, received US 12,043, dated 5 December 1854. He gave the advantages as "simplicity and economy of construction and effectiveness of operation," and claimed the combination of the flanged inverted conical dasher with the inverted conical cream chamber.
**Honest limits.** A printed body in two parts, pine and a hardwood rod stand in for his; the densities in the notebook are estimates. FDM prints hold food in their layer lines, so wash well and replace when worn. Your times and weights are the result.
Materiales
12- 1 piezaMarcador de posición
- 1 piezaMarcador de posición
- 1 piezaMarcador de posición
- 1 piezaMarcador de posición
- 1 piezaMarcador de posición
- Marcador de posición
- 1 piezaMarcador de posición
- 1 piezaMarcador de posición
- 1 piezaMarcador de posición
- 600 mlMarcador de posición
- 1 piezaMarcador de posición
- 1 piezaMarcador de posición
Herramientas requeridas
10- Marcador de posición
- Marcador de posición
- Marcador de posición
- 1 vendor sell this, none ship to you yetMarcador de posición
- Marcador de posición
- Marcador de posición
- Marcador de posición
- Marcador de posición
- Marcador de posición
- Marcador de posición
Archivos de diseño
4Este plano hace

Blueprints relacionados
Estos blueprints comparten conocimiento — técnicas, materiales o principios
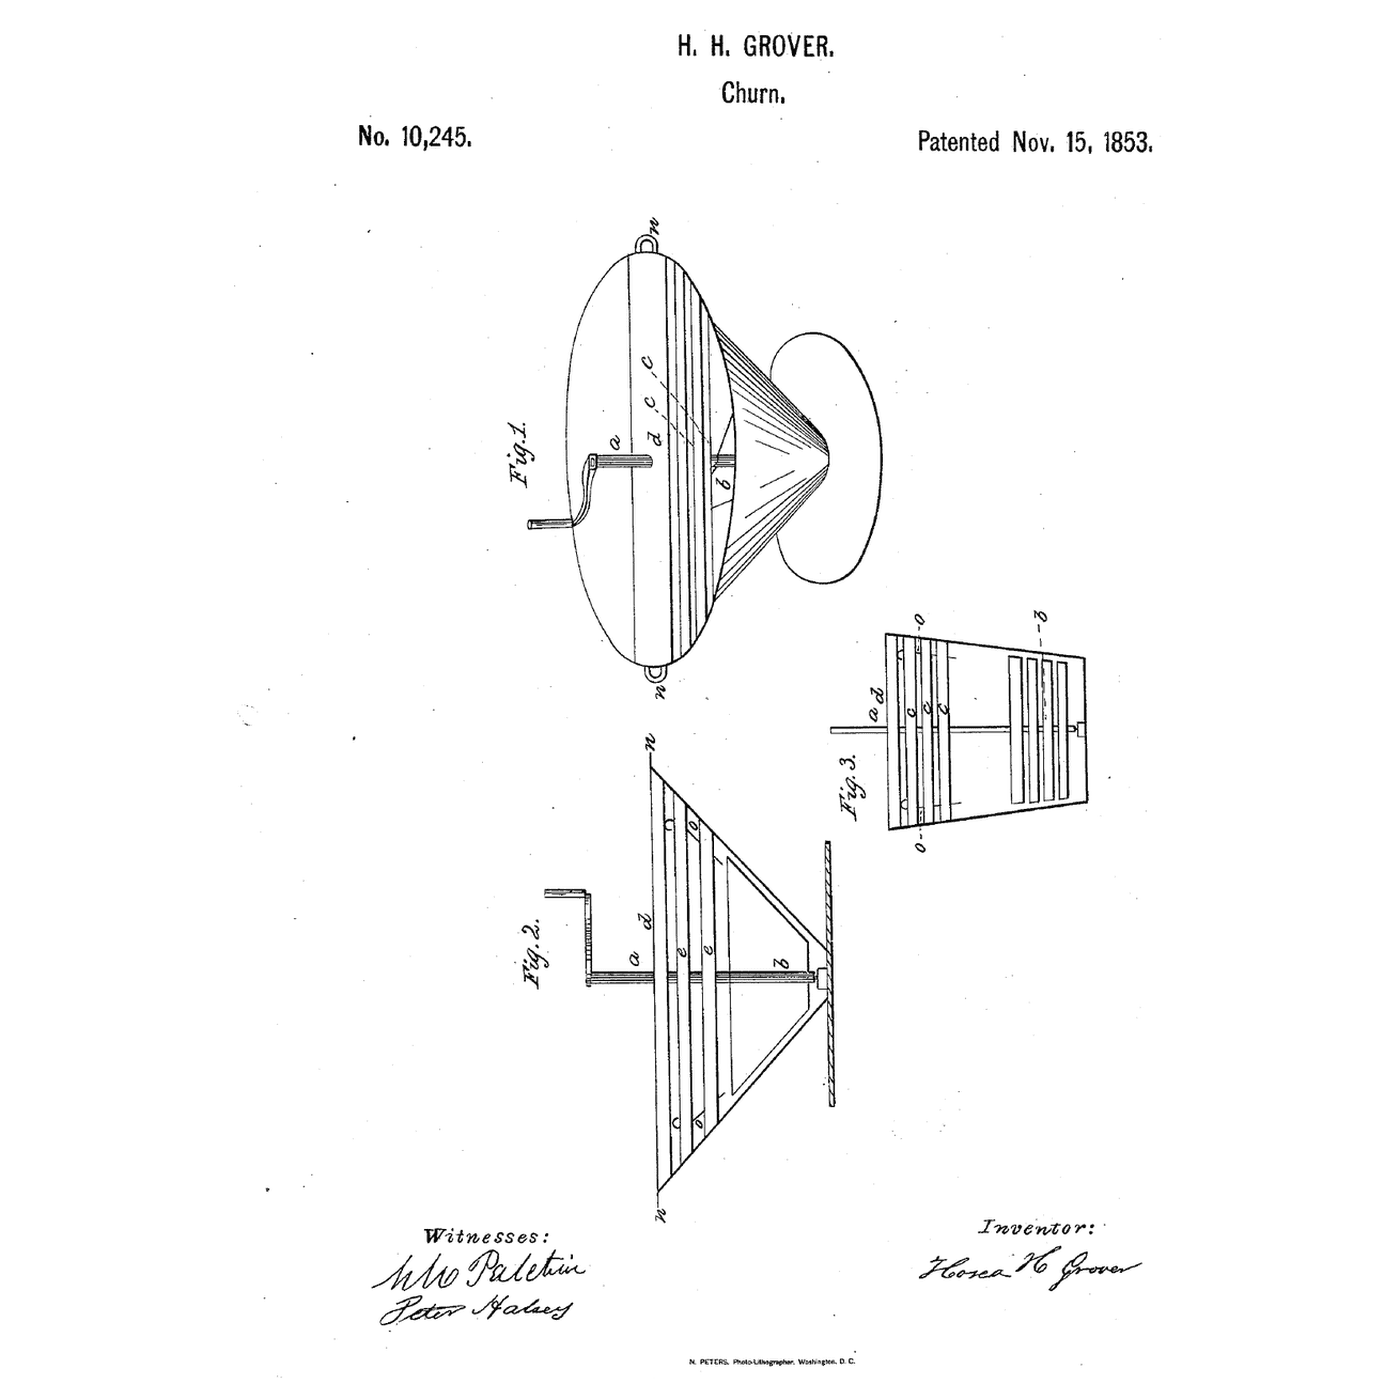
Flaring-Tub Slat-Reactor Churn: The Cream Climbs the Flare and Is Beaten Back by Slats
por TheChef
COMIDA Y BEBIDAS
17
0
0
0
0
0
Valved Hollow-Staff Plunger Churn: A Valve at the Top, Air Forced Out at the Foot
por TheChef
COMIDA Y BEBIDAS
37
0
0
0
0
0

Churning Butter from Cream — The 5,000-Year-Old Fat Separation
por TheChef
ARTESANÍA
54
0
0
0
0
0
CC0 Dominio público
Este Blueprint se publica bajo CC0. Eres libre de copiar, modificar, distribuir y usar este trabajo para cualquier propósito, sin pedir permiso.
Apoya al Maker comprando productos a través de su Blueprint, donde gana una Comisión del Maker establecida por los vendedores, o crea una nueva iteración de este Blueprint e inclúyela como conexión en tu propio Blueprint para compartir ingresos.