ARTE
BELLEZA Y BIENESTAR
ARTESANÍA
CULTURA E HISTORIA
ENTRETENIMIENTO
MEDIO AMBIENTE
COMIDA Y BEBIDAS
INGENIERÍA INVERSA
CIENCIAS
DEPORTES
TECNOLOGÍA
TECNOLOGÍA VESTIBLE
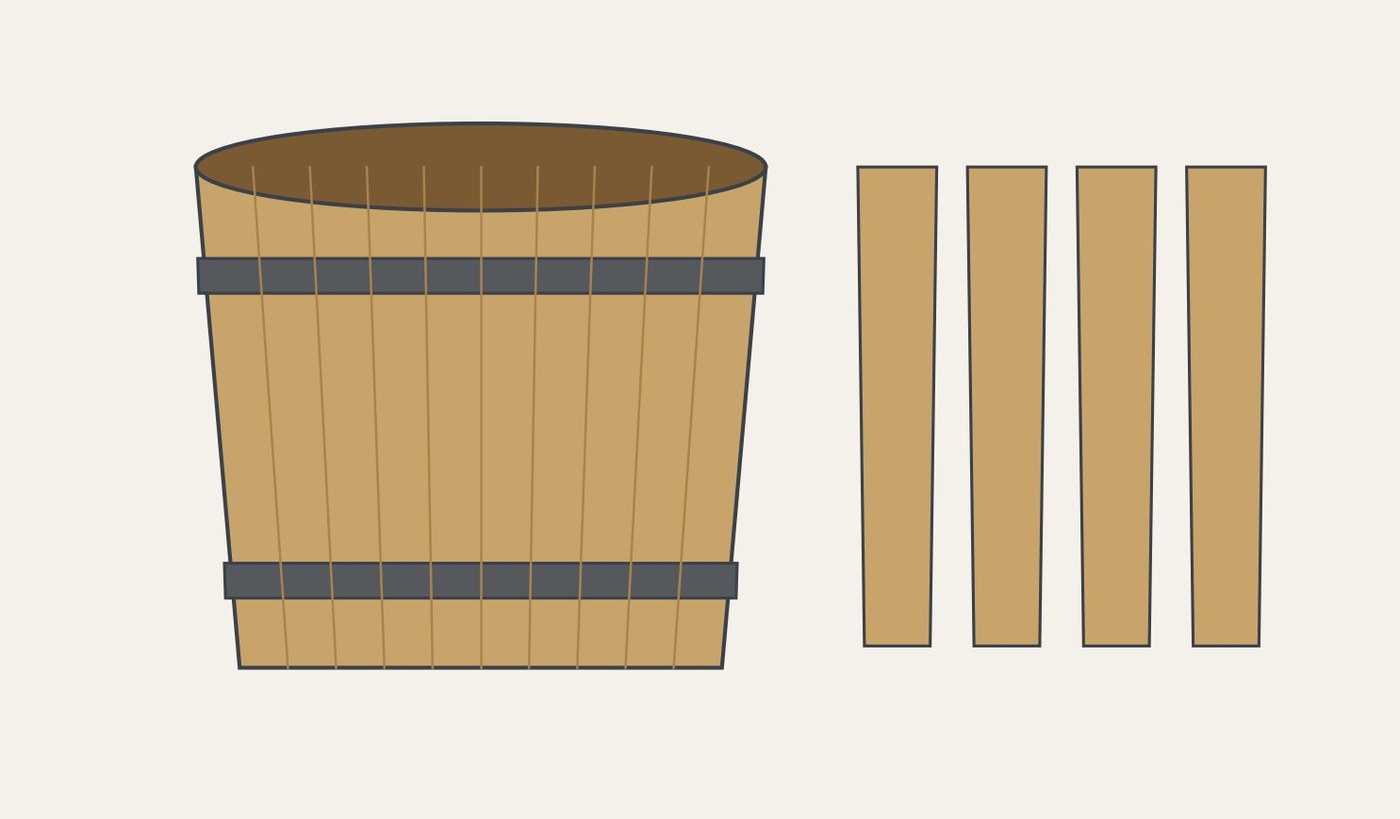


Coopered Vat: Oak Staves in Riveted Iron Hoops
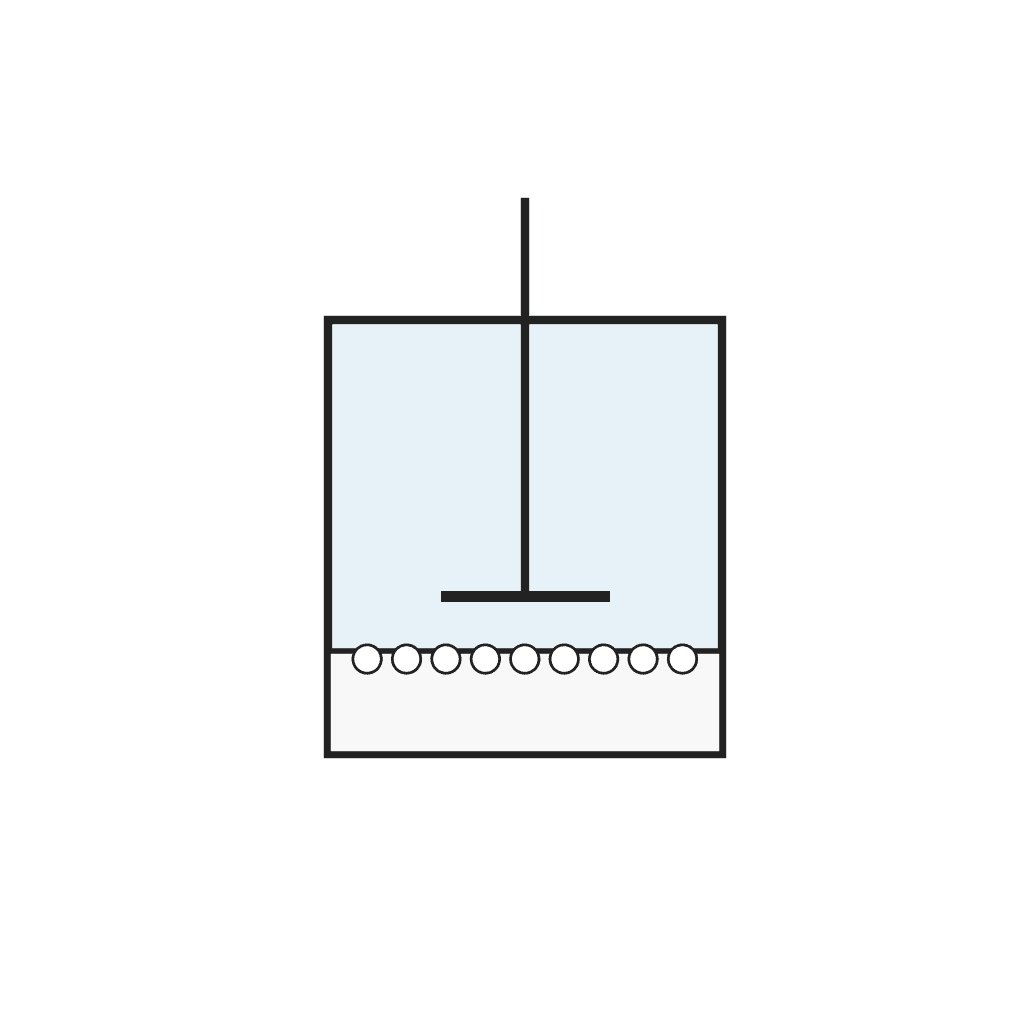
A vat is the cooper's large open tub: oak staves standing edge to edge, held tight by hoops, with a flat bottom set in a groove. Coopers made the vats beer was brewed in; papermakers and chemists use them to hold pulp, washes and settling liquors. Shave tapered staves, forge and rivet iron hoops, raise the staves in the hoops and fit the bottom.
The picture: our diagram, a vat and its tapered staves.
Avanzado
Several days
Instrucciones
1
1
Shape the staves
Shape the staves
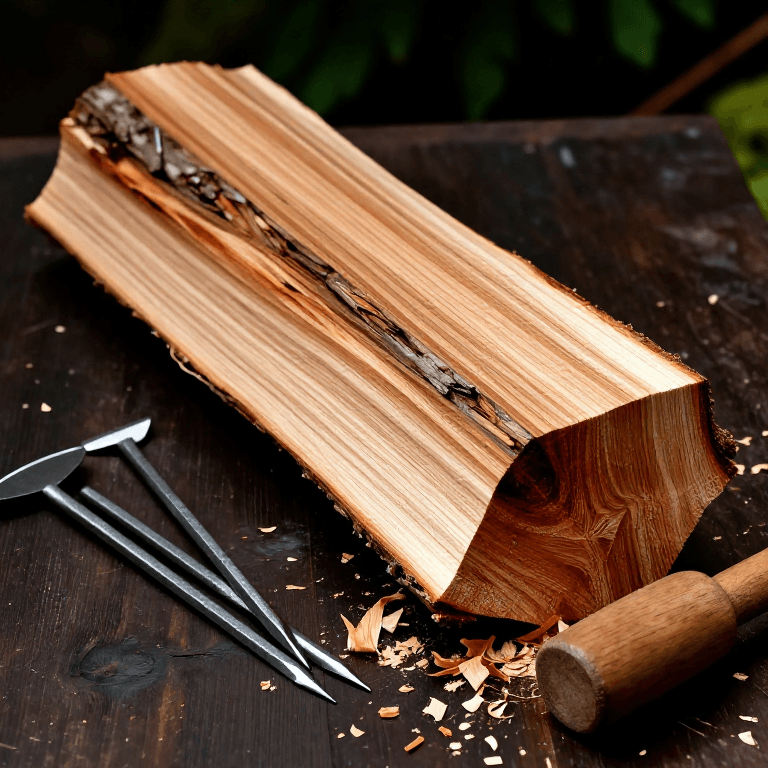
Rive or saw oak into staves as long as the vat is deep. Shave each one on the horse, taper it from top to bottom (step 5 gives the widths), and plane the edges so neighbours meet along their whole length.
Materiales para este paso:
 Tabla de madera dura6 piezas
Herramientas necesarias:
 Hendidor (froe)
 Banco de doladura
 Cuchilla de dos mangos
 Cepillo de carpintero
 Serrucho
2
2
Forge the hoops
Forge the hoops
Draw wrought iron into flat strip about 30 × 3 mm (our size), cut it to the circumference where each hoop sits plus a lap, bend it round, punch the lap and rivet it closed.
Materiales para este paso:
 Barra de hierro forjado3 piezas
 Remaches de hierro6 piezas
 Carbón vegetal5 as required
Herramientas necesarias:
 Fragua de herrero
 Yunque
 Martillo de peña transversal
 Punzón en caliente
 Tenazas de herrero
 Guantes de soldador
3
3
Raise the vat
Raise the vat
Stand the staves inside a hoop, wide ends up, until the ring is closed. Drive the hoops down with a hammer and a block until the joints close tight.
Herramientas necesarias:
Martillo de peña transversal4
4
Groove and bottom
Groove and bottom
Cut a groove round the inside a little above the lower edge. Join planks into a board, scribe a circle to fit the groove, cut and bevel it, slack the lower hoop, spring the bottom in, and drive the hoop home. Fill with water: the wood swells and seals.
Materiales para este paso:
Tabla de madera dura2 piezasHerramientas necesarias:
 Juego de formones
 Compás de puntasSerruchoCepillo de carpinteroMartillo de peña transversal
5
5
Staves and hoops
Staves and hoops
Cargando el cuaderno de Jupyter…
Materiales
4- 8 piezasMarcador de posición
- 3 piezasMarcador de posición
- 6 piezasMarcador de posición
- 5 as requiredMarcador de posición
Herramientas requeridas
13- Marcador de posición
- Marcador de posición
- Marcador de posición
- Marcador de posición
- Marcador de posición
- Marcador de posición
- Marcador de posición
- Marcador de posición
- Marcador de posición
- Marcador de posición
- Marcador de posición
- Marcador de posición
- Marcador de posición
Este plano hace



Blueprints relacionados
Estos blueprints comparten conocimiento — técnicas, materiales o principios

CC0 Dominio público
Este Blueprint se publica bajo CC0. Eres libre de copiar, modificar, distribuir y usar este trabajo para cualquier propósito, sin pedir permiso.
Apoya al Maker comprando productos a través de su Blueprint, donde gana una Comisión del Maker establecida por los vendedores, o crea una nueva iteración de este Blueprint e inclúyela como conexión en tu propio Blueprint para compartir ingresos.