ARTE
BELLEZA Y BIENESTAR
ARTESANÍA
CULTURA E HISTORIA
ENTRETENIMIENTO
MEDIO AMBIENTE
COMIDA Y BEBIDAS
INGENIERÍA INVERSA
CIENCIAS
DEPORTES
TECNOLOGÍA
TECNOLOGÍA VESTIBLE
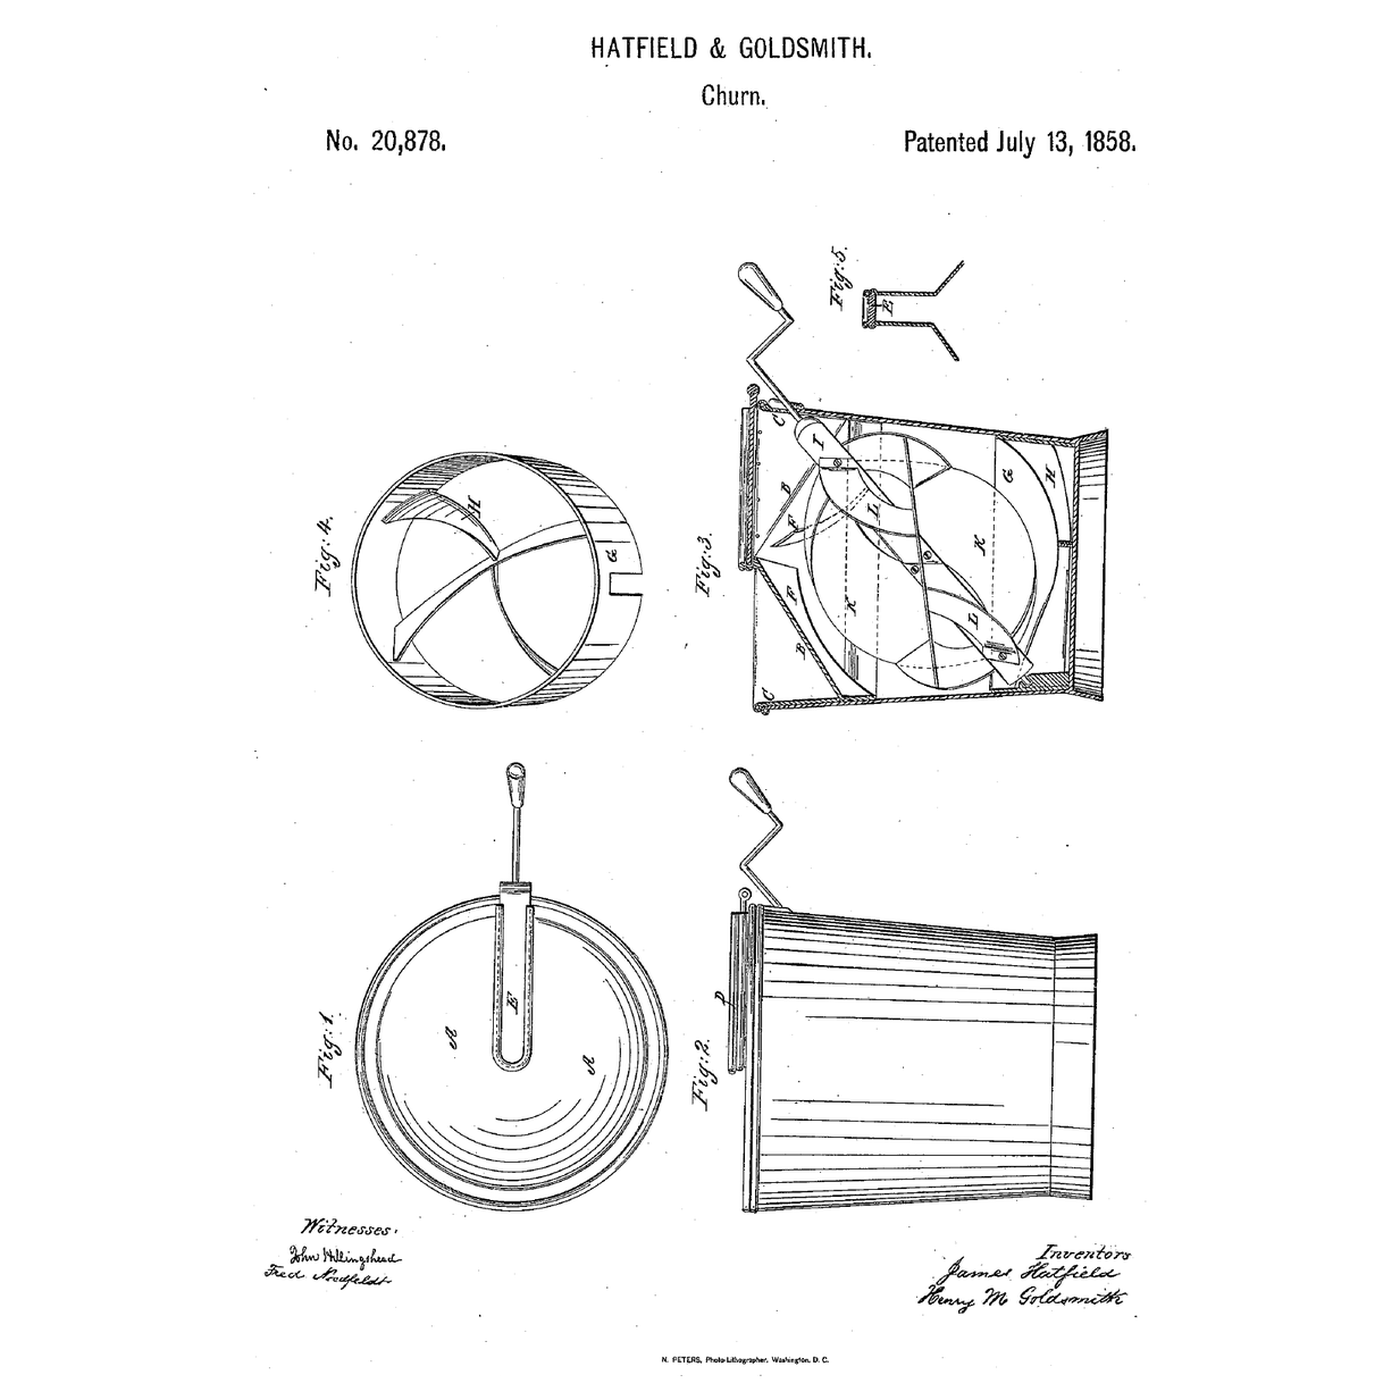


Oblique-Shaft Basin-Lid Churn: A Slanting Agitator Between Brakes, a Lid That Holds Tempering Water
James Hatfield of Falmouth, Indiana, and Henry M. Goldsmith of Burlington, Iowa, received US 20,878, dated 13 July 1858, for a churn with a triangular agitator shaft slanting across the vessel, wings set across it at 45 degrees, brakes above and below, and a lid sunk into a basin of hot or cold water, with a glass slide to watch.
This rung prints the shaft, agitator, brakes and basin lid at tabletop scale, on a stock pot.
Avanzado
About 6 hours, plus printing
Instrucciones
1
1
The slant and the wings
The slant and the wings
Cargando el cuaderno de Jupyter…
2
2
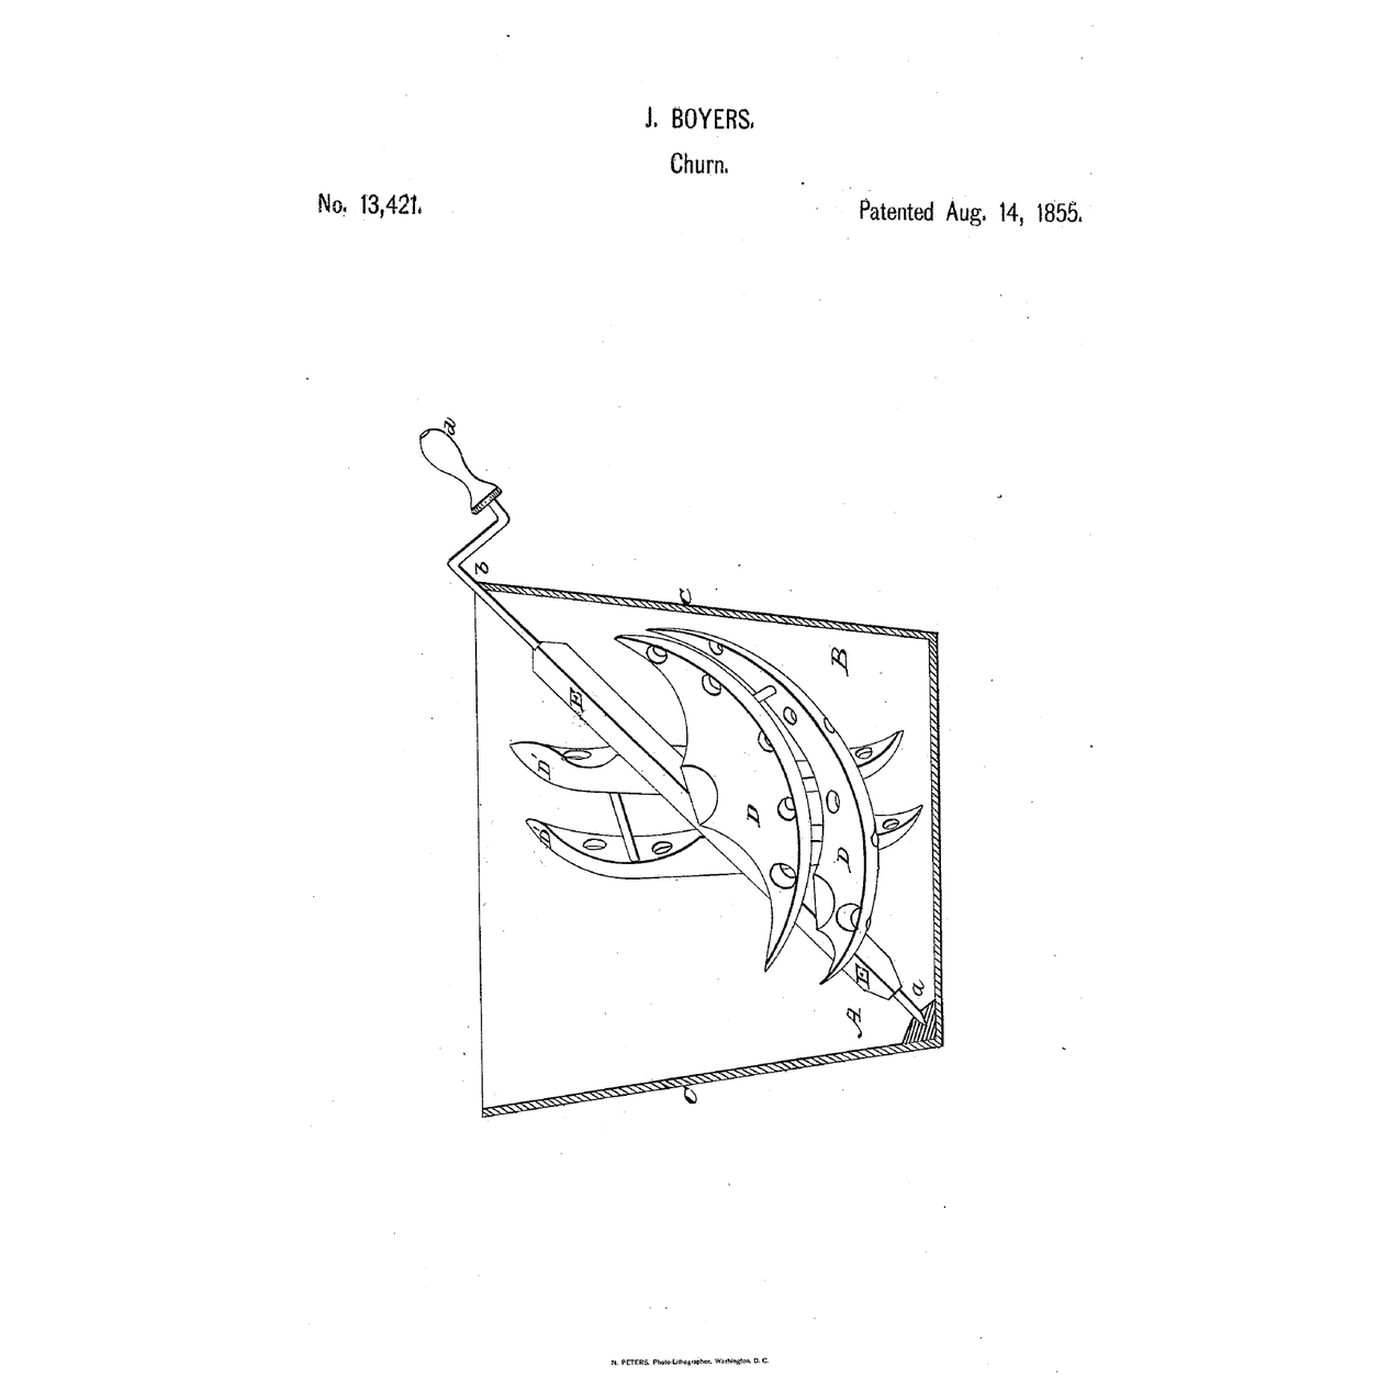
Slanting dasher shafts, before it
Slanting dasher shafts, before it
That shaft carried dished blades; this one a disk across it at 45 degrees, braced by quarter-circle wings.
3
3
Read US 20,878
Read US 20,878
"The basin or reservoir lid is so arranged as to contain either hot or cold water which being circulated through the cream by the action of the agitator and brakes soon reduces the cream to the desired temperature."
4
4
Print the parts
Print the parts
Print the shaft lying on a flat face across the bed's diagonal, the agitator with supports, the hoop with its brakes, the basin floor down, the rim, three brakes for the lid and the crank. The shaft, rim and hoop need a 256 mm print bed. Print in PETG at 0.2 mm layers, 30 % infill, 4 walls; wash before first use.
Materiales para este paso:
 Filamento PETG1 pieza
Herramientas necesarias:
 Impresora 3D de filamento (FDM)
5
5
Print the shaft
Print the shaft
The shaft, printed as step 4 describes.
6
6
Print the agitator
Print the agitator
The agitator, printed as step 4 describes.
7
7
Print the hoop
8
8
Print the basin
Print the basin
The basin, printed as step 4 describes.
9
9
Print the rim
10
10
Print the brake
Print the brake
The brake, printed as step 4 describes.
11
11
Print the crank
Print the crank
The crank, printed as step 4 describes.
12
12
Agitator and vessel
Agitator and vessel
Slide the agitator onto the triangular shaft to its middle and fix it with an M3 screw through the collar. Set the hoop in the bottom of the pot and stand the shaft's foot in the socket of its foot block, the shaft slanting across to the opposite side.
Materiales para este paso:
 Olla alta1 pieza
 Tornillos de máquina1 pieza
Herramientas necesarias:
 Juego de destornilladores
13
13
Lid, glass and crank
Lid, glass and crank
Screw the three brakes under the basin's floor with M4 screws. Set the basin in the rim and the rim on the pot, threading the shaft's top journal out through the chamber and the rim's bearing. Cut a strip of glass 72 by 34 mm and lay it over the chamber. Fix the crank on the shaft's triangular end with an M3 screw.
Materiales para este paso:
Tornillos de máquina1 pieza Lámina de vidrio flotado1 pieza
Herramientas necesarias:
 CortavidriosJuego de destornilladores
14
14
The build in 3D
The build in 3D
FreeCAD model of this build: the pot cut open, the hoop with three curved brakes and the foot block, the slanting triangular shaft, the disk of wings at 45 degrees with quarter-circle wings to each end, the basin lid with its air chamber and glass, the rim with the bearing, the brakes under the lid and the crank.
15
15
Temper and churn
Temper and churn
Pour in 2 litres of heavy cream, put the lid on and fill the basin with warm or cold water to bring the cream to about 15 °C, checked with the thermometer. Turn the crank steadily, timing it with the stopwatch, and watch through the glass. When the butter comes, lift the lid and the shaft out, pour off the buttermilk, wash the butter in cold water until it runs clear, work in a pinch of salt and weigh it.
Materiales para este paso:
 Crema de leche espesa2 l
 Agua1 pieza
 Sal marina gruesa1 pieza
Herramientas necesarias:
 Termómetro de sonda permanente
 Cronómetro
 Báscula digital de cocina
 Bol grande de acero inoxidable
16
16
Troubleshooting
Troubleshooting
Basin-lid churn troubleshooting.
Flow
Loading...
17
17
History and honest limits
History and honest limits
**James Hatfield** of Falmouth, Fayette County, Indiana, and **Henry M. Goldsmith** of Burlington, Des Moines County, Iowa, US 20,878, 13 July 1858. Their vessel could be of any size or form, round and largest at the top preferred. They wrote that the belt and brakes lift out to wash and that the glass makes it needless to raise the lid to see the work. They claimed the basin lid with its glass slide, and the agitator with the wings L used with the brakes G and H. Our pot, sizes, printed parts and the brakes' shapes are ours. FDM prints hold food in their layer lines, so wash well and replace when worn.
Materiales
7- 1 piezaMarcador de posición
- 1 piezaMarcador de posición
- 2 piezasMarcador de posición
- 1 piezaMarcador de posición
- Marcador de posición
- 1 piezaMarcador de posición
- 1 piezaMarcador de posición
Herramientas requeridas
7- Marcador de posición
- Marcador de posición
- Marcador de posición
- Marcador de posición
- Marcador de posición
- Marcador de posición
- Marcador de posición
Archivos de diseño
8Este plano hace

Blueprints relacionados
Estos blueprints comparten conocimiento — técnicas, materiales o principios

CC0 Dominio público
Este Blueprint se publica bajo CC0. Eres libre de copiar, modificar, distribuir y usar este trabajo para cualquier propósito, sin pedir permiso.
Apoya al Maker comprando productos a través de su Blueprint, donde gana una Comisión del Maker establecida por los vendedores, o crea una nueva iteración de este Blueprint e inclúyela como conexión en tu propio Blueprint para compartir ingresos.