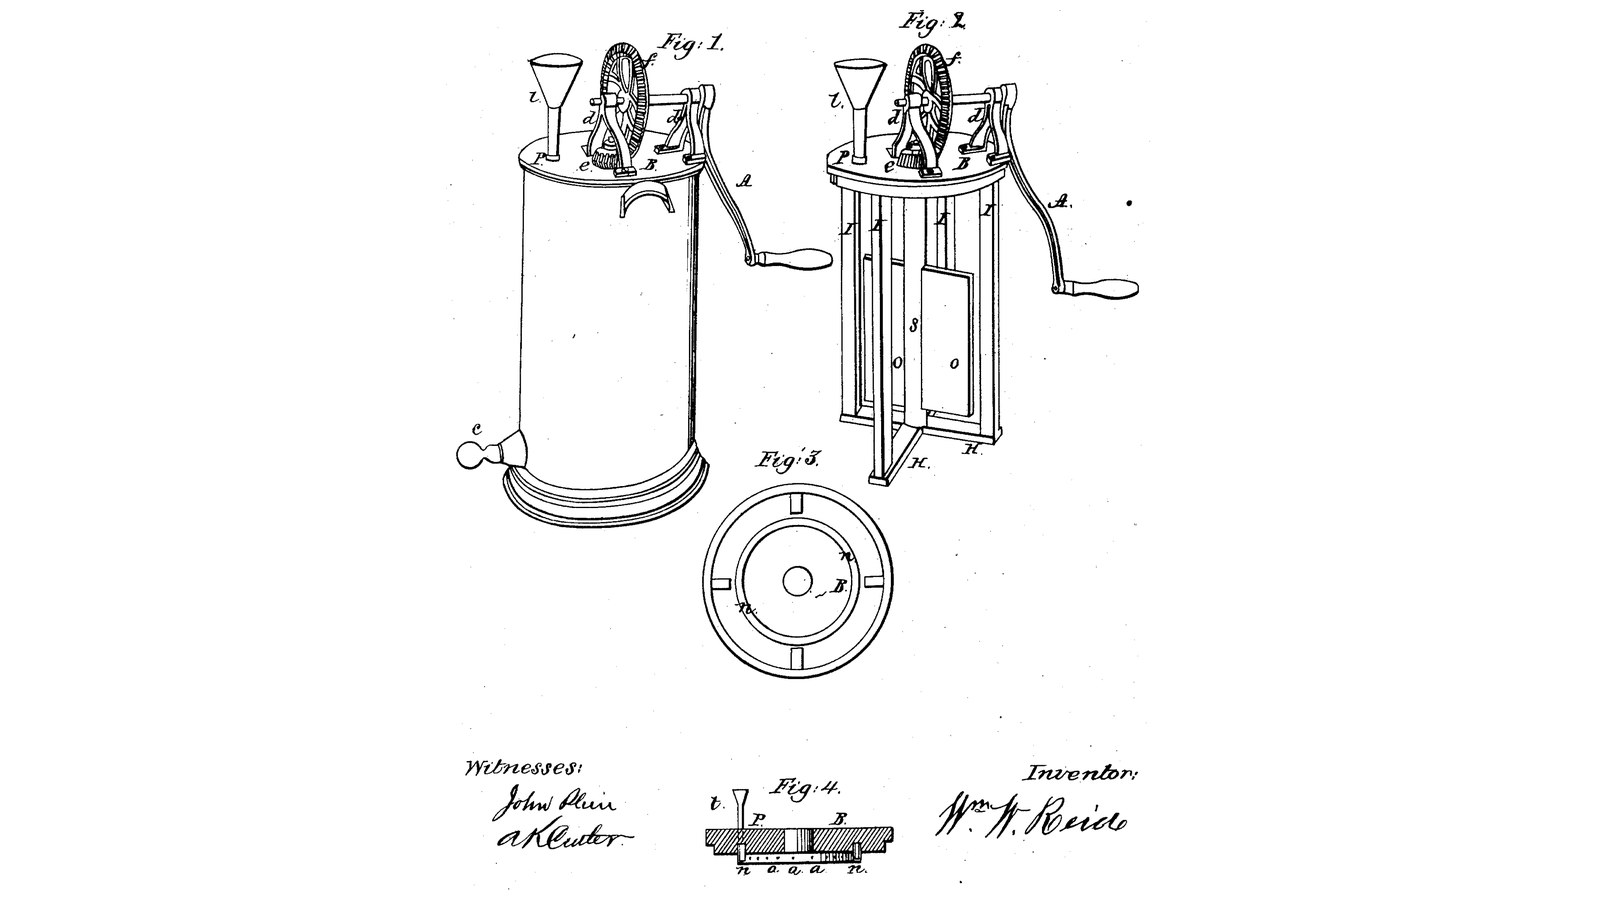

Rinsing-Ring Churn: Lid, Gearing, Dasher and Breaker Bars Lift Out as One, a Perforated Ring Under the Lid Washes Them
Instrucciones
The rinsing ring
The rinsing ring
A geared frame that sits on the churn, four months before
A geared frame that sits on the churn, four months before
Read US 30,424
Read US 30,424
Body and faucet C
Body and faucet C
Materiales para este paso:
 Cubo de 20 litros1 pieza
 Grifo de latón1 pieza
 Tabla de madera dura1 pieza
 Tornillos para madera4 piezas
Herramientas necesarias:
 Juego de brocas de pala
 Taladro inalámbrico
 Llave inglesa ajustable
 Juego de destornilladores
Print the ring tube n
Print the ring tube n
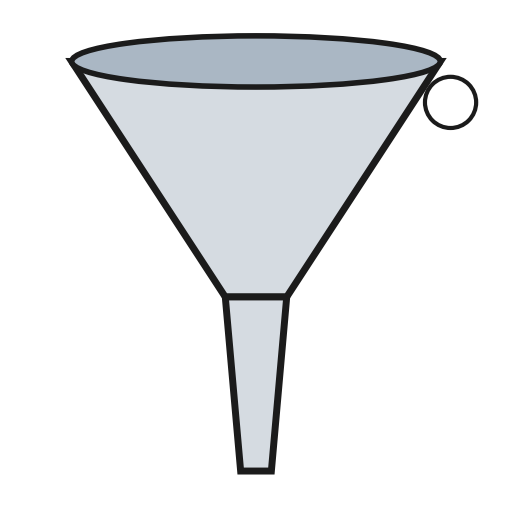
Lid B, ring n, tube P and funnel t
Lid B, ring n, tube P and funnel t
Materiales para este paso:
 Plancha de HDPE1 pieza
 Filamento PETG1 pieza
 Sellador de silicona1 pieza
 Tubo de acero inoxidable1 pieza
 Embudo de cocina1 pieza
Herramientas necesarias:
 Impresora 3D de filamento (FDM)
 Brújula
 Sierra de calar
 Fresadora de manoJuego de brocas de palaTaladro inalámbrico
 Juego de brocas
 Sierra para metales
 Limas (lima de mano)
Bars H and I, shaft S and dasher O
Bars H and I, shaft S and dasher O
Materiales para este paso:
Tabla de madera dura2 piezas Cola de carpintero1 piezaTornillos para madera16 piezas
 Varilla de acero inoxidable2 piezas
Herramientas necesarias:
 Sierra de mesa
 Juego de formones para maderaTaladro inalámbricoJuego de brocasSierra para metales
 SargentoJuego de destornilladores
 Cinta métrica
Print the wheel f
Print the wheel f
Print the pinion e
Print the pinion e
Supports d, wheel f, pinion e and crank A
Supports d, wheel f, pinion e and crank A
Materiales para este paso:
Varilla de acero inoxidable1 piezaTabla de madera dura1 pieza Shaft Collar1 pieza
 Pasador de aletas3 piezas
 Pletina de acero dulce1 pieza
 Espigas de madera dura1 piezaTornillos para madera4 piezasFilamento PETG1 pieza
Herramientas necesarias:
Impresora 3D de filamento (FDM)Sierra de mesaTaladro inalámbricoJuego de brocasSierra para metalesLimas (lima de mano) Tornillo de bancoJuego de destornilladores
The build in 3D
The build in 3D
Churn and rinse
Churn and rinse
Materiales para este paso:
 Crema de leche espesa12 l
 Agua1 pieza
 Sal marina gruesa1 pieza
Herramientas necesarias:
 Termómetro de sonda permanente
 Cronómetro
 Báscula digital de cocina
 Bol grande de acero inoxidable
Troubleshooting
Troubleshooting
Flow
History and honest limits
History and honest limits
Materiales
18- 1 piezaMarcador de posición
- 1 piezaMarcador de posición
- 2 piezasMarcador de posición
- 24 piezasMarcador de posición
- 1 piezaMarcador de posición
- 2 piezasMarcador de posición
- 1 piezaMarcador de posición
- 1 piezaMarcador de posición
- 1 piezaMarcador de posición
- 1 piezaMarcador de posición
- 2 piezasMarcador de posición
- 1 piezaMarcador de posición
- 3 piezasMarcador de posición
- 1 piezaMarcador de posición
- 1 piezaMarcador de posición
- Marcador de posición
- 1 piezaMarcador de posición
- 1 piezaMarcador de posición
Herramientas requeridas
20- Marcador de posición
- 1 vendor sell this, none ship to you yetMarcador de posición
- Marcador de posición
- Marcador de posición
- Marcador de posición
- Marcador de posición
- 1 vendor sell this, none ship to you yetMarcador de posición
- Marcador de posición
- Marcador de posición
- Marcador de posición
- Marcador de posición
- 1 vendor sell this, none ship to you yetMarcador de posición
- Marcador de posición
- Marcador de posición
- 1 vendor sell this, none ship to you yetMarcador de posición
- Marcador de posición
- Marcador de posición
- Marcador de posición
- Marcador de posición
- Marcador de posición
Archivos de diseño
4

Blueprints relacionados
Estos blueprints comparten conocimiento — técnicas, materiales o principios
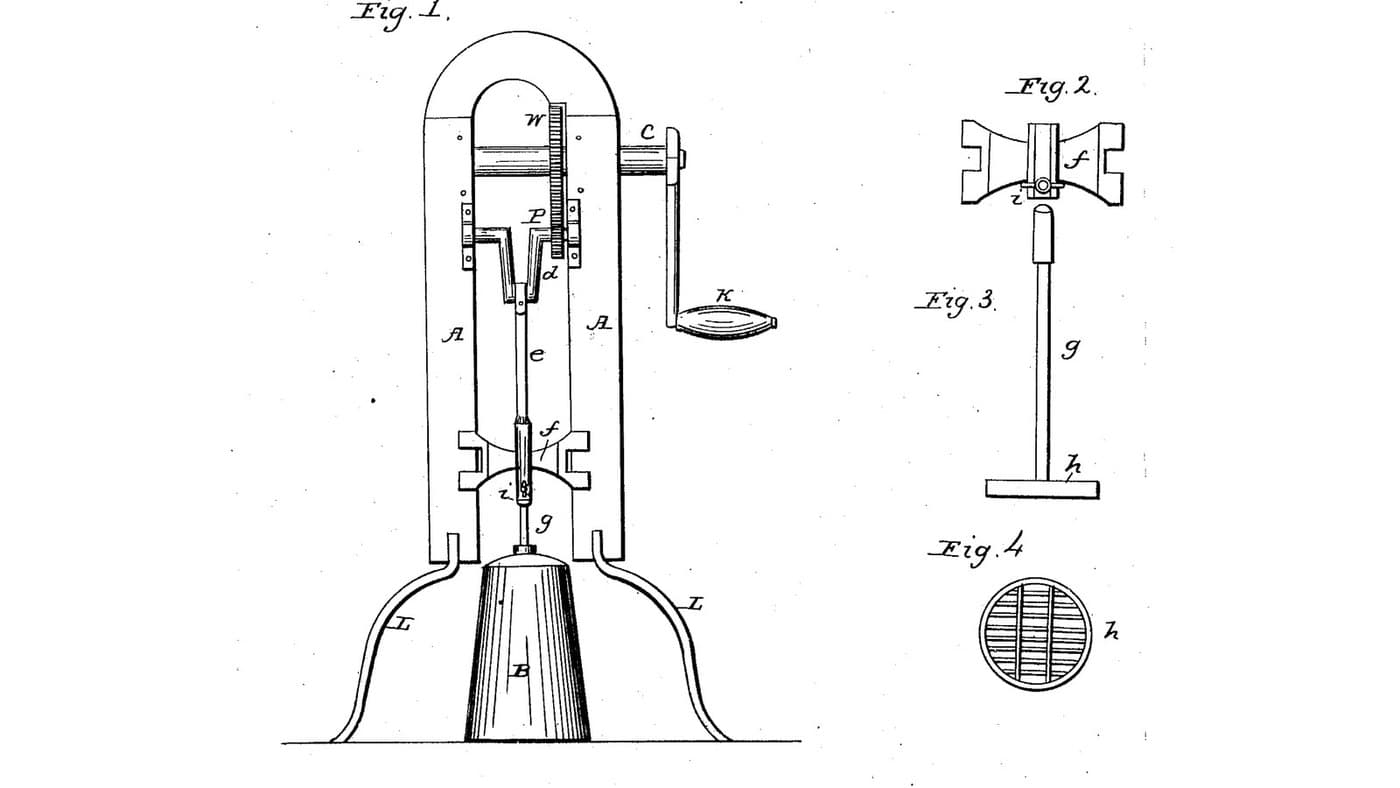
Geared Crank-Frame Churn: A Frame Over an Ordinary Churn Gears a Hand Crank Up to Drive a Grated Dasher by Pitman
por Buttercup
Carpintería
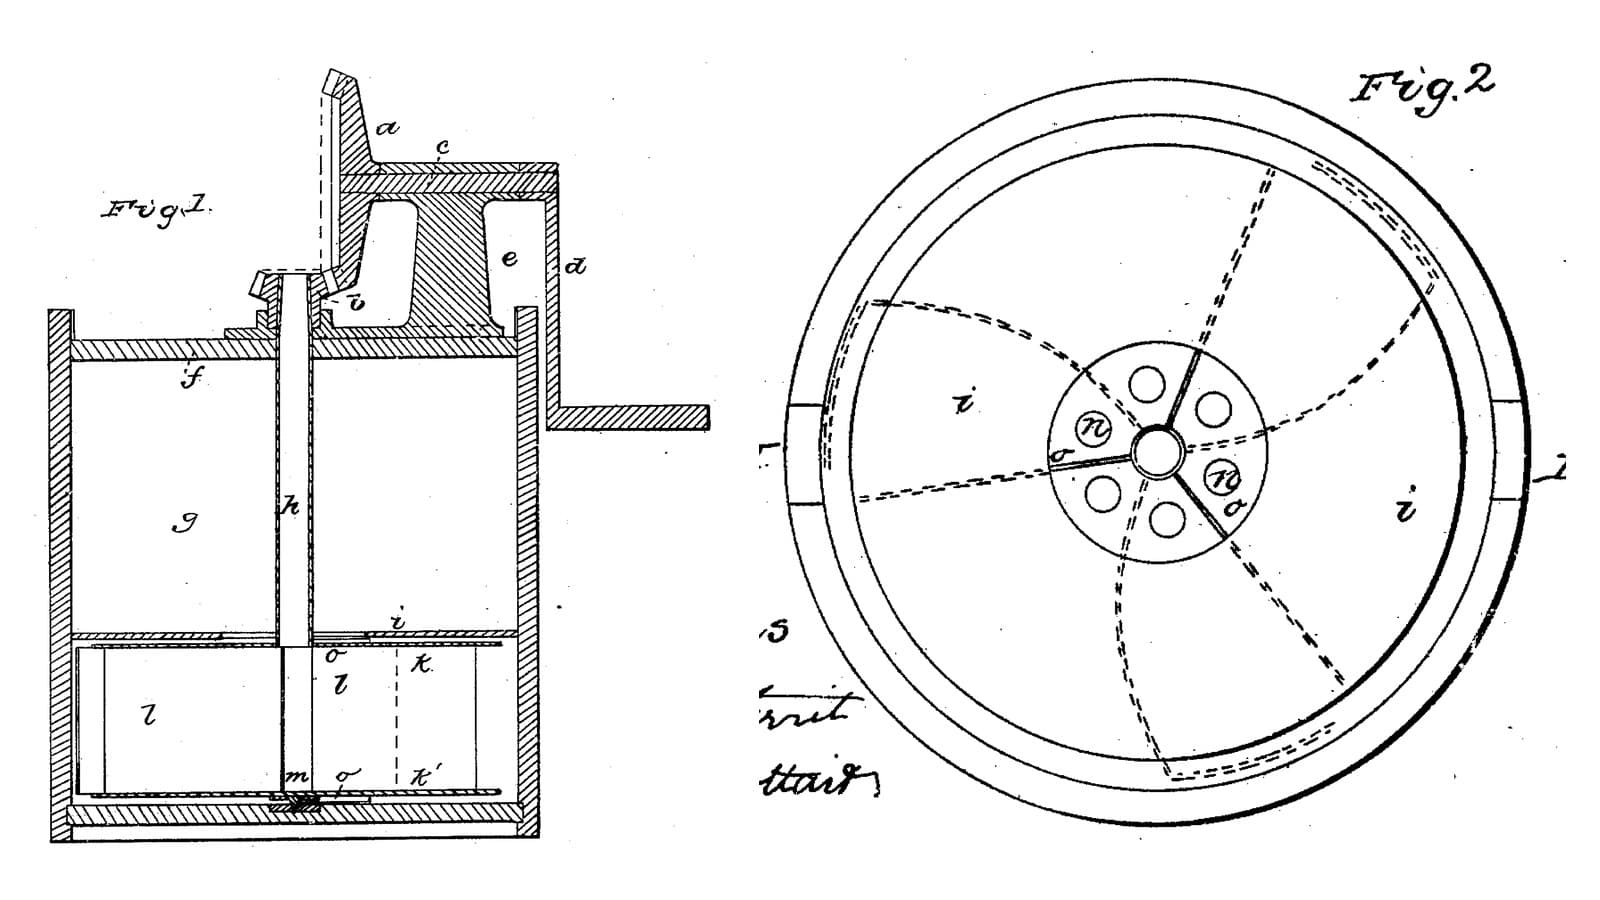
Centrifugal-Dasher Churn: Curved Wings on a Hollow Shaft Throw the Cream at the Wall, a Fixed Disk Turns It Back
por Buttercup
Carpintería
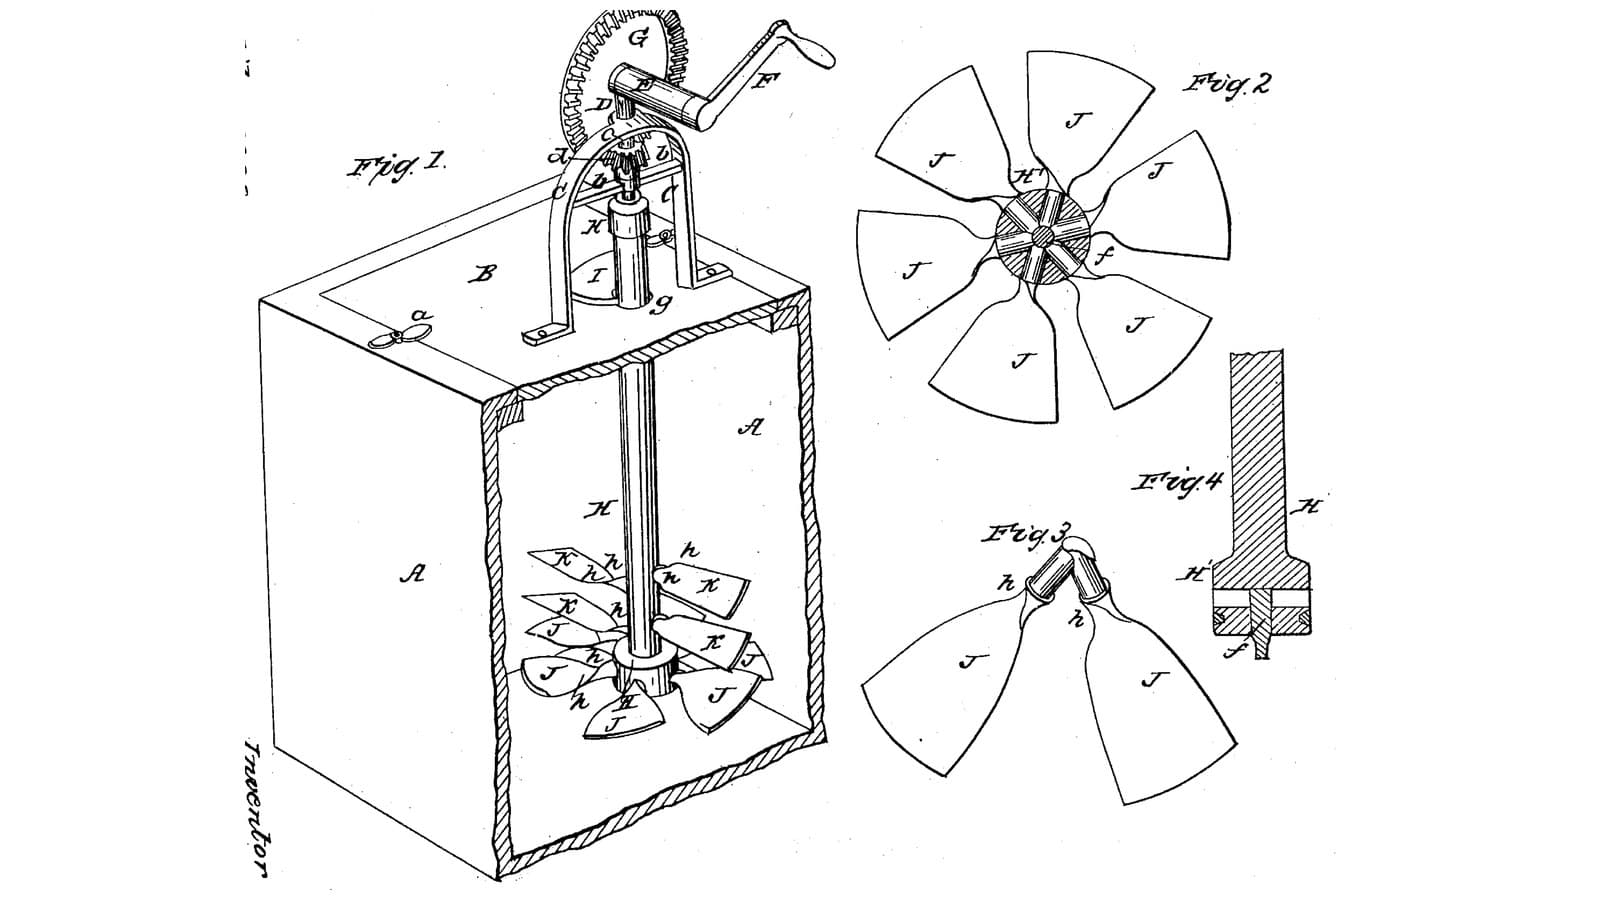
Interlocked-Blade Dasher Churn: Each Blade's Round Shank Is Bored Through by the Next, So They Key Each Other in the Hub
por Buttercup
Carpintería

Churning Butter from Cream — The 5,000-Year-Old Fat Separation
por TheChef
ARTESANÍA
CC0 Dominio público
Este Blueprint se publica bajo CC0. Eres libre de copiar, modificar, distribuir y usar este trabajo para cualquier propósito, sin pedir permiso.
Apoya al Maker comprando productos a través de su Blueprint, donde gana una Comisión del Maker establecida por los vendedores, o crea una nueva iteración de este Blueprint e inclúyela como conexión en tu propio Blueprint para compartir ingresos.